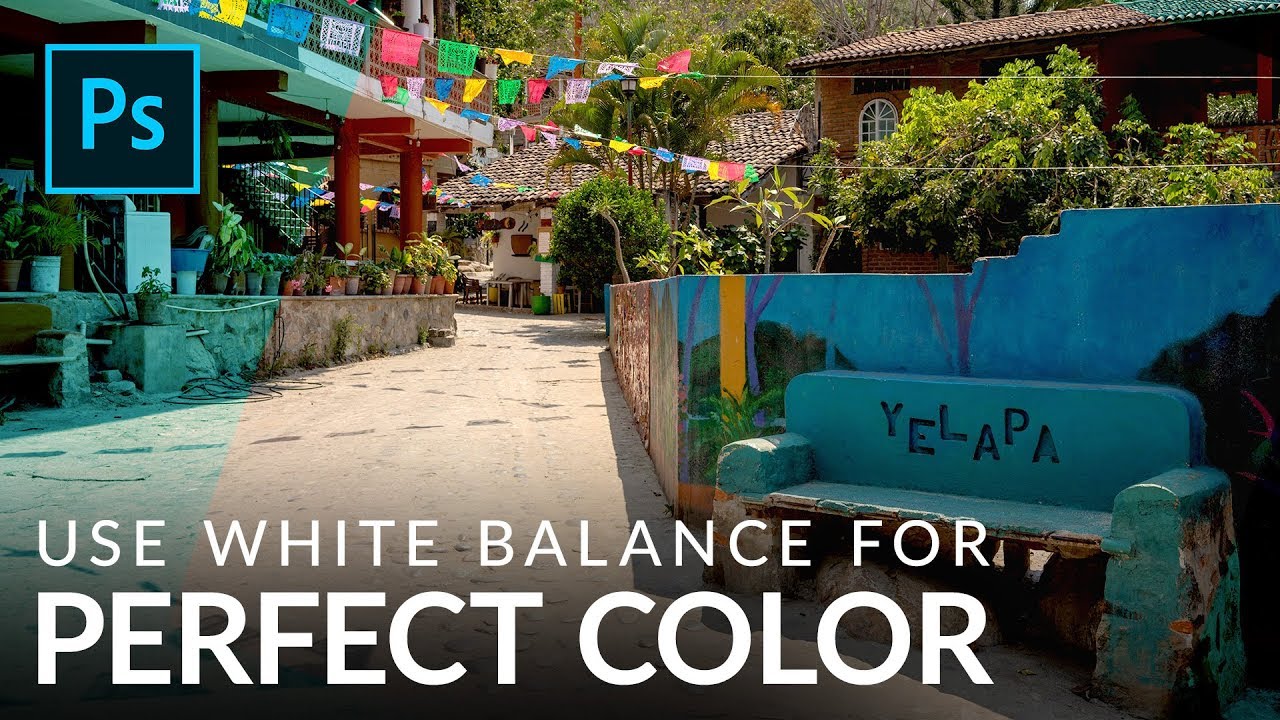
Color is the thing that separates a photo that looks off from one that stops the scroll. I’ve handed clients deliverables that were technically sharp, technically exposed, and technically terrible because the white balance was just slightly too cold and it made everyone look like they were photographed inside a hospital. Not great. White balance is one of those adjustments that sounds fussy and technical until you realize it’s basically the difference between “warm afternoon in Mexico” and “fluorescent break room at a DMV.”
In this Aaron Nace tutorial from PHLEARN, the whole workflow gets laid out cleanly: how to adjust white balance inside Photoshop using Adobe Camera Raw, why opening your RAW file as a Smart Object is non-negotiable, and how the same approach actually works on JPEGs too. Watch the full tutorial on YouTube if you want to follow along with the actual sample image, but everything you need to execute this is right here.
The thing that got me about this tutorial is the Smart Object move. I learned about Smart Objects the hard way after catastrophically flattening a client project I couldn’t recover, but using them specifically as a backdoor into Adobe Camera Raw at any point in your workflow? That’s a trick I wish I’d had years ago. Let’s walk through it.
Step 1: Open Your RAW File in Photoshop
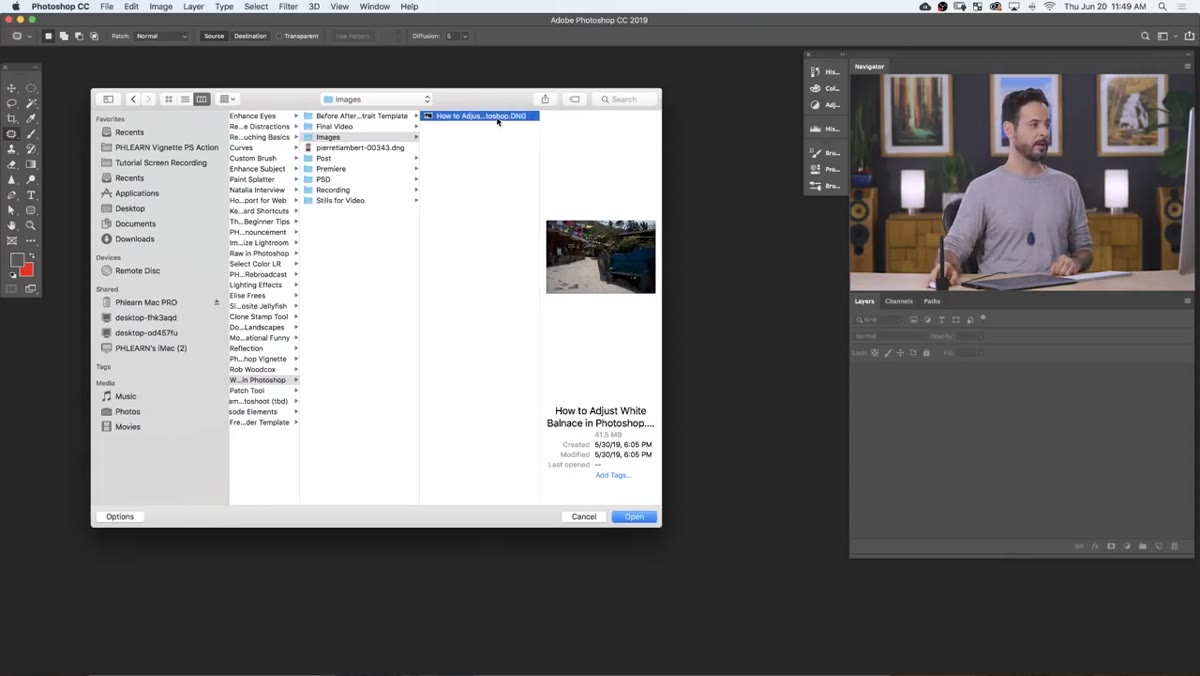 DNG file opening and launching Adobe Camera Raw dialog
When you open a RAW file (DNG, CR2, ARW, doesn’t matter) in Photoshop, it automatically routes through Adobe Camera Raw first. You’ll see a dialog box pop up before your image ever hits the canvas. This is where the color temperature and white balance sliders live. The important thing to know here is that “color temperature” and “white balance” are the same thing, just different labels for the same control. Don’t let the naming trip you up.
DNG file opening and launching Adobe Camera Raw dialog
When you open a RAW file (DNG, CR2, ARW, doesn’t matter) in Photoshop, it automatically routes through Adobe Camera Raw first. You’ll see a dialog box pop up before your image ever hits the canvas. This is where the color temperature and white balance sliders live. The important thing to know here is that “color temperature” and “white balance” are the same thing, just different labels for the same control. Don’t let the naming trip you up.
At this stage, Aaron’s advice is to not actually do anything yet. Close the dialog and come back later. The reason why is in the next step.
Step 2: Set Up Your File as a Smart Object
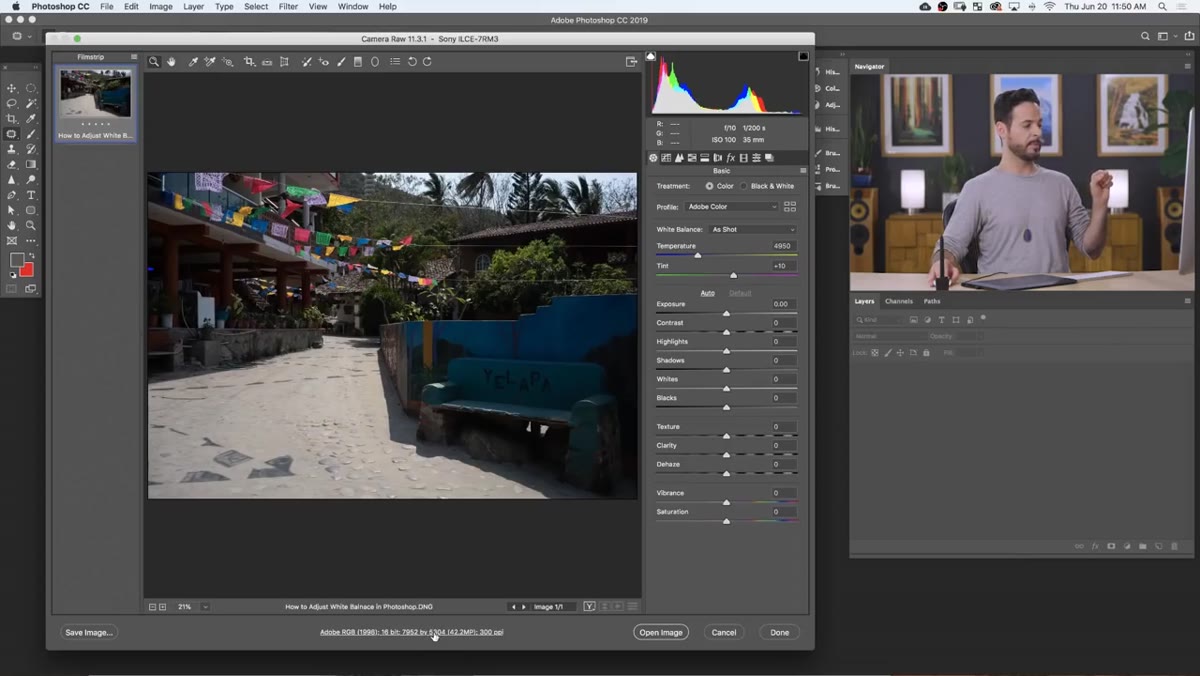 Open As Smart Object checkbox in Camera Raw dialog bottom bar
Before you click through that Camera Raw dialog to open your image, look at the very bottom of the dialog box. There’s a small text link that opens workflow options. Inside there, check the box that says “Open in Photoshop as Smart Object.” This is the step most people skip, and it’s the one that makes everything else flexible.
Open As Smart Object checkbox in Camera Raw dialog bottom bar
Before you click through that Camera Raw dialog to open your image, look at the very bottom of the dialog box. There’s a small text link that opens workflow options. Inside there, check the box that says “Open in Photoshop as Smart Object.” This is the step most people skip, and it’s the one that makes everything else flexible.
Once that box is checked, hit OK, then open the image. Your layer panel will show a small icon on the thumbnail indicating it’s a Smart Object. What this does is preserve the link back to Camera Raw so you can re-enter it any time, on any day, without any degradation. It’s essentially non-destructive white balance editing baked right into your Photoshop workflow.
Step 3: Re-Enter Camera Raw by Double-Clicking the Thumbnail
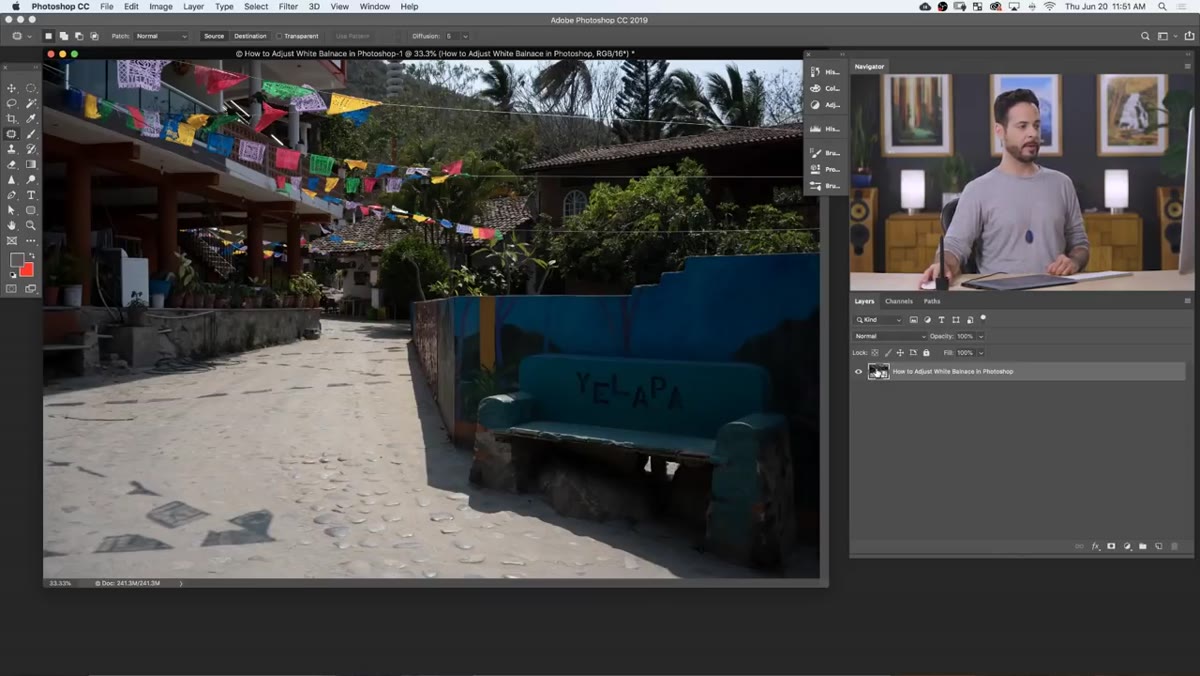 Double-clicking Smart Object thumbnail to reopen Camera Raw
Here’s the payoff for Step 2. Any time you want to revisit your white balance, just double-click the layer thumbnail in the Layers panel. Photoshop pops you straight back into Adobe Camera Raw. No exporting, no round-tripping to Lightroom, no re-importing anything.
Double-clicking Smart Object thumbnail to reopen Camera Raw
Here’s the payoff for Step 2. Any time you want to revisit your white balance, just double-click the layer thumbnail in the Layers panel. Photoshop pops you straight back into Adobe Camera Raw. No exporting, no round-tripping to Lightroom, no re-importing anything.
This is the part that makes Smart Objects worth using for every single RAW file you open. The white balance adjustment isn’t baked into the pixels yet. You can change your mind tomorrow, next week, or after a client emails you that they want the image to feel “warmer, like a real summer vibe.” (We’ve all gotten that note.)
Step 4: Choose a White Balance Preset or Adjust Manually
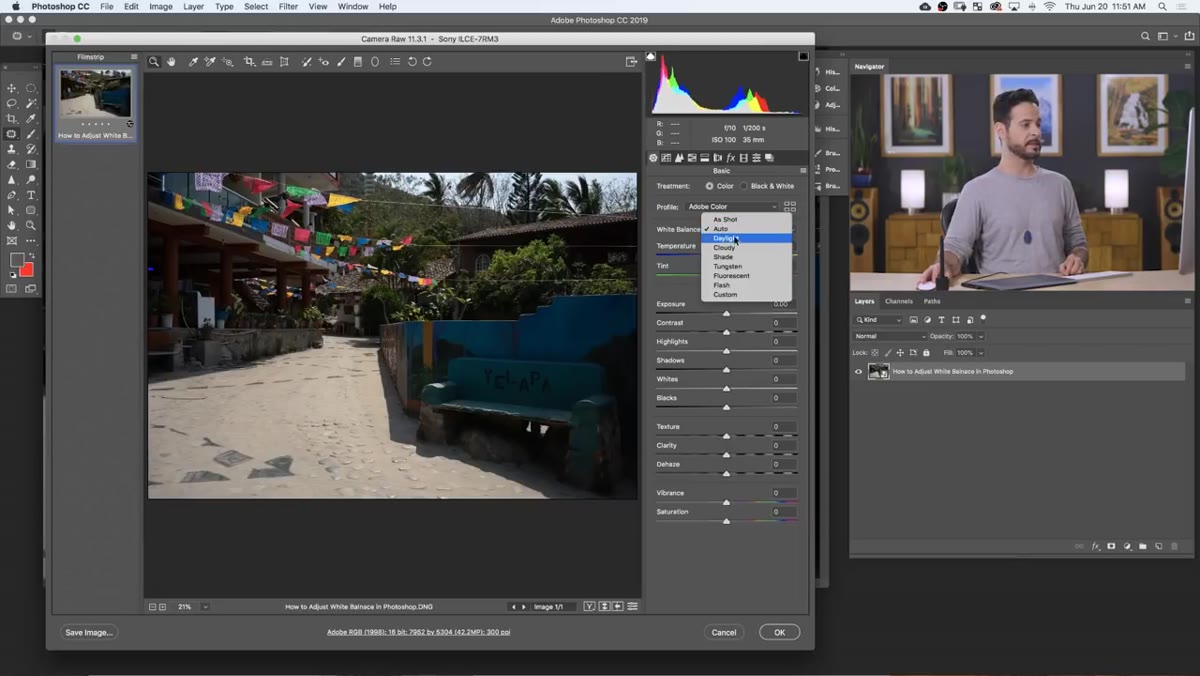 White balance preset dropdown showing Daylight, Tungsten, Fluorescent options
Inside Camera Raw, the White Balance dropdown gives you presets like Auto, Daylight, Tungsten, and Fluorescent. These are meant to match common shooting conditions. If you shot under tungsten lights and forgot to set your camera’s white balance, selecting Tungsten here will correct for that orange cast. Same idea with Fluorescent for office lighting.
White balance preset dropdown showing Daylight, Tungsten, Fluorescent options
Inside Camera Raw, the White Balance dropdown gives you presets like Auto, Daylight, Tungsten, and Fluorescent. These are meant to match common shooting conditions. If you shot under tungsten lights and forgot to set your camera’s white balance, selecting Tungsten here will correct for that orange cast. Same idea with Fluorescent for office lighting.
For most outdoor shots, Auto or Daylight will be your starting point. But the real control comes from the Temperature slider directly below the dropdown. Drag it right and your image gets warmer, pushing toward orange and yellow tones. Drag it left and it gets cooler, shifting toward blue. Aaron’s rule of thumb is to move it in small increments. A big swing in either direction starts looking artificial fast.
Step 5: Fine-Tune the Temperature Slider for Mood
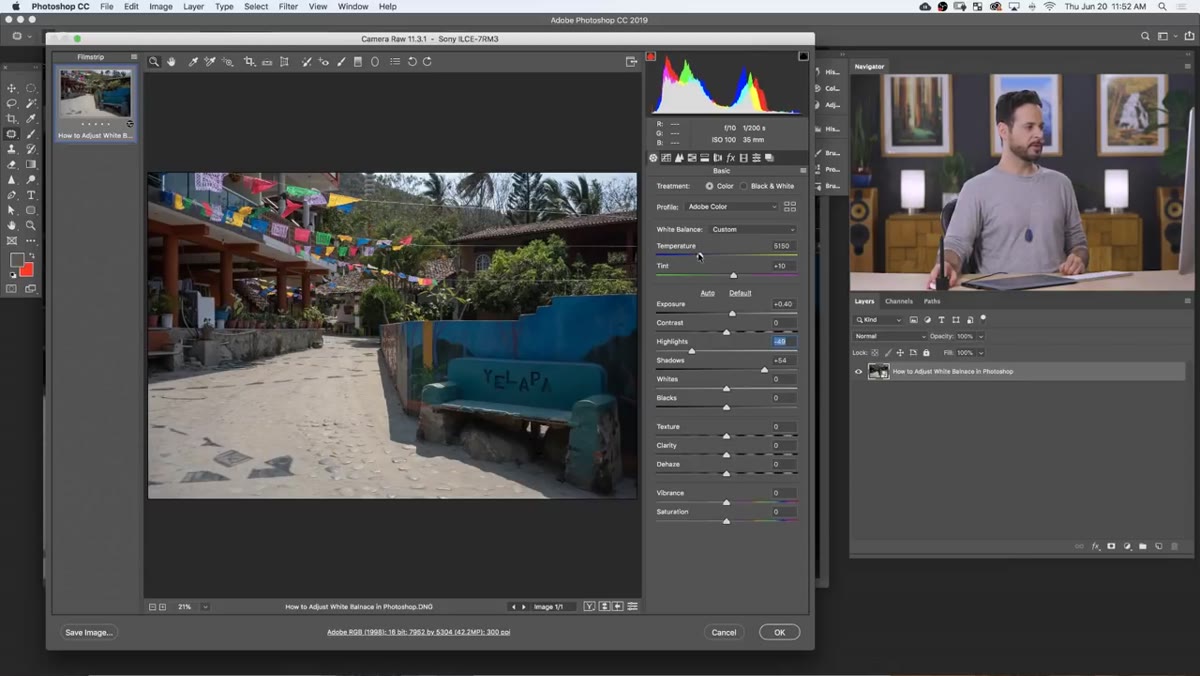 Temperature slider being dragged right to warm up the image
This is where white balance stops being purely corrective and becomes creative. For his Mexico photo, Aaron pushes the temperature slider slightly to the right, not to fix a problem but to emphasize the warmth that was already there. It’s a subtle enhancement rather than a correction, and it makes a difference.
Temperature slider being dragged right to warm up the image
This is where white balance stops being purely corrective and becomes creative. For his Mexico photo, Aaron pushes the temperature slider slightly to the right, not to fix a problem but to emphasize the warmth that was already there. It’s a subtle enhancement rather than a correction, and it makes a difference.
If you want a cool, moody, overcast feel, pull the slider left. If you’re going for golden hour warmth or a sun-soaked travel vibe, nudge it right. The key word is nudge. Work in increments of 200-400K on the Kelvin scale and check the preview. Your eyes will tell you when it tips from “warm” into “this was clearly edited.”
Step 6: Hit OK and See the Instant Update
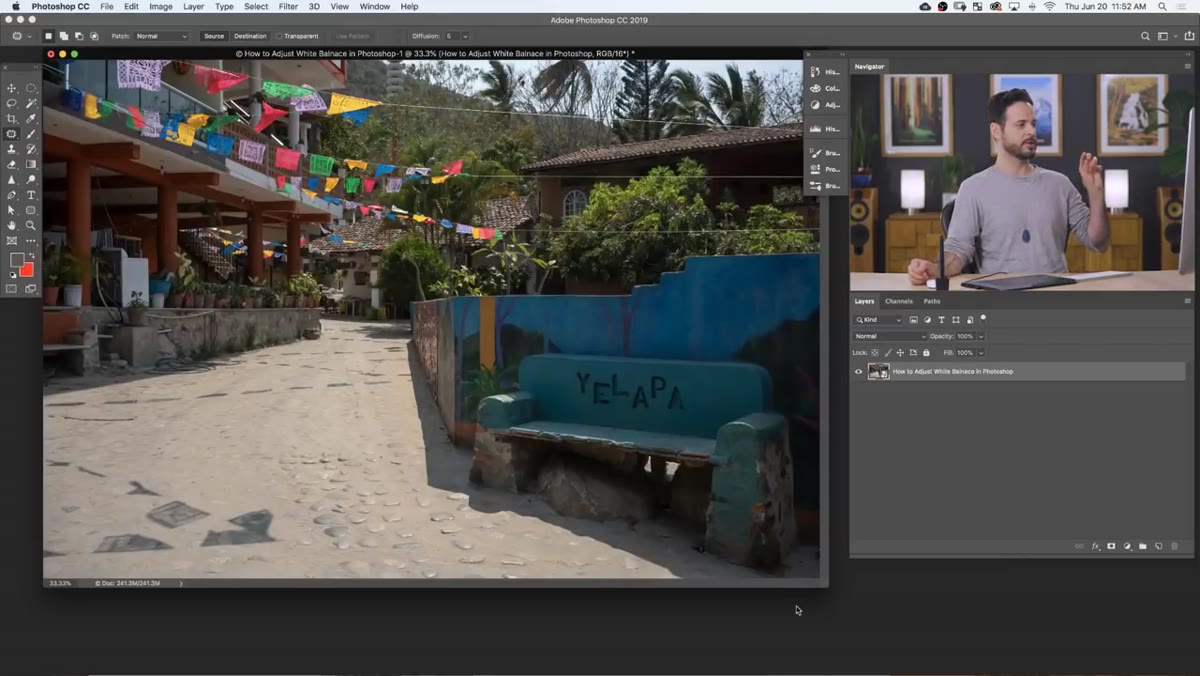 Final image updating in Photoshop canvas after Camera Raw adjustment
Once you’re happy, hit OK in Camera Raw and you’re dropped back into your Photoshop canvas with the adjustment applied. Because you’re working on a Smart Object, the pixels haven’t been permanently changed. The adjustment lives in Camera Raw’s settings, attached to the layer. You can double-click that thumbnail again any time and the sliders will be right where you left them.
Final image updating in Photoshop canvas after Camera Raw adjustment
Once you’re happy, hit OK in Camera Raw and you’re dropped back into your Photoshop canvas with the adjustment applied. Because you’re working on a Smart Object, the pixels haven’t been permanently changed. The adjustment lives in Camera Raw’s settings, attached to the layer. You can double-click that thumbnail again any time and the sliders will be right where you left them.
What About JPEGs? Yes, This Works.
The tutorial wraps up by confirming that this workflow isn’t RAW-only. JPEGs can be opened in Camera Raw through the Filter menu (Filter > Camera Raw Filter), which gives you the same Temperature slider and white balance controls. You lose some of the flexibility since JPEGs have already been processed and compressed, so pushing the sliders hard will introduce more artifacts than you’d get with a RAW file. But for moderate corrections, it absolutely works.
My personal addition to this: if you’re applying Camera Raw Filter to a JPEG, convert the layer to a Smart Object first (right-click the layer, select Convert to Smart Object). Then apply the filter. Same logic as before. It keeps the adjustment editable instead of baking it into the file permanently. One extra click that saves you every time a client changes their mind.
The single most useful thing in this whole workflow is the Smart Object setup. Get that habit locked in before you do anything else to a RAW file in Photoshop and you’ll never have to start over on a color correction again. White balance isn’t complicated, but having the flexibility to revisit it at any stage of your edit without consequences? That changes how you work.
Watch the full tutorial on YouTube to see Aaron walk through the actual image in real time. His delivery is clear and the sample image makes the warm vs. cool difference very easy to see.
Comments
Leave a Comment