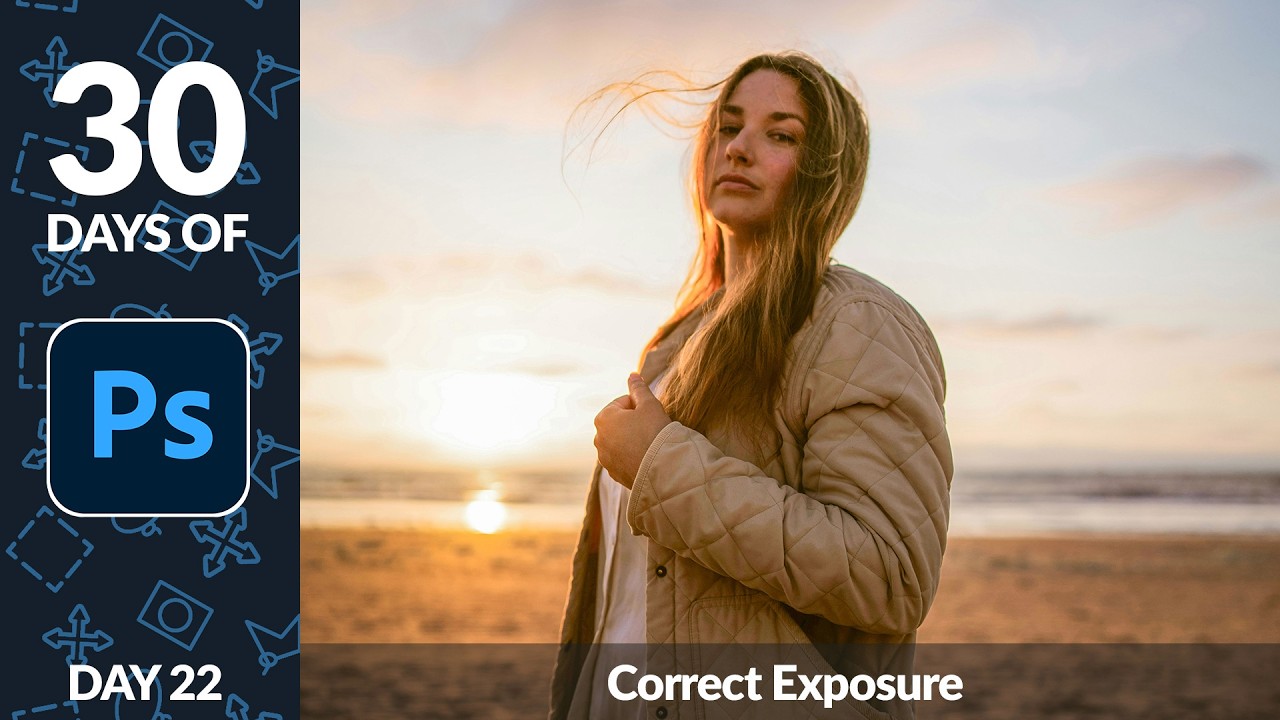
Exposure problems are the dirty secret of a lot of client work. You get a great shot, the composition is solid, the subject looks fantastic, and then you open it in Photoshop and realize half the image is either blown out or buried in shadows. I’ve been there more times than I care to admit. The temptation is to reach for Curves or Levels and start dragging things around until it looks “good enough” — which usually means you’ve overcorrected the highlights trying to save the shadows, or vice versa. It’s a mess.
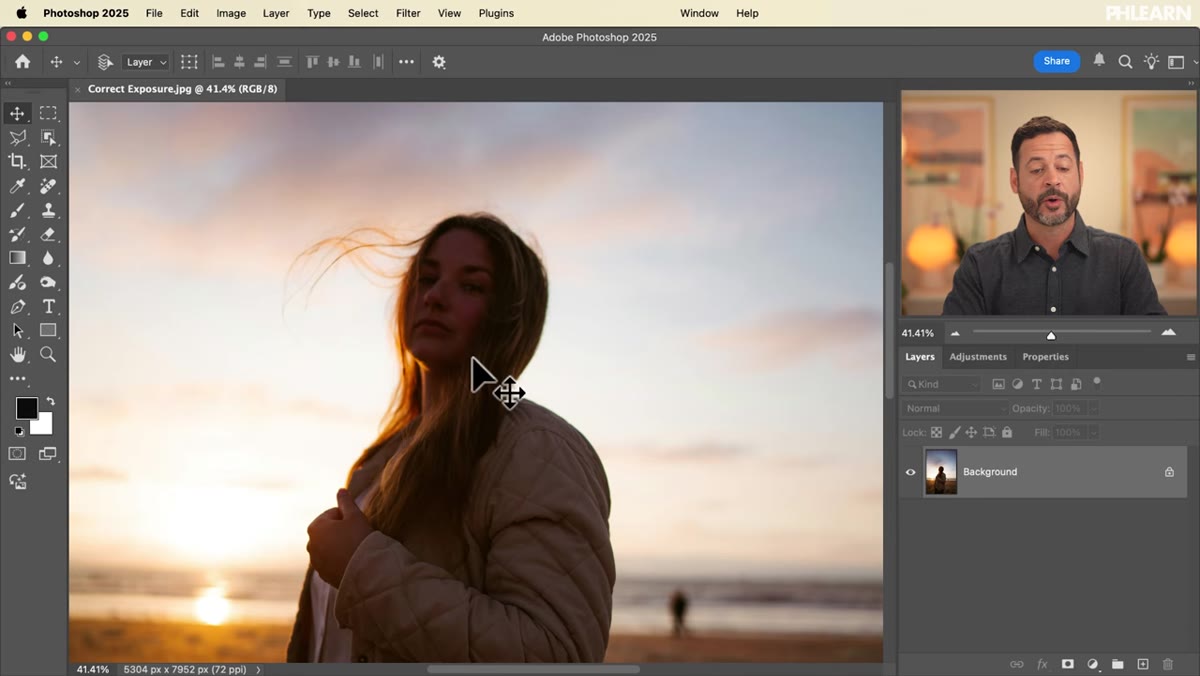
That’s what makes this tutorial from Aaron Nace over at PHLEARN so useful. In Watch the full tutorial on YouTube, he walks through a workflow built around Adobe Camera Raw that handles the heavy lifting for you, then lets you dial in subject-specific corrections with masking tools that are honestly better than they have any right to be. The image he’s working with has a well-exposed sky but a subject that’s noticeably too dark — a classic scenario, and one that trips people up because fixing one area tends to break the other.
The whole process runs through Camera Raw as a filter, not as a standalone raw processor, which means it works on any image type. Combine that with Smart Objects and you’ve got a fully non-destructive workflow you can revisit days later without any quality loss. Here’s how it works.
Step 1: Convert to Smart Filters Before You Touch Anything
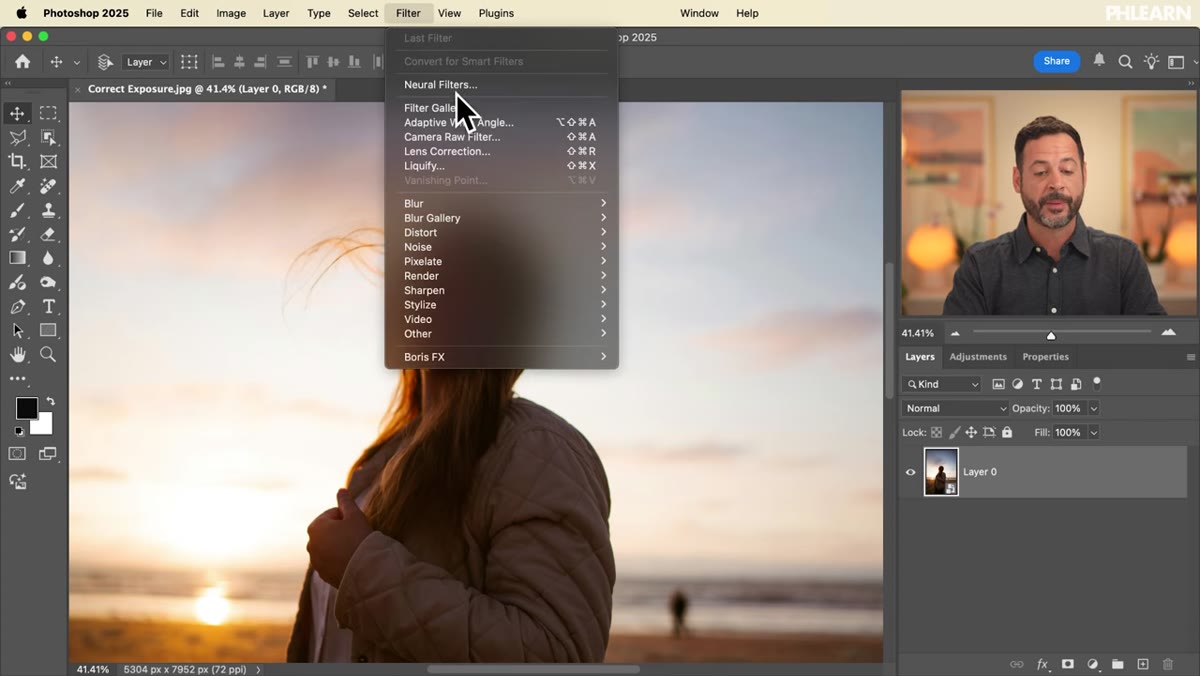
 Convert to Smart Filters option highlighted in the Filter menu
Before you open Camera Raw or apply any filter, go to Filter and choose “Convert for Smart Filters.” This converts your layer into a Smart Object. It sounds like a minor housekeeping step, but it’s the difference between a flexible, editable file and a baked-in decision you can’t walk back. I learned this the hard way early in my freelance life after delivering a file to a client, getting revision notes two days later, and realizing I’d flattened everything. The Smart Object approach means the Camera Raw filter stays live and editable for as long as the file exists.
Convert to Smart Filters option highlighted in the Filter menu
Before you open Camera Raw or apply any filter, go to Filter and choose “Convert for Smart Filters.” This converts your layer into a Smart Object. It sounds like a minor housekeeping step, but it’s the difference between a flexible, editable file and a baked-in decision you can’t walk back. I learned this the hard way early in my freelance life after delivering a file to a client, getting revision notes two days later, and realizing I’d flattened everything. The Smart Object approach means the Camera Raw filter stays live and editable for as long as the file exists.
Step 2: Open Camera Raw as a Filter
 Camera Raw Filter option in the Filter dropdown menu
With your Smart Object layer selected, go back to Filter and this time choose “Camera Raw Filter.” This opens the full Camera Raw interface as a panel over your image. You get the same powerful controls you’d have if you were processing a raw file directly, but applied non-destructively to whatever you’re working on, including JPEGs and PSDs. Make sure you’re in the Edit panel on the right side — that’s where the core exposure controls live.
Camera Raw Filter option in the Filter dropdown menu
With your Smart Object layer selected, go back to Filter and this time choose “Camera Raw Filter.” This opens the full Camera Raw interface as a panel over your image. You get the same powerful controls you’d have if you were processing a raw file directly, but applied non-destructively to whatever you’re working on, including JPEGs and PSDs. Make sure you’re in the Edit panel on the right side — that’s where the core exposure controls live.
Step 3: Hit Auto and Let It Do the Work
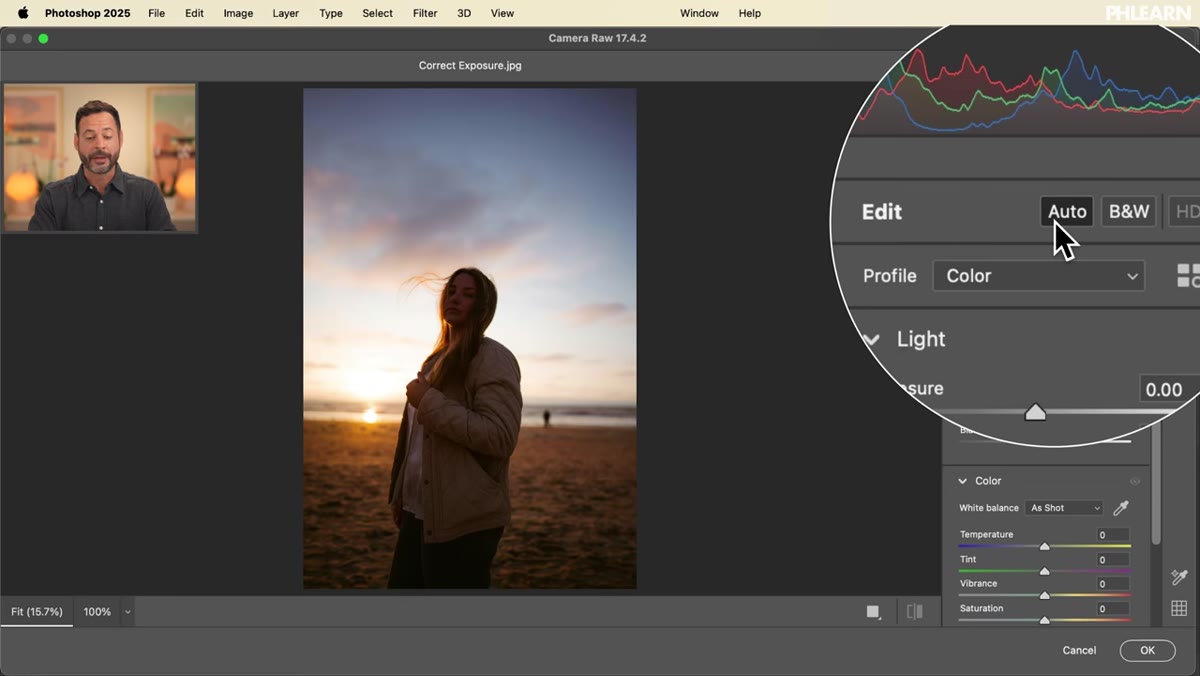 Auto button selected, sliders adjusting automatically in Camera Raw
Here’s the part that feels like cheating but genuinely isn’t: click the “Auto” button at the top of the Edit panel. Camera Raw analyzes the image and adjusts Exposure, Highlights, Shadows, Whites, Blacks, and even Vibrance automatically. In the tutorial example, it pulls the highlights down, lifts the shadows, and adds a touch of color richness. The result is a noticeably better image in about one second flat.
Auto button selected, sliders adjusting automatically in Camera Raw
Here’s the part that feels like cheating but genuinely isn’t: click the “Auto” button at the top of the Edit panel. Camera Raw analyzes the image and adjusts Exposure, Highlights, Shadows, Whites, Blacks, and even Vibrance automatically. In the tutorial example, it pulls the highlights down, lifts the shadows, and adds a touch of color richness. The result is a noticeably better image in about one second flat.
The Auto result is a starting point, not a final answer. You can push the Exposure slider further if the subject still needs lifting. You can nudge Shadows up for more detail in dark areas. If the skin tones look a little oversaturated after the Auto correction, pull Vibrance back down a bit. The point is that Auto gets you 80 percent of the way there and gives you a solid baseline to fine-tune from, rather than starting from scratch and guessing.
Step 4: Use Masking to Target the Subject Specifically
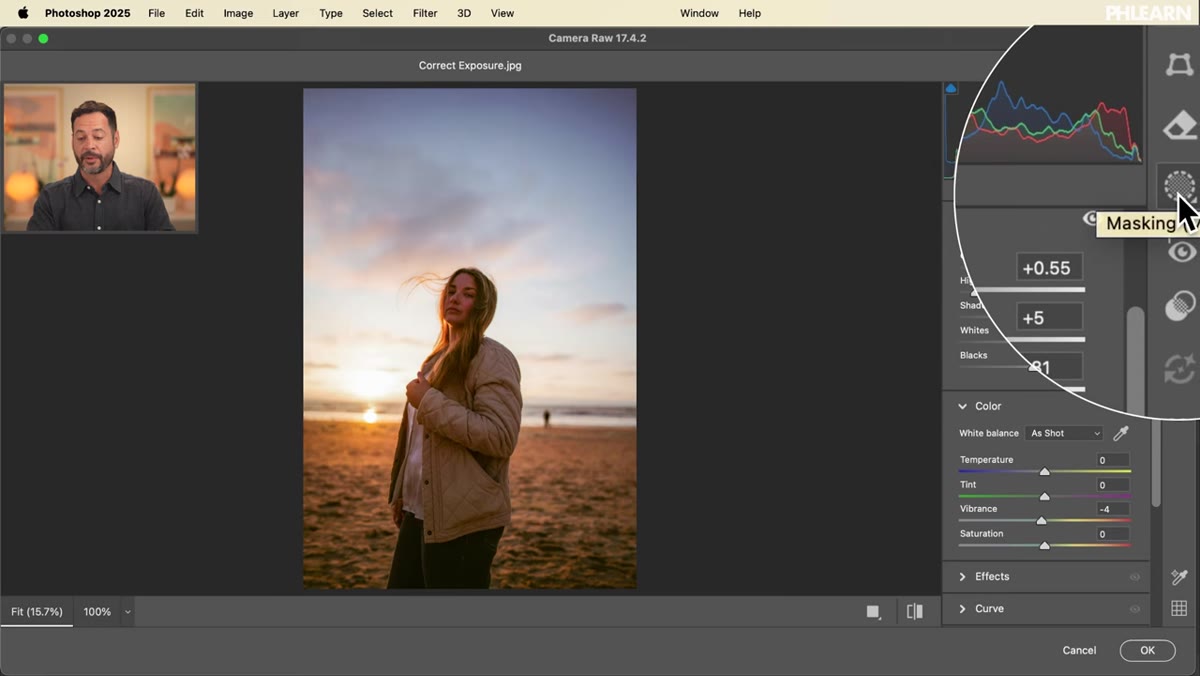 Masking panel open, People detection running in Camera Raw
Global exposure corrections are great, but sometimes your subject and your background need different treatment. That’s where Camera Raw’s Masking tools come in. Click the Masking icon on the right-hand toolbar. You’ll see options to select subjects, backgrounds, sky, and more. If there are people in the frame, Camera Raw can detect them specifically — it uses Adobe’s servers to do this, so you’ll need an internet connection, but it works fast.
Masking panel open, People detection running in Camera Raw
Global exposure corrections are great, but sometimes your subject and your background need different treatment. That’s where Camera Raw’s Masking tools come in. Click the Masking icon on the right-hand toolbar. You’ll see options to select subjects, backgrounds, sky, and more. If there are people in the frame, Camera Raw can detect them specifically — it uses Adobe’s servers to do this, so you’ll need an internet connection, but it works fast.
Look for the “People” category inside the masking options. Camera Raw will identify the person in the frame and give you the option to select them as a whole or break them down by body part: skin, hair, clothing, eyebrows, lips. For exposure correction purposes, selecting the entire person is usually the right call. Click “Create” and Camera Raw generates a precise mask around your subject.
Step 5: Adjust Exposure Controls for the Subject Only
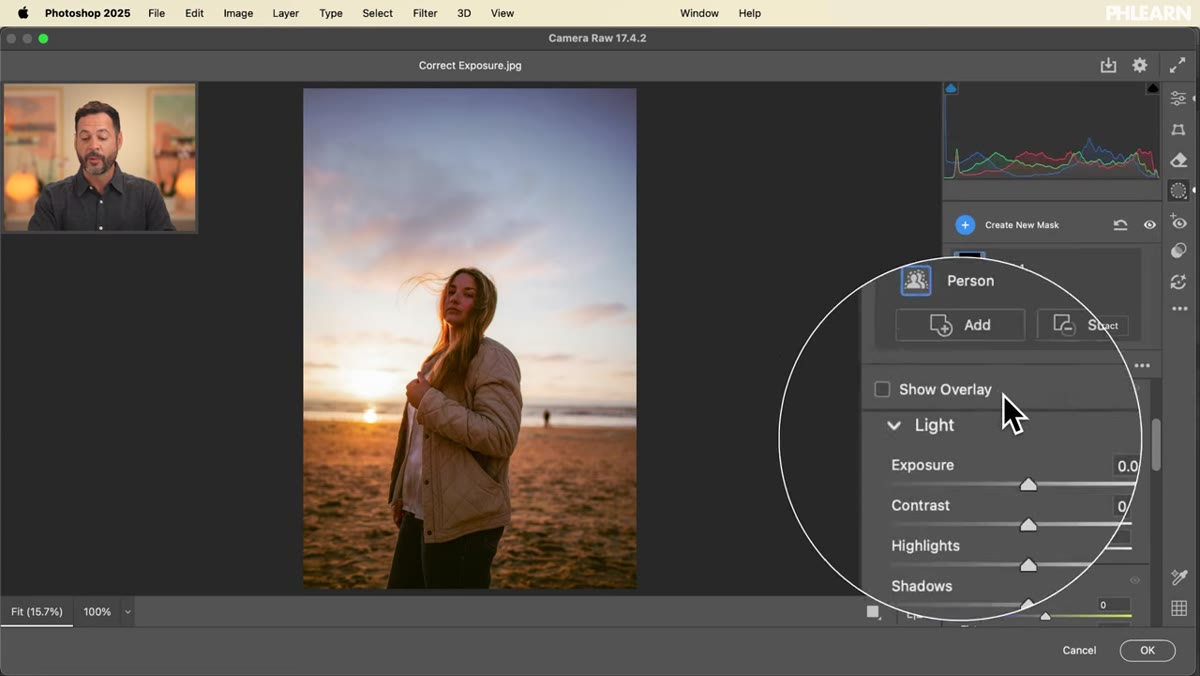 Exposure and shadow sliders being adjusted with person mask active
Once the mask is created, the Edit controls below it now apply exclusively to the masked area. This is where it gets genuinely powerful. You can bring up the Exposure slider to brighten your subject without blowing out the sky behind them. You can lift the Shadows to pull detail out of darker areas on their face or clothing. Because the mask is tied to the person, the background stays untouched.
Exposure and shadow sliders being adjusted with person mask active
Once the mask is created, the Edit controls below it now apply exclusively to the masked area. This is where it gets genuinely powerful. You can bring up the Exposure slider to brighten your subject without blowing out the sky behind them. You can lift the Shadows to pull detail out of darker areas on their face or clothing. Because the mask is tied to the person, the background stays untouched.
Aaron also demonstrates color correction within the mask: if the subject’s skin is looking a little cool or magenta after the global correction, you can warm the Color Temperature slider slightly and nudge the Tint to bring skin tones back to neutral. This kind of localized color grading used to require a separate masked adjustment layer. Having it baked into Camera Raw’s masking workflow is a real time-saver.
Step 6: Toggle the Overlay to Check Your Mask
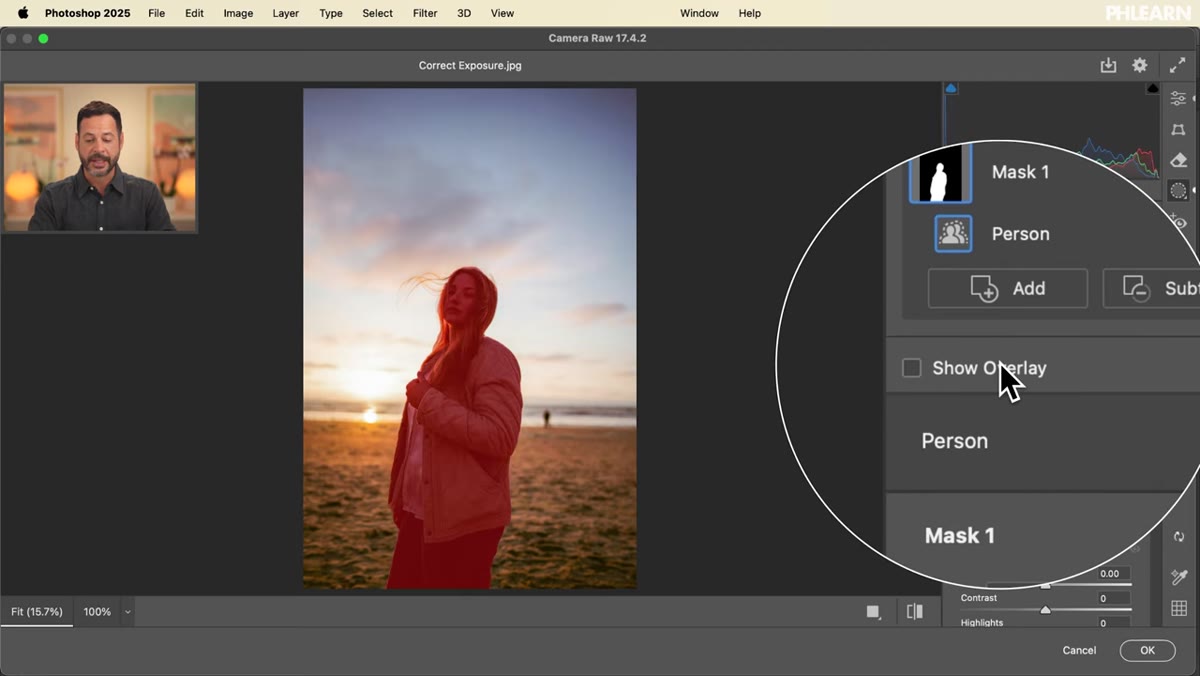 Show Overlay toggle on and off to preview the active mask
Before you commit, toggle the “Show Overlay” option to see exactly what’s selected. The overlay shows you the mask in a colored tint over the image. Check the edges of the subject — hair especially can be tricky. If the selection looks rough, Camera Raw’s people detection is generally clean enough that you won’t need to refine much, but it’s worth a quick look. Then toggle it off, confirm your sliders look right, and hit OK to apply the filter back to your document.
Show Overlay toggle on and off to preview the active mask
Before you commit, toggle the “Show Overlay” option to see exactly what’s selected. The overlay shows you the mask in a colored tint over the image. Check the edges of the subject — hair especially can be tricky. If the selection looks rough, Camera Raw’s people detection is generally clean enough that you won’t need to refine much, but it’s worth a quick look. Then toggle it off, confirm your sliders look right, and hit OK to apply the filter back to your document.
One Thing I’d Add: Stack Multiple Masks
Camera Raw’s masking panel lets you create more than one mask in a single filter session. So after you’ve corrected your subject, you can go back into the mask panel, add a second mask targeting the background or sky, and apply separate adjustments to that region too. You’re essentially doing selective editing across the entire image from inside one non-destructive filter. I’ve started using this instead of stacking multiple Curves layers with manual selections, and it’s cut my correction time down noticeably.
The single biggest takeaway from this workflow: Smart Objects plus Camera Raw as a filter is a combination that removes almost all the friction from exposure work. The Auto button isn’t a crutch, it’s a legitimate starting point. The subject masking is accurate enough to use on real client work. And because it’s all non-destructive, you can go back and tweak any of it after the fact without redoing anything.
Watch the full tutorial on YouTube to see Aaron walk through the whole thing in real time — it’s part of his 30 Days of Photoshop series and well worth the watch.
Comments (2)
Shared this with my photography group. Everyone loved it.
Quality content like this is rare. Keep it up.
Leave a Comment