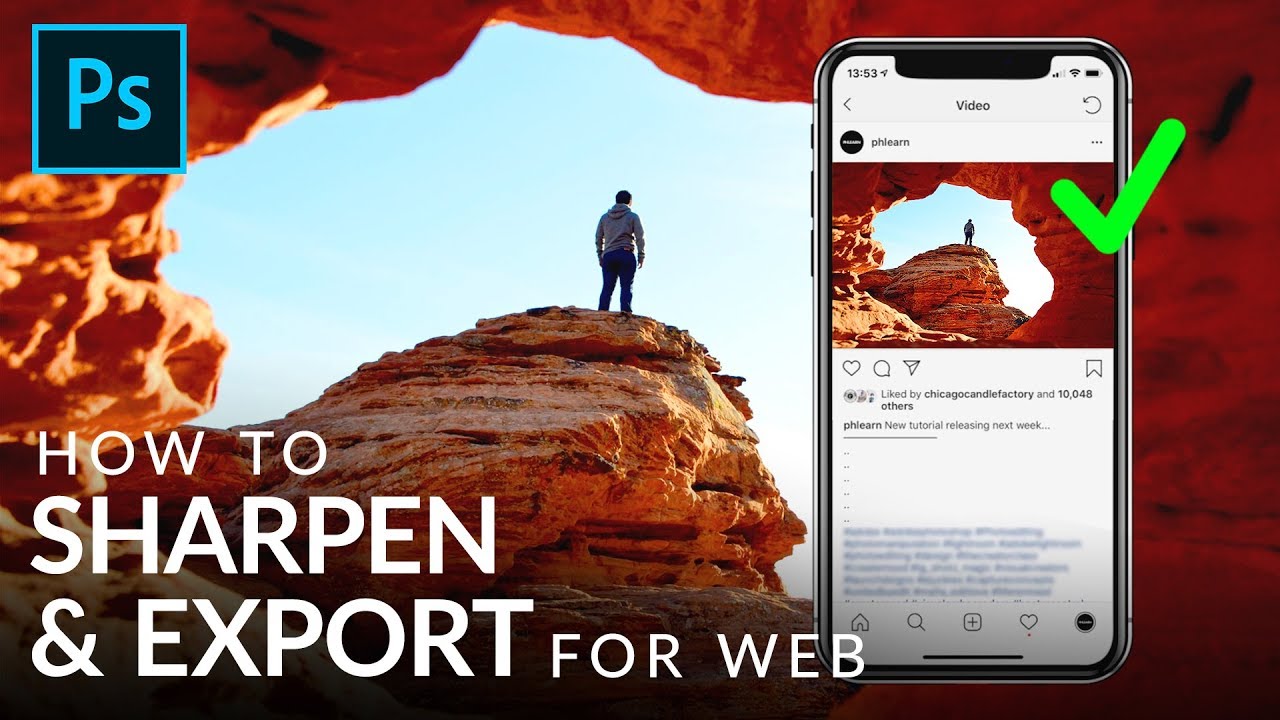
There’s a specific kind of disappointment that hits when you’ve spent an hour editing a photo, you upload it somewhere, and it looks like you ran it through a fax machine. Colors shift. The sharpness you carefully dialed in gets swallowed up. It just looks… wrong. I’ve been there more times than I want to admit, usually sitting in some coffee shop quietly panicking about a client deliverable. The fix turns out to be less about how much sharpening you apply and more about when and at what size you apply it. In this Aaron Nace (PHLEARN) tutorial, that exact workflow gets laid out in a clean, logical order that honestly changed how I handle every web export now.
Watch the full tutorial on YouTube
The core insight is simple but easy to overlook: sharpening is resolution-dependent. If you sharpen a 4000px-wide image and then scale it down to 1200px for the web, you’re scaling down your sharpening too. The effect gets diluted. What you want to do is resize first, then sharpen at the final output size. The whole workflow below is built around that idea.
Step 1: Edit Your Image Normally at Full Size
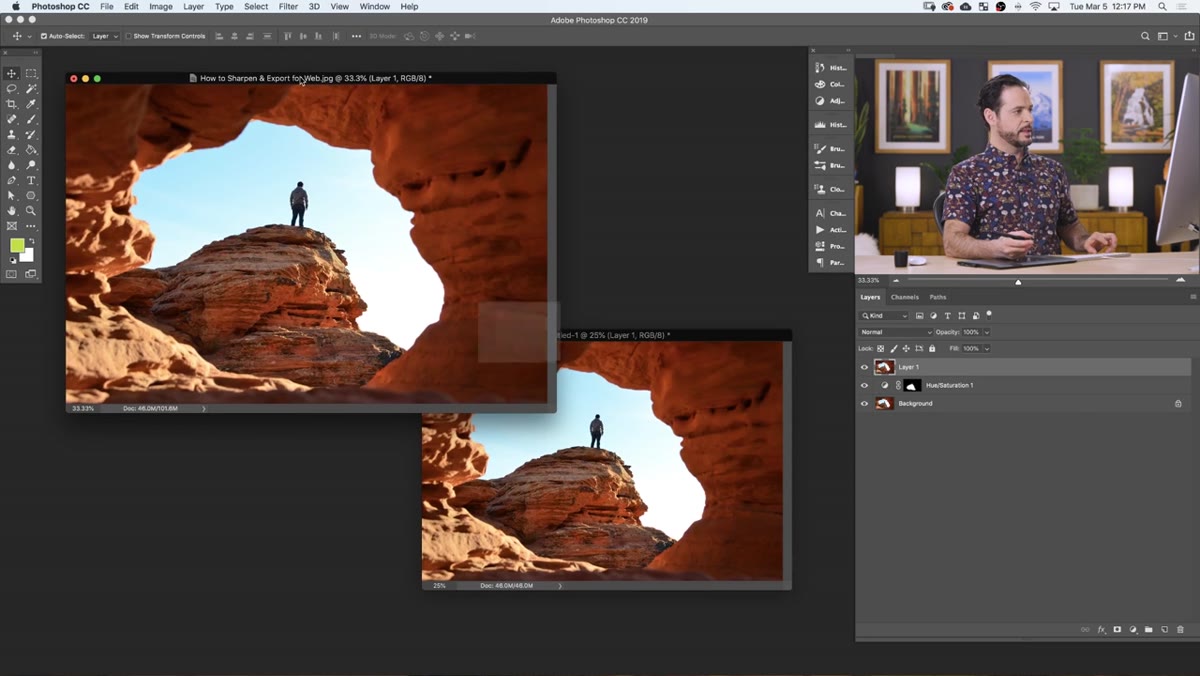
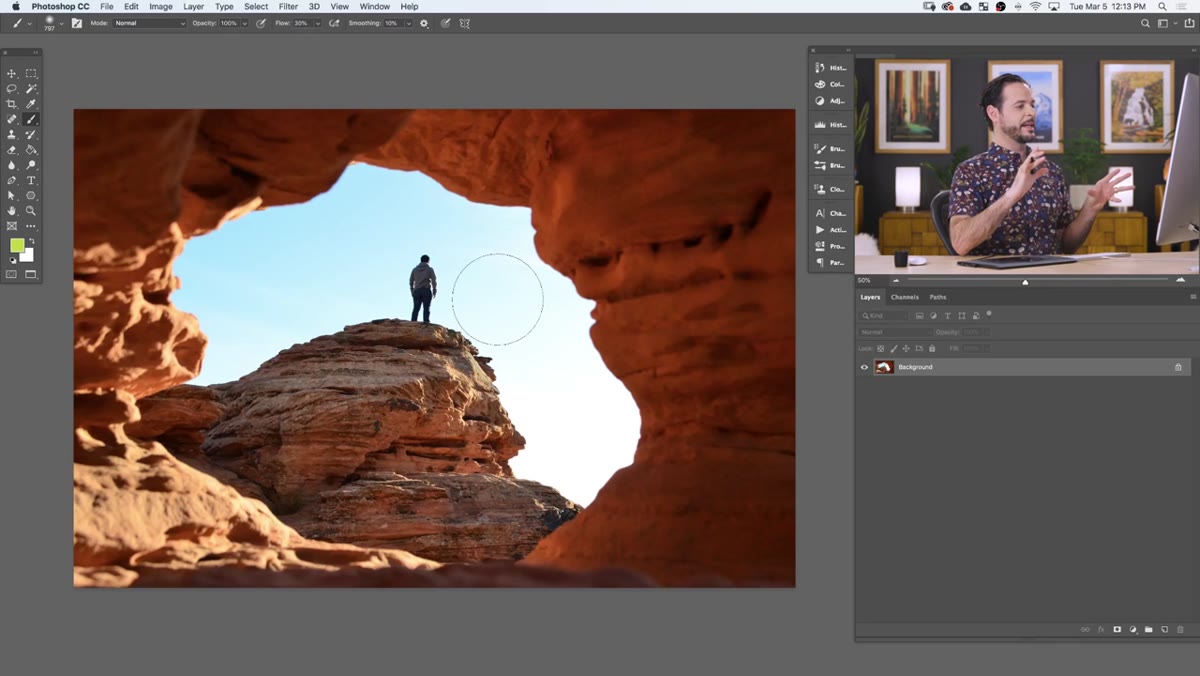 Full-size landscape photo open in Photoshop with layers panel visible
Do all of your creative editing at full resolution. Aaron uses a Hue/Saturation adjustment layer here, targeting the reds in the image to punch up the color in the rocks. He isolates the effect using a layer mask, inverting it with Cmd/Ctrl + I and painting white only over the area he wants to affect. The specific edit doesn’t matter for our purposes. The point is: do your thing, use as many layers as you want, and don’t worry about output size yet. Keep your full-resolution PSD intact.
This is your master file. Treat it that way. Don’t flatten it, don’t resize it, don’t do anything irreversible to it at this stage.
Step 2: Create a Merged Snapshot Layer Using Apply Image
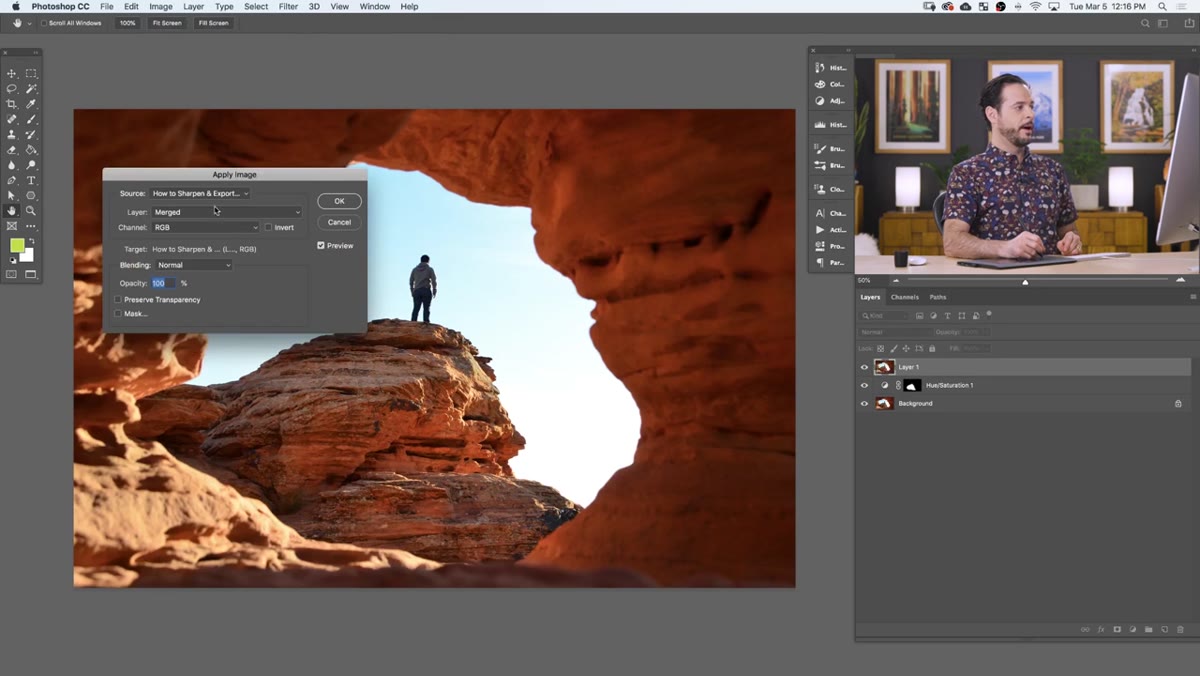 Image menu open with Apply Image dialog box on screen
Once your edits are done, create a brand new blank layer at the very top of your layer stack. Then go to Image > Apply Image. In the dialog, make sure the Source is set to Merged and Blending is set to Normal, then hit OK.
What this does is stamp a flattened composite of your entire image onto that single new layer, without actually flattening your document. You still have all your original layers sitting underneath, untouched. This new layer is basically a snapshot of your finished edit, and it’s what you’re going to work with from here on out.
Step 3: Duplicate That Layer to a New Document
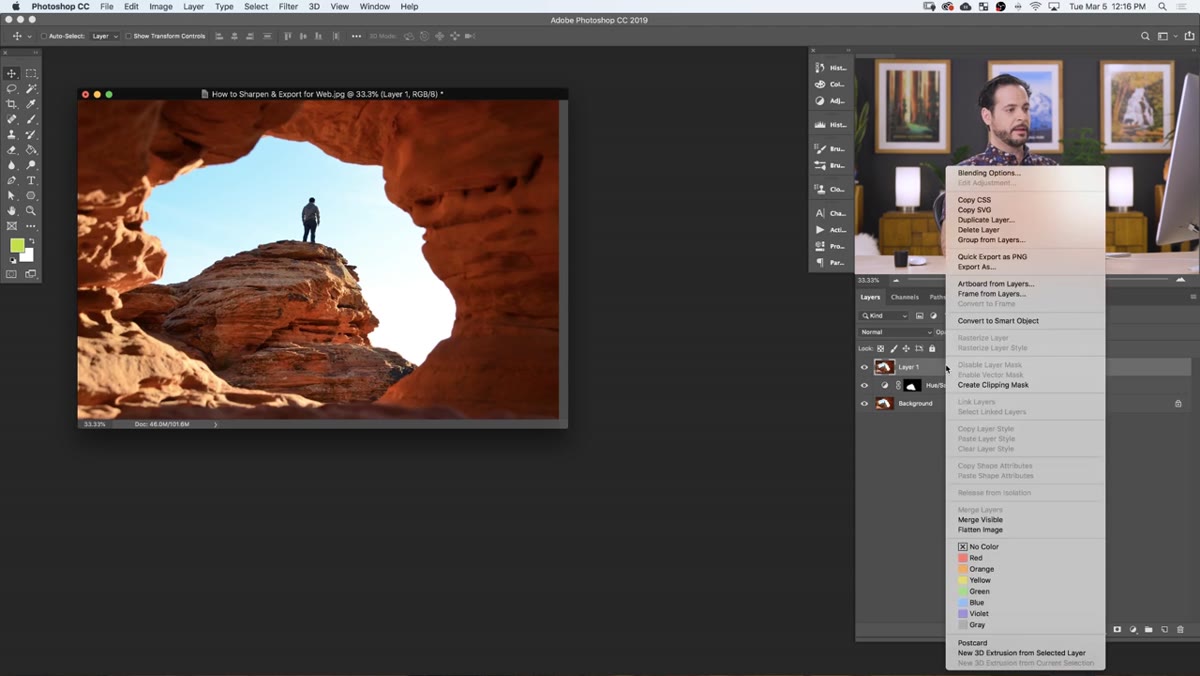 Right-click menu on layer with Duplicate Layer option highlighted
Right-click on that merged snapshot layer in the Layers panel and choose Duplicate Layer. Here’s the key part: in the Duplicate Layer dialog, change the Document destination from the current file to New. Hit OK and Photoshop opens a fresh document containing just that single flattened layer.
This is the document you’re going to resize and sharpen. Your original PSD stays completely untouched. Aaron makes a good point here about the danger of resizing your original file accidentally and then saving over it. If you’ve ever done that – and I have – you know the specific dread that follows. Working on a duplicate document is the safety net that prevents that mistake entirely.
Step 4: Save Your Original PSD Before Moving On
 Save dialog open showing PSD format selected
Before you do anything to the new duplicate document, flip back to your original and save it as a PSD if you haven’t already. This is your layered, fully editable master. File > Save As, choose Photoshop (.psd) as the format, and you’re done.
It sounds obvious, but it’s the kind of step that gets skipped when you’re in a hurry, and skipping it is how people end up losing work. Save the master. Then go work on the duplicate.
Step 5: Resize the Duplicate to Your Target Web Dimensions
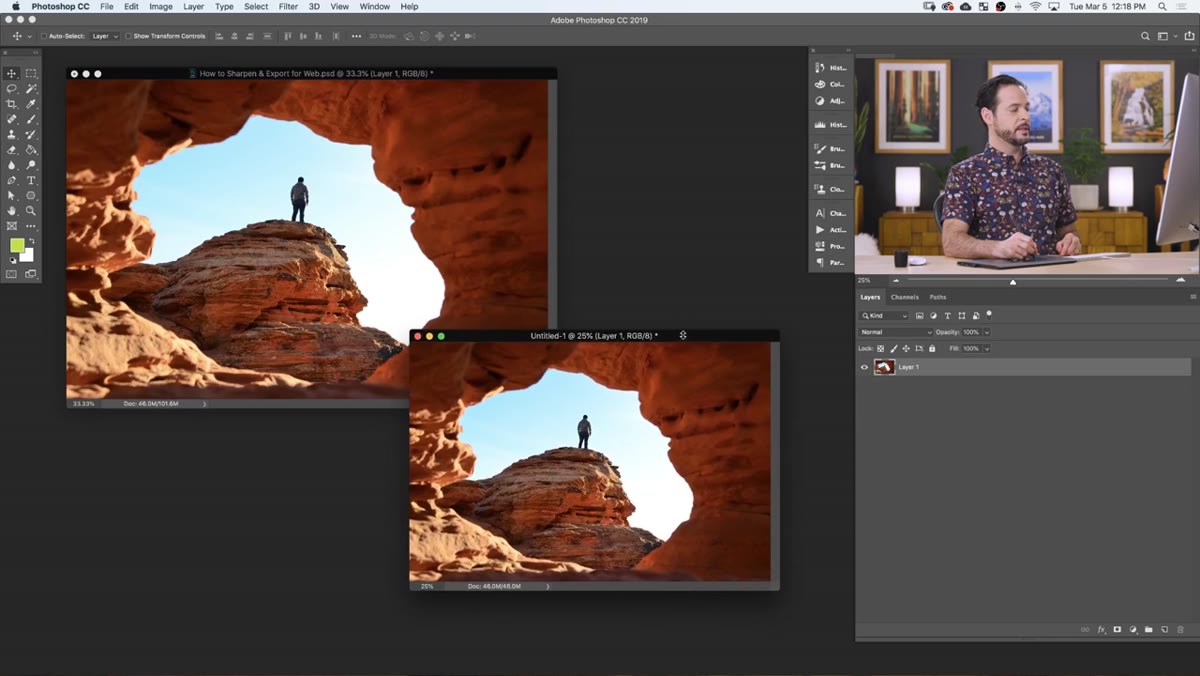 Image Size dialog open on the duplicate document
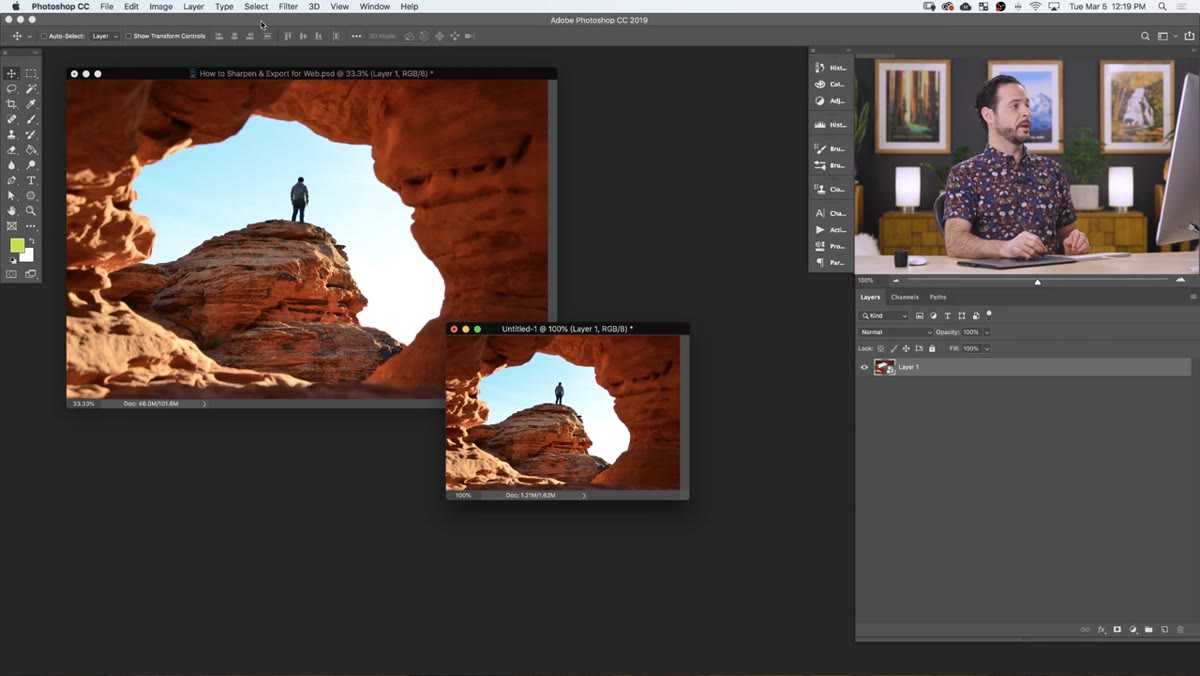
Now in your new duplicate document, go to Image > Image Size. This is where you set the actual pixel dimensions you want for the web. What those dimensions are depends on your use case – a blog header, an Instagram post, and a portfolio thumbnail are all different sizes. Put in the right numbers for your specific output.
Make sure Resample is checked and use Bicubic Sharper if you’re scaling down (which you almost certainly are). That resampling method is specifically designed for reduction and does a better job of preserving edge detail than the default options.
Step 6: Sharpen at the Final Output Size
 Filter menu open showing Sharpen submenu options
Now that your image is at the exact size it’s going to be on the web, apply your sharpening. Go to Filter > Sharpen > Unsharp Mask or Smart Sharpen – either works, though Smart Sharpen gives you more control. For web output, Aaron keeps things relatively subtle. Something like Amount 50-80%, Radius around 0.5-1.0px is a reasonable starting point for most images at web resolution.
The reason this works so much better than sharpening at full size is that you’re sharpening actual pixels at actual size. The sharpening halos and edge contrast you create here are exactly what will show up in the browser. No guessing, no compensating. What you see is what gets uploaded.
Step 7: Export Using Save for Web
 Save for Web dialog with sRGB checkbox and quality settings visible
Go to File > Export > Save for Web (or Cmd/Ctrl + Alt + Shift + S). Choose JPEG, set your quality (60-80 is usually the sweet spot for balancing file size and visual quality), and critically, make sure the color profile is set to sRGB and the Convert to sRGB checkbox is ticked.
This last part is what fixes the color shift problem. Most monitors and browsers assume sRGB, so if your file is in a wider color space like Adobe RGB or ProPhoto RGB, colors can look desaturated or just off when viewed online. Exporting with sRGB embedded ensures what you see in Photoshop is what everyone else sees in their browser.
One Thing I’d Add: Name Your Web Exports Consistently
After going through this workflow a few dozen times, the thing that’s saved me the most headaches isn’t a Photoshop setting – it’s a naming convention. I append every web export with the pixel width, like photo-landscape_1200px.jpg. That way when a client asks me to resend something or I need to reupload, I’m not opening five files called final_v3_REAL.jpg trying to figure out which one was sized correctly.
It also makes it obvious when you accidentally export at the wrong size. If the file name says 1200px but it looks huge in your upload preview, something went wrong somewhere.
The single most important thing to take from this whole process is the order of operations: edit at full size, flatten to a new document, resize, then sharpen. Doing it in the wrong order is one of those quiet mistakes that makes all your web images look slightly worse than they should, and it’s completely avoidable.
Watch the full tutorial on YouTube to see Aaron walk through the whole thing with a real image – it’s worth seeing the before and after on the sharpening step in particular.
Comments
Leave a Comment