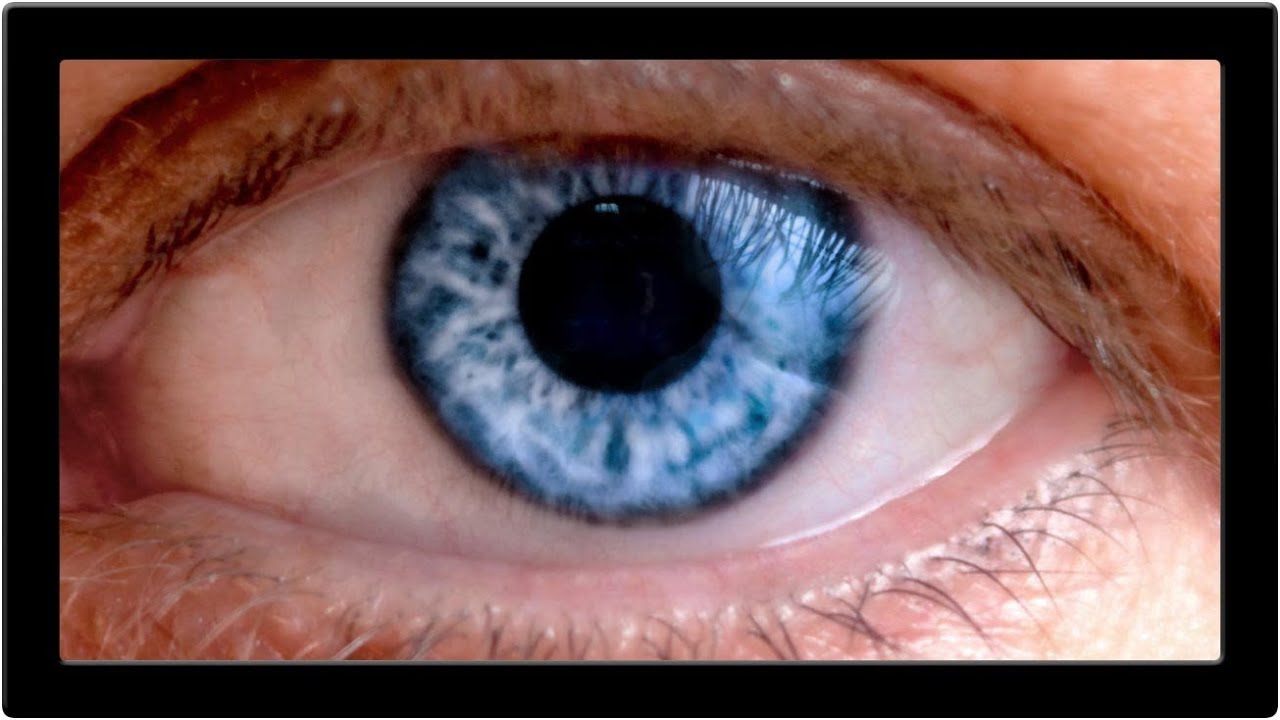
Portrait retouching has a way of humbling you fast. You can nail the skin, get the hair looking great, and then zoom into the eyes and realize the whole thing looks like your subject just finished a crying marathon or a very long night. Red veins, weird reflections, flat color in the iris – eyes are small but they carry an enormous amount of visual weight in any portrait, and when they’re off, everyone notices even if they can’t explain why. I used to just throw a slight desaturation on the whole eye area and call it a day, which, honestly, is the retouching equivalent of putting a hat on a bad haircut.
In this Aaron Nace (PHLEARN) tutorial on cleaning up eyes in Photoshop, Watch the full tutorial on YouTube, Aaron breaks down a targeted, non-destructive approach that actually isolates the problem areas instead of nuking the whole eye. It covers reducing redness in the veins, handling distracting reflections, and getting the overall color and brightness of the eye looking intentional rather than accidental. I’ve watched a lot of eye retouching videos and most of them wave their hands through the important parts. This one actually shows you the settings.
The image used in the tutorial is a close-up eye shot, which is both the best and worst case scenario for learning this stuff – best because you can see every move in detail, worst because there is nowhere to hide if you mess up. Let’s walk through it.
Step 1: Add a Hue/Saturation Adjustment Layer
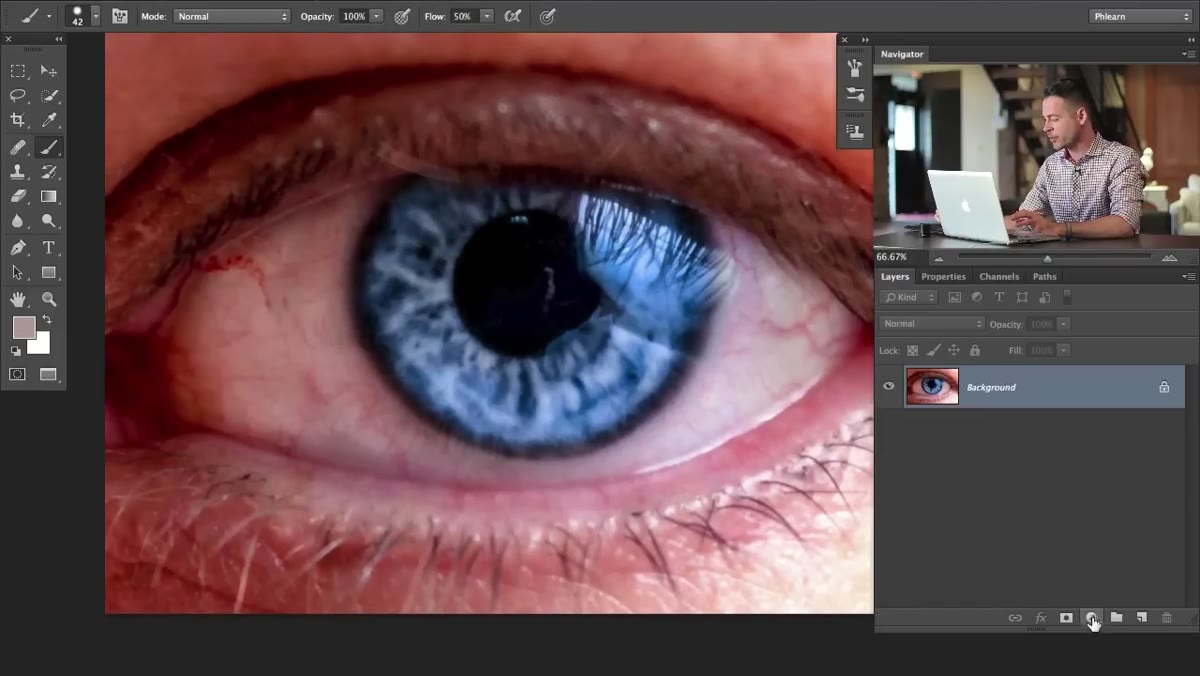 Hue/Saturation adjustment layer panel open in Photoshop
Start by creating a Hue/Saturation adjustment layer from the Adjustments panel. This is your primary tool for targeting the red veins in the whites of the eye. The key move here is switching out of the default “Master” channel and selecting “Reds” from the dropdown. You’re not editing the entire image – you’re telling Photoshop you only care about the red values in this layer.
Hue/Saturation adjustment layer panel open in Photoshop
Start by creating a Hue/Saturation adjustment layer from the Adjustments panel. This is your primary tool for targeting the red veins in the whites of the eye. The key move here is switching out of the default “Master” channel and selecting “Reds” from the dropdown. You’re not editing the entire image – you’re telling Photoshop you only care about the red values in this layer.
Once you’re in the Reds channel, grab the eyedropper tool inside the Hue/Saturation panel and click directly on one of the red veins in the eye. This shifts the targeted range to match the specific reds in your image rather than Photoshop’s generic definition of red. Then nudge the Lightness slider upward – not dramatically, just enough to soften those veins so they stop screaming at you. If you want to sample additional vein colors, use the plus eyedropper to add them to your selection range.
Step 2: Invert the Layer Mask and Paint Selectively
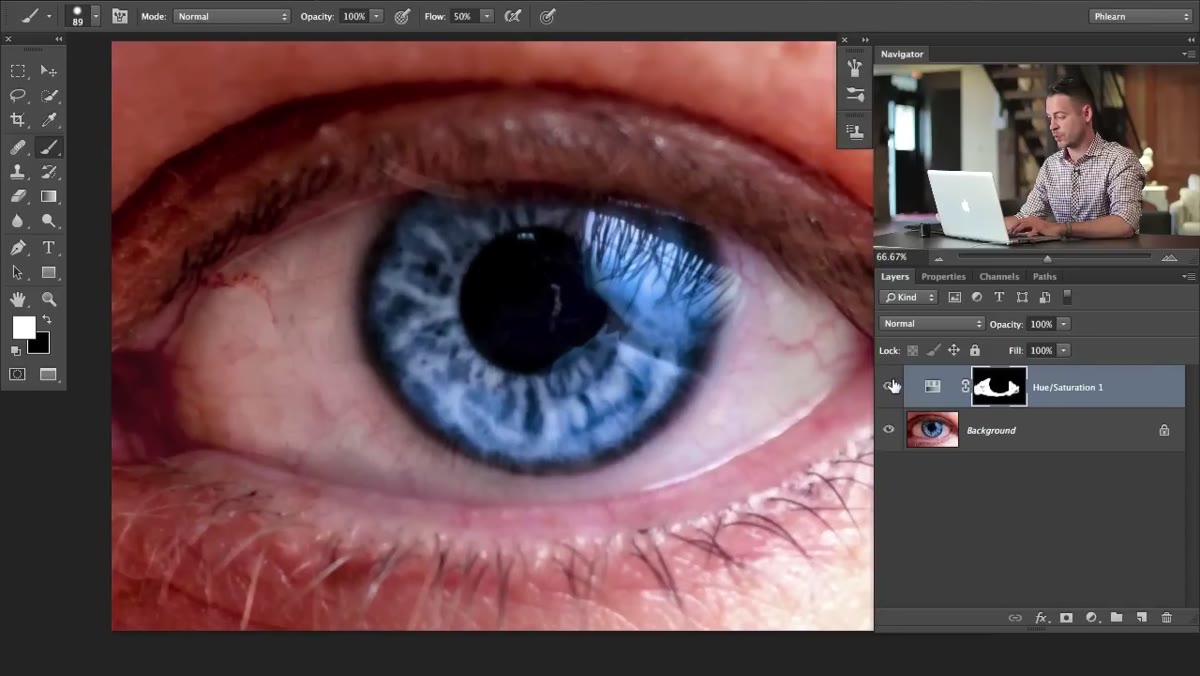
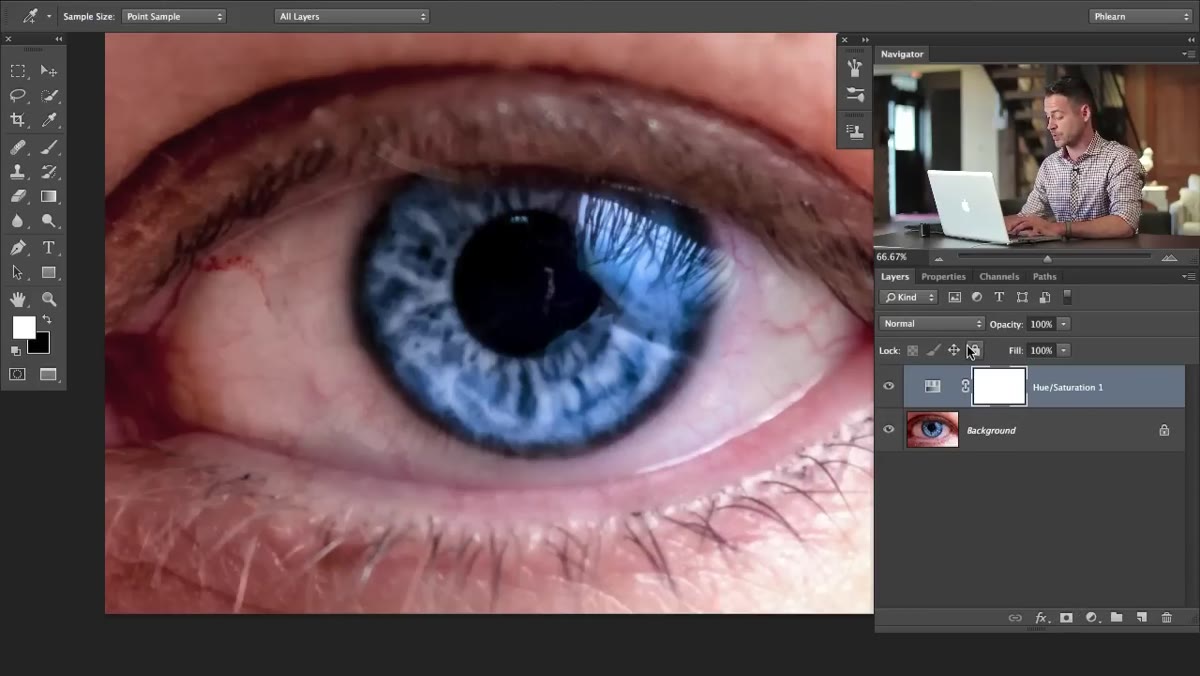 Layer mask inverted to black, brush painting white over eye area
The Hue/Saturation layer comes with a white layer mask by default, meaning your adjustment is visible everywhere. That’s a problem – you don’t want to mess with the reds anywhere outside the eye area. Hit Command+I (Ctrl+I on Windows) to invert the mask to black, which hides the adjustment completely.
Layer mask inverted to black, brush painting white over eye area
The Hue/Saturation layer comes with a white layer mask by default, meaning your adjustment is visible everywhere. That’s a problem – you don’t want to mess with the reds anywhere outside the eye area. Hit Command+I (Ctrl+I on Windows) to invert the mask to black, which hides the adjustment completely.
Now grab a soft white brush and paint over just the whites of the eye – the sclera, the area around the iris, wherever those veins are living. You’re revealing the lightening effect only where you actually need it. Keep your brush opacity moderate so you’re building up the effect gradually rather than blasting it on in one stroke. This is the kind of step that separates a quick fix from something that actually holds up at full resolution.
Step 3: Use Color Range for a More Precise Red Selection
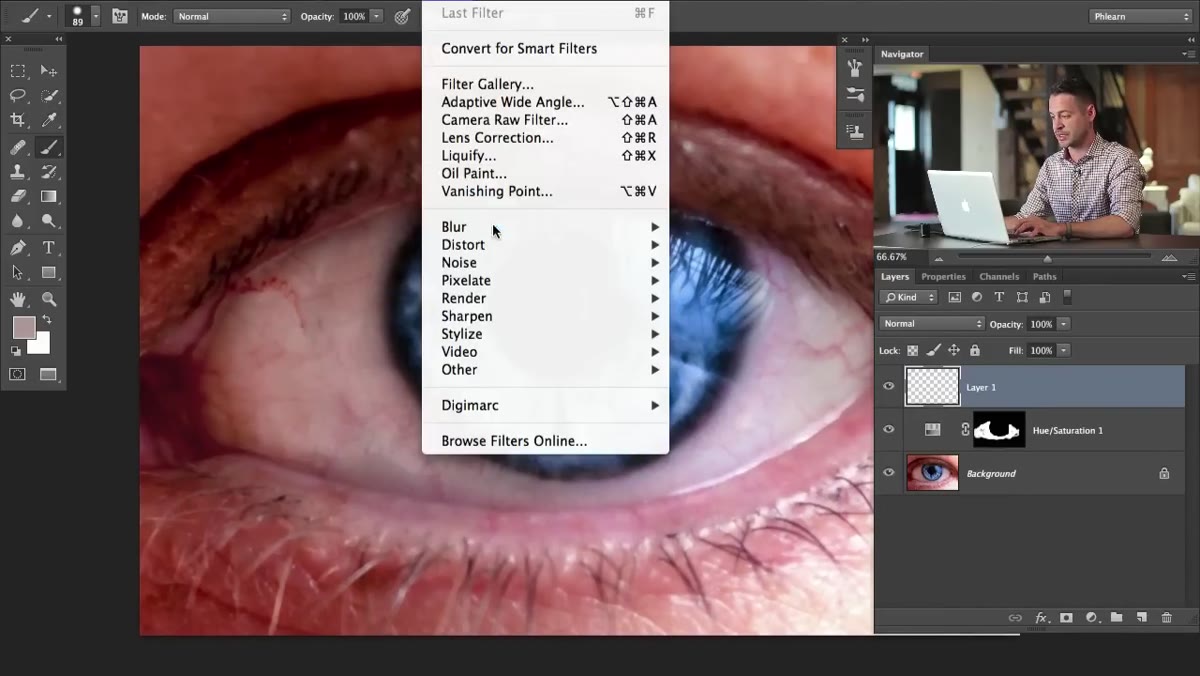 Color Range dialog open with grayscale preview selected
For even more precision, create a new empty layer, then go to Select > Color Range. Click on one of the red veins in the image with the eyedropper inside the Color Range dialog. Switch the preview mode to Grayscale so you can actually see what’s being selected – white areas are fully selected, black areas are not.
Color Range dialog open with grayscale preview selected
For even more precision, create a new empty layer, then go to Select > Color Range. Click on one of the red veins in the image with the eyedropper inside the Color Range dialog. Switch the preview mode to Grayscale so you can actually see what’s being selected – white areas are fully selected, black areas are not.
The reason this works better in some cases than the Hue/Saturation eyedropper approach is that Color Range lets you build a selection before you’ve committed to any particular edit. Aaron demonstrates this by clicking on the red area versus clicking on the blue of the iris, and you can see in the grayscale preview that the selection is highly specific to the vein color. From here you can use that selection as a mask for a new adjustment layer or paint directly on it, depending on what the image needs.
Step 4: Check Your Work with a Before/After Toggle
 Before and after comparison of eye with reduced redness
Before moving on to reflections or color correction, take a second to toggle your adjustment layers on and off. Click the visibility eye icon on the layer stack. This sounds obvious but it’s the step most people skip, and it’s where you catch yourself if you’ve gone too far. Over-retouched eyes have a porcelain, painted quality that reads as fake immediately.
Before and after comparison of eye with reduced redness
Before moving on to reflections or color correction, take a second to toggle your adjustment layers on and off. Click the visibility eye icon on the layer stack. This sounds obvious but it’s the step most people skip, and it’s where you catch yourself if you’ve gone too far. Over-retouched eyes have a porcelain, painted quality that reads as fake immediately.
The goal is subtlety – you want the veins to recede, not disappear entirely. Real eyes have blood vessels in them. Removing them completely makes the sclera look like a render from a video game. If toggling the layer reveals a dramatic difference, dial back the Lightness value or reduce the layer opacity until it feels like something a human eye could actually look like.
A Note from Someone Who’s Botched This Before
The first time I tried eye retouching on a client headshot, I went way too aggressive with a broad Hue/Saturation adjustment – no masking, just global desaturation of reds. It worked fine on the eyes. It also turned the subject’s lips gray and gave their skin a slightly greenish cast that I somehow didn’t notice until after I’d sent the files. That project taught me two things: always use a mask, and always zoom out before you call something done.
The technique Aaron shows here – targeting reds within a masked adjustment layer rather than throwing a blanket edit across the whole image – is exactly the kind of surgical approach that prevents that kind of mistake. It takes maybe 90 extra seconds compared to the lazy method and it’s the difference between a retouch that holds up and one that falls apart on a second look. The Color Range method is something I now reach for whenever I need to isolate a very specific color that doesn’t fit neatly into Photoshop’s preset channels.
Eyes are the first thing anyone looks at in a portrait. Getting them right isn’t about making them look unrealistically perfect – it’s about removing the distractions that pull a viewer out of the image. A few targeted adjustments, a well-placed mask, and a moment to check your work at full zoom. That’s the whole job.
Watch the full tutorial on YouTube to see Aaron walk through the complete process, including the reflection cleanup and overall brightness work that rounds out the full eye retouch.
Comments (2)
Simple but effective. Sometimes that's all you need.
Great breakdown. The step-by-step approach really helps.
Leave a Comment