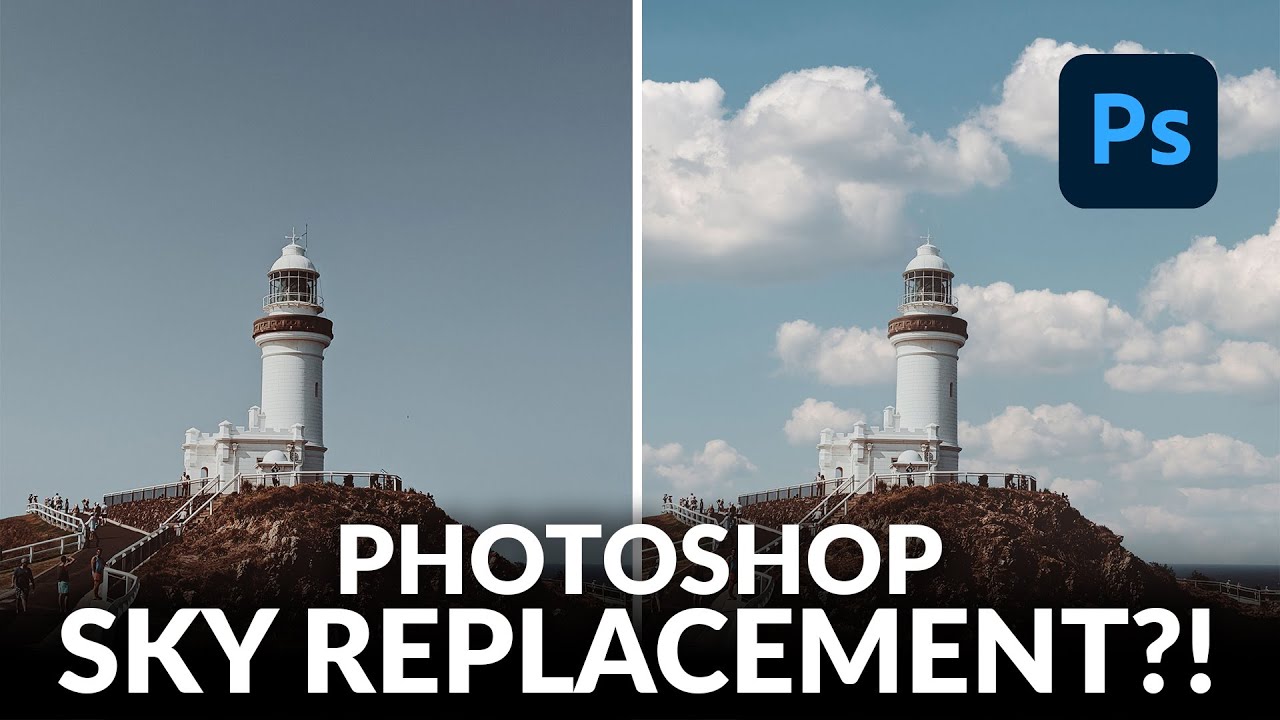
I’ll be honest with you. When I first heard Photoshop had added an automatic sky replacement tool, my gut reaction was the same one I get whenever Adobe announces a “revolutionary” new feature: deep skepticism born from years of disappointment. I’ve been burned before. But I kept seeing results that looked genuinely good, not “good for an auto tool” but actually good, and I figured it was time to stop being a contrarian about it and actually learn the thing properly.
The tutorial that finally got me to sit down and take this seriously was from Aaron Nace over at PHLEARN. Watch the full tutorial on YouTube and you’ll see why. What impressed me wasn’t just the tool demo itself, it was that Aaron spends a meaningful chunk of time talking about why sky replacement can go wrong before he even opens the menu. That’s the stuff that separates a useful tutorial from a feature walkthrough, and it’s exactly what I’m going to expand on here.
The short version: the tool does the hard masking work for you, and it does it remarkably well. But if you drop in the wrong sky, your composite will look off even if every pixel is technically perfect. Light direction and quality are what sell a believable image, and those are things you have to evaluate with your own eyes before the automation touches anything.
Step 1: Read the Shadows Before You Do Anything Else
 Zoomed-in lighthouse showing hard shadow on right side
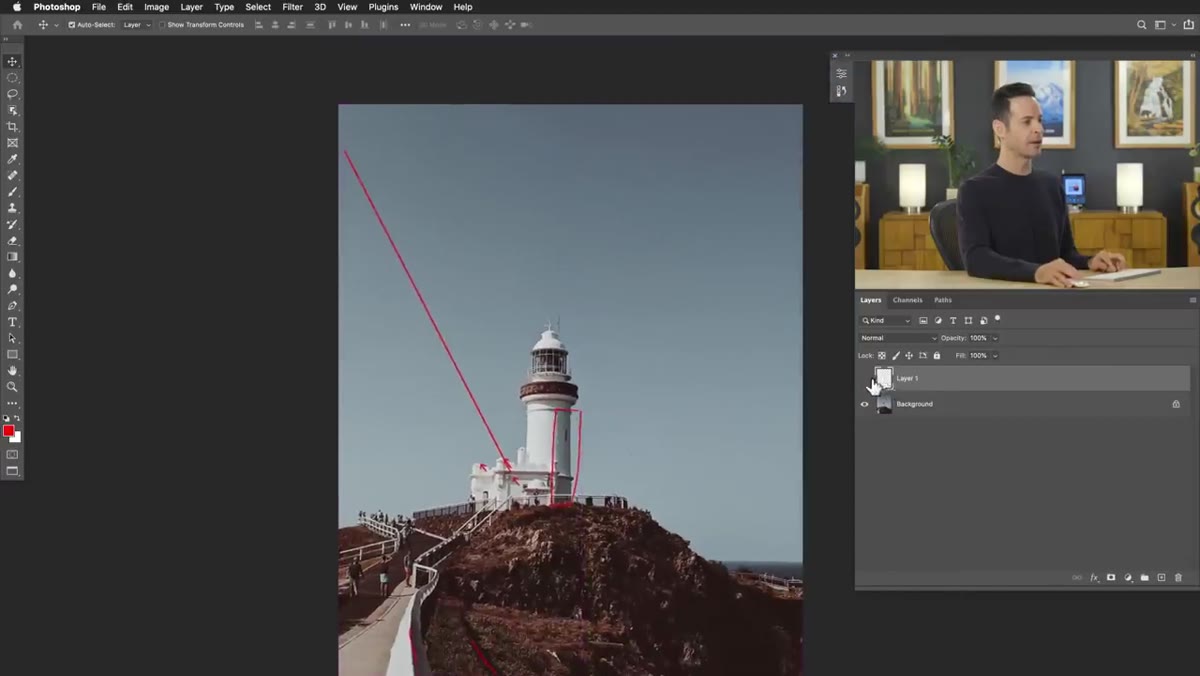
Before you touch the Sky Replacement menu, zoom into your subject and study the shadows. This is the step people skip, and it’s the one that causes most failed composites. Shadows tell you two critical things: the direction the light is coming from, and the quality of that light. Hard, well-defined shadows mean a strong directional source like direct sun. Soft or barely visible shadows mean overcast or diffused light.
In Aaron’s example image of a lighthouse, there’s a clear shadow falling on the right side of the structure, with the shadow lines all tracking at a consistent angle. If you mentally follow those lines back to their source, you can approximate where the sun is sitting, even if it’s outside the frame. Write that down or just remember it, because it becomes your filter for every sky you consider using.
Step 2: Define Your Sky Criteria Based on That Light Reading
 Instructor explaining mismatched sun direction with arrow overlay
Once you know where the light is coming from and how hard it is, you can immediately rule out a large chunk of potential replacement skies. If your subject has hard shadows, a flat overcast sky is out. If the sun is clearly high in the frame, a sunset is out. If the light is coming from the left, any sky with a setting or rising sun on the right is out.
This sounds obvious when written down, but it’s easy to fall in love with a dramatic sky and rationalize your way into using it anyway. Don’t. The human eye is incredibly good at sensing when lighting is inconsistent in a scene, even when viewers can’t articulate exactly what’s wrong. They’ll just say the photo “feels off” and move on. Your job is to make sure that never happens.
Step 3: Duplicate Your Background Layer First
 Duplicating background layer in Layers panel with Ctrl/Cmd+J
Before you open the Sky Replacement dialog, duplicate your background layer with Ctrl+J (or Cmd+J on Mac). This is non-negotiable. The Sky Replacement tool is going to generate its own layer group with masks and adjustments, but having that untouched original sitting underneath gives you a clean fallback if anything goes sideways. It takes two seconds and has saved me more than once.
Good layer hygiene is just a habit. It doesn’t slow you down in any meaningful way, and the one time it bails you out, you’ll be glad you built the reflex.
Step 4: Open the Sky Replacement Dialog
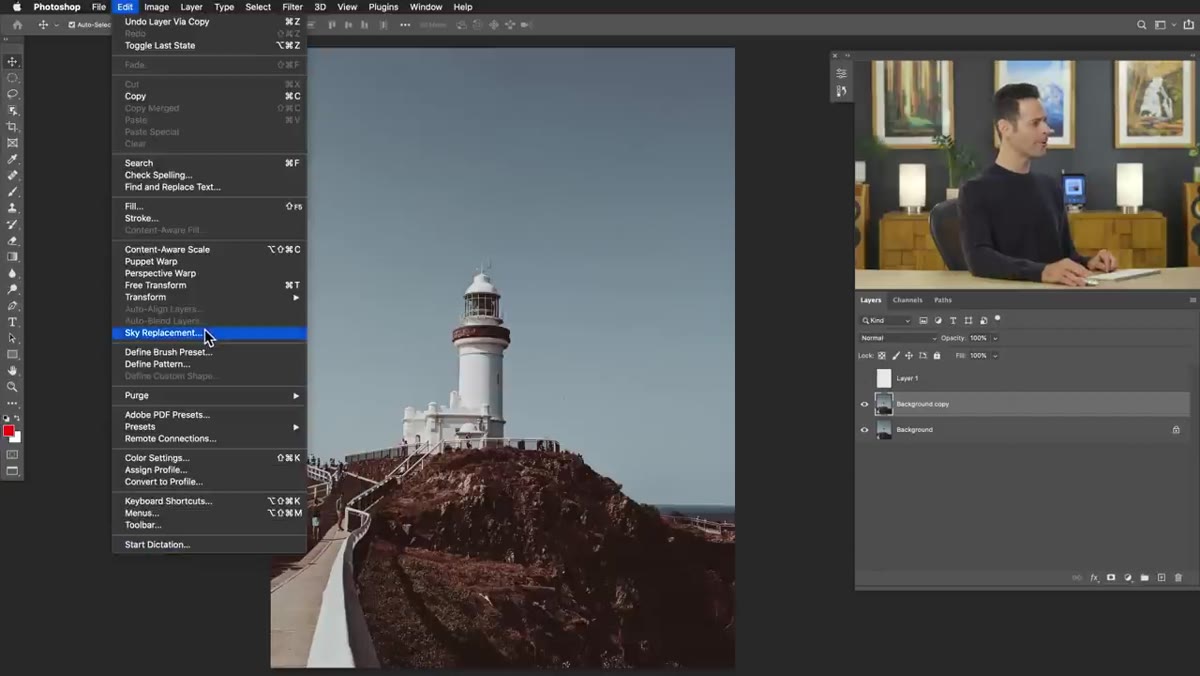 Edit menu open with Sky Replacement option highlighted
Navigate to Edit, then scroll down to Sky Replacement. This is a relatively recent addition to Photoshop, so if you’re on an older version you may not see it. Assuming you do, the dialog that opens is genuinely impressive. Photoshop automatically detects and masks the sky region in your image, and it does this with a speed and accuracy that still catches me off guard.
The dialog gives you a live preview of the replacement, a library of built-in sky options, and a set of controls for fine-tuning the result. Resist the urge to start tweaking sliders immediately. Your first job is sky selection, not refinement.
Step 5: Browse the Built-In Sky Library With Your Criteria in Mind
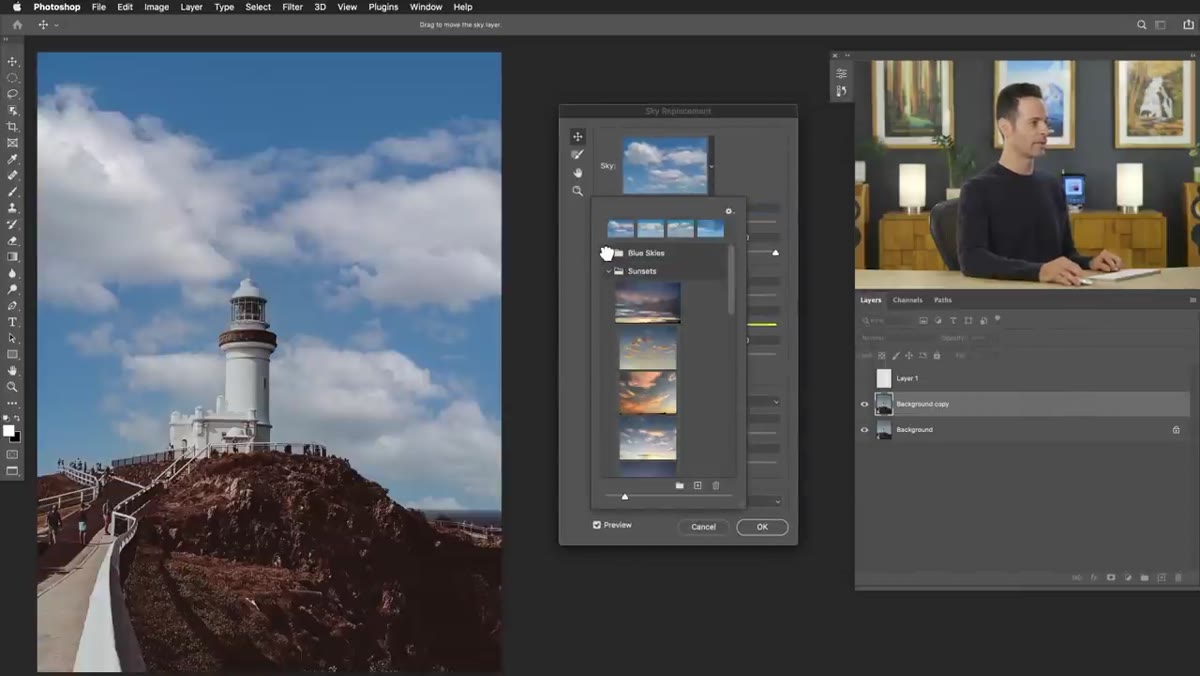 Sky library panel showing Blue Skies, Sunsets, and Spectacular folders
The built-in sky library is organized into folders: Blue Skies, Sunsets, and Spectacular. You can also import your own sky images, which is worth doing eventually if you build up a personal library of sky photos. For now, click through the built-in options and filter them mentally against the criteria you established in Steps 1 and 2.
Aaron’s demo shows how fast this is, you just click each thumbnail and the preview updates almost instantly. What you’re looking for is a sky where the highlight and shadow relationship within the clouds matches the lighting logic of your scene. Highlights on top of clouds, shadows underneath, and a light source that feels like it’s coming from the same direction as the one illuminating your subject. When those two things align, the composite starts to feel real.
Step 6: Evaluate the Match Before Touching Any Sliders
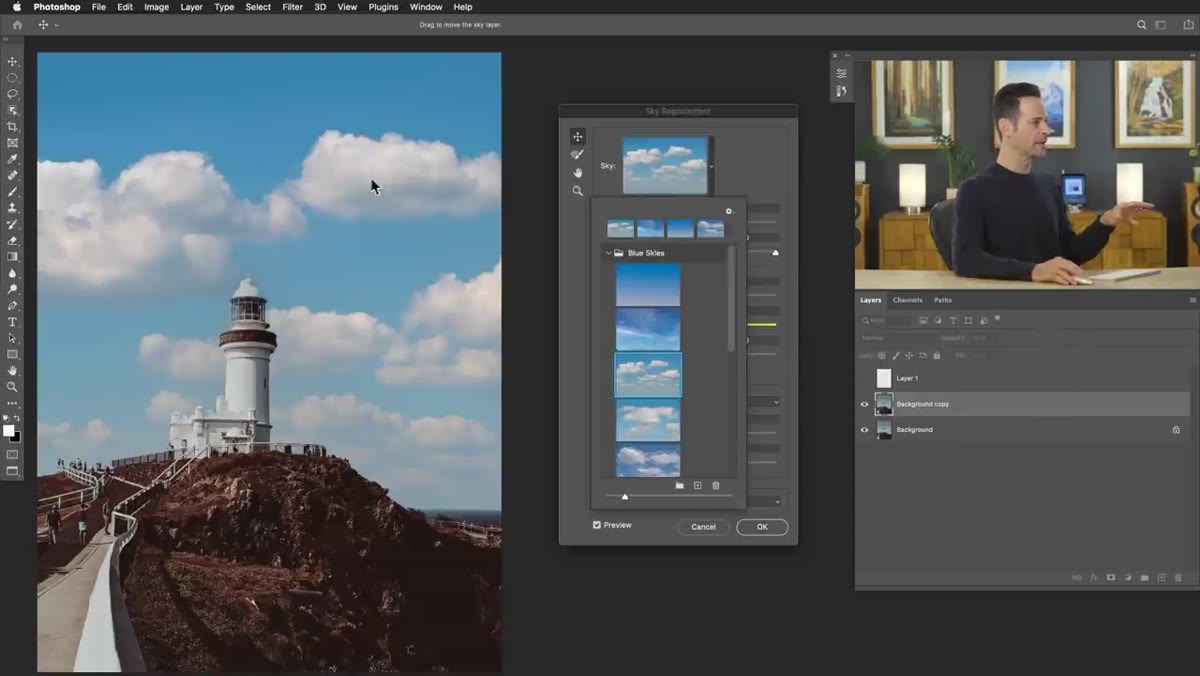 Composite preview showing cloud highlights matching lighthouse lighting
Once you’ve landed on a candidate sky, take a moment to evaluate the full image before you adjust anything. Does the color temperature of the sky feel consistent with the light on your subject? Are the cloud highlights reading from the correct direction? Does the overall luminosity of the sky feel appropriate for the time of day implied by your scene?
If the answer to all three is roughly yes, you’re in good shape and any remaining issues are solvable with the built-in adjustments. If the answer is no to any of them, it’s faster to try a different sky than to push the sliders far enough to fix a fundamentally mismatched image.
One Thing the Tutorial Doesn’t Cover (That I’ve Run Into)
The Sky Replacement tool generates a layer group in your Layers panel that includes a sky layer, a mask, and some color adjustment layers it creates automatically. What Aaron doesn’t get into in this particular segment is that those adjustment layers are editable and worth examining. The tool applies a foreground color adjustment to try to harmonize your original subject with the new sky, and sometimes it overshoots. I’ve had it push a warm orange cast onto a subject that looked unnatural, and the fix was just pulling back the opacity on that generated adjustment layer. Don’t treat the output as a sealed result. It’s a starting point built out of fully editable layers, and that’s actually one of the best things about how Adobe implemented this.
The single most important thing to take away from this tutorial is that lighting logic comes before toolwork. The Sky Replacement tool is genuinely excellent at the technical masking problem. It can’t tell you whether the sky you’ve chosen makes physical sense for your scene. That part is still your job, and it’s the part that determines whether the final image reads as believable or subtly wrong.
Watch the full tutorial on YouTube to see Aaron walk through the full tool in real time, including the sky library browsing and the live composite preview that makes the whole process click.
Comments (2)
Bookmarked. Coming back to this one for sure.
Love this. I referenced a similar technique in one of my recent posts. Always good to see other perspectives.
Leave a Comment