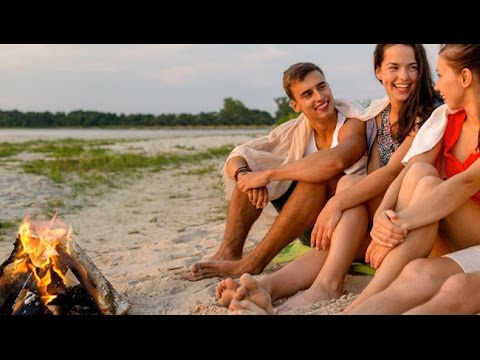
There’s a specific kind of embarrassment that hits when you’ve spent an hour sourcing fire stock images, masking them, blending them, and fighting with blend modes — only to realize Photoshop had a built-in flame generator the entire time. That happened to me on a concert poster project a while back. I ended up with a passable result, but it was a grind. So when I came across Watch the full tutorial on YouTube from Aaron Nace over at PHLEARN, I sat up a little straighter. He’s using Photoshop’s Render Flame filter to generate realistic fire directly inside the application, no stock assets required, and the results are genuinely good.
The filter has been in Photoshop CC since the 2015 release, which means a lot of us have just been ignoring it for years. Classic. What makes it worth your time isn’t just the novelty — it’s that the flame renders along a custom path, which gives you real control over shape, direction, and scale. Once you understand the workflow, you can dial in fire that actually fits your scene instead of wrestling with a stock image that was lit completely differently from your source photo.
Here’s how the whole thing works, step by step.
Step 1: Create a New Layer
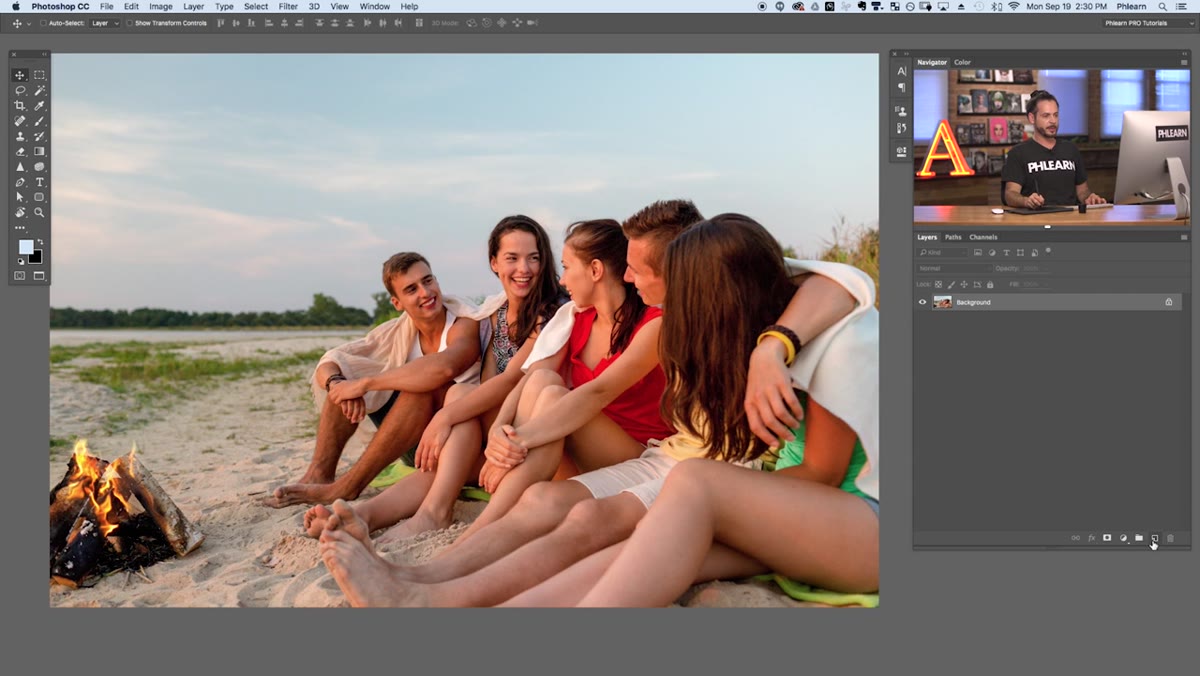 Empty new layer created above background layer
Before you do anything else, create a new blank layer above your background image. This keeps your fire completely non-destructive and separate from your original photo. Aaron makes a point of flagging this because running the filter directly on your background is the kind of mistake you only make once. New layer, always. You can rename it “Fire” if you’re the organized type, or just leave it untitled if you live like I do.
Empty new layer created above background layer
Before you do anything else, create a new blank layer above your background image. This keeps your fire completely non-destructive and separate from your original photo. Aaron makes a point of flagging this because running the filter directly on your background is the kind of mistake you only make once. New layer, always. You can rename it “Fire” if you’re the organized type, or just leave it untitled if you live like I do.
Step 2: Draw a Path with the Pen Tool
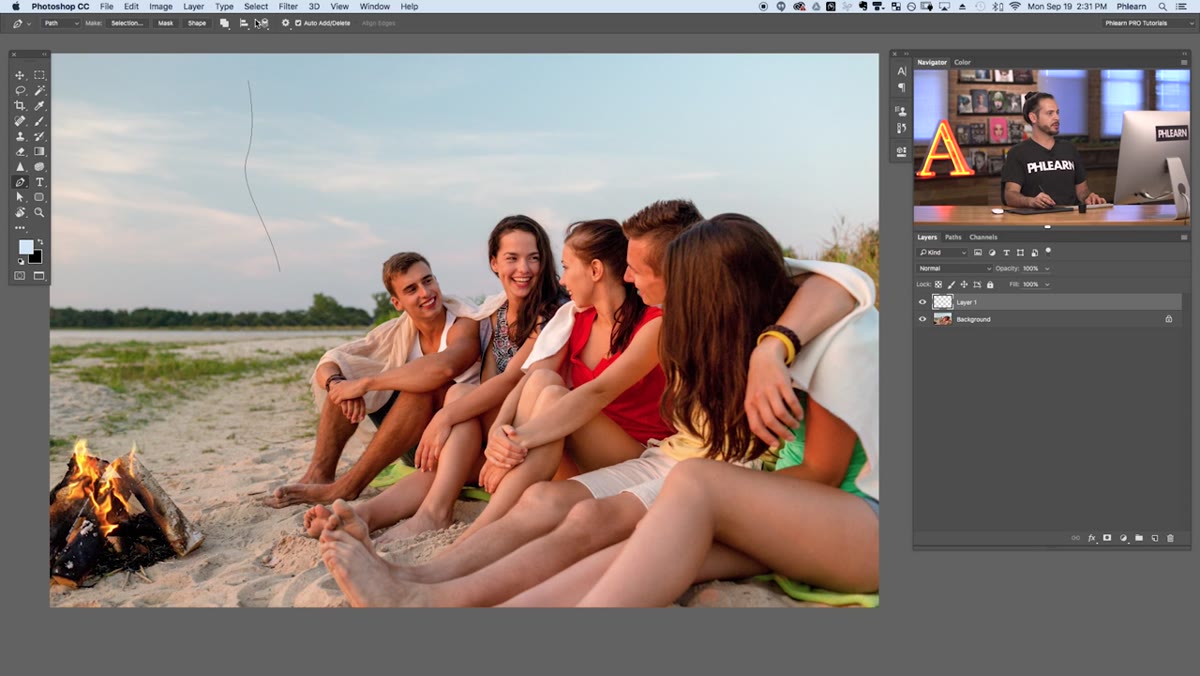
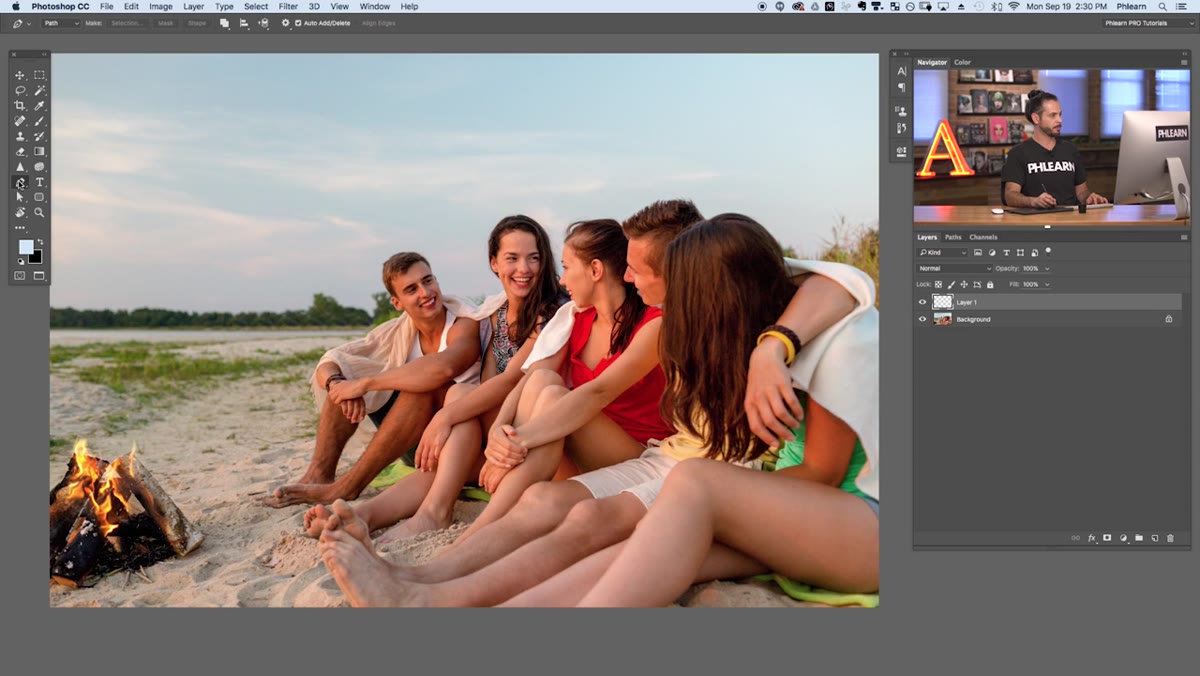 Pen tool selected, curved path drawn over campfire area
This is the part that trips people up if they haven’t used the Pen tool much. The Flame filter doesn’t work without an active path — it literally won’t launch properly without one. Select the Pen tool from the toolbar, then click and drag to create a curved path in the area where you want the flame to appear. You’re not drawing the flame itself here, you’re defining the spine that the flame will follow. Click, drag to curve, and hit Escape when you’re done to end the path without closing it. The shape and length of this path will directly influence how your flame looks.
Pen tool selected, curved path drawn over campfire area
This is the part that trips people up if they haven’t used the Pen tool much. The Flame filter doesn’t work without an active path — it literally won’t launch properly without one. Select the Pen tool from the toolbar, then click and drag to create a curved path in the area where you want the flame to appear. You’re not drawing the flame itself here, you’re defining the spine that the flame will follow. Click, drag to curve, and hit Escape when you’re done to end the path without closing it. The shape and length of this path will directly influence how your flame looks.
Step 3: Check Your Path in the Paths Panel
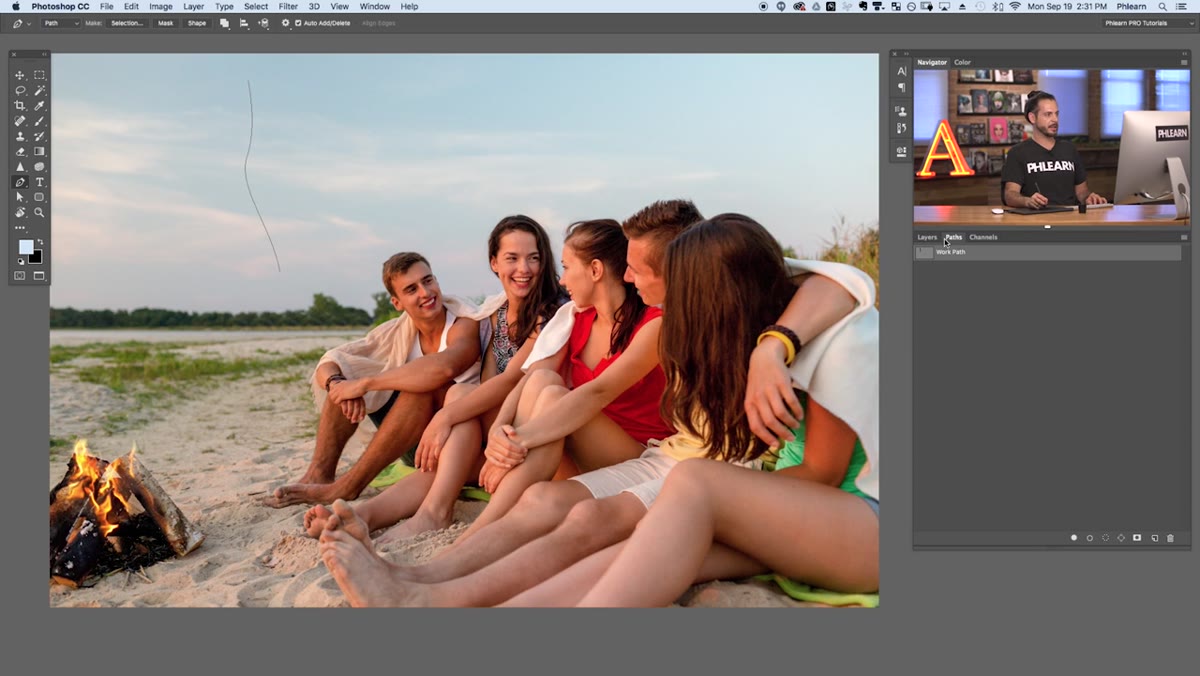 Paths panel open showing active work path selected
Once you’ve drawn your path, open the Paths panel (Window, then Paths) and confirm your work path is active and selected. This is a quick housekeeping step but it matters. If your path isn’t selected when you go to run the filter, nothing will happen the way you expect. Make sure you’re also back on your fire layer in the Layers panel before moving forward — the filter needs to know where to put the output.
Paths panel open showing active work path selected
Once you’ve drawn your path, open the Paths panel (Window, then Paths) and confirm your work path is active and selected. This is a quick housekeeping step but it matters. If your path isn’t selected when you go to run the filter, nothing will happen the way you expect. Make sure you’re also back on your fire layer in the Layers panel before moving forward — the filter needs to know where to put the output.
Step 4: Launch the Flame Filter
 Filter menu open, Render submenu showing Flame option
Go to Filter, then Render, then Flame. The dialog box that opens is surprisingly feature-rich. The preview updates in real time as you adjust settings, which is helpful for dialing things in without a lot of guesswork. Before you start tweaking, just take a second to look at the preview and see how the flame is already following the path you drew. That relationship between path and flame is the core mechanic here, and once it clicks, the rest of the controls make a lot more sense.
Filter menu open, Render submenu showing Flame option
Go to Filter, then Render, then Flame. The dialog box that opens is surprisingly feature-rich. The preview updates in real time as you adjust settings, which is helpful for dialing things in without a lot of guesswork. Before you start tweaking, just take a second to look at the preview and see how the flame is already following the path you drew. That relationship between path and flame is the core mechanic here, and once it clicks, the rest of the controls make a lot more sense.
Step 5: Choose Your Flame Type
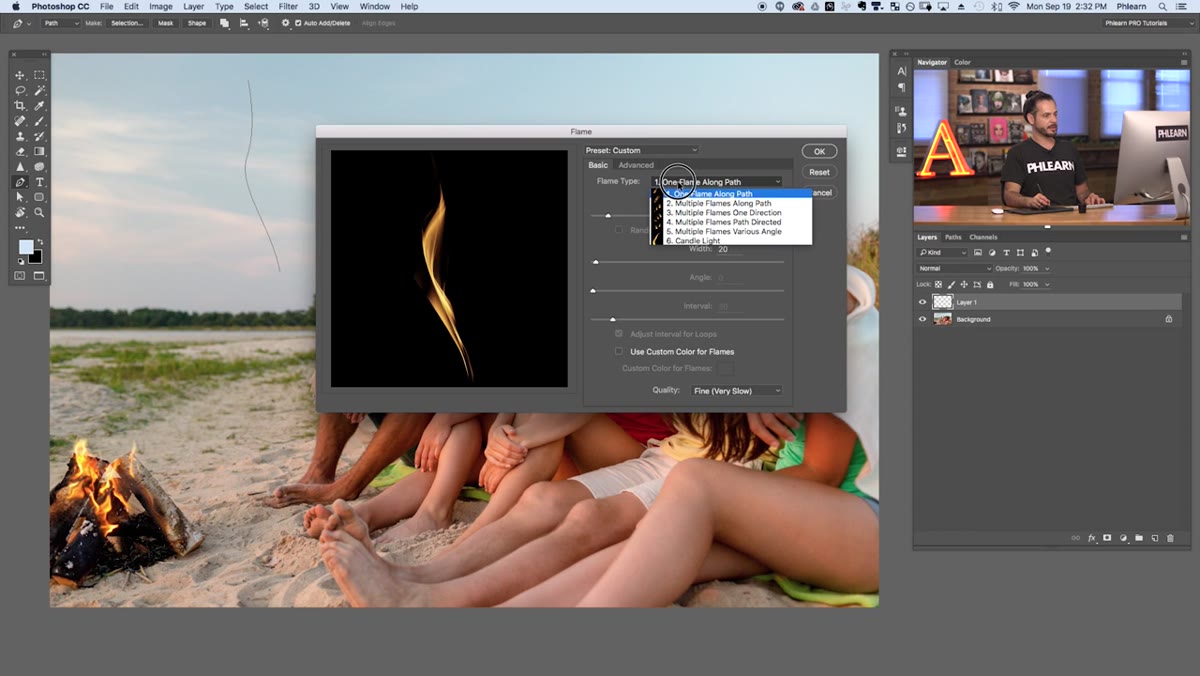 Flame Type dropdown open, options 1 through 6 visible
The Flame Type dropdown is where you make your most important decision. Aaron identifies Flame Type 1 (One Flame Along Path) as the most versatile and realistic-looking for general use. Type 6 (Candle Light) is good if you’re working on something that actually involves a candle — it’s convincing for that specific use case. The other types, like multiple flames along a path, have their moments, but they can start to look more like a special effect and less like actual fire pretty quickly. For a campfire, a torch, or anything that needs to read as natural combustion, stay with Type 1.
Flame Type dropdown open, options 1 through 6 visible
The Flame Type dropdown is where you make your most important decision. Aaron identifies Flame Type 1 (One Flame Along Path) as the most versatile and realistic-looking for general use. Type 6 (Candle Light) is good if you’re working on something that actually involves a candle — it’s convincing for that specific use case. The other types, like multiple flames along a path, have their moments, but they can start to look more like a special effect and less like actual fire pretty quickly. For a campfire, a torch, or anything that needs to read as natural combustion, stay with Type 1.
Step 6: Adjust Width and Review Your Options
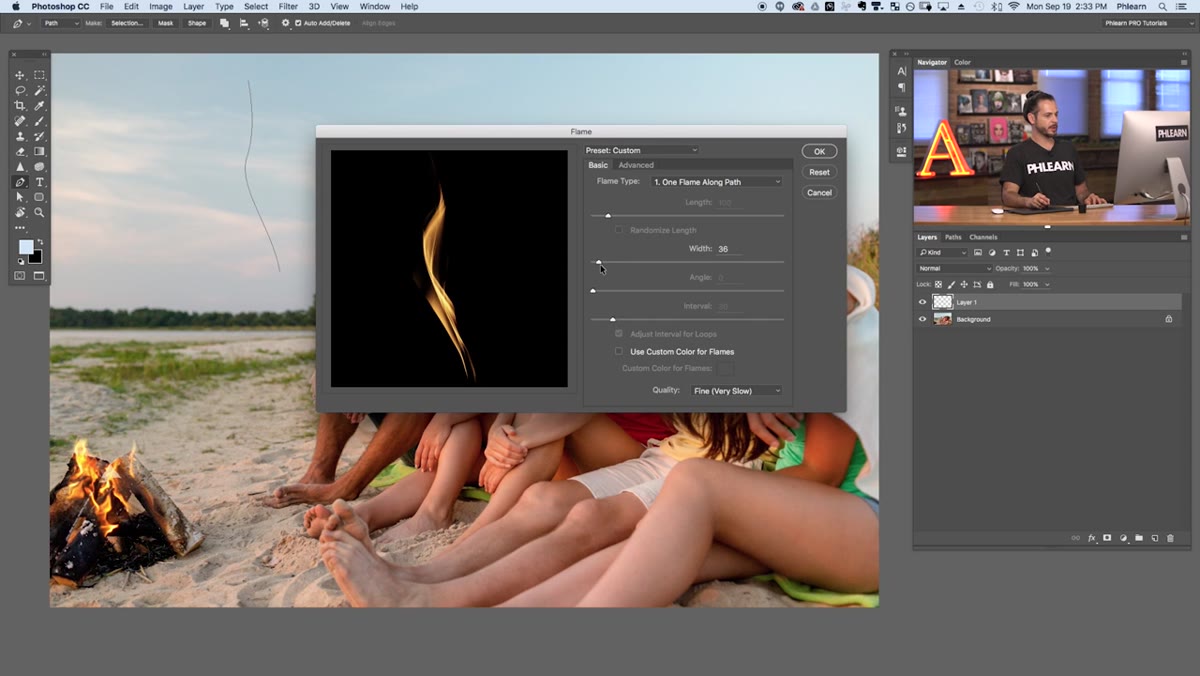 Width slider being adjusted, flame preview updating in dialog
The width slider controls how wide the flame renders across the path. A narrower setting gives you something thin and wispy, which works well for embers or background detail. Pushing the width up gives you a fuller, more dramatic flame. Note that the length of your flame is determined by the length of the path you drew, not by any slider in this dialog, so if your flame is too short or too long, you’ll need to undo and redraw the path. For color, Aaron recommends leaving the custom color option unchecked unless you have a specific stylistic reason to go another direction. The default flame colors are well-calibrated and will blend more naturally with most images.
Width slider being adjusted, flame preview updating in dialog
The width slider controls how wide the flame renders across the path. A narrower setting gives you something thin and wispy, which works well for embers or background detail. Pushing the width up gives you a fuller, more dramatic flame. Note that the length of your flame is determined by the length of the path you drew, not by any slider in this dialog, so if your flame is too short or too long, you’ll need to undo and redraw the path. For color, Aaron recommends leaving the custom color option unchecked unless you have a specific stylistic reason to go another direction. The default flame colors are well-calibrated and will blend more naturally with most images.
One Thing I’d Add: Blend Mode Is Where the Magic Happens
The tutorial covers the filter itself thoroughly, but where I find the biggest payoff in my own work is in what happens after you click OK. Drop the flame layer’s blend mode to Screen or Add. Screen will knock out the black background and let the fire sit naturally on top of your image. Add tends to push more light into the scene, which can look incredible if you want the fire to feel like it’s actually illuminating the environment around it. From there, a little Gaussian blur at low opacity on a duplicate layer can give you a nice heat glow effect. None of that is complicated, but it’s the difference between fire that sits on top of a photo and fire that feels like it belongs there.
The single most important thing to take away from this is that the path is doing the design work. Most people jump to the filter settings and wonder why their fire looks off — but if your path has a natural, organic curve to it, the flame will follow. Spend thirty extra seconds getting a good path drawn and the rest of the process becomes almost automatic.
Watch the full tutorial on YouTube to see Aaron walk through the complete workflow with his campfire example. It’s a quick watch and the visual context for the flame type comparisons is genuinely useful.
Comments
Leave a Comment