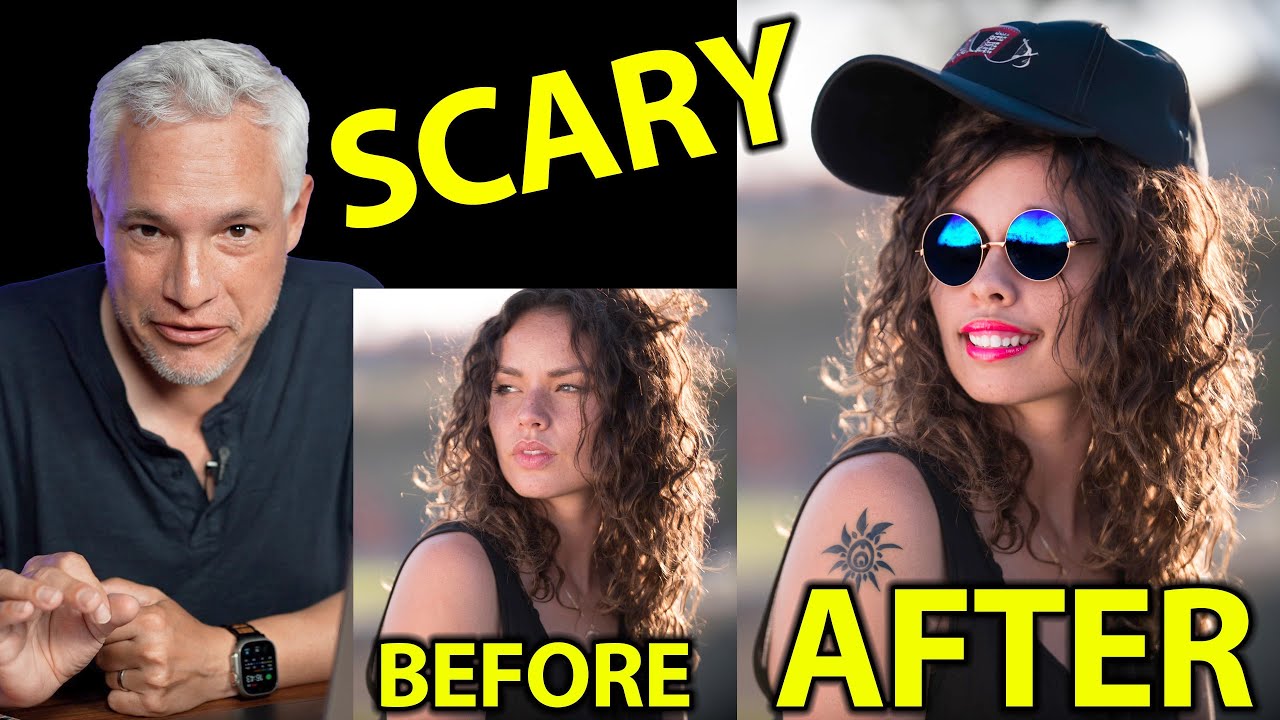
I spent three days on a composite once. Three days. Masking hair, blending skies, matching light, cursing at luminosity masks at 1am in a coffee shop on South Congress while the baristas gave me increasingly concerned looks. A friend saw the final result, nodded politely, and then showed me a technique that would have cut my work down to about 20 minutes. That memory lives rent-free in my head every time I see a new Photoshop feature that makes hard things easy.
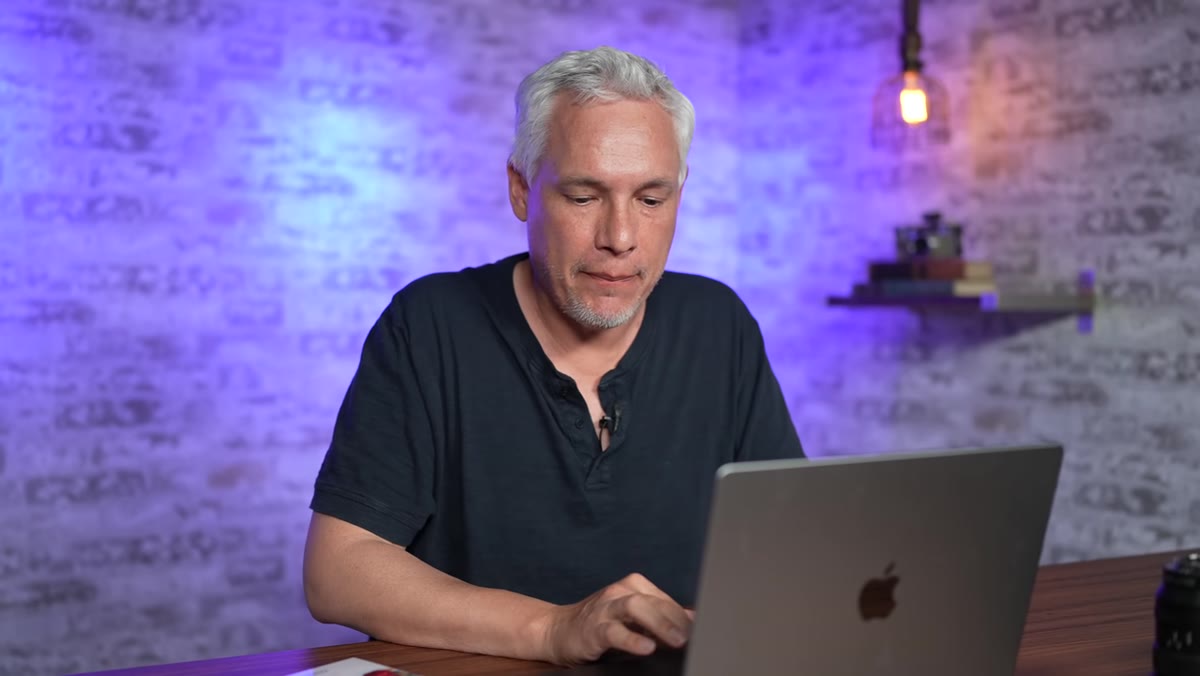
This is one of those features. Except it’s not just making hard things easier. It’s making previously-impossible things trivial, and that deserves a real conversation alongside the tutorial. In this Tony & Chelsea Northrup tutorial, Tony walks through Adobe’s new Generative Fill feature inside the Photoshop Beta, and my jaw came off its hinges watching it. This isn’t a filter. This isn’t a smart crop. This is the tool that collapses years of compositing skill into a text prompt, and you need to understand how it works right now.
The short version: Generative Fill lets you select any part of an image, type a description of what you want there, and Photoshop’s AI builds it in, matched to your photo’s lighting, perspective, and style. It also works in reverse, expanding canvas and filling in missing areas automatically. Here’s how to actually use it.
Step 1: Get the Photoshop Beta Installed
 Creative Cloud app open on Beta Apps section
Generative Fill is not in the standard Photoshop release yet. You need the beta version, which is free if you already have a Creative Cloud subscription. Open your Creative Cloud desktop app, look for the “Beta Apps” section in the left sidebar, find Photoshop Beta in the list, and hit Install. Launch it, agree to Adobe’s terms of service, and you’re in. One thing to note before you get excited: this feature requires an active internet connection to run. It’s processing on Adobe’s servers, not your machine, so working offline on a plane or at a cabin is not going to happen.
Creative Cloud app open on Beta Apps section
Generative Fill is not in the standard Photoshop release yet. You need the beta version, which is free if you already have a Creative Cloud subscription. Open your Creative Cloud desktop app, look for the “Beta Apps” section in the left sidebar, find Photoshop Beta in the list, and hit Install. Launch it, agree to Adobe’s terms of service, and you’re in. One thing to note before you get excited: this feature requires an active internet connection to run. It’s processing on Adobe’s servers, not your machine, so working offline on a plane or at a cabin is not going to happen.
Step 2: Make a Selection with the Lasso Tool
 Lasso tool active, drawing selection on landscape photo
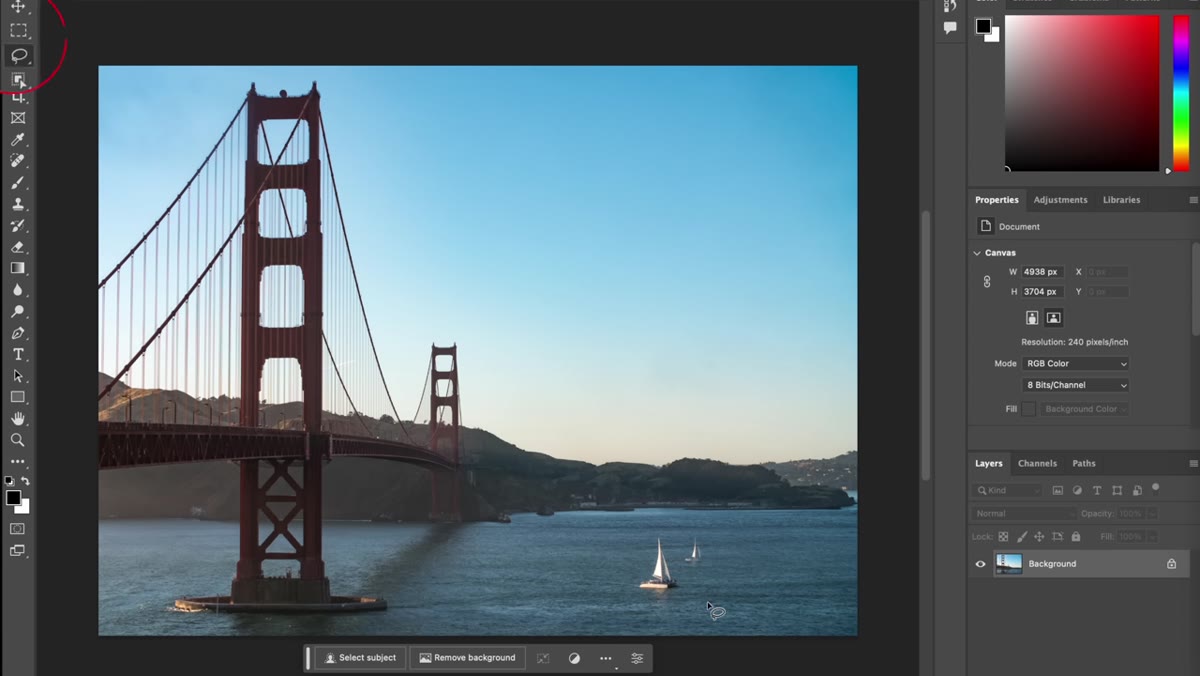
With your image open, grab the Lasso tool (L on your keyboard, because of course it is). Draw a rough selection around the area of your image you want to change or add to. You do not need to be precise here. This is not a pen tool job. A loose, fast selection is genuinely all you need because the AI understands context from the surrounding pixels. Tony selects a patch of open water in a landscape photo in about two seconds flat. That’s the right energy.
Lasso tool active, drawing selection on landscape photo
With your image open, grab the Lasso tool (L on your keyboard, because of course it is). Draw a rough selection around the area of your image you want to change or add to. You do not need to be precise here. This is not a pen tool job. A loose, fast selection is genuinely all you need because the AI understands context from the surrounding pixels. Tony selects a patch of open water in a landscape photo in about two seconds flat. That’s the right energy.
Step 3: Type Your Prompt in the Generative Fill Bar
 Generative Fill text bar with prompt being typed
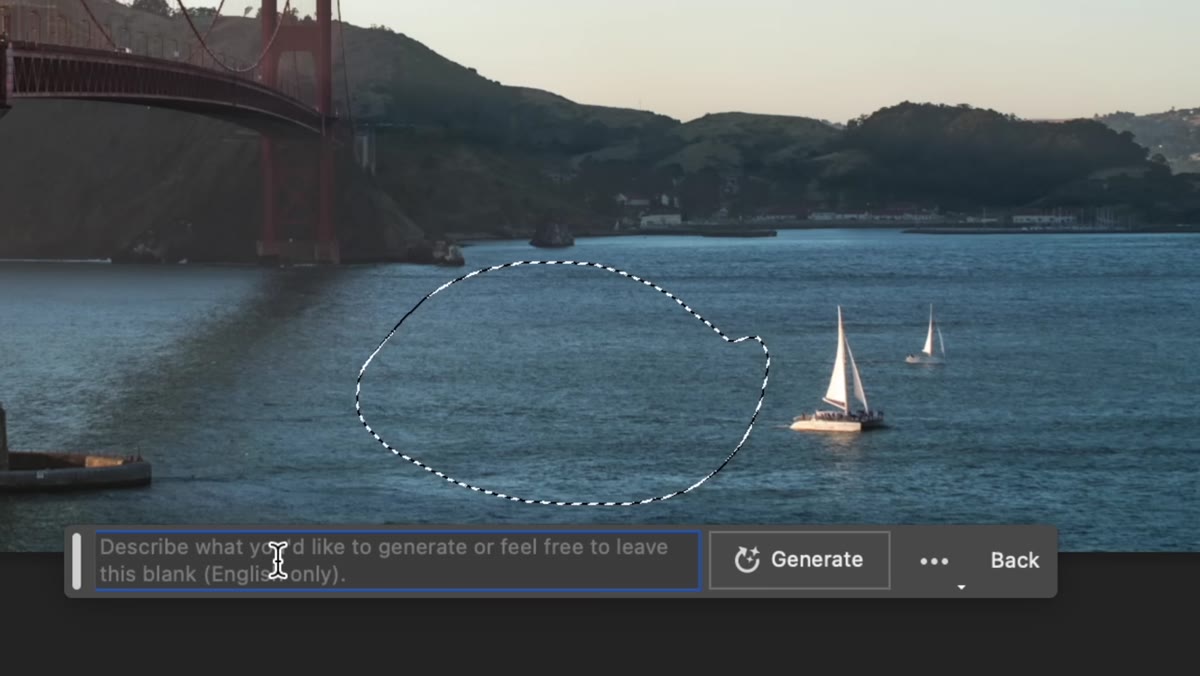
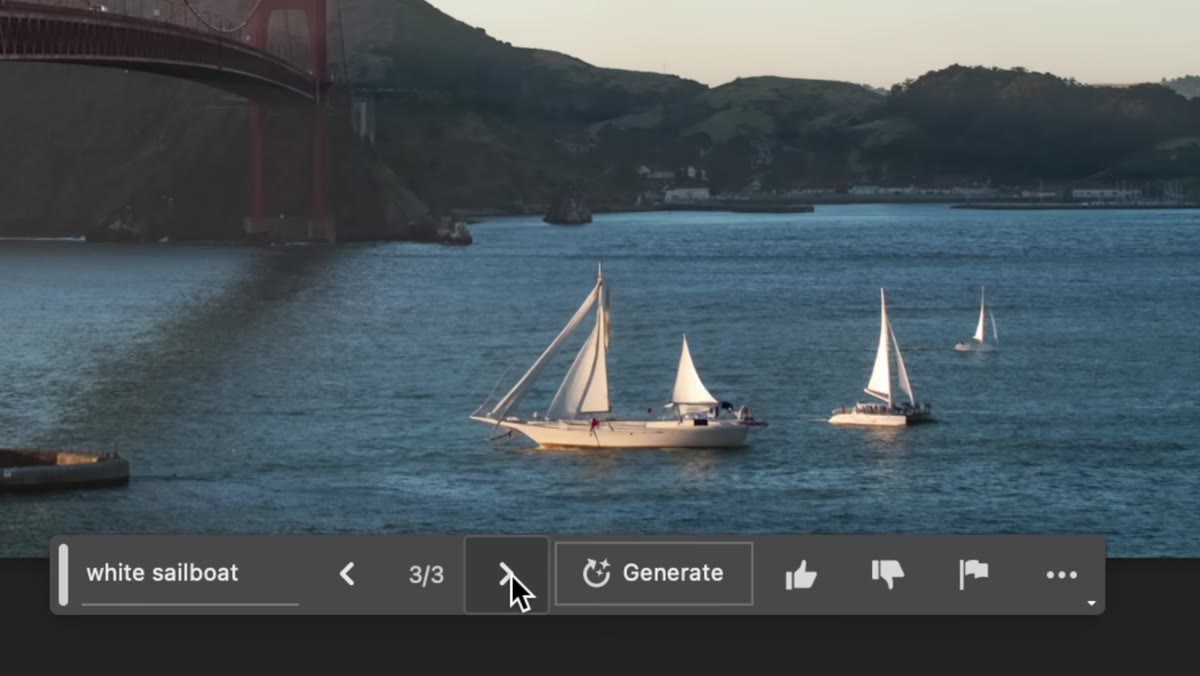
Once you have your selection active, a contextual toolbar appears at the bottom of your canvas with a text field labeled “Generative Fill.” Click into it and type what you want. Be descriptive but not obsessive about it. Tony types something like “yacht” for the water area and the AI figures out the rest, including reflections, scale relative to the scene, and appropriate lighting. Hit Generate and wait a few seconds. You will get three variations automatically, and you can scroll through them in the Properties panel.
Generative Fill text bar with prompt being typed
Once you have your selection active, a contextual toolbar appears at the bottom of your canvas with a text field labeled “Generative Fill.” Click into it and type what you want. Be descriptive but not obsessive about it. Tony types something like “yacht” for the water area and the AI figures out the rest, including reflections, scale relative to the scene, and appropriate lighting. Hit Generate and wait a few seconds. You will get three variations automatically, and you can scroll through them in the Properties panel.
Step 4: Browse Variations and Regenerate If Needed
 Properties panel showing three generated variation thumbnails
Each generation gives you three options. They appear as separate states you can click between in the Properties panel on the right side of your screen. If none of the three work for you, hit Generate again for a fresh batch. There is no penalty for generating multiple times. Tony adds a flock of geese to the sky in the same image using the same process, drawing a second lasso selection and typing his prompt. Crucially, each generated element lands on its own non-destructive generative layer. You can toggle them on and off, delete them, or go back to that layer later and generate entirely new options. This is huge for client work.
Properties panel showing three generated variation thumbnails
Each generation gives you three options. They appear as separate states you can click between in the Properties panel on the right side of your screen. If none of the three work for you, hit Generate again for a fresh batch. There is no penalty for generating multiple times. Tony adds a flock of geese to the sky in the same image using the same process, drawing a second lasso selection and typing his prompt. Crucially, each generated element lands on its own non-destructive generative layer. You can toggle them on and off, delete them, or go back to that layer later and generate entirely new options. This is huge for client work.
Step 5: Expand Your Canvas with Generative Fill (No Prompt Needed)
 Expanded canvas with white area selected above portrait subject
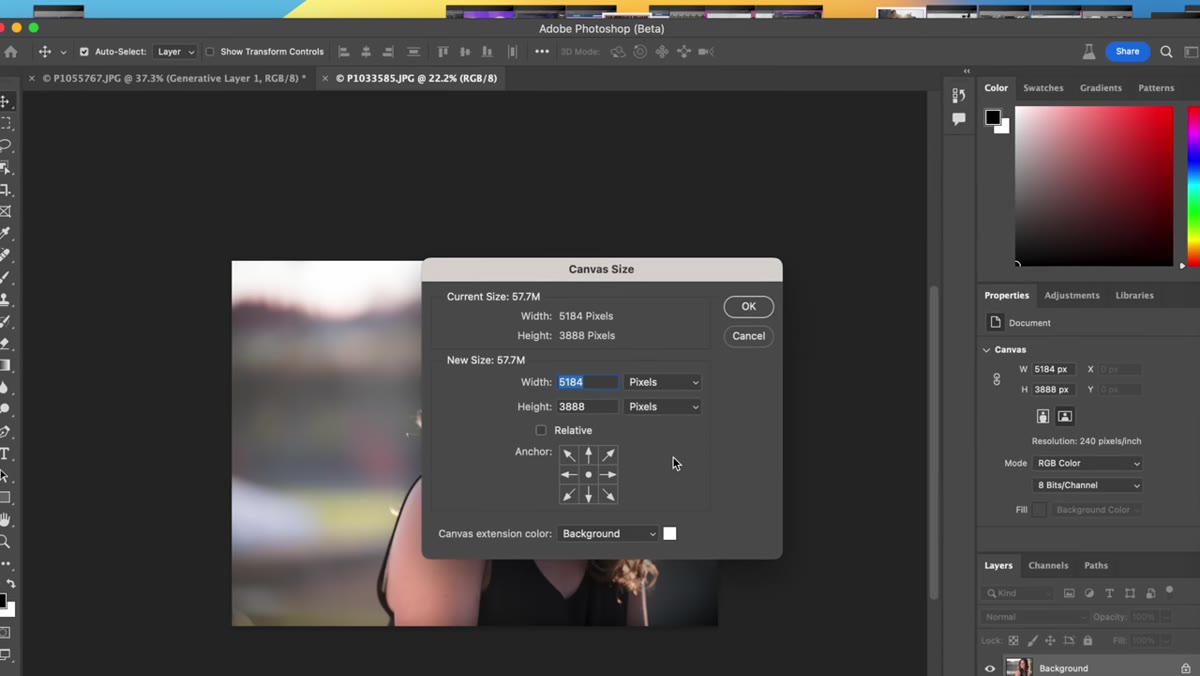
Here is where it gets properly useful for working photographers. Go to Image, then Canvas Size, and increase the dimensions to whatever aspect ratio you need. If you are repurposing a landscape shot for an Instagram square, for example, extend the canvas to match. The expanded area fills with white or transparent space. Select that empty area with the lasso or a rectangular marquee, open Generative Fill, and this time leave the text field completely blank. Just hit Generate. When you give it no prompt, the AI looks at everything surrounding the selection and fills it in based on what it thinks belongs there. Tony uses this to extend the top of a portrait, completing the model’s head where the original crop cut it off. It replaced Content Aware Fill for me immediately.
Expanded canvas with white area selected above portrait subject
Here is where it gets properly useful for working photographers. Go to Image, then Canvas Size, and increase the dimensions to whatever aspect ratio you need. If you are repurposing a landscape shot for an Instagram square, for example, extend the canvas to match. The expanded area fills with white or transparent space. Select that empty area with the lasso or a rectangular marquee, open Generative Fill, and this time leave the text field completely blank. Just hit Generate. When you give it no prompt, the AI looks at everything surrounding the selection and fills it in based on what it thinks belongs there. Tony uses this to extend the top of a portrait, completing the model’s head where the original crop cut it off. It replaced Content Aware Fill for me immediately.
Step 6: Make Portrait-Level Edits with Text Prompts
 Portrait photo with baseball cap added via Generative Fill
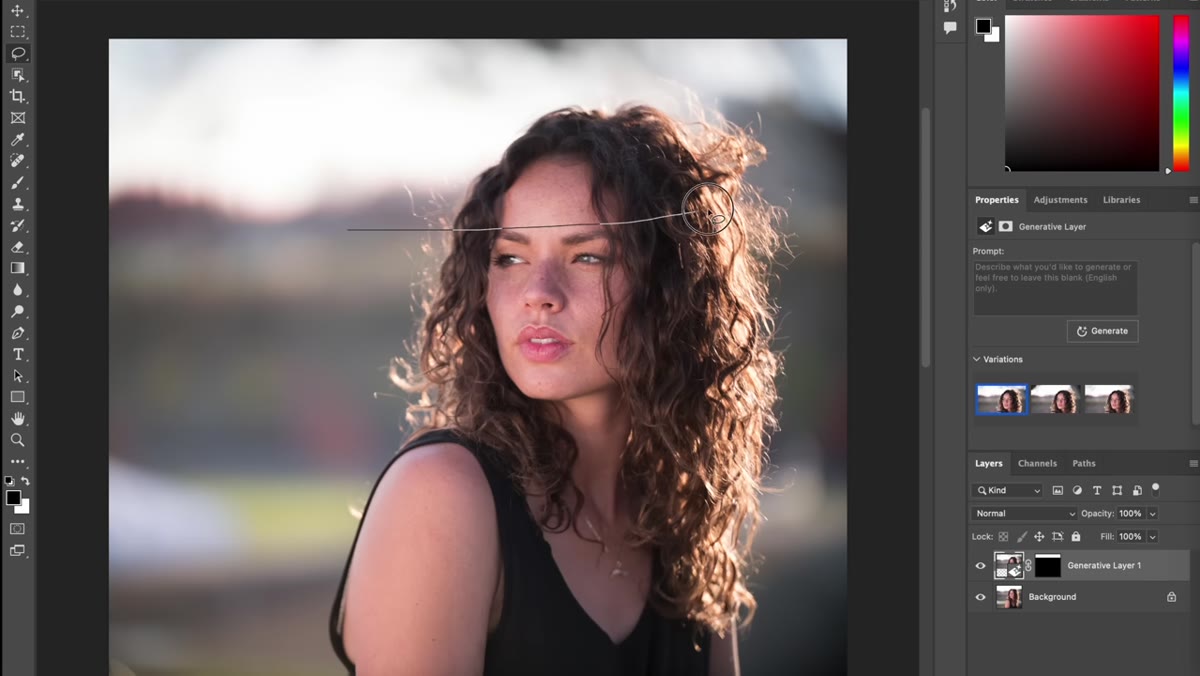
This is the part that made me put my coffee down. You can use Generative Fill to add clothing, accessories, and expressions to portraits. Tony adds a baseball cap, sunglasses, and a tattoo to a model’s photo, each as a separate generative layer. The process is identical to what we have already covered: lasso the relevant area, type what you want, generate. The cap sits a little high on one of his attempts, which he calls out honestly, but he also correctly notes that this is a beta. The underlying capability is already remarkable. For anyone who has ever wasted an hour on set because the client decided mid-shoot they wanted the model to have a different accessory, this is a very pointed solution.
Portrait photo with baseball cap added via Generative Fill
This is the part that made me put my coffee down. You can use Generative Fill to add clothing, accessories, and expressions to portraits. Tony adds a baseball cap, sunglasses, and a tattoo to a model’s photo, each as a separate generative layer. The process is identical to what we have already covered: lasso the relevant area, type what you want, generate. The cap sits a little high on one of his attempts, which he calls out honestly, but he also correctly notes that this is a beta. The underlying capability is already remarkable. For anyone who has ever wasted an hour on set because the client decided mid-shoot they wanted the model to have a different accessory, this is a very pointed solution.
What I’d Add From My Own Experience
Tony is diplomatic about the philosophical weight of this tool. I will be a little less so. When I watched the section where he talks about landscape photographers who have spent years hunting for the perfect shot, the right light, the right timing, something a little uncomfortable settled in. There is a version of photography built entirely on patience and craft that this tool quietly undermines. As someone who got started making garbage memes before learning that Photoshop was a real skill worth developing, I genuinely value the craft. But I also know that clients do not pay for my suffering. They pay for results. My practical take: use Generative Fill for the tedious invisible stuff (fixing awkward crops, extending backgrounds, cleaning up distractions) and keep your actual creative decisions as your own. The tool is only as interesting as the photographer directing it.
The single most important thing to internalize here is that Generative Fill is non-destructive by default. Every element lives on its own generative layer. Nothing is baked in until you say so. That means you can experiment aggressively and pull back just as fast, which is the only way to work when you are still figuring out what a new tool can actually do.
Watch the full walkthrough yourself before forming a final opinion: Watch the full tutorial on YouTube. Tony and Chelsea cover more ground than I do here, including background replacement workflows that are genuinely worth seeing in motion.
Comments (2)
Just used this on a wedding shoot edit. Client was thrilled.
I keep coming back to this article. It's that useful.
Leave a Comment