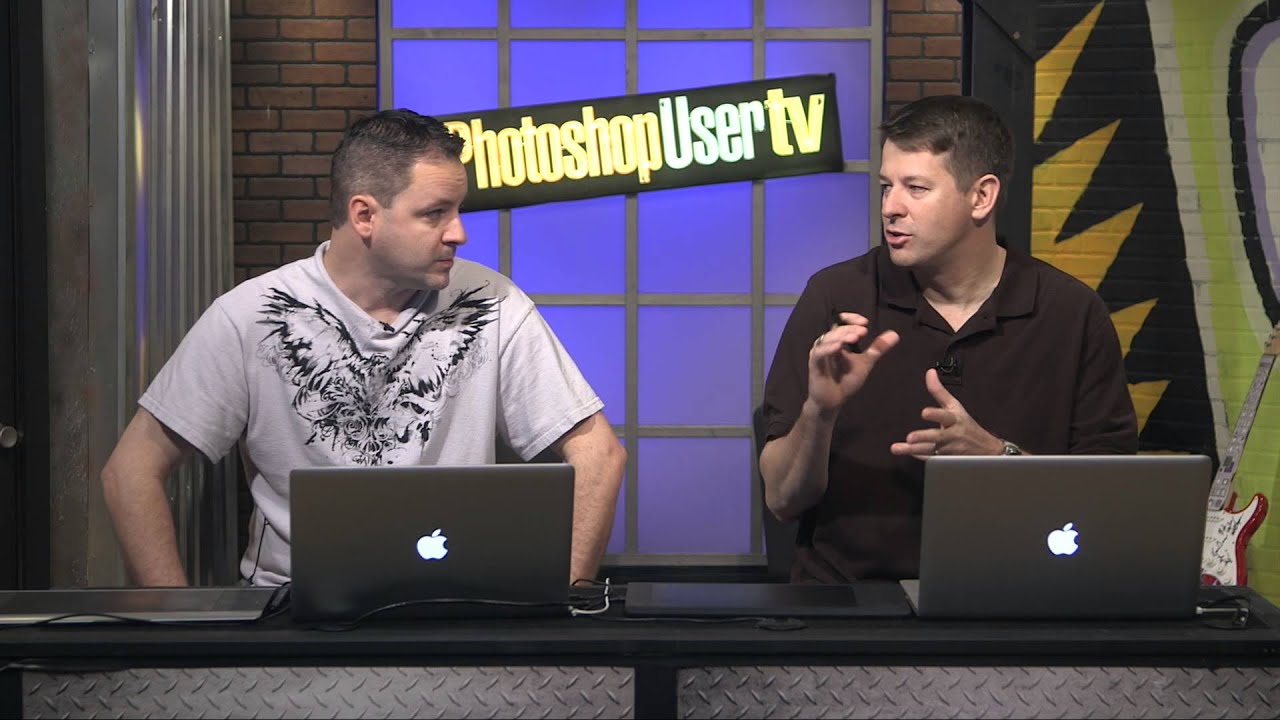
I have a confession: I spent an embarrassing amount of time manually placing repeating elements along curved paths in Photoshop. Like, copy, paste, rotate, nudge, swear, repeat. It was the kind of workflow that makes you question your life choices somewhere around repetition number twelve. So when I stumbled onto this episode of Photoshop User TV from KelbyOne, hosted by Pete Collins and Corey Barker, I felt equal parts relieved and annoyed at myself. Relieved because there’s a much better way. Annoyed because it’s been sitting right there in the Fill dialog the whole time.
Watch the full tutorial on YouTube
The episode focuses on a handful of new features that landed in a Photoshop CC update, and Corey walks through two in particular that are genuinely worth knowing: the scripted pattern fills (which include a surprisingly capable tree generator) and the “place along path” option that lets you run any pattern along a custom path. Both live inside the Fill dialog, which most people treat like a one-trick pony. It’s not.
Step 1: Open the Fill Dialog on a New Layer
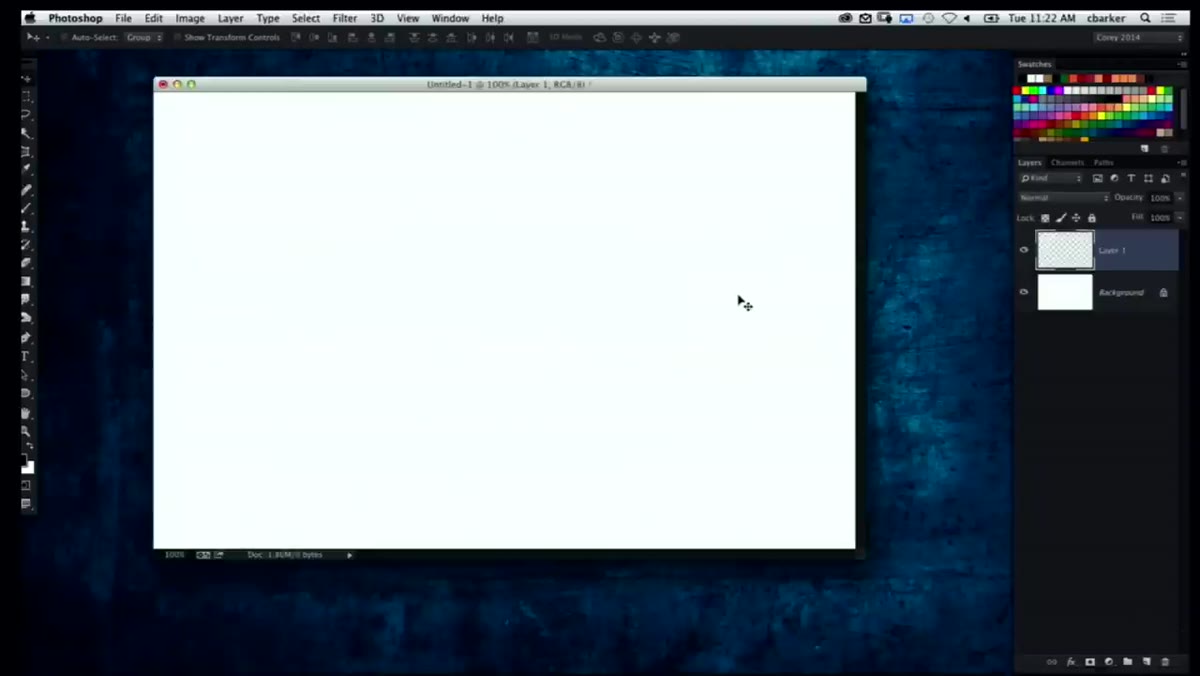 Fill dialog open with Contents dropdown visible
Start with a blank document and create a new layer. Don’t skip the new layer part – keeping fills on their own layer means you can trash or tweak them without touching anything else underneath. Once your new layer is active, open the Fill dialog with Shift+Delete (Shift+Backspace on Windows). In the Contents dropdown, choose Pattern. This is where most people stop and just grab a polka dot or a herringbone and call it a day. Keep going.
Step 2: Enable the Scripted Patterns Option
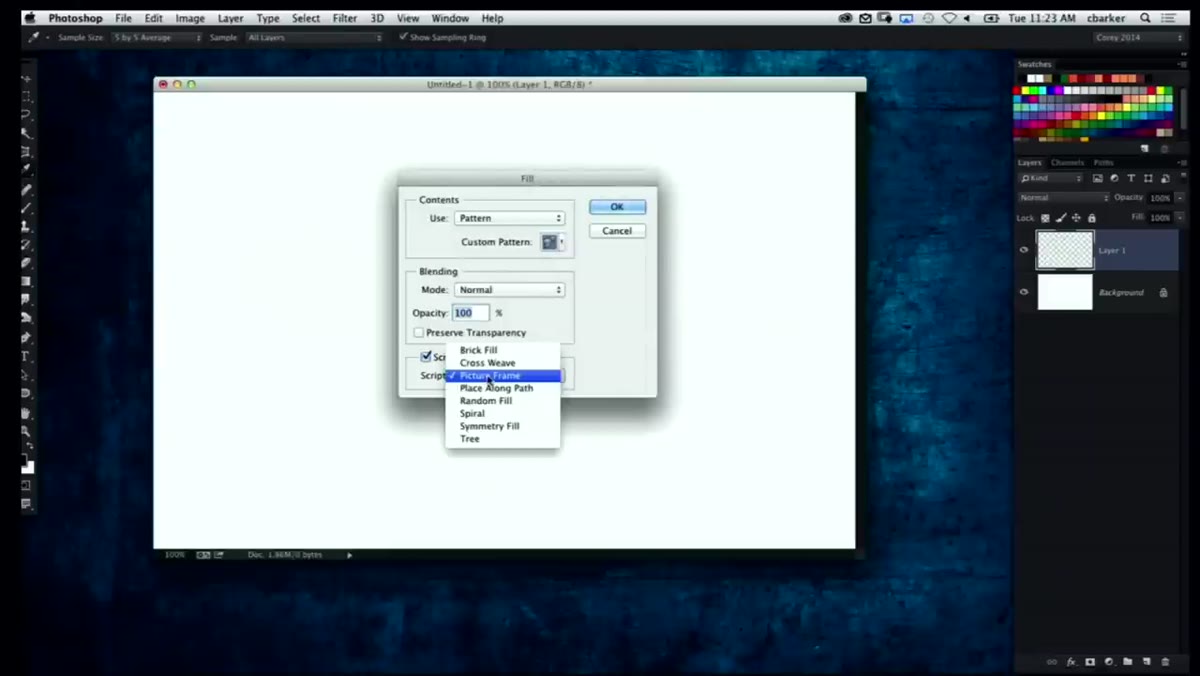 Scripted checkbox checked in Fill dialog
In the Fill dialog, after you’ve selected Pattern as your content type, look for a checkbox labeled “Scripted Patterns” near the bottom of the dialog. Check it. A dropdown will appear next to it with options like Random Fill, Symmetry, and – the one that sounds like it shipped from a completely different application – Tree. This scripted option is the whole show. It tells Photoshop to use a generative script to place pattern elements rather than just tiling them predictably across the canvas.
Step 3: Choose Tree from the Scripted Patterns Dropdown
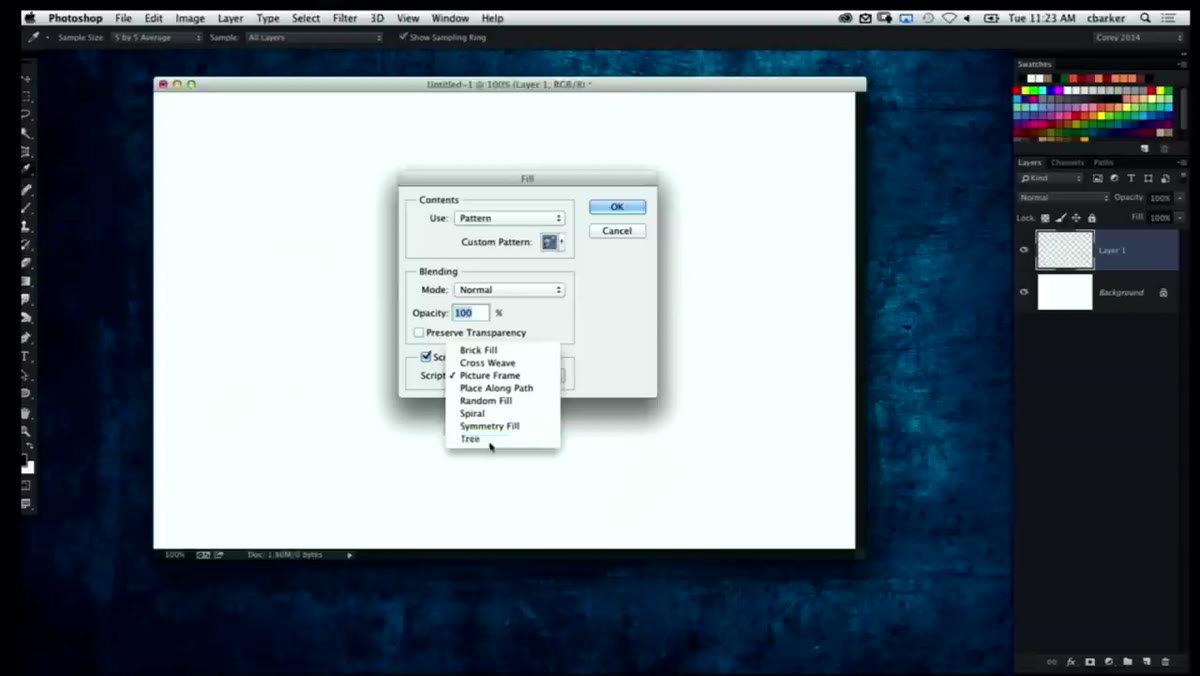 Tree option selected in scripted patterns dropdown
Select Tree from the scripted dropdown and hit OK. Photoshop will immediately open a secondary dialog that is honestly more elaborate than you’d expect. You’re looking at a full tree generator with options to choose species (elm, pine, palm, and more), adjust light direction, control how much color variation the leaves have, dial in the amount of branching, and toggle between a more stylized or realistic look. It’s basically a mini-plugin hiding inside a fill command, and it renders a unique tree every single time you use it – no two outputs are identical.
Fair warning: rendering takes a moment. Corey jokes in the tutorial that Photoshop is “asking questions about your family” while it thinks. On an older machine this can stretch into a genuine coffee-refill situation, so don’t assume it’s frozen.
Step 4: Adjust the Tree Settings to Fit Your Composition
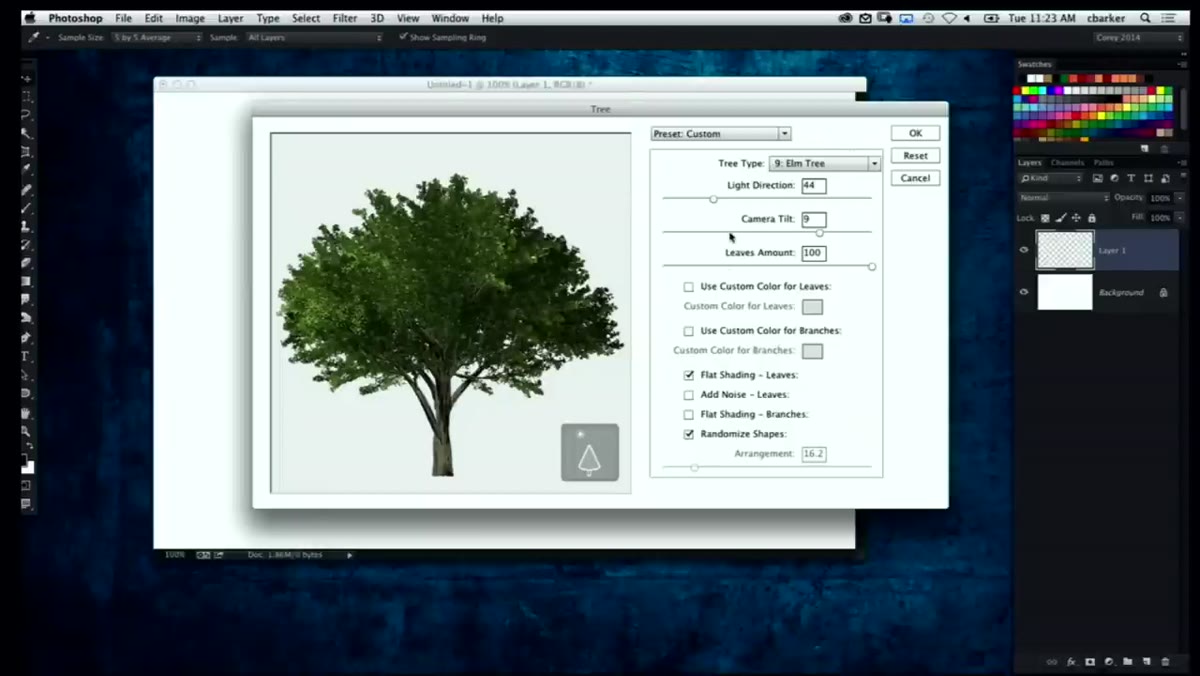 Tree dialog open showing species and attribute sliders
Inside the tree dialog, the species dropdown is the most impactful control. A palm tree reads completely differently than an oak, so pick something that suits your scene before tweaking anything else. From there, the most useful sliders are Branches (controls density and complexity), Leaves Amount, and the color randomness option – which Corey actually turns down because the default variation can look a bit chaotic. If you’re using the tree for a realistic composite, crank up realism and lower the stylization. If you’re making something graphic or illustrative, leave randomness high and enjoy the variety. Hit OK and wait. The result lands on that new layer, fully editable.
Step 5: Create a Path to Use with “Place Along Path”
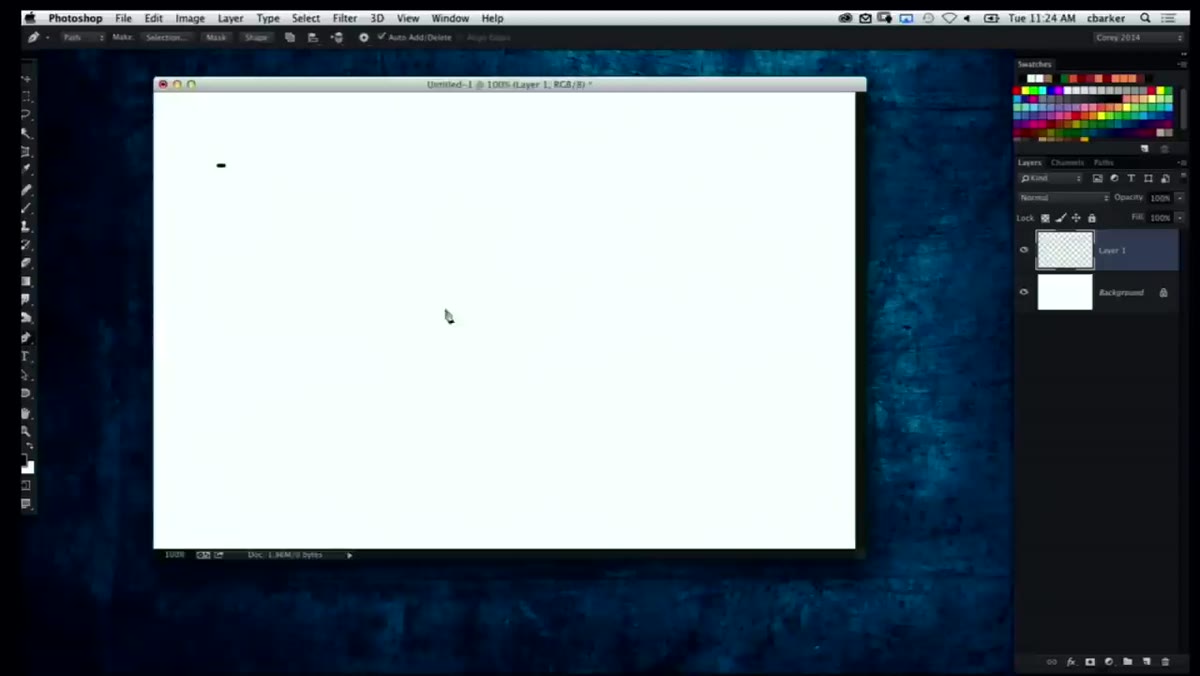 Custom path drawn on canvas with Pen tool
This is where the feature stops being a novelty and starts being legitimately useful for production work. Grab the Pen tool and draw any curved or straight path on your canvas – it doesn’t have to be clean, just intentional. A gentle arc works great for this first test. The path doesn’t need to be closed. Once you have it, make sure it’s active in the Paths panel, then create a new layer and go back to Shift+Delete to open the Fill dialog again.
Step 6: Apply a Pattern Along the Path
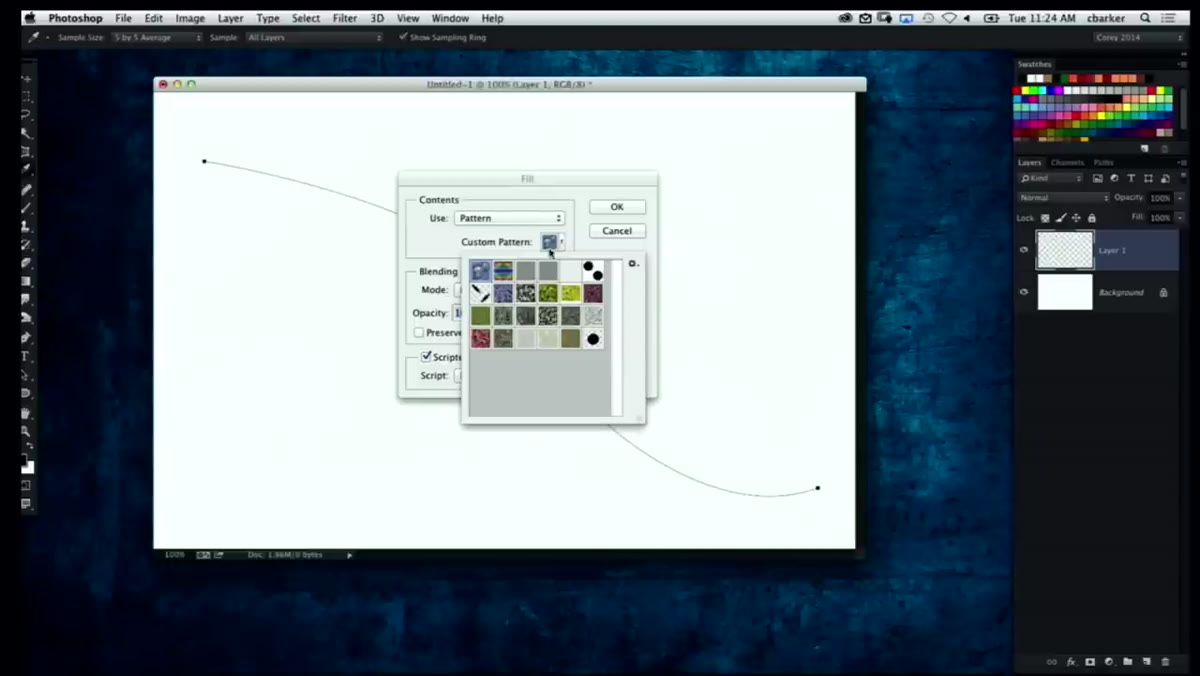 Place Along Path selected in scripted patterns dropdown
In the Fill dialog, choose Pattern again, check Scripted Patterns, and this time select Place Along Path from the dropdown. Choose any pattern from your pattern library and hit OK. A new dialog appears with controls for spacing (how far apart each pattern element is placed along the path), scale (how large each element renders), and a few other distribution options. Bring spacing down to create a denser, more connected result – or leave it loose for a scattered feel. Corey makes his first pass way too large, which is actually a useful reminder: start with a smaller scale value than you think you need, then adjust upward. The pattern instances will follow your path’s curve precisely, which is the part that used to take me fifteen manual steps.
What I’d Do Differently in a Real Project
The place-along-path feature is great, but the default patterns that ship with Photoshop are mostly garbage for serious work. The technique becomes genuinely powerful when you bring in your own defined patterns – textures, custom shapes, brand elements. I’ve started keeping a small library of client-specific patterns defined and ready to go, and the along-path fill has become my default method for creating decorative borders, organic-looking element trails, and textured frame overlays. One thing to watch: the fill always renders flat pixels, so if you know you’ll need to scale the result later, either work at a higher base resolution or immediately convert the filled layer to a Smart Object before you do anything else to it. Ask me how I learned that lesson. Actually, don’t.
The tree generator is more of a situational tool – it’s genuinely useful for matte painting backgrounds, scene-setting compositions, or anywhere you need a quick organic element without firing up a stock photo search. The randomization means you can generate several options fast and pick the best one, which honestly beats scrolling through Getty for twenty minutes.
The single biggest takeaway from Corey’s walkthrough is this: the Fill dialog in Photoshop CC is not just for dumping a solid color or slapping on a repeating tile. The scripted patterns system is a legitimate generative toolset sitting two clicks away from a command you’ve probably used a thousand times. It won’t replace your full compositing workflow, but for fast, flexible fills and path-following elements, it punches well above its weight.
Watch the full tutorial on YouTube – Corey and Pete also get into 3D printing improvements and a few other CC updates that are worth your time.
Comments (4)
Simple but effective. Sometimes that's all you need.
This is going in my reference folder. Incredibly useful.
Great article! I actually covered something related on my site — the compositing angle is really complementary to this.
Wow, I had no idea you could do this. Mind blown.
Leave a Comment