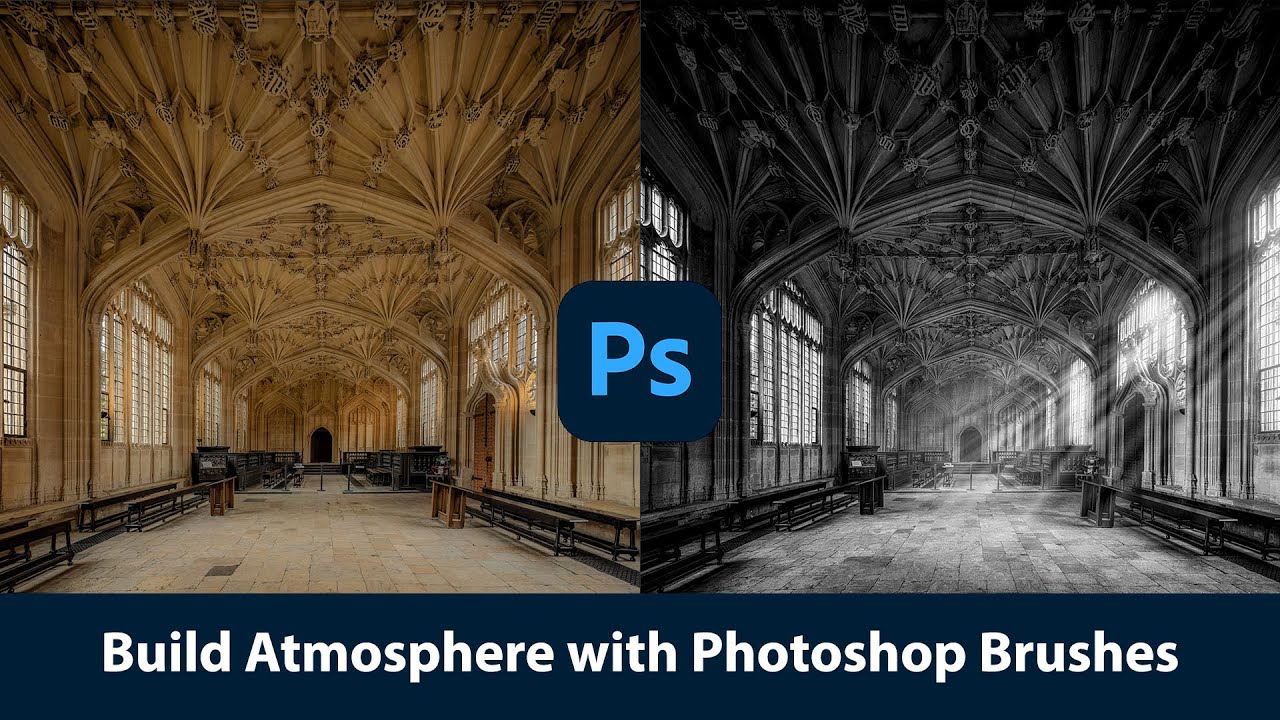
There’s a specific problem I kept running into early in my freelance work: I’d build out a composite, get the subject placed and lit, and then stare at the background feeling like something was missing. The image looked assembled. Competent, maybe, but flat. Like a person standing in front of a green screen even when they weren’t. What I didn’t understand then was that real drama in a photograph isn’t just about contrast or color grading. It’s about atmosphere. Haze. Light that scatters. Air that feels thick with something.
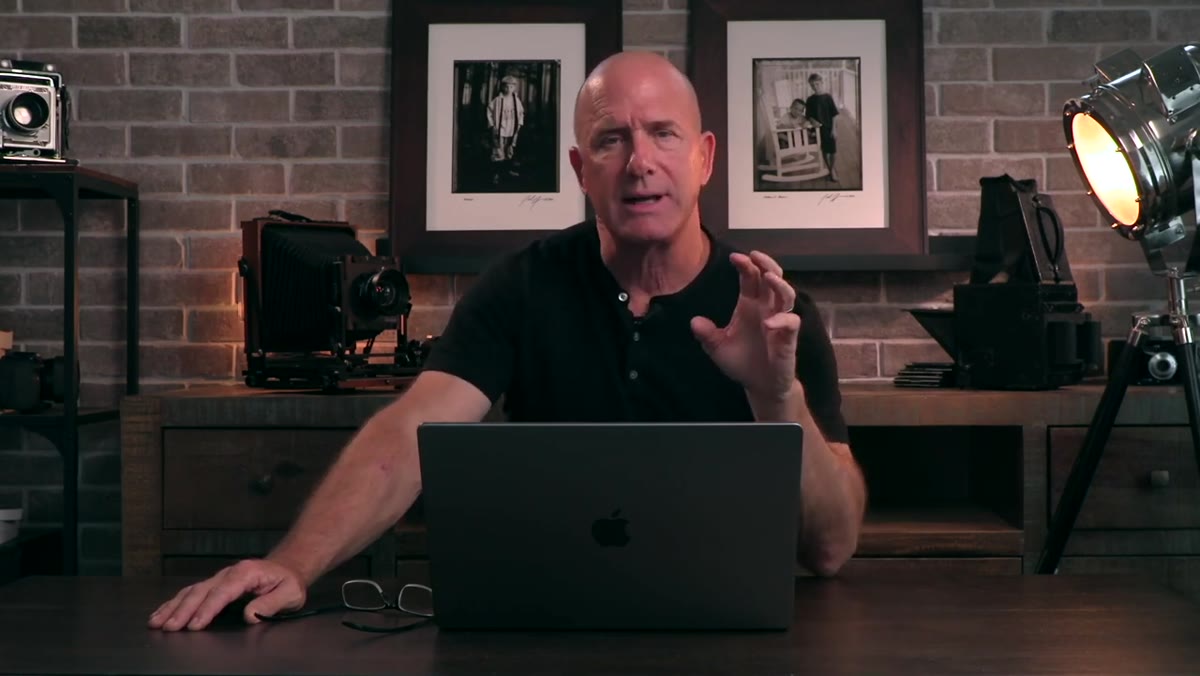
That’s exactly what Joel Grimes tackles in this tutorial on using Photoshop brushes to build atmosphere and drama. Grimes has been doing high-end athletic compositing for years, and one of his signature moves is recreating arena lighting in post because, as he explains in the video, actually turning on stadium lights for a shoot can cost thousands of dollars. His workaround is a set of custom brushes that simulate fog, haze, dust, and light rays. The results look like the kind of moody, cinematic work you’d see on a sports campaign. Watch the full tutorial on YouTube and then follow the breakdown below.
The file Grimes works with is a photo he shot inside a grand hall in England, the kind of place with tall arched windows and dramatic ambient light already baked in. But the technique applies to any image where you want to push the mood further. Here’s how he does it.
Step 1: Download and Install the Brushes
 Brush panel open with custom atmospheric brush sets visible
Before anything else, you need the right tools. Grimes uses a custom brush pack he’s built over time, with brushes specifically designed for atmosphere: fog, haze, dust, light rays, and snow among them. You can find his signature brush pack at joelgrimes.com. Once downloaded, installing them is straightforward. In Photoshop, open the Brushes panel via the Window menu. In the top right corner of that panel, click the small icon that looks like a stack of horizontal lines, then choose “Import Brushes.” Navigate to your downloaded .abr file, and the new brushes will appear at the bottom of your brush list. Done.
Brush panel open with custom atmospheric brush sets visible
Before anything else, you need the right tools. Grimes uses a custom brush pack he’s built over time, with brushes specifically designed for atmosphere: fog, haze, dust, light rays, and snow among them. You can find his signature brush pack at joelgrimes.com. Once downloaded, installing them is straightforward. In Photoshop, open the Brushes panel via the Window menu. In the top right corner of that panel, click the small icon that looks like a stack of horizontal lines, then choose “Import Brushes.” Navigate to your downloaded .abr file, and the new brushes will appear at the bottom of your brush list. Done.
If you’re following along with Grimes’s specific tutorial, he also provides a practice image with the download so you can work on the same file. That’s genuinely useful if you’re still getting your head around how these brushes behave.
Step 2: Set Up Your Layer Structure
 Layers panel showing multiple atmosphere layers stacked above base image
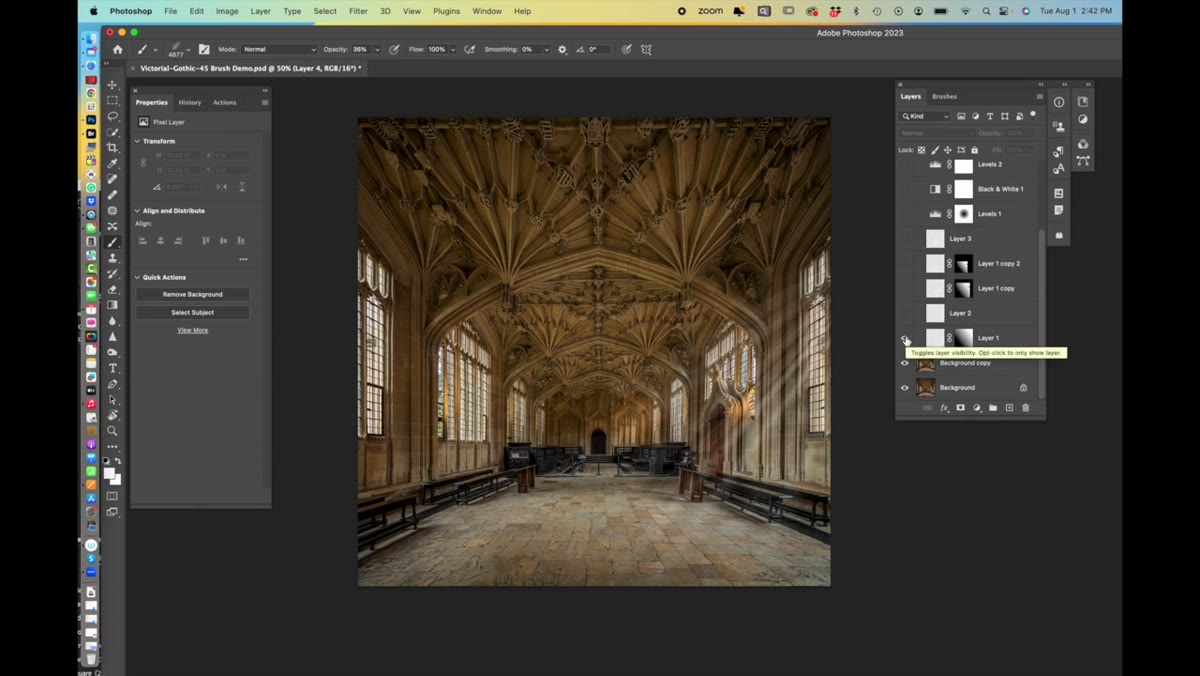
Grimes is methodical about layers, and this is worth paying attention to. Rather than painting everything onto a single layer and hoping for the best, he builds atmosphere across multiple separate layers. Each element, front light streaks, background haze, a central glow, gets its own layer. This gives you independent control over opacity, blend mode, and positioning for each effect without touching the others.
Layers panel showing multiple atmosphere layers stacked above base image
Grimes is methodical about layers, and this is worth paying attention to. Rather than painting everything onto a single layer and hoping for the best, he builds atmosphere across multiple separate layers. Each element, front light streaks, background haze, a central glow, gets its own layer. This gives you independent control over opacity, blend mode, and positioning for each effect without touching the others.
Create a new blank layer above your base image for each atmosphere element you plan to add. Label them clearly. This might feel like overkill for a quick edit, but when you come back to the file three days later or a client asks you to “just tone down the fog a bit,” you’ll be very glad everything is separated.
Step 3: Paint Light Streaks Through Windows or Light Sources
 White brush strokes painted on separate layer simulating window light rays
With your first atmosphere layer selected, grab one of the light ray or streak brushes. Set your foreground color to white or a very warm off-white. Grimes paints streaks coming from the windows in the hall, simulating the way light scatters through glass and into dusty air. The key here is brush opacity: keep it low, somewhere between 15 and 40 percent, and build the effect up gradually with multiple strokes rather than one heavy-handed pass.
White brush strokes painted on separate layer simulating window light rays
With your first atmosphere layer selected, grab one of the light ray or streak brushes. Set your foreground color to white or a very warm off-white. Grimes paints streaks coming from the windows in the hall, simulating the way light scatters through glass and into dusty air. The key here is brush opacity: keep it low, somewhere between 15 and 40 percent, and build the effect up gradually with multiple strokes rather than one heavy-handed pass.
Pay attention to the light direction in your original photo and make sure your painted streaks follow the same logic. Nothing kills the illusion faster than atmosphere that contradicts the real light in the scene.
Step 4: Add Background Haze and a Central Glow
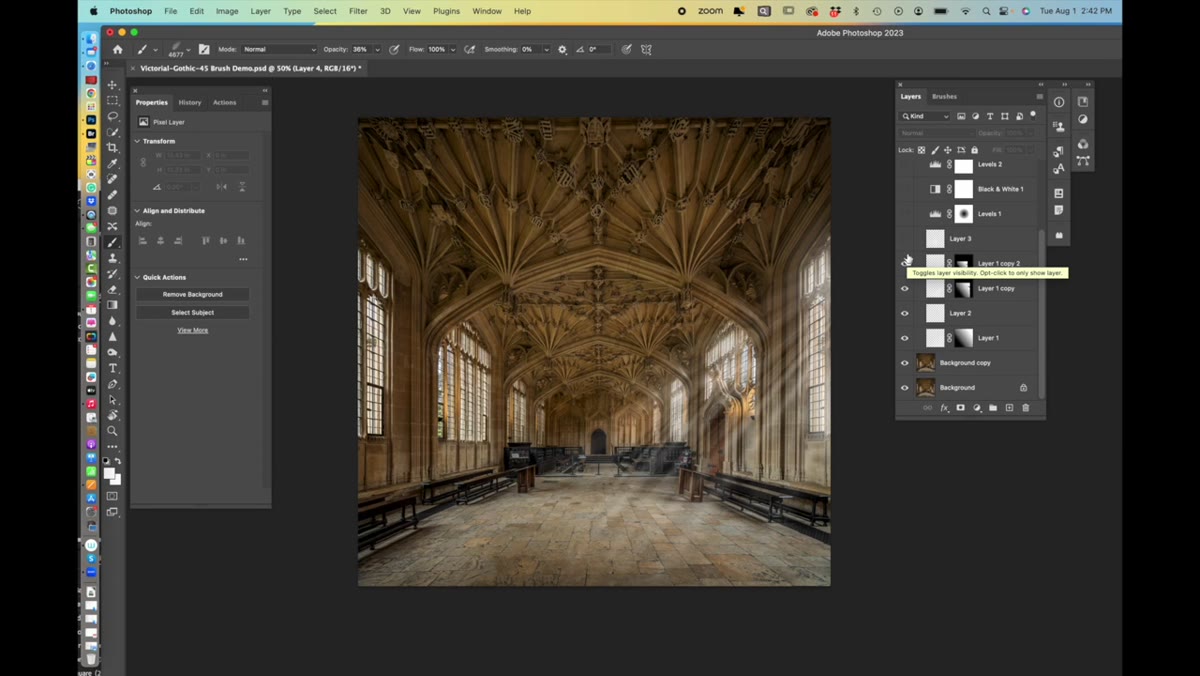 Soft haze brush applied to background area, separate glow layer visible
Grimes uses at least two additional layers here. One for a broader, softer haze in the background that pushes depth and separation, and one for a subtle central glow that adds the sense of warm, diffused light hanging in the air. For the background haze, use a large, soft fog or atmosphere brush and paint loosely across the upper and middle portion of the image. The blend mode for this layer often works well set to Screen, which prevents the brush strokes from muddying the darker areas.
Soft haze brush applied to background area, separate glow layer visible
Grimes uses at least two additional layers here. One for a broader, softer haze in the background that pushes depth and separation, and one for a subtle central glow that adds the sense of warm, diffused light hanging in the air. For the background haze, use a large, soft fog or atmosphere brush and paint loosely across the upper and middle portion of the image. The blend mode for this layer often works well set to Screen, which prevents the brush strokes from muddying the darker areas.
The central glow layer is even more subtle. Think of it less as a visible effect and more as something you’d notice if it were missing. A light, warm tone painted softly in the center of the frame with a very large, very low-opacity brush. It gives the image a sense of internal light source even when there isn’t one.
Step 5: Convert to Black and White, Then Add Contrast
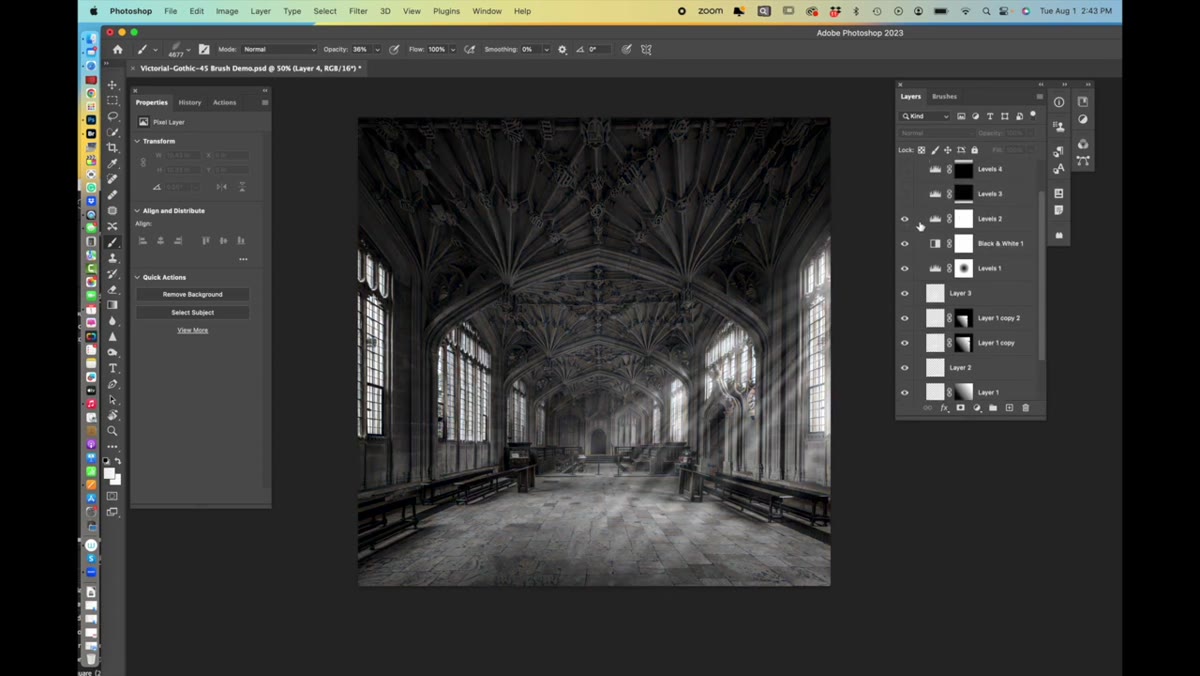 Black and white conversion applied over atmosphere layers with levels adjustment
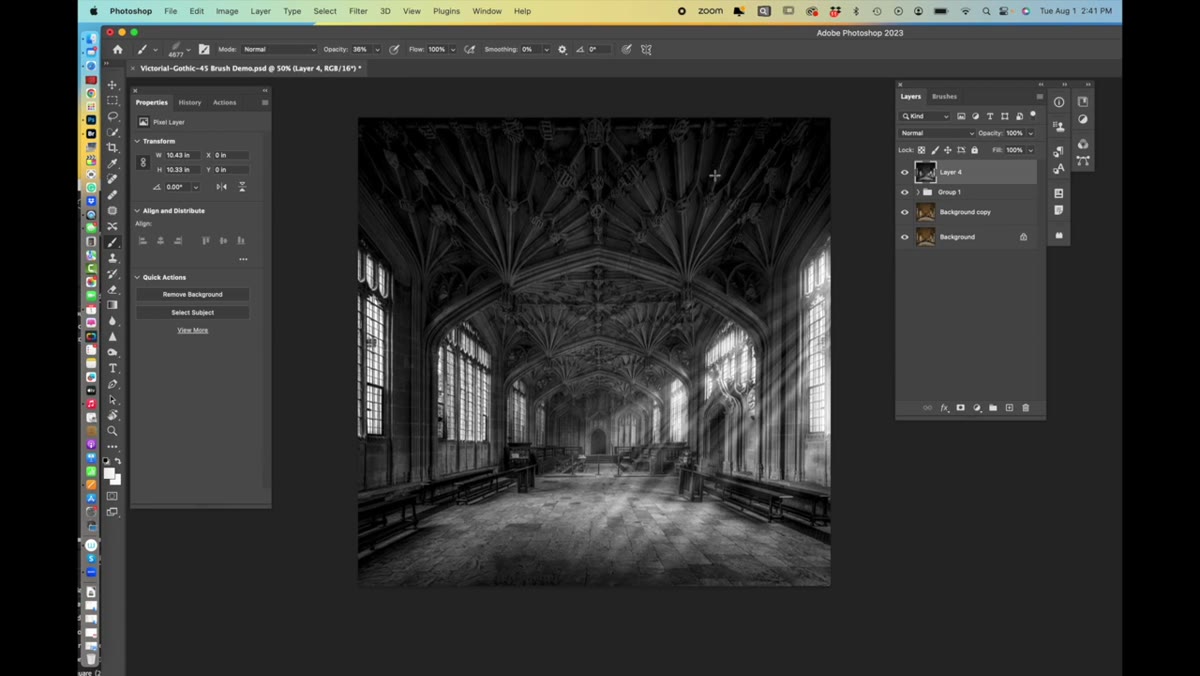
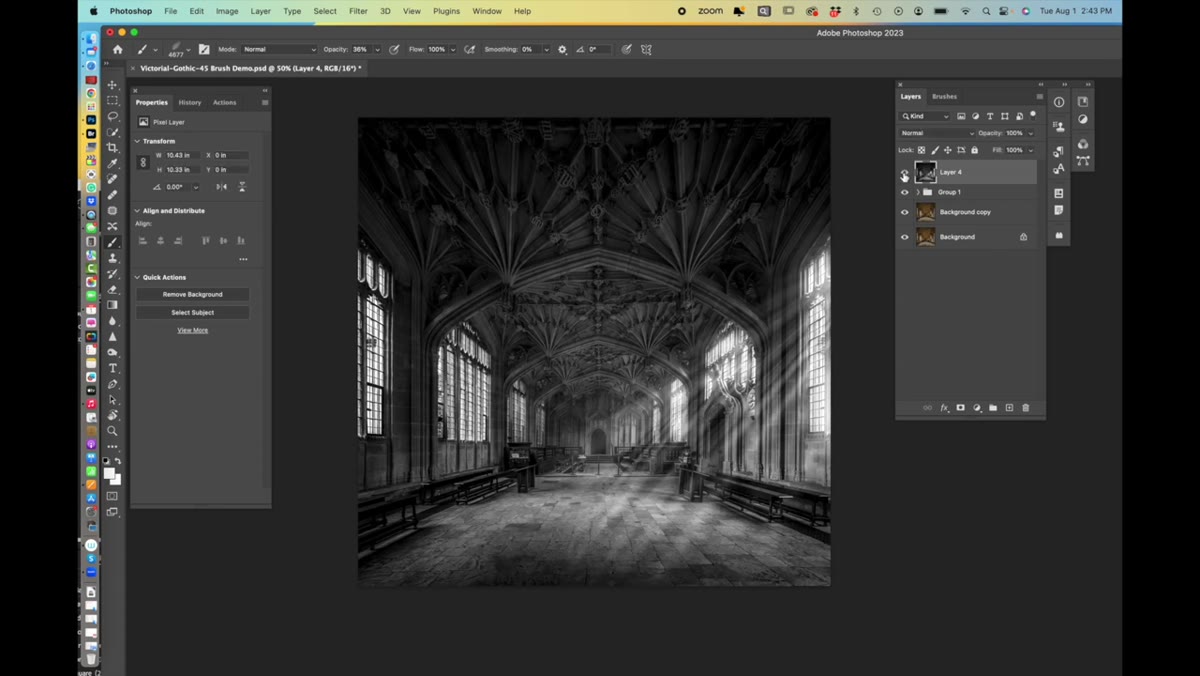
Grimes converts the image to black and white after the atmosphere work is done, using a Black and White adjustment layer. This is a personal choice, not a requirement, but the reasoning makes sense: a lot of dramatic atmosphere reads even more powerfully without color competing for attention. Once desaturated, he adds a Levels adjustment to snap up the contrast and then uses gradient layers, one dark gradient pulled in from the top, one from the bottom, to create a subtle vignette effect that frames the center of the image.
Black and white conversion applied over atmosphere layers with levels adjustment
Grimes converts the image to black and white after the atmosphere work is done, using a Black and White adjustment layer. This is a personal choice, not a requirement, but the reasoning makes sense: a lot of dramatic atmosphere reads even more powerfully without color competing for attention. Once desaturated, he adds a Levels adjustment to snap up the contrast and then uses gradient layers, one dark gradient pulled in from the top, one from the bottom, to create a subtle vignette effect that frames the center of the image.
If you’re keeping your image in color, skip the conversion but still consider the gradient vignette. It does a lot of work quietly.
Step 6: Finish With a Drama Pass in a Plugin
 Luminar plugin interface with drama/clarity enhancement applied
The final step Grimes uses is running the image through Luminar for an additional drama boost. He doesn’t go deep on the settings here, but the idea is to add a bit of micro-contrast and clarity that makes the whole thing feel more textured and real. If you don’t have Luminar, Photoshop’s own Camera Raw filter has a Texture and Clarity slider that does something similar. Apply it at 20 to 30 percent and see if it adds the crunch you’re looking for.
Luminar plugin interface with drama/clarity enhancement applied
The final step Grimes uses is running the image through Luminar for an additional drama boost. He doesn’t go deep on the settings here, but the idea is to add a bit of micro-contrast and clarity that makes the whole thing feel more textured and real. If you don’t have Luminar, Photoshop’s own Camera Raw filter has a Texture and Clarity slider that does something similar. Apply it at 20 to 30 percent and see if it adds the crunch you’re looking for.
One Thing I’d Add: Use Blend Modes Aggressively
When I started experimenting with atmosphere brushes, I kept them all on Normal blend mode and then wondered why everything looked like someone had rubbed a cotton ball on my monitor. The real unlock is trying Screen and Soft Light for lighter atmosphere effects, and Multiply if you’re adding dark, smoky drama. Each blend mode interacts differently with what’s underneath, and spending ten minutes just cycling through them on a single layer will teach you more than any written explanation.
Also worth noting: the atmosphere brushes work just as well on color composites as they do on black and white. I’ve used similar techniques on sports portraits with colored arena lights in the background, and painting in matching colored haze using a brush set to Screen basically makes the whole thing look like the athlete is actually standing in that environment.
The single biggest thing this tutorial drove home for me is that atmosphere is not something you can fake with a slider. It has to be built deliberately, in layers, with tools designed for it. Grimes has spent years developing brushes that actually behave like light and fog rather than just looking like a Photoshop effect, and that specificity matters.
If you want to build the kind of cinematic drama that makes a composite feel like a photograph rather than a digital construction, this is the place to start. Watch the full tutorial on YouTube and grab the practice files so you can follow along in real time.
Comments
Leave a Comment