
Most of my early Photoshop disasters came down to using the wrong selection tool for the job. I’d reach for the regular Lasso like it owed me something, spend ten minutes wrestling with a wobbly outline, and then wonder why my composites looked like they were cut out with safety scissors. It took me an embarrassingly long time to realize Photoshop gives you three distinct Lasso tools for a reason, and each one has a specific sweet spot.
In this Aaron Nace (PHLEARN) tutorial, Watch the full tutorial on YouTube, Aaron breaks down all three Lasso tools with the kind of clarity that makes you slap your forehead and think “why did no one tell me this earlier.” The three tools are the standard Lasso, the Polygonal Lasso, and the Magnetic Lasso. They share the same spot in your toolbar and the same keyboard shortcut (L), but they behave completely differently. Understanding those differences will save you a lot of time and a lot of swearing.
What I appreciate about Aaron’s approach here is that he doesn’t just explain what the tools do. He tells you when NOT to use them, which is honestly more useful. Here’s the full breakdown so you can follow along without having the video open.
Step 1: Find All Three Lasso Tools in the Toolbar
 Photoshop toolbar showing all three lasso tool options
The Lasso tool lives in your left toolbar, and if you’ve only ever clicked it once, you’ve probably only ever used the standard version. Right-click or click-and-hold the Lasso icon to reveal the flyout menu showing all three options: the regular Lasso, the Polygonal Lasso, and the Magnetic Lasso. You can cycle through them with Shift + L, which is worth burning into your muscle memory right now. Knowing they exist is step one. Knowing how to switch between them quickly is what actually makes you faster.
Photoshop toolbar showing all three lasso tool options
The Lasso tool lives in your left toolbar, and if you’ve only ever clicked it once, you’ve probably only ever used the standard version. Right-click or click-and-hold the Lasso icon to reveal the flyout menu showing all three options: the regular Lasso, the Polygonal Lasso, and the Magnetic Lasso. You can cycle through them with Shift + L, which is worth burning into your muscle memory right now. Knowing they exist is step one. Knowing how to switch between them quickly is what actually makes you faster.
Step 2: Use the Standard Lasso for Organic, Freeform Shapes
 Standard lasso tool active, freehand selection being drawn
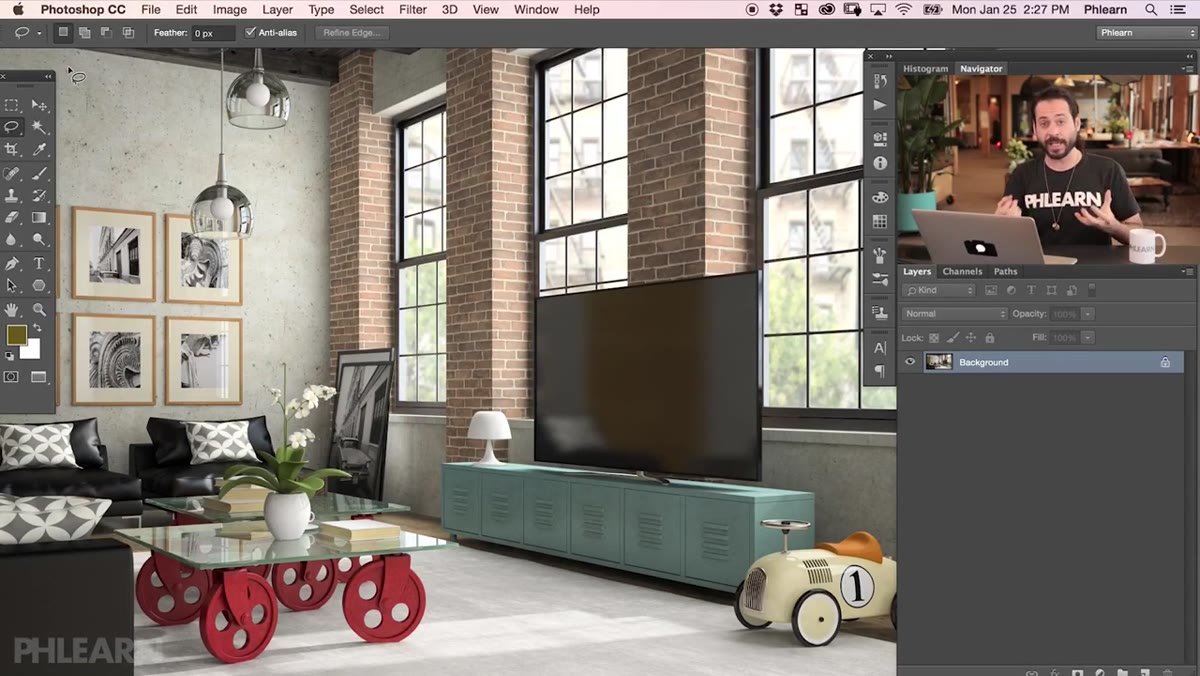
The regular Lasso works exactly like drawing with a pen. You click and drag, and Photoshop records every movement your cursor makes. The important insight Aaron makes here is that this tool is not for precise work. If you need a clean, controlled edge around a subject, the standard Lasso is going to fight you every step of the way because human hands are not steady enough for that. What it IS great for is selecting things that are supposed to look organic and irregular. Think irregular shapes, rough outlines, or any selection where perfect accuracy isn’t the point.
Standard lasso tool active, freehand selection being drawn
The regular Lasso works exactly like drawing with a pen. You click and drag, and Photoshop records every movement your cursor makes. The important insight Aaron makes here is that this tool is not for precise work. If you need a clean, controlled edge around a subject, the standard Lasso is going to fight you every step of the way because human hands are not steady enough for that. What it IS great for is selecting things that are supposed to look organic and irregular. Think irregular shapes, rough outlines, or any selection where perfect accuracy isn’t the point.
Step 3: Apply the Standard Lasso to Something That Actually Makes Sense
 New layer created, freehand lasso selection drawn to simulate a stain shape
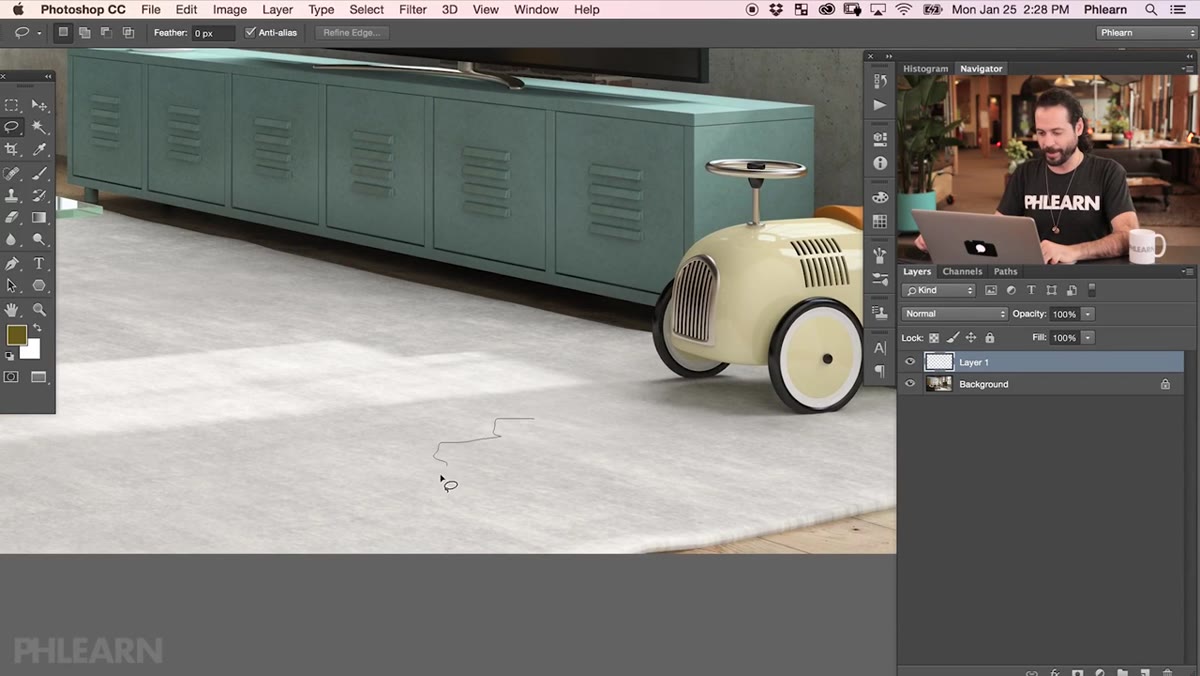
Aaron’s demo here is clever. He creates a new layer and uses the standard Lasso to draw a selection that mimics a spill or stain on a carpet. An irregular blob shape is exactly where this tool shines. Once the selection is drawn, he fills it using the Brush tool (painting only inside the selection), then uses Gaussian Blur under Filter to soften the edges. The result actually looks convincing. The takeaway is that the standard Lasso isn’t a limitation, it’s a feature when your subject is supposed to look natural and imprecise. Mountain silhouettes, smoke shapes, hand-painted masks, splatters, all of these are fair game.
New layer created, freehand lasso selection drawn to simulate a stain shape
Aaron’s demo here is clever. He creates a new layer and uses the standard Lasso to draw a selection that mimics a spill or stain on a carpet. An irregular blob shape is exactly where this tool shines. Once the selection is drawn, he fills it using the Brush tool (painting only inside the selection), then uses Gaussian Blur under Filter to soften the edges. The result actually looks convincing. The takeaway is that the standard Lasso isn’t a limitation, it’s a feature when your subject is supposed to look natural and imprecise. Mountain silhouettes, smoke shapes, hand-painted masks, splatters, all of these are fair game.
Step 4: Add to and Subtract from Your Selection with Keyboard Shortcuts
 Shift key held down, additional area being added to existing lasso selection
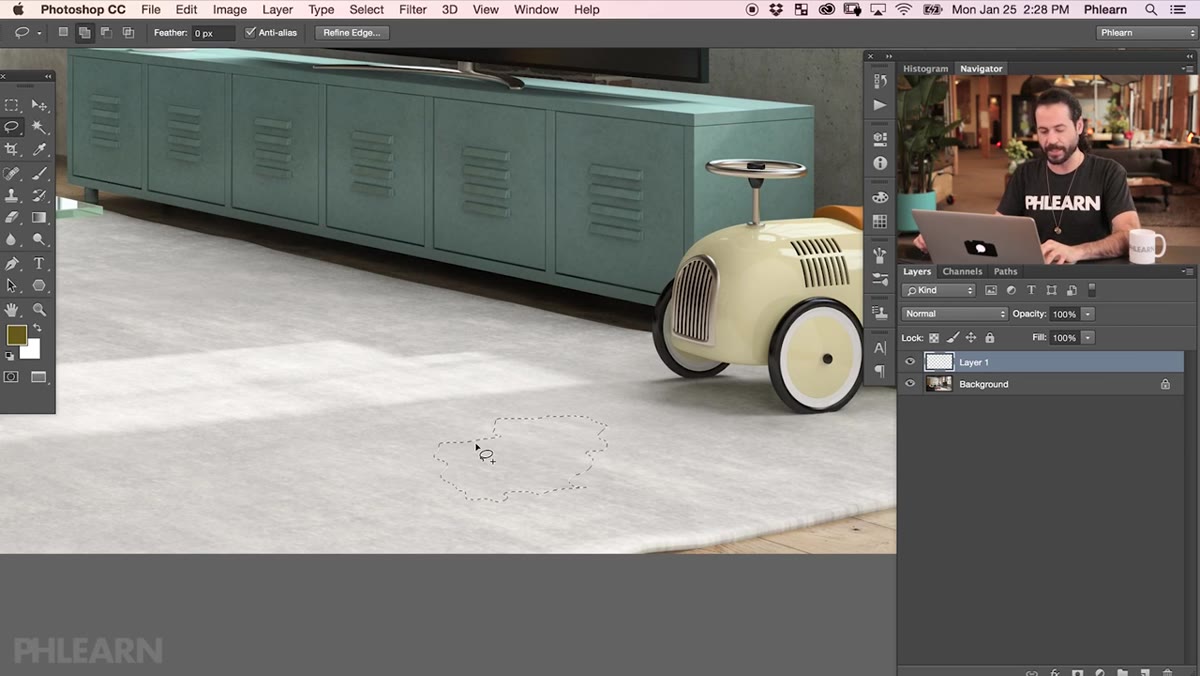
This is the part most beginners skip, and it’s genuinely a game changer. While any Lasso tool is active, holding Shift before you draw lets you add a new section to your existing selection. Holding Alt (Option on Mac) lets you subtract a section from what you’ve already got. You can build up complex, multi-part selections by chaining these together rather than trying to get everything perfect in a single pass. Once you’re done, Command + D (Ctrl + D on PC) deselects everything. This add/subtract workflow applies to all three Lasso tools, so it’s worth practicing until it feels automatic.
Shift key held down, additional area being added to existing lasso selection
This is the part most beginners skip, and it’s genuinely a game changer. While any Lasso tool is active, holding Shift before you draw lets you add a new section to your existing selection. Holding Alt (Option on Mac) lets you subtract a section from what you’ve already got. You can build up complex, multi-part selections by chaining these together rather than trying to get everything perfect in a single pass. Once you’re done, Command + D (Ctrl + D on PC) deselects everything. This add/subtract workflow applies to all three Lasso tools, so it’s worth practicing until it feels automatic.
Step 5: Switch to the Polygonal Lasso for Straight-Edged Subjects
 Polygonal lasso tool selected, clicking points to create straight-edged selection
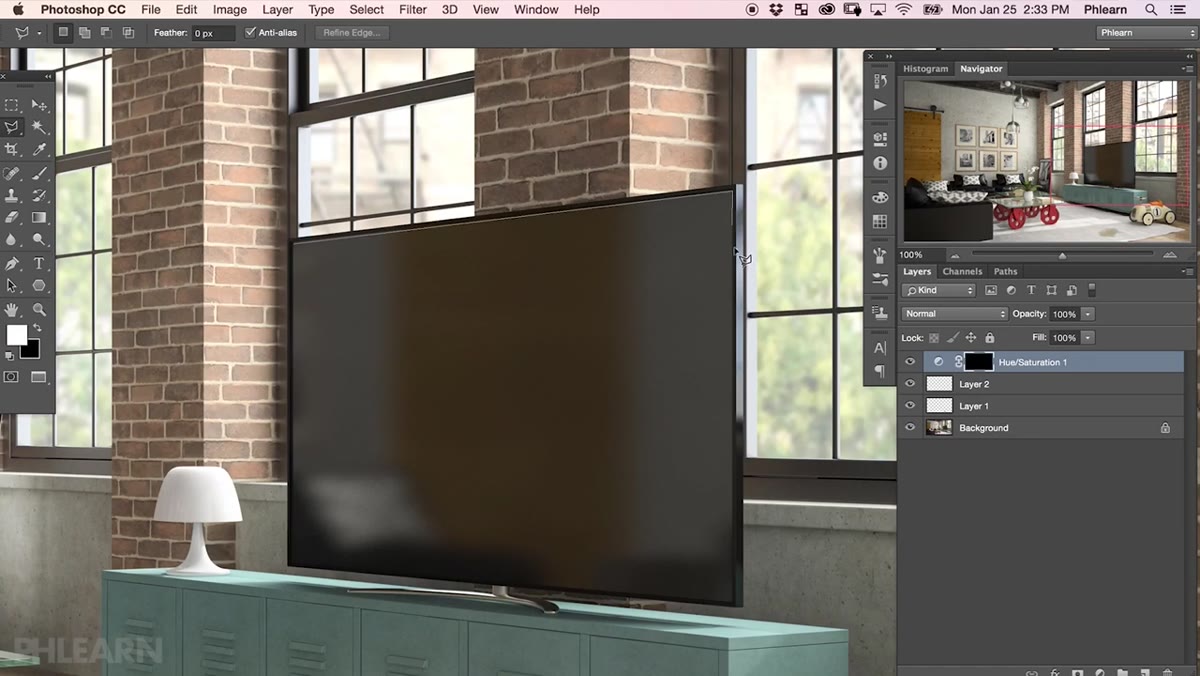
The Polygonal Lasso doesn’t track your cursor movement continuously. Instead, it draws straight lines between each point you click. This makes it ideal for anything with hard, angular edges, like buildings, windows, furniture, or product shots on a flat surface. You click once to set a point, move your cursor to the next corner, click again, and Photoshop draws a perfectly straight line between them. To close the selection, either click back on your starting point or double-click anywhere and Photoshop will close it automatically. If you’ve ever tried to select a rectangular object with the standard Lasso and watched the line drift all over the place, the Polygonal Lasso is the fix you’ve been looking for.
Polygonal lasso tool selected, clicking points to create straight-edged selection
The Polygonal Lasso doesn’t track your cursor movement continuously. Instead, it draws straight lines between each point you click. This makes it ideal for anything with hard, angular edges, like buildings, windows, furniture, or product shots on a flat surface. You click once to set a point, move your cursor to the next corner, click again, and Photoshop draws a perfectly straight line between them. To close the selection, either click back on your starting point or double-click anywhere and Photoshop will close it automatically. If you’ve ever tried to select a rectangular object with the standard Lasso and watched the line drift all over the place, the Polygonal Lasso is the fix you’ve been looking for.
Step 6: Use the Magnetic Lasso to Let Photoshop Do the Heavy Lifting
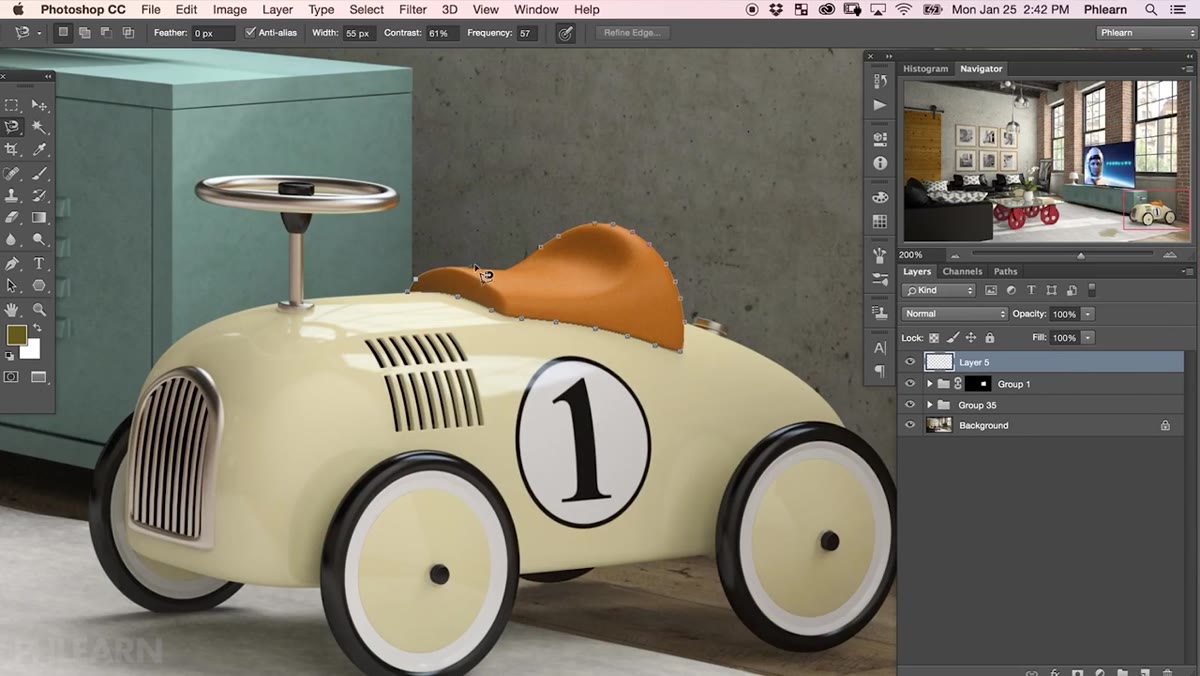 Magnetic lasso tracing object edge automatically, anchor points snapping to contrast edges
The Magnetic Lasso is where things get interesting. Instead of relying entirely on your hand movements, this tool analyzes the contrast between the subject and its background and tries to snap to the edge automatically. You click to start, move your cursor along the edge of your subject (without holding the mouse button), and watch Photoshop place anchor points as it detects where the edge is. It works best when there’s a clear contrast difference between the subject and the background. For complex edges with lots of texture or low contrast, it can go off the rails quickly. But for clean product shots or subjects against a distinct background, it can get you 80% of the way there without much effort. You can also click manually to add your own anchor points whenever the tool starts to drift.
Magnetic lasso tracing object edge automatically, anchor points snapping to contrast edges
The Magnetic Lasso is where things get interesting. Instead of relying entirely on your hand movements, this tool analyzes the contrast between the subject and its background and tries to snap to the edge automatically. You click to start, move your cursor along the edge of your subject (without holding the mouse button), and watch Photoshop place anchor points as it detects where the edge is. It works best when there’s a clear contrast difference between the subject and the background. For complex edges with lots of texture or low contrast, it can go off the rails quickly. But for clean product shots or subjects against a distinct background, it can get you 80% of the way there without much effort. You can also click manually to add your own anchor points whenever the tool starts to drift.
When the Lasso Tools Are the Wrong Choice Entirely
Here’s the caveat Aaron doesn’t have time to go deep on, but I’ve learned through experience. If you’re selecting a subject that has any kind of fine detail along its edges, such as hair, fur, fabric fringe, or anything semi-transparent, all three Lasso tools are going to leave you with edges that look cut out rather than composited. For those situations, you want to look at Select and Mask with the Refine Edge Brush, or use channels for really complex hair. The Lasso tools are fast and useful, but they’re blunt instruments. Save them for the jobs that match their strengths: bold shapes, geometric subjects, and organic fills where the imprecision is actually part of the look.
The single most useful thing I took from this tutorial is Aaron’s framing around the standard Lasso. Stop trying to use it for precise selections and start using it for shapes where irregular and hand-drawn is the actual goal. That mental reframe makes the tool useful instead of frustrating. Watch the full tutorial on YouTube to see Aaron walk through each tool with live examples, including some before/after demonstrations that make the differences click faster than any written description can.
Comments
Leave a Comment