Early in my freelance career, I had a bad habit of editing directly on original files. No layers, no backup copies, just reckless confidence and a fast save button. You can probably guess how that story ends. I lost work, I re-did edits I’d already done, and I spent an embarrassing amount of time explaining to clients why their “finished” photos needed to be “finished” again. The fix was stupidly simple, and it came down to understanding one concept: non-destructive editing.
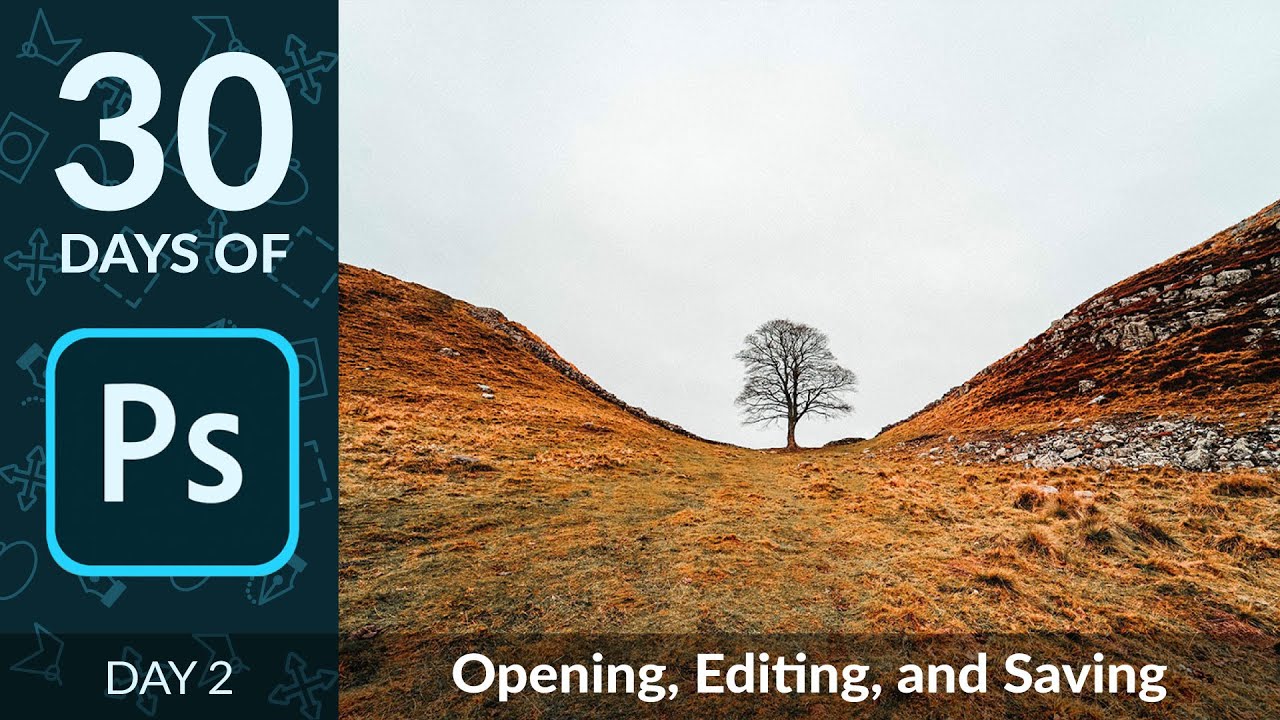
In this Aaron Nace (PHLEARN) tutorial from his “30 Days of Photoshop” series, Day 2 covers the fundamentals of opening images, combining them into a single document, and saving your work in the right formats. Watch the full tutorial on YouTube if you want to follow along with Aaron’s sample images. The practical project here is a sky swap and tree removal, but the real lesson is how to set up a Photoshop workflow that doesn’t eventually blow up in your face.
The whole thing takes less than the time it takes me to order a coffee (I’d know, I’m writing this from a booth at my regular spot in Austin), but the habits it builds will save you hours. Here’s the breakdown.
Step 1: Open Multiple Images at Once
 Open dialog with two sample images selected in folder
Most people open one image at a time out of habit. Photoshop lets you open several files in a single move. Hit Ctrl + O (Windows) or Cmd + O (Mac) to bring up the Open dialog, navigate to your folder, then hold Ctrl or Cmd and click each file you want. Hit Open and they all load simultaneously. You can also double-click an empty area of the Photoshop canvas to trigger the same dialog, which is the kind of shortcut that feels slightly illegal the first time you use it.
Open dialog with two sample images selected in folder
Most people open one image at a time out of habit. Photoshop lets you open several files in a single move. Hit Ctrl + O (Windows) or Cmd + O (Mac) to bring up the Open dialog, navigate to your folder, then hold Ctrl or Cmd and click each file you want. Hit Open and they all load simultaneously. You can also double-click an empty area of the Photoshop canvas to trigger the same dialog, which is the kind of shortcut that feels slightly illegal the first time you use it.
Step 2: Switch Between Tabs and Floating Windows
 Two images arranged as floating windows on the canvas
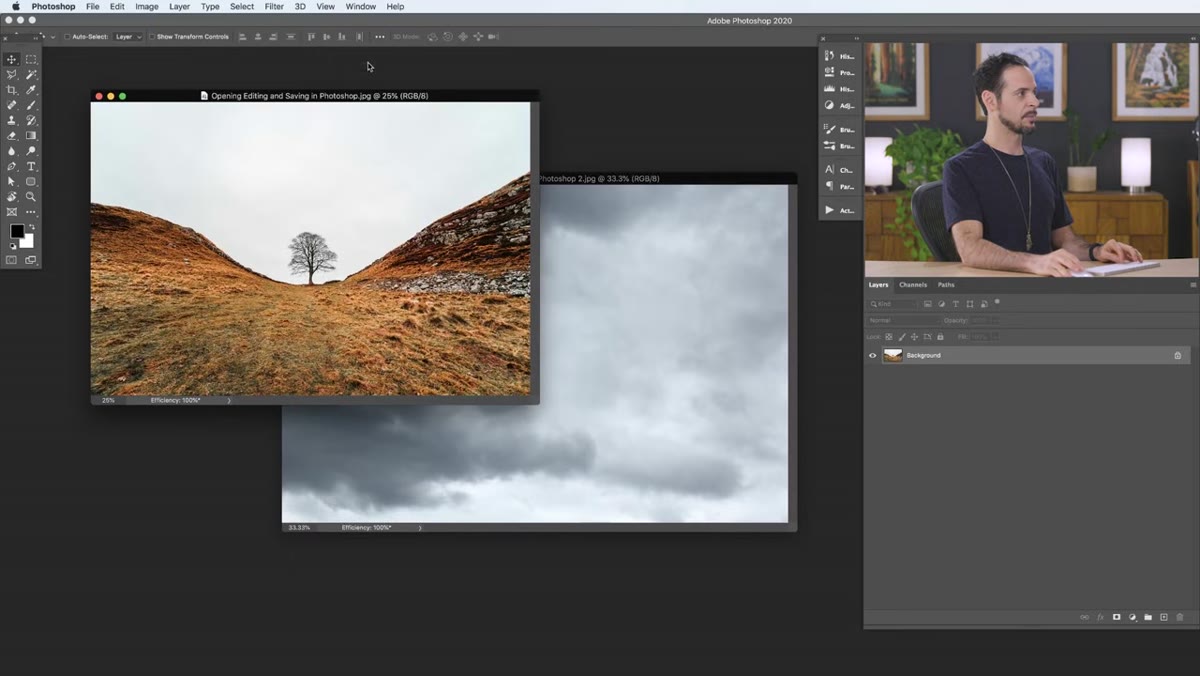
By default, Photoshop opens images as tabs along the top of the workspace. That works fine for some people, but personally I find floating windows easier to work with when I’m combining images. To convert your tabs into windows, go to Window > Arrange > Consolidate All to Tabs, and then click and drag individual tabs down off the tab bar to pop them into their own windows. If you want this to be your permanent default, go to Photoshop > Preferences > Workspace and uncheck “Open Documents as Tabs.” Set it once, move on with your life.
Two images arranged as floating windows on the canvas
By default, Photoshop opens images as tabs along the top of the workspace. That works fine for some people, but personally I find floating windows easier to work with when I’m combining images. To convert your tabs into windows, go to Window > Arrange > Consolidate All to Tabs, and then click and drag individual tabs down off the tab bar to pop them into their own windows. If you want this to be your permanent default, go to Photoshop > Preferences > Workspace and uncheck “Open Documents as Tabs.” Set it once, move on with your life.
Step 3: Combine Two Images Into One Document
 Sky layer being dragged from Layers panel into landscape document
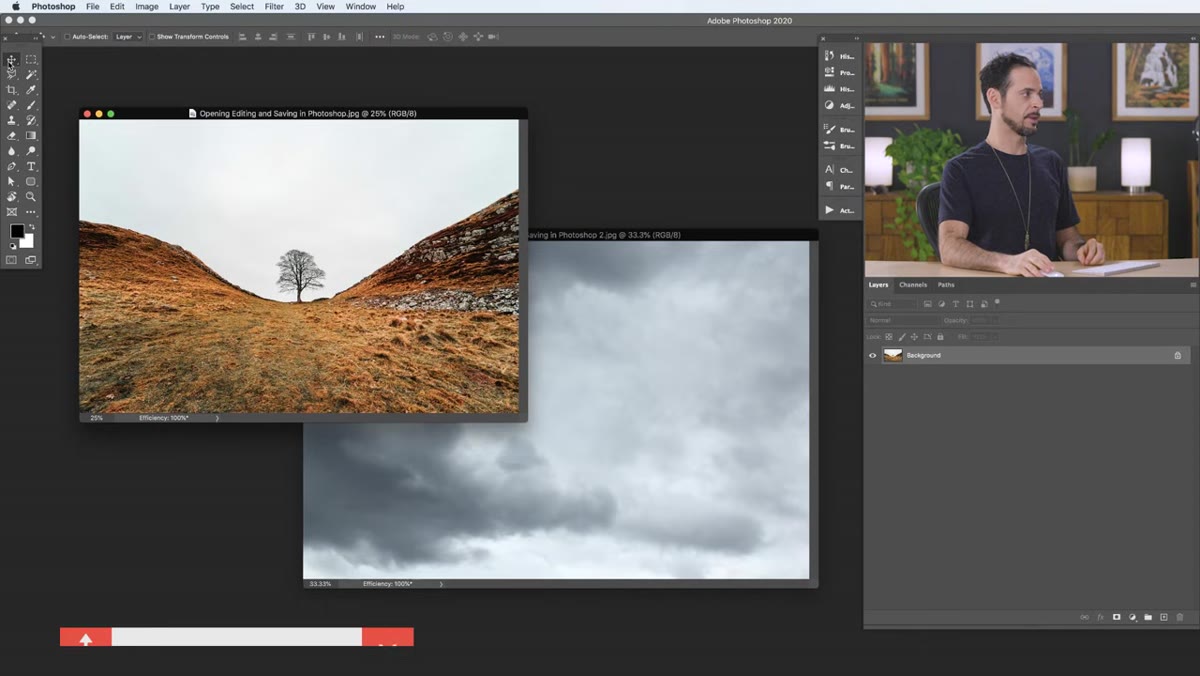
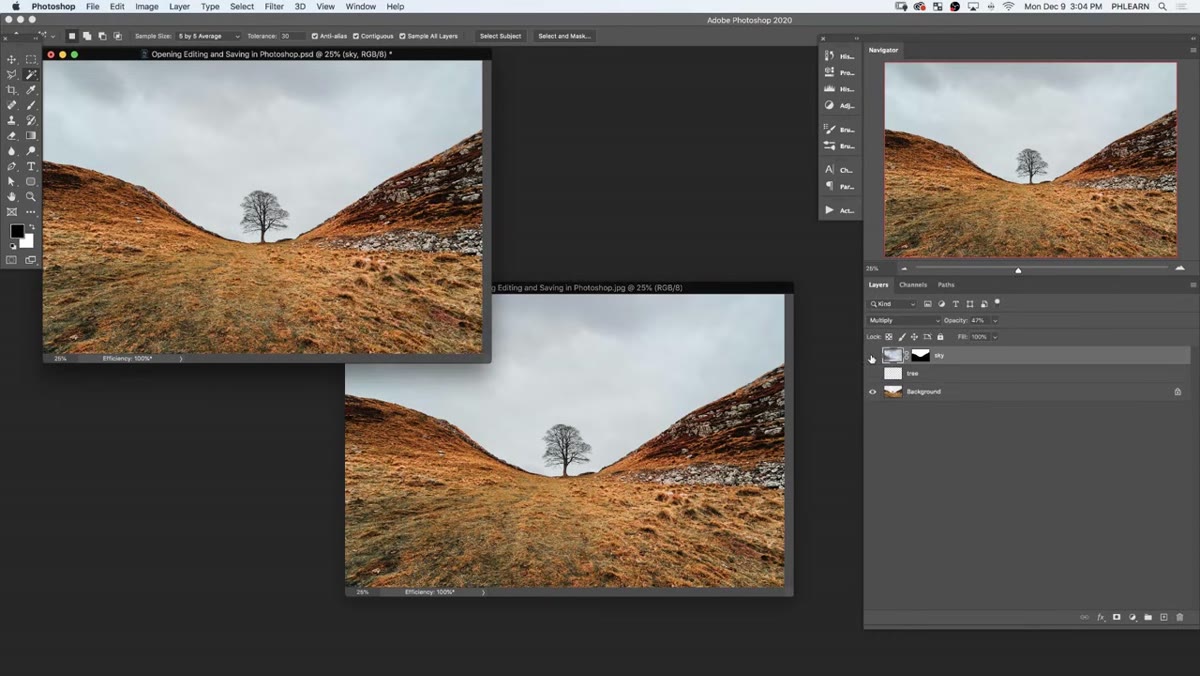
Here’s where people often do it the clunky way: copy, paste, hope the alignment works out. The cleaner method is using the Move Tool (keyboard shortcut: V) to drag directly from one document to another. But Aaron’s preferred approach is even cleaner. Open your Layers panel (if it’s not visible, go to Window > Layers), then click and drag the layer thumbnail from the Layers panel directly into the second document’s canvas. This gives you more control over what you’re moving and avoids accidentally grabbing the wrong thing. The layer lands in the destination document and you can reposition it with the Move Tool from there.
Sky layer being dragged from Layers panel into landscape document
Here’s where people often do it the clunky way: copy, paste, hope the alignment works out. The cleaner method is using the Move Tool (keyboard shortcut: V) to drag directly from one document to another. But Aaron’s preferred approach is even cleaner. Open your Layers panel (if it’s not visible, go to Window > Layers), then click and drag the layer thumbnail from the Layers panel directly into the second document’s canvas. This gives you more control over what you’re moving and avoids accidentally grabbing the wrong thing. The layer lands in the destination document and you can reposition it with the Move Tool from there.
Step 4: Close What You Don’t Need
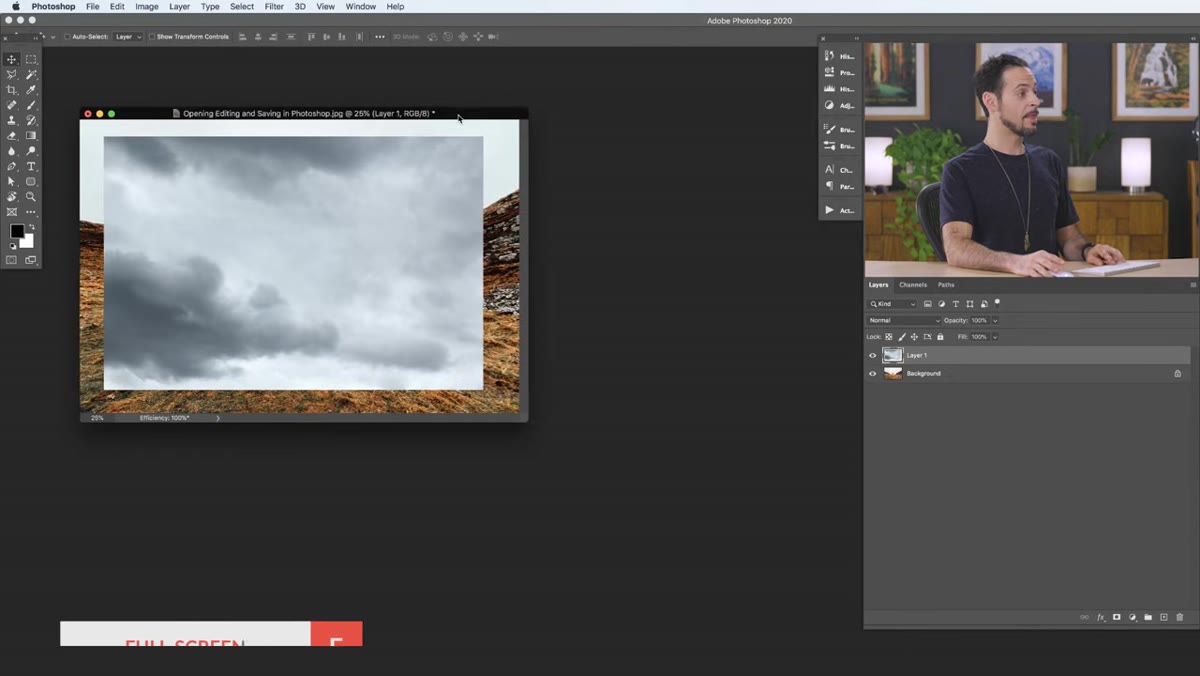 Clicking the X to close the now-unused sky document
Once you’ve moved your layer into the working document, the source file is just taking up space. Close it by clicking the X on its tab or window. No need to save it unless you made changes you care about. Keeping your workspace clean isn’t just aesthetic. Fewer open documents means less RAM being choked, and on a busy composite that matters more than you’d think.
Clicking the X to close the now-unused sky document
Once you’ve moved your layer into the working document, the source file is just taking up space. Close it by clicking the X on its tab or window. No need to save it unless you made changes you care about. Keeping your workspace clean isn’t just aesthetic. Fewer open documents means less RAM being choked, and on a busy composite that matters more than you’d think.
Step 5: Use Full-Screen Mode to Focus
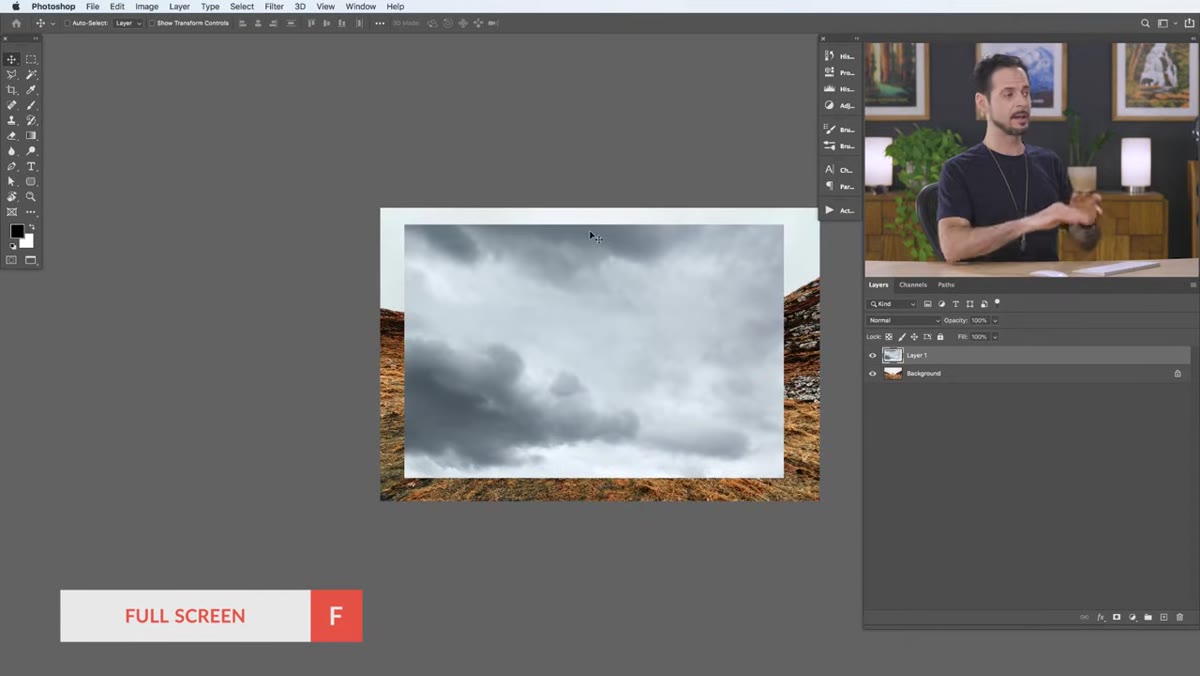 Canvas in full-screen mode with gray surround visible
Tap F to cycle through Photoshop’s screen modes. Full-screen mode strips away everything except the canvas and your tools, which makes it much easier to evaluate your image without the interface eating into your visual judgment. Tap F again to cycle back. This is one of those things I resisted for ages and now use constantly, usually when I’m about 45 minutes into a retouch and I need to see whether something actually looks good or if I’ve just been staring too long.
Canvas in full-screen mode with gray surround visible
Tap F to cycle through Photoshop’s screen modes. Full-screen mode strips away everything except the canvas and your tools, which makes it much easier to evaluate your image without the interface eating into your visual judgment. Tap F again to cycle back. This is one of those things I resisted for ages and now use constantly, usually when I’m about 45 minutes into a retouch and I need to see whether something actually looks good or if I’ve just been staring too long.
Step 6: Save a Layered PSD to Preserve Your Work
 Save dialog showing PSD format option selected
Non-destructive editing only works if you actually save a file that preserves your layers. Go to File > Save As and choose Photoshop (.PSD) as the format. This keeps every layer, mask, and adjustment intact so you can come back and change anything. Think of your PSD as the project file, not the deliverable. It’s the thing you never want to lose.
Save dialog showing PSD format option selected
Non-destructive editing only works if you actually save a file that preserves your layers. Go to File > Save As and choose Photoshop (.PSD) as the format. This keeps every layer, mask, and adjustment intact so you can come back and change anything. Think of your PSD as the project file, not the deliverable. It’s the thing you never want to lose.
Step 7: Export a Flattened JPEG or PNG for Sharing
 Save As dialog with JPEG format and PNG format options visible
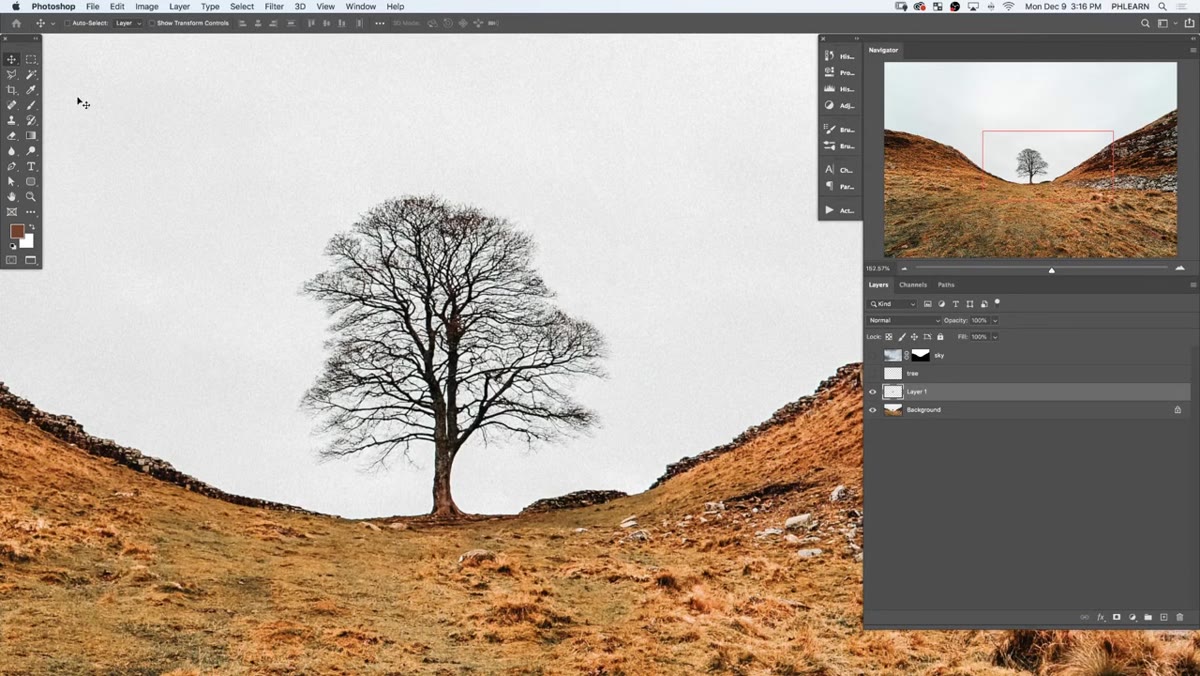
When a client needs a file, they don’t need your PSD. They need a JPEG or PNG. Go to File > Save As and choose JPEG for standard photos. The quality slider goes from 0 to 12 in Photoshop’s JPEG dialog. Anything between 8 and 10 is usually the sweet spot for web use. If your image has transparency you need to preserve (like that isolated tree Aaron pulls out with a transparent background), save as PNG instead. PNG supports alpha channels, JPEG does not. Export the wrong format and your transparent areas become white, which is always a fun thing to explain to someone.
Save As dialog with JPEG format and PNG format options visible
When a client needs a file, they don’t need your PSD. They need a JPEG or PNG. Go to File > Save As and choose JPEG for standard photos. The quality slider goes from 0 to 12 in Photoshop’s JPEG dialog. Anything between 8 and 10 is usually the sweet spot for web use. If your image has transparency you need to preserve (like that isolated tree Aaron pulls out with a transparent background), save as PNG instead. PNG supports alpha channels, JPEG does not. Export the wrong format and your transparent areas become white, which is always a fun thing to explain to someone.
One Thing I’d Add: Save Versions, Not Just Saves
Here’s something Aaron doesn’t specifically cover but that I wish someone had drilled into me earlier. Get into the habit of saving incremental versions of your PSD throughout a project, not just one file you keep overwriting. I use a simple naming convention: project_v01.psd, project_v02.psd, and so on. It sounds paranoid until the day you make twenty changes, realize you preferred how it looked three hours ago, and have no way back. I’ve been that person. After the incident where I restructured a client composite and then discovered the original approach was actually what they wanted, I stopped being precious about disk space.
The single most important idea in this tutorial is this: your PSD is your safety net, and your JPEG or PNG is your output. Keeping those two things separate is the foundation of a workflow that doesn’t eventually eat your work. Get that habit locked in before anything else.
Watch the full tutorial on YouTube to follow along with Aaron’s sample images and see the sky swap and tree isolation come together in real time.
Comments
Leave a Comment