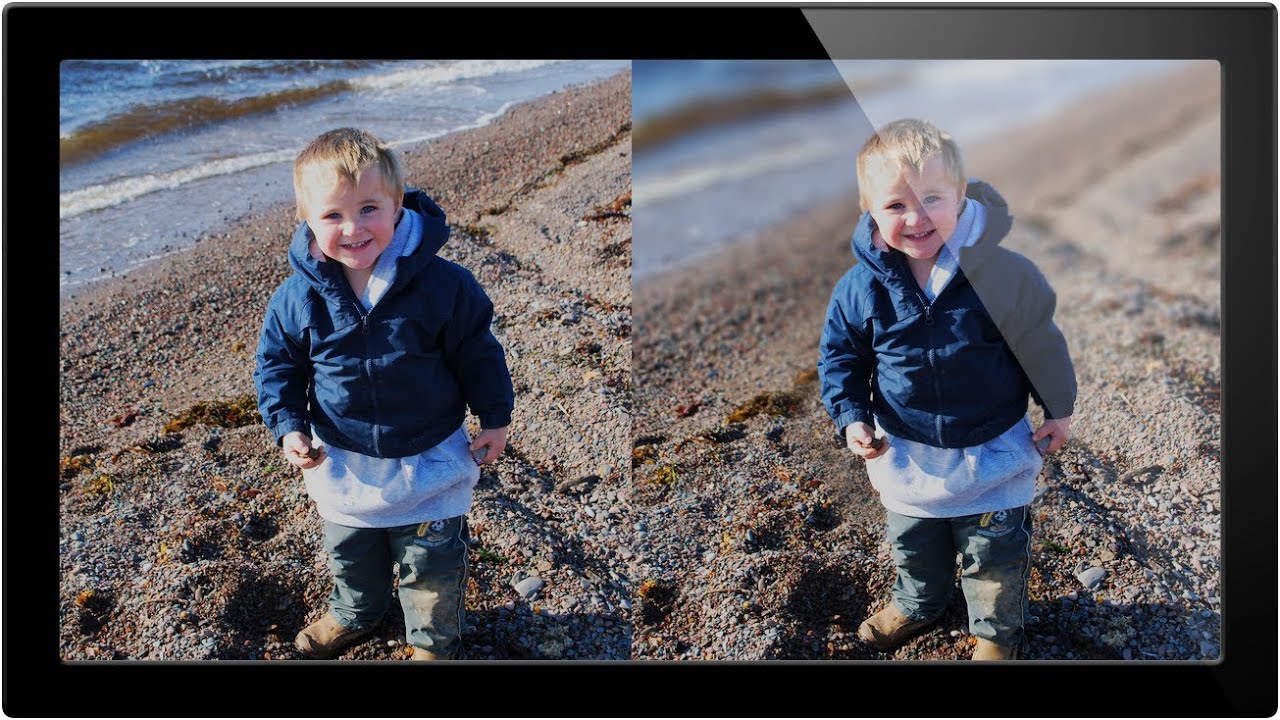
Client sends you a photo. Great moment, decent light, totally flat background. No separation between the subject and everything behind them because whoever shot it was working with a kit lens at f/8. Now they want that creamy, subject-pops-off-the-frame look that costs about $1,500 in glass to achieve in-camera. This is a situation I’ve been in more times than I care to count, and it’s exactly why I keep coming back to this kind of Photoshop trickery.
In this Aaron Nace (PHLEARN) tutorial, Watch the full tutorial on YouTube, Aaron walks through how to simulate a shallow depth of field effect entirely in post. The core idea is simple: isolate your subject, blur the background, and make it look like the camera did the work. The execution takes a bit of patience, but the result is convincing enough that most people will never question it.
One thing Aaron flags upfront that I think is genuinely useful advice: this technique works best when there’s actual physical distance between your subject and the background in the photo. If someone is standing two feet in front of a brick wall, no amount of Photoshop wizardry is going to make that look naturally blurred. The more depth that exists in the original scene, the more believable the final result. Pick your battles wisely.
Step 1: Assess the Photo Before You Touch Anything
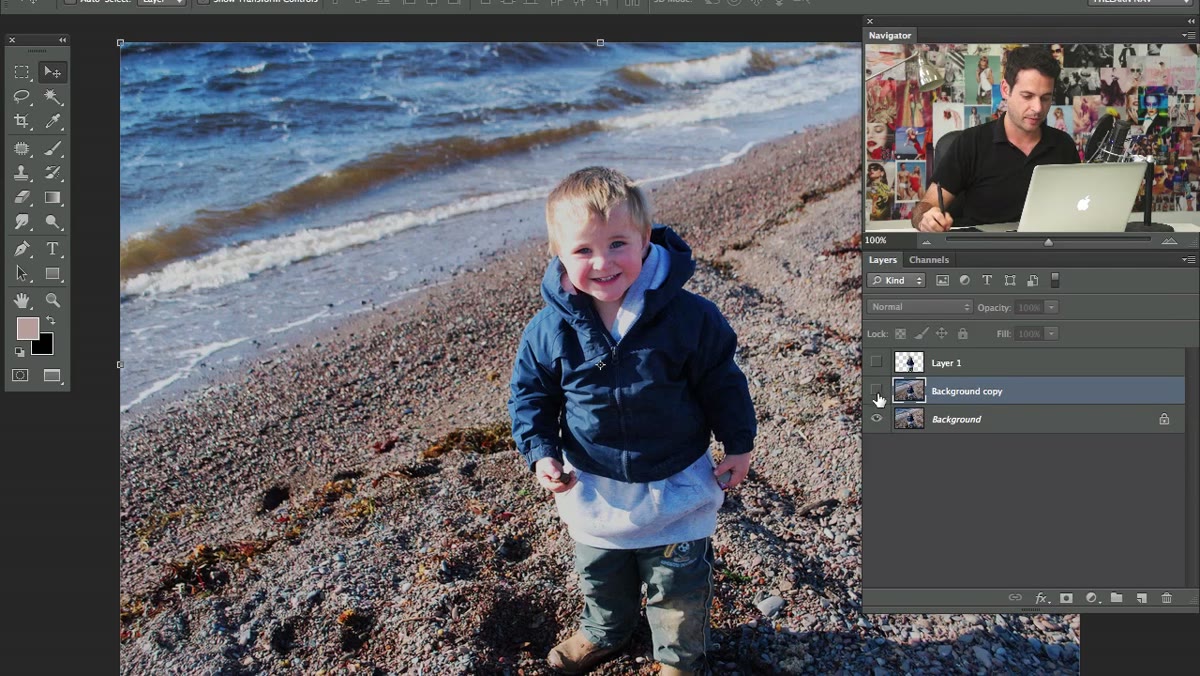
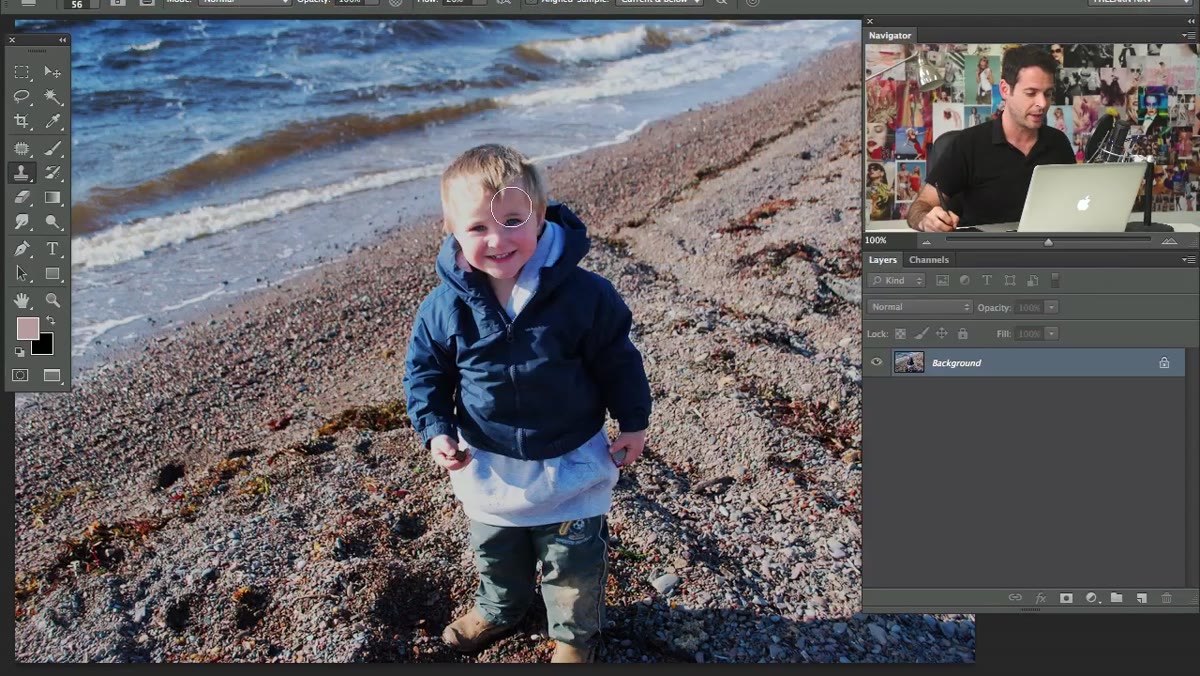 Tutorial photo of child subject with simple background visible
Before you grab a single tool, take a good look at the image and figure out what needs to be in focus and what needs to fall off. In Aaron’s example, he’s working with a photo of a kid where the subject’s front side should be sharp and the background should go soft. That decision point matters because it tells you exactly what you need to mask and what relationship the blur should have to the image depth. A photo with a busy or complex background isn’t off-limits, but it will take longer to mask cleanly. Simple backgrounds are your friend here.
Tutorial photo of child subject with simple background visible
Before you grab a single tool, take a good look at the image and figure out what needs to be in focus and what needs to fall off. In Aaron’s example, he’s working with a photo of a kid where the subject’s front side should be sharp and the background should go soft. That decision point matters because it tells you exactly what you need to mask and what relationship the blur should have to the image depth. A photo with a busy or complex background isn’t off-limits, but it will take longer to mask cleanly. Simple backgrounds are your friend here.
Step 2: Start Your Selection with the Magnetic Lasso Tool
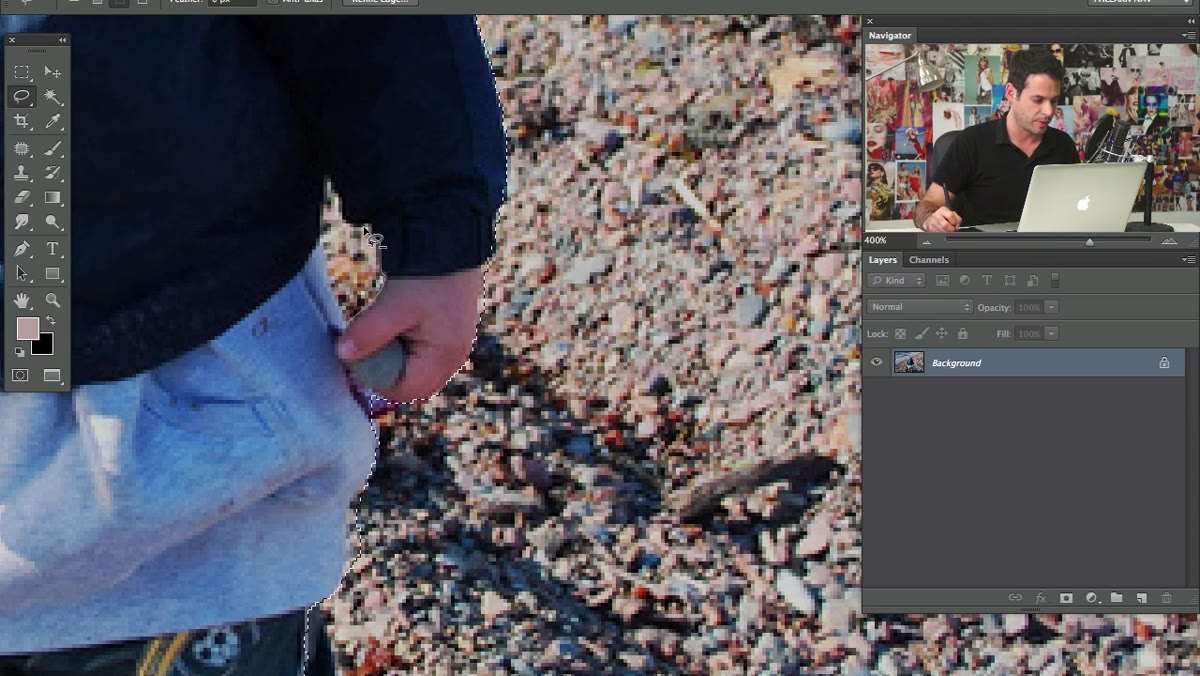
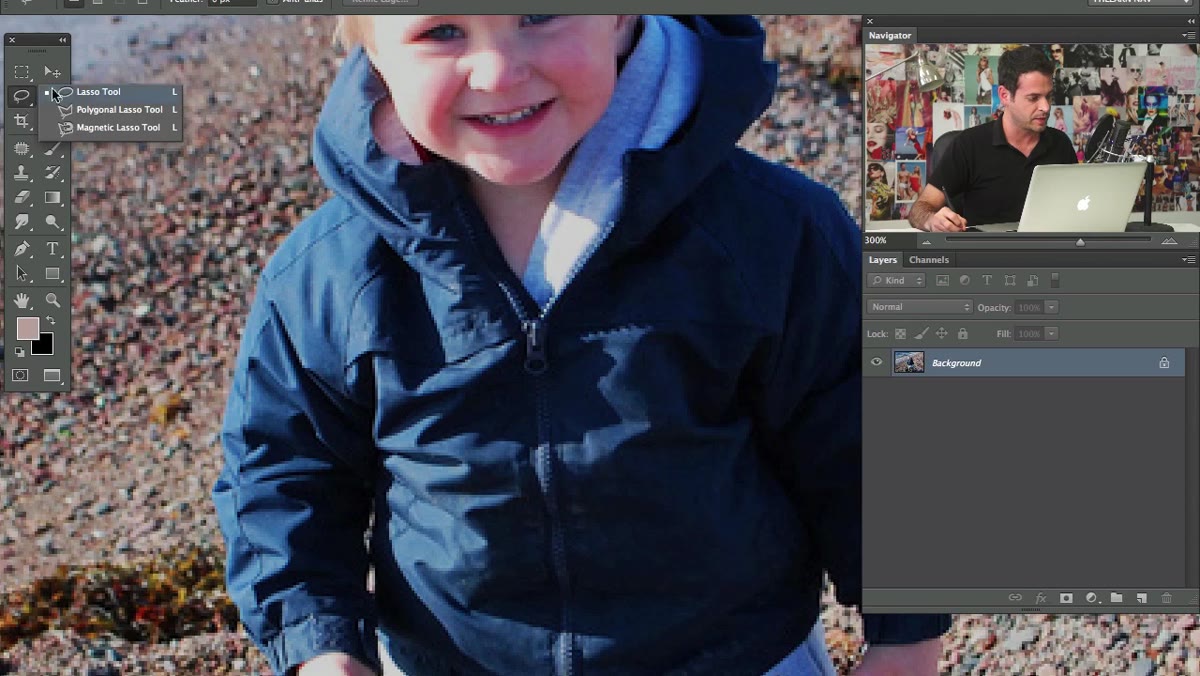 Magnetic Lasso tool tracing the edge of the subject
Grab the Magnetic Lasso tool from the toolbar (it’s nested under the regular Lasso). Click once on the edge of your subject and then just move your cursor slowly along the outline without clicking repeatedly. The tool automatically snaps to contrast edges, which makes it surprisingly fast for subjects with clear separation from their background. It’s not perfect, and Aaron is refreshingly honest about that. Think of it as doing 80 to 90 percent of the heavy lifting so you’re not manually tracing the whole silhouette.
Magnetic Lasso tool tracing the edge of the subject
Grab the Magnetic Lasso tool from the toolbar (it’s nested under the regular Lasso). Click once on the edge of your subject and then just move your cursor slowly along the outline without clicking repeatedly. The tool automatically snaps to contrast edges, which makes it surprisingly fast for subjects with clear separation from their background. It’s not perfect, and Aaron is refreshingly honest about that. Think of it as doing 80 to 90 percent of the heavy lifting so you’re not manually tracing the whole silhouette.
Hair and complex edges will trip it up. That’s expected. Just keep moving around the subject and close the selection by double-clicking when you return to your starting point. You’ll refine it in the next step.
Step 3: Refine the Selection with the Standard Lasso Tool
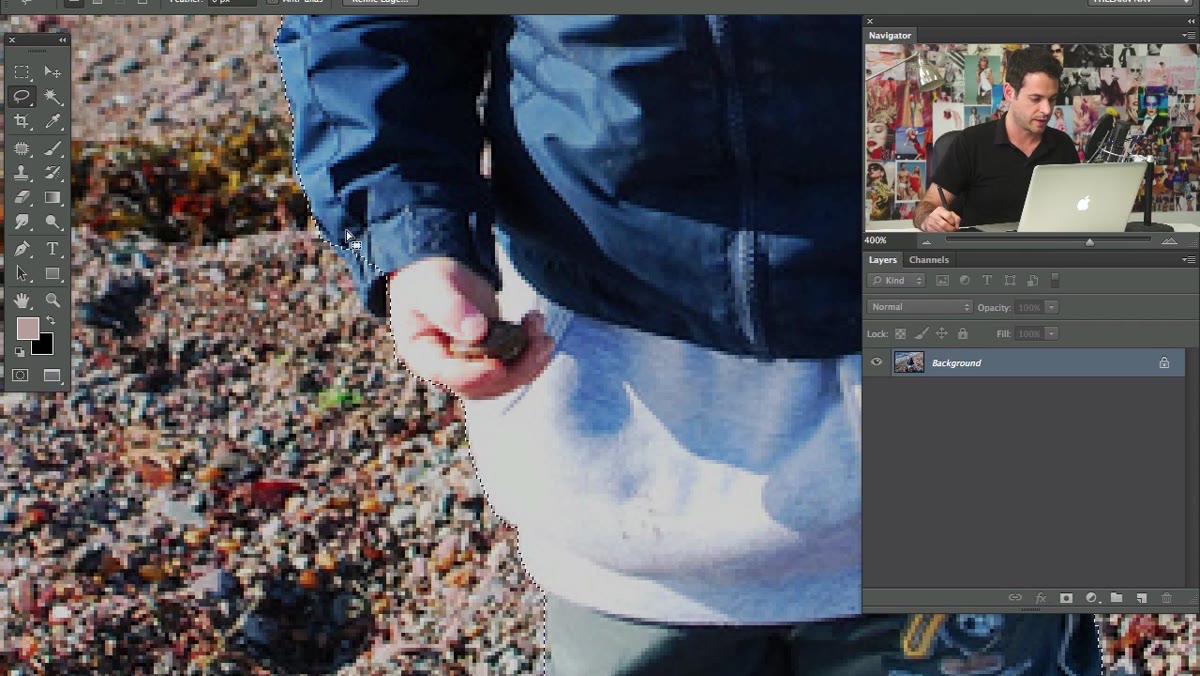
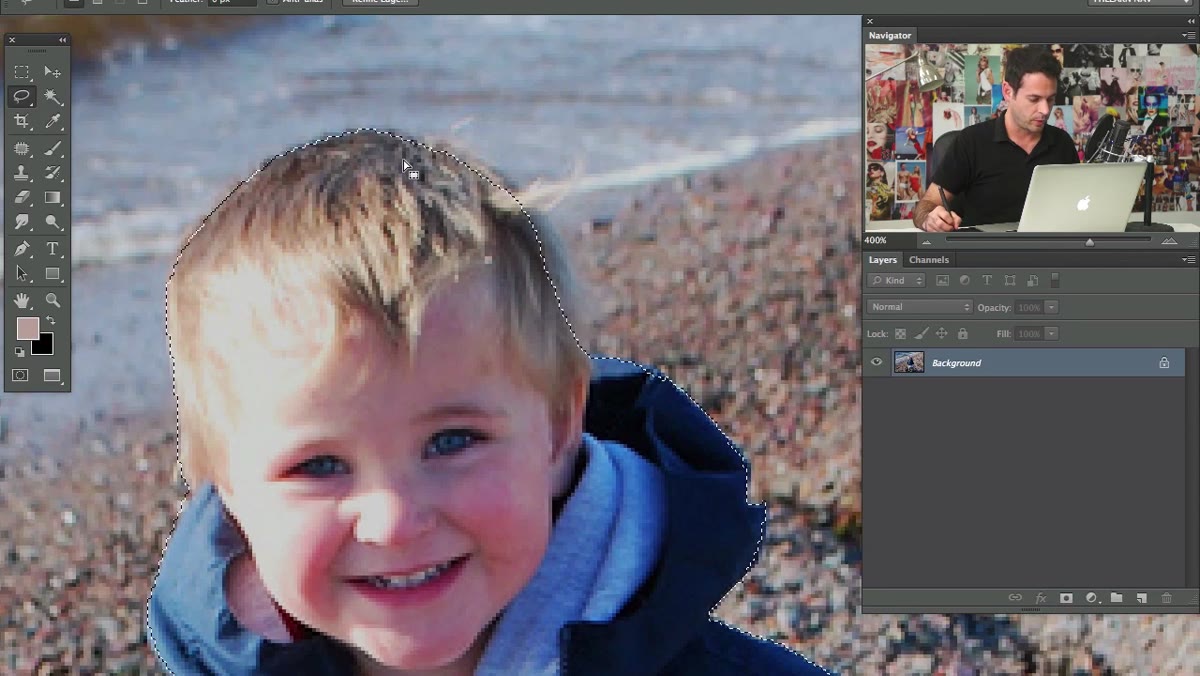 Lasso tool adding and subtracting from the selection
Once you’ve got your rough selection closed, switch to the regular Lasso tool and start cleaning up the edges. Hold Shift to add areas to the selection that the Magnetic Lasso missed, like parts of the head or arm that got skipped. Hold Alt (or Option on Mac) to subtract from the selection in spots where you accidentally grabbed background instead of subject, like a patch of ground near the hands.
Lasso tool adding and subtracting from the selection
Once you’ve got your rough selection closed, switch to the regular Lasso tool and start cleaning up the edges. Hold Shift to add areas to the selection that the Magnetic Lasso missed, like parts of the head or arm that got skipped. Hold Alt (or Option on Mac) to subtract from the selection in spots where you accidentally grabbed background instead of subject, like a patch of ground near the hands.
This is the part of the process that separates a convincing result from a sloppy one. Don’t rush it. Zoom into 100% or higher and work methodically around the edges. A few extra minutes here saves you from that telltale hard-edge halo that instantly reads as a bad Photoshop job.
Step 4: Feather the Selection
 Feather selection dialog box open in Photoshop
Once your selection looks solid, go to Select > Modify > Feather and add a small feather value, something in the range of 1 to 3 pixels depending on your image resolution. This softens the edge of the selection slightly so the transition between your sharp subject and the blurred background doesn’t look like someone cut it out with scissors. Real depth of field has a gradual transition, not a hard line, and feathering is a quick way to approximate that.
Feather selection dialog box open in Photoshop
Once your selection looks solid, go to Select > Modify > Feather and add a small feather value, something in the range of 1 to 3 pixels depending on your image resolution. This softens the edge of the selection slightly so the transition between your sharp subject and the blurred background doesn’t look like someone cut it out with scissors. Real depth of field has a gradual transition, not a hard line, and feathering is a quick way to approximate that.
Step 5: Copy the Subject to a New Layer
 Subject copied to a new layer in the Layers panel
With your feathered selection active, press Ctrl+J (or Cmd+J on Mac) to copy the selected subject onto a new layer above the original. You should now have two layers: the original full image on the bottom and just your subject on top. This is the structure that makes the whole effect work. The background layer is what we’re going to blur. The subject layer stays sharp, sitting on top of the blur like it was always in focus.
Subject copied to a new layer in the Layers panel
With your feathered selection active, press Ctrl+J (or Cmd+J on Mac) to copy the selected subject onto a new layer above the original. You should now have two layers: the original full image on the bottom and just your subject on top. This is the structure that makes the whole effect work. The background layer is what we’re going to blur. The subject layer stays sharp, sitting on top of the blur like it was always in focus.
Step 6: Apply the Blur to the Background Layer
 Lens Blur or Gaussian Blur dialog applied to background layer
Click back on the original background layer. Go to Filter > Blur and choose either Lens Blur or Gaussian Blur. Lens Blur is more sophisticated and produces a rounder, more optical-looking result with adjustable iris shape. Gaussian Blur is faster and simpler. For most client work I do quickly, Gaussian Blur at a radius of around 8 to 15 pixels gets the job done without overthinking it. Apply the blur and then look at how it reads against your subject layer on top.
Lens Blur or Gaussian Blur dialog applied to background layer
Click back on the original background layer. Go to Filter > Blur and choose either Lens Blur or Gaussian Blur. Lens Blur is more sophisticated and produces a rounder, more optical-looking result with adjustable iris shape. Gaussian Blur is faster and simpler. For most client work I do quickly, Gaussian Blur at a radius of around 8 to 15 pixels gets the job done without overthinking it. Apply the blur and then look at how it reads against your subject layer on top.
Step 7: Check the Edges and Blend
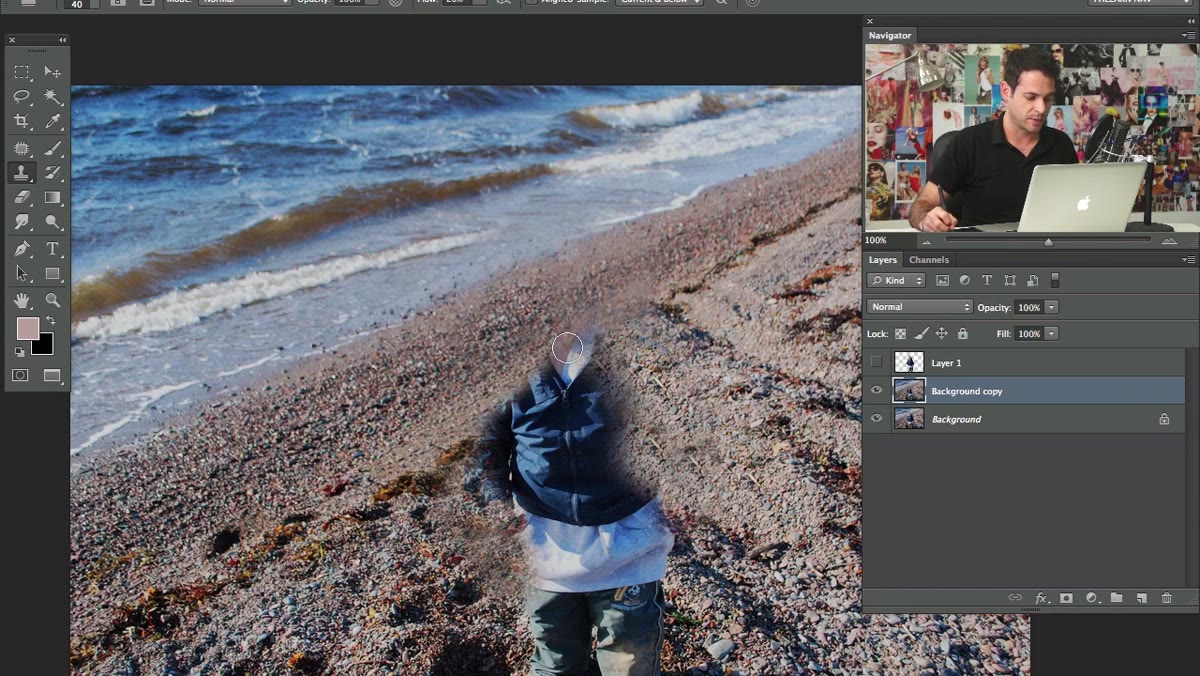 Zoomed-in view showing subject edges against blurred background
Zoom in around the edges of your subject layer and look for spots where the masking looks unnatural. If you see a sharp fringe or a ring of unblurred background clinging to your subject’s outline, grab a soft eraser brush at around 20 to 30 percent opacity and gently brush along those edge areas. You can also lower the opacity of the subject layer’s mask rather than erasing directly, which is nondestructive and easier to fix if you go too far.
Zoomed-in view showing subject edges against blurred background
Zoom in around the edges of your subject layer and look for spots where the masking looks unnatural. If you see a sharp fringe or a ring of unblurred background clinging to your subject’s outline, grab a soft eraser brush at around 20 to 30 percent opacity and gently brush along those edge areas. You can also lower the opacity of the subject layer’s mask rather than erasing directly, which is nondestructive and easier to fix if you go too far.
A Note from Someone Who’s Done This Under Deadline Pressure
The technique Aaron demonstrates is solid, but there’s one extension worth knowing about: if your subject has any overlap with the background, like an outstretched arm or flyaway hair, the masking gets complicated fast. My workaround on rush jobs is to mask aggressively and then use a gradient on the blur layer so the blur intensity increases as it moves further from the subject. It adds visual logic to the depth falloff without requiring a pixel-perfect mask everywhere. Not glamorous, but it gets the invoice paid.
The single most important thing to take away here is that the quality of your selection is what makes or breaks this effect. A mediocre blur applied to a clean mask looks better than a heavy blur applied to a sloppy one every single time. Invest the time in the mask and the rest is almost automatic.
Watch the full tutorial on YouTube to see Aaron walk through each step in real time, including his actual edge-refinement workflow, which is worth watching even if you’re already comfortable with selections.
Comments
Leave a Comment