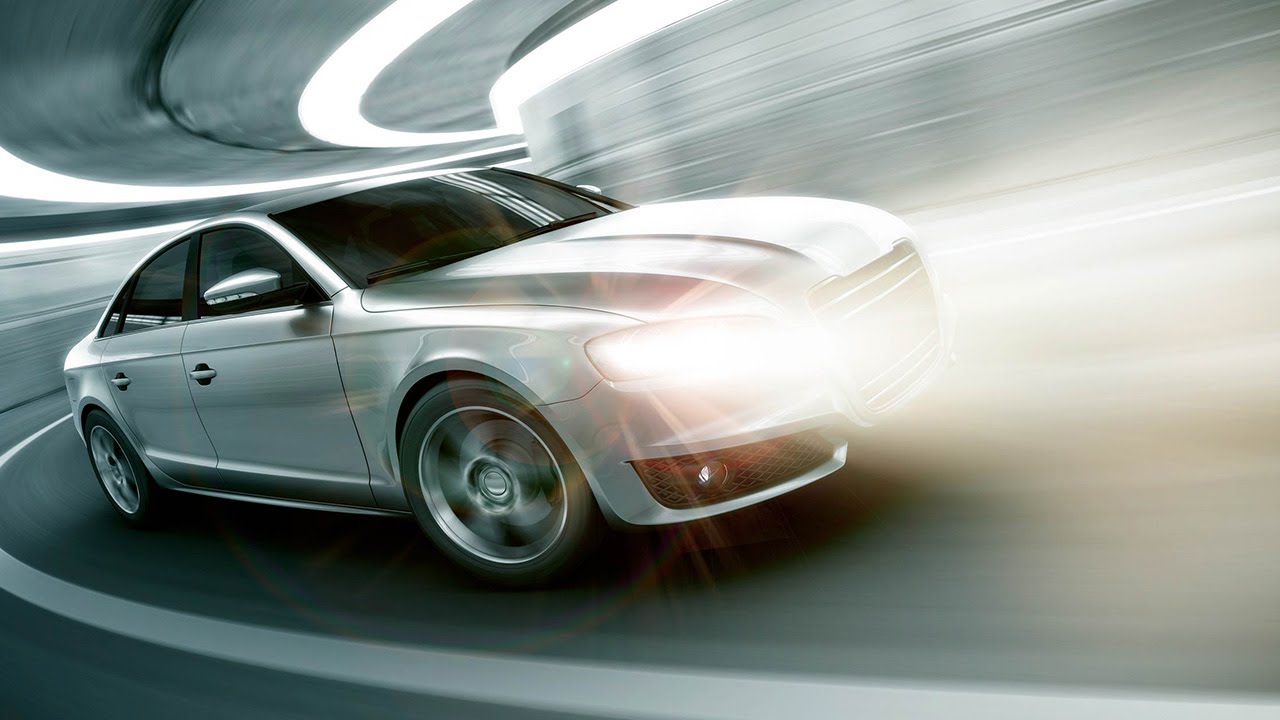
There’s a certain kind of client project that shows up without warning and immediately makes you question your life choices. For me, it’s usually something automotive. Cars look great in photos, but the second someone wants a creative effect on them — dramatic lighting, glowing headlights, that cinematic nighttime feel — you either know the workflow or you’re about to spend a very long afternoon pretending you do. I’ve been in that second camp more than I’d like to admit, mostly winging it with Overlay blending modes and prayer.
That’s why I was genuinely glad to sit down with Watch the full tutorial on YouTube from Aaron Nace over at PHLEARN. The source image is an illustrated car, but every technique here transfers directly to photographic work. What makes this tutorial worth your time isn’t just the end result. It’s the thinking behind it. Aaron sketches out the effect before touching a single tool, which is exactly the kind of discipline I keep telling myself I’ll adopt and then immediately ignore. Here, though, it actually shapes every decision that follows.
The core idea: you want headlights that look physically real, which means they need to behave like real light. Bright and sharp near the source, spreading and softening as they travel outward. That one principle drives the entire technique, and once you understand it, the steps make intuitive sense.
Step 1: Sketch Your Light Before You Build It
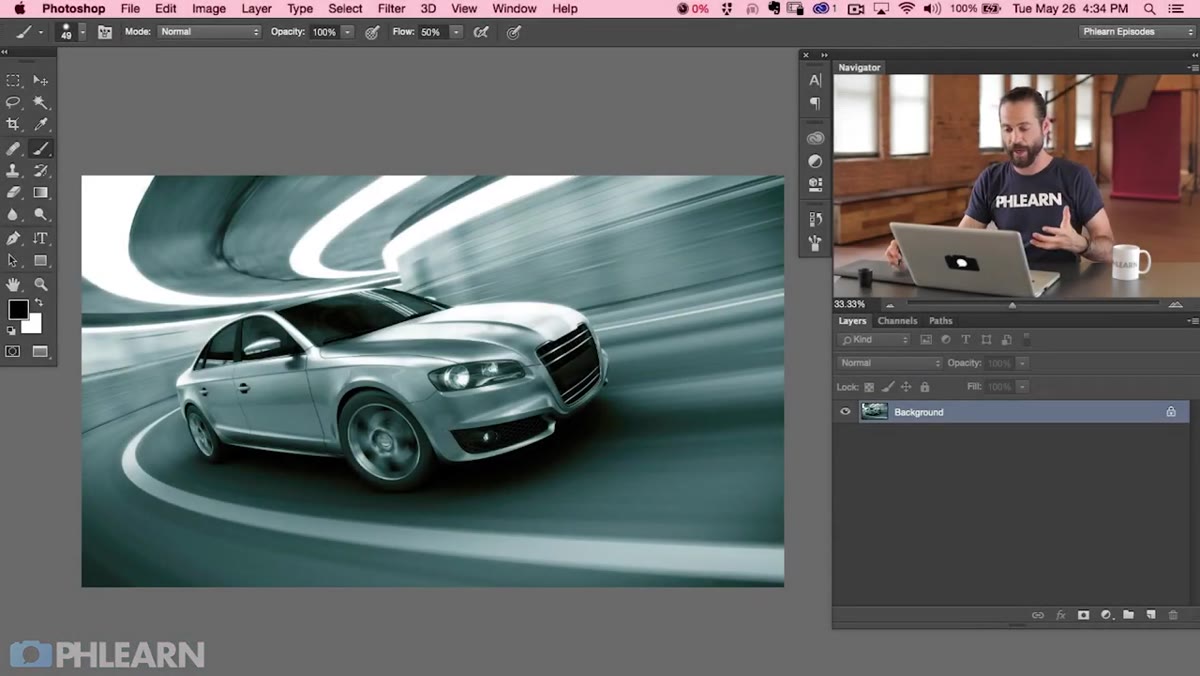 Aaron sketching beam shapes over the car image
Before creating anything on the canvas, Aaron draws a rough sketch directly in Photoshop to plan where the beams will go. This isn’t precious artwork. It’s just a quick visual reference showing the general triangular spread of each headlight beam, brighter and tighter near the car, wider and more diffuse toward the right side of the frame.
Do this. Seriously. I skipped this kind of planning step for years and it cost me countless do-over sessions. Creating a new layer, grabbing a brush, and spending sixty seconds mapping your light logic will save you from making a selection that doesn’t match the physics of what you’re trying to fake.
Step 2: Build the Beam Shape with the Polygonal Lasso Tool
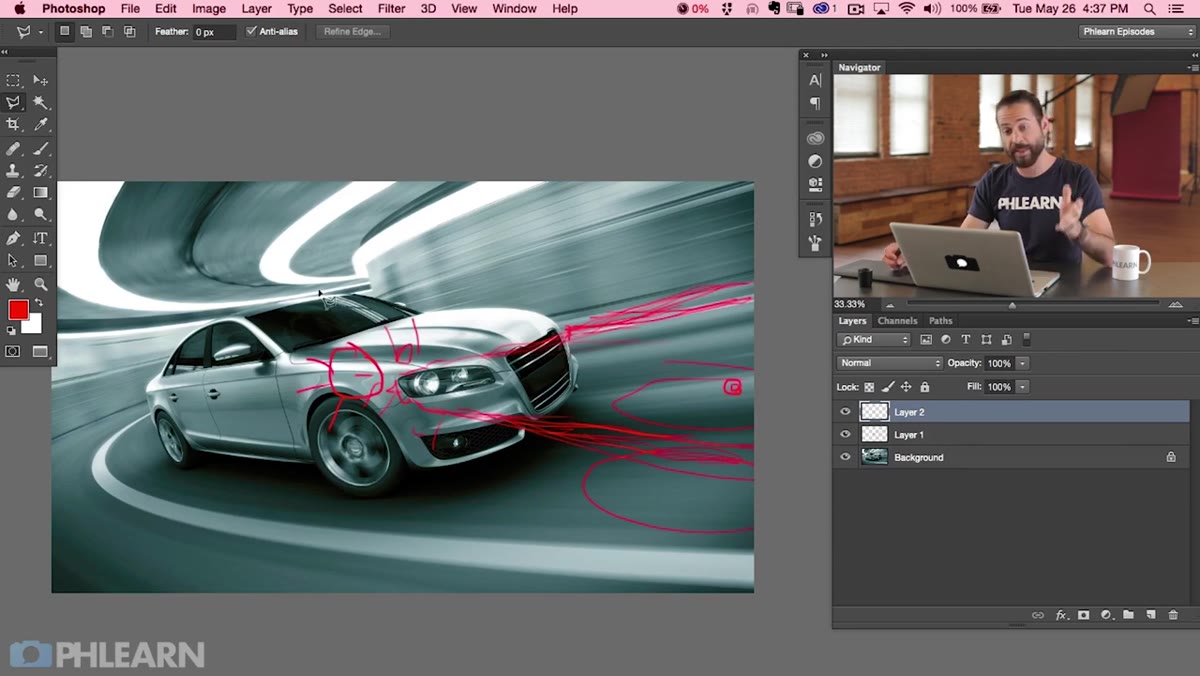 Polygonal Lasso selection drawn around headlight beam area
With the sketch as a guide, Aaron creates a new layer and uses the Polygonal Lasso Tool to trace the shape of the light beam. The selection is narrow near the headlight on the left and fans out toward the right, mimicking how a high beam actually spreads across a surface. Once the selection is closed, he fills it with solid white using Shift + Delete (Shift + Backspace on Windows) and choosing white from the fill dialog.
The result at this stage looks ridiculous. A flat white triangle on a car. Stick with it. That white shape is your raw material, and the next step is what turns it into something believable.
Step 3: Use Field Blur to Create Depth in the Light Beam
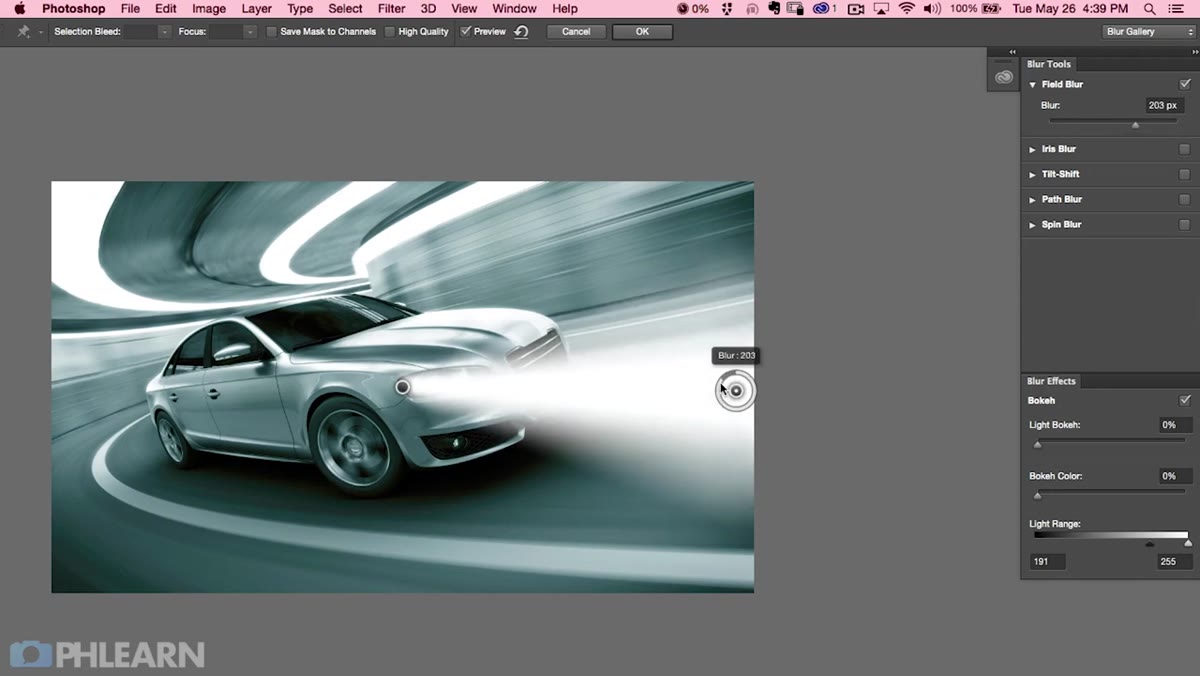
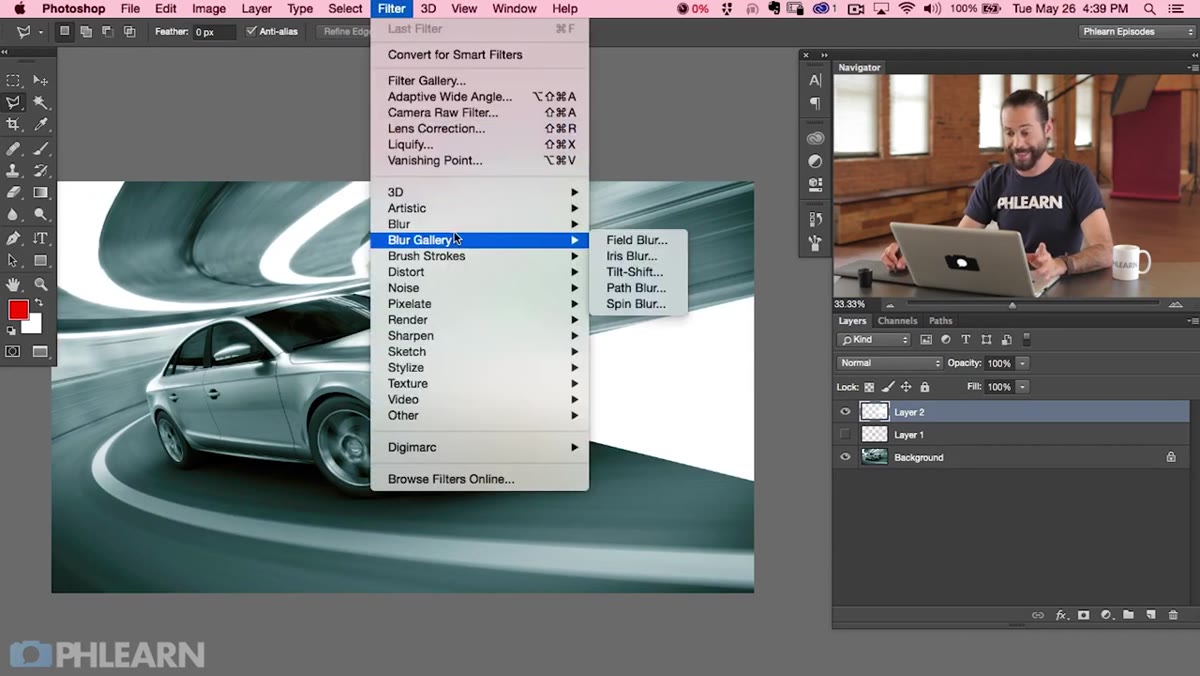 Field Blur dialog open with two blur pins placed on the beam layer
This is the step that made me pause the video and rewatch it. Instead of applying a uniform blur, Aaron goes to Filter, then Blur Gallery, then Field Blur. Field Blur lets you place multiple blur pins on a layer, each with its own blur amount. He places one pin near the car with a low blur value, then adds a second pin toward the far end of the beam with a significantly higher value.
The result is a gradient of blur across the beam. Sharp and intense at the headlight, soft and hazy at the edges. This is what separates a convincing light effect from a white blob. The blur isn’t just softening things, it’s communicating motion and distance. Take your time here adjusting the two pin values until the transition feels gradual rather than abrupt.
Step 4: Set the Layer Blending Mode and Adjust Opacity
 Layer blending mode dropdown being adjusted for the beam layer
Once the blur is applied, the beam layer needs to be integrated into the image rather than sitting on top of it like a sticker. Setting the blending mode to Screen removes all the dark values and lets only the light information affect the layers beneath. From there, dial back the opacity to taste. You want the beam to feel like it belongs in the scene, not like it was added in a hurry by someone who just discovered Screen mode for the first time (been there).
This is also a good moment to duplicate the layer for the second, smaller beam coming from the other headlight. Because the second beam is farther from the viewer in the composition, it should be a bit narrower and slightly less intense.
Step 5: Add a Lens Flare at the Light Source
 Lens flare being added near headlight position on a new layer
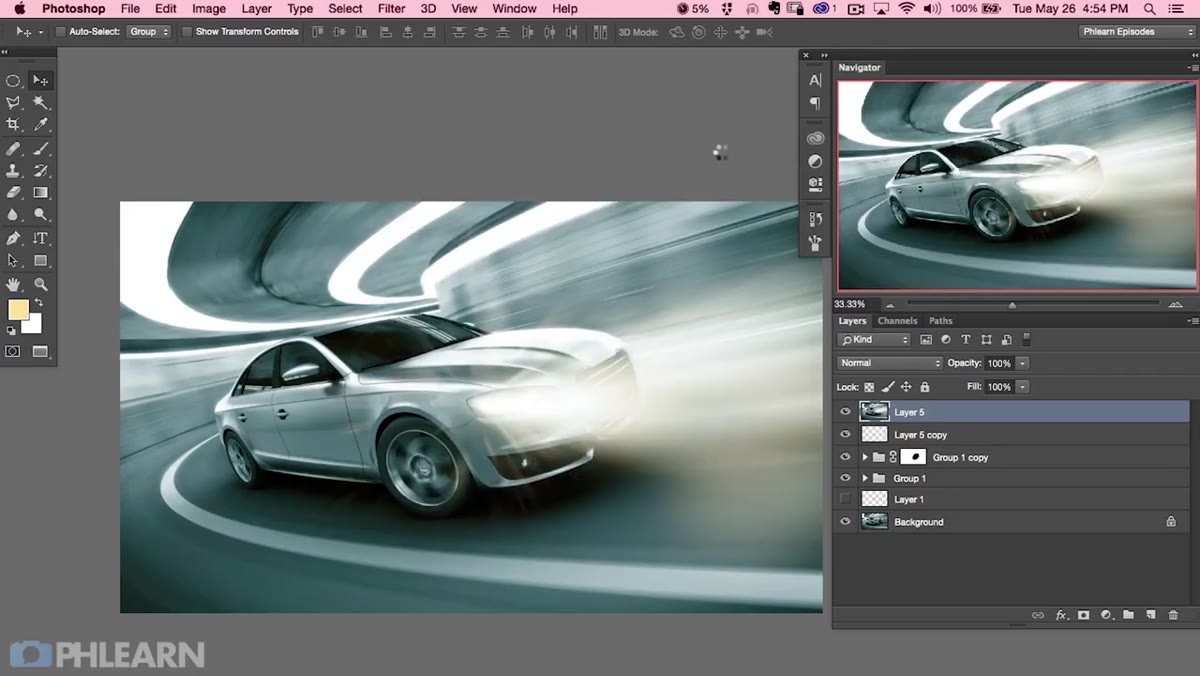
Aaron adds a lens flare directly at the headlight position to sell the idea that there’s a real, intense point of light radiating outward. The trick here is to create a new blank layer filled with black first, apply the lens flare via Filter, Render, Lens Flare, and then set that layer’s blending mode to Screen. The black disappears entirely, leaving only the flare itself floating over the image.
Position the center of the flare directly over the headlight. The default Lens Flare options in Photoshop aren’t glamorous, but they work for this effect. The 105mm Prime option tends to give a cleaner, more directional result than the movie-style options if you want something that reads as realistic rather than cinematic.
Step 6: Use a Gradient to Shift the Overall Scene Lighting
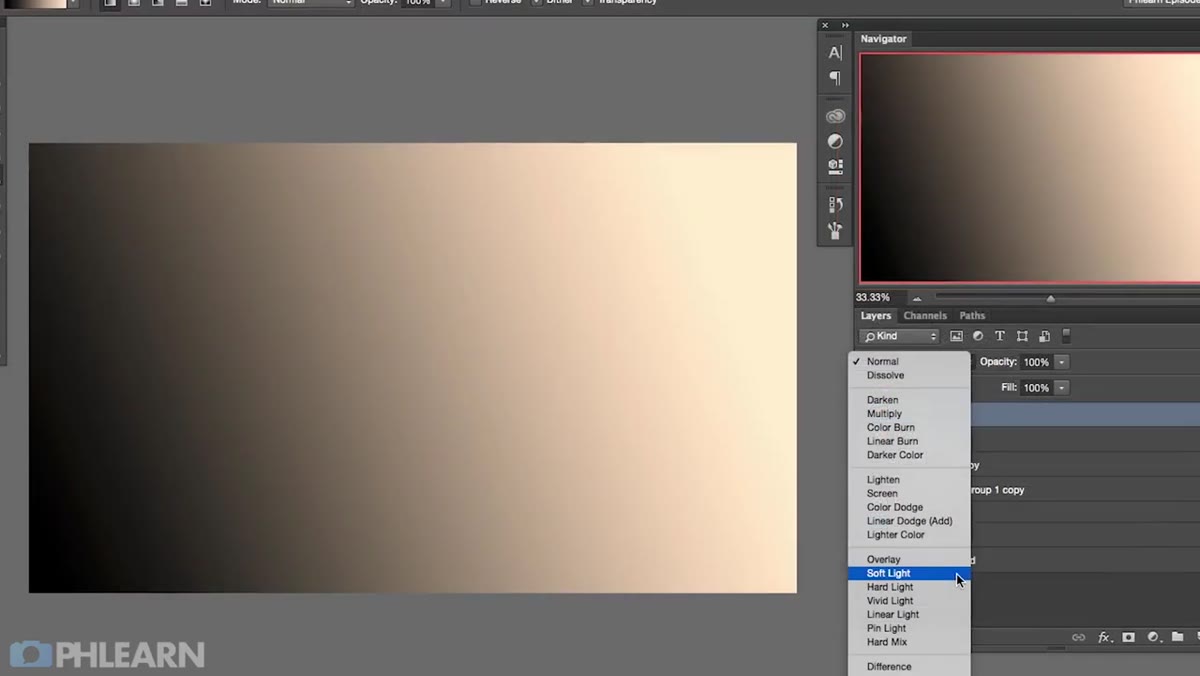 Gradient layer being applied to shift ambient light toward headlights
A single beam effect in isolation can look isolated, because it is. The scene’s ambient lighting doesn’t reflect the new light source, so it feels pasted on. Aaron addresses this by adding a gradient layer that subtly shifts the color and luminosity of the entire image toward the headlight side. A warm-to-transparent gradient on a layer set to Screen or Overlay, pulled from the headlight direction, ties the effect into the existing image.
Keep this subtle. The gradient isn’t the effect. It’s the glue that makes the effect feel like it belongs.
What I’d Add: Light Hits on Surrounding Surfaces
The tutorial covers light streaks as a finishing element, and they’re worth including, but what I find equally important on automotive work is adding reflected light on nearby surfaces. If a headlight is on, the ground in front of the car should show some illumination. A soft, elliptical selection filled with a warm white and set to Screen, dropped in just ahead of the bumper, reads immediately as headlight-on-ground contact. It takes two minutes and significantly increases the realism of the whole composite.
The single most important thing this tutorial taught me isn’t a tool or a filter. It’s that light has logic, and when you build an effect that respects that logic (sharp at the source, soft at the edges, affecting surrounding surfaces), viewers believe it without knowing why. Build effects that make physical sense and you won’t have to work as hard to sell them.
Watch the full tutorial on YouTube and see Aaron walk through the light streaks and finishing details that really complete the effect.
Comments (3)
Just used this on a wedding shoot edit. Client was thrilled.
Clear and practical. No fluff. Appreciate that.
Finally someone explains this in a way that actually makes sense.
Leave a Comment