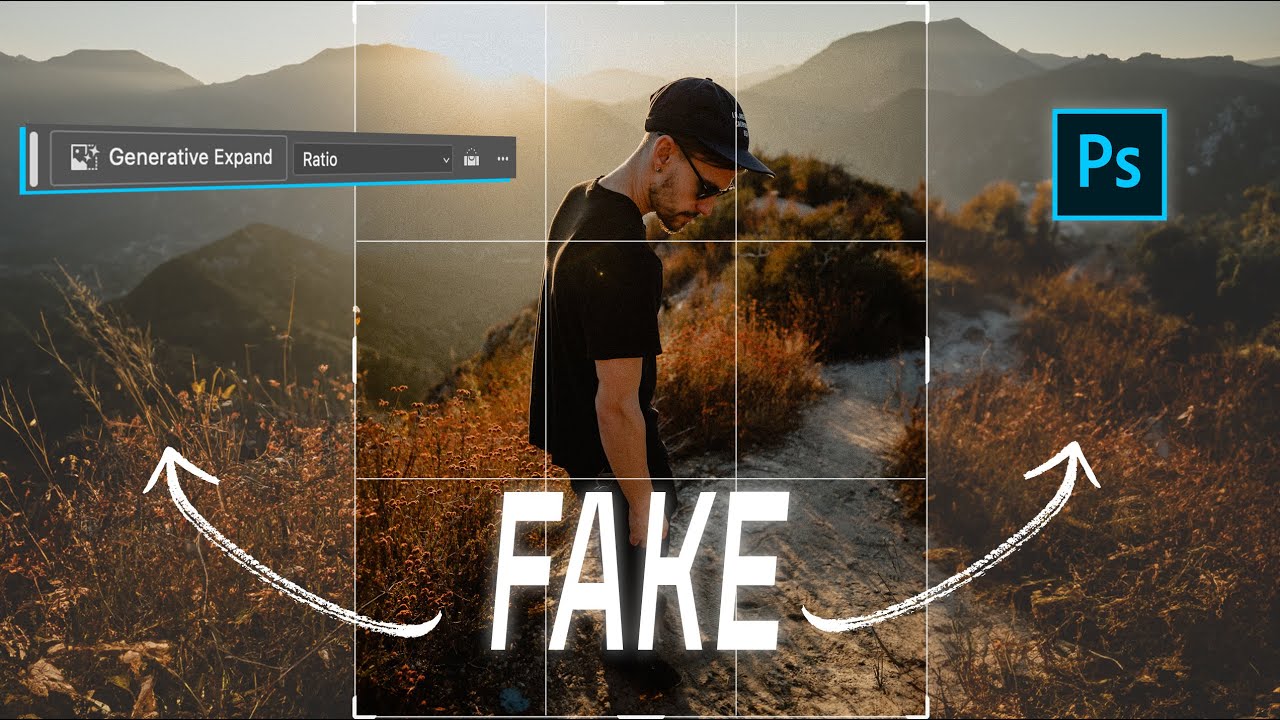
There’s a specific kind of frustration that hits when a client asks you to repurpose a photo for a completely different format than it was shot for. Portrait crop needs to become a YouTube thumbnail. Instagram 4x5 needs to become a LinkedIn banner. You either go back to the photographer, do an awkward zoom-and-pray crop, or spend an hour cloning background that should have been there in the first place. For a long time, that last option was the least-bad answer. It was still pretty bad.
That’s what made me stop scrolling when I came across Watch the full tutorial on YouTube from Mango Street. They pack ten genuinely useful AI techniques into a single video, and unlike a lot of AI-hype content right now, most of these hold up when you actually try them on real photos. Not concept shots. Not stock images lit perfectly for machine learning. Real, slightly-messy, client-work photos.
I’ve been freelancing long enough to have cloned out more c-stands, smoothed more shiny foreheads, and fixed more wrecked backgrounds than I care to count. Half of these tricks would have saved me hours on projects from last month alone. Here’s how they actually work.
Step 1: Change Aspect Ratios Without Losing Your Mind (Generative Expand)
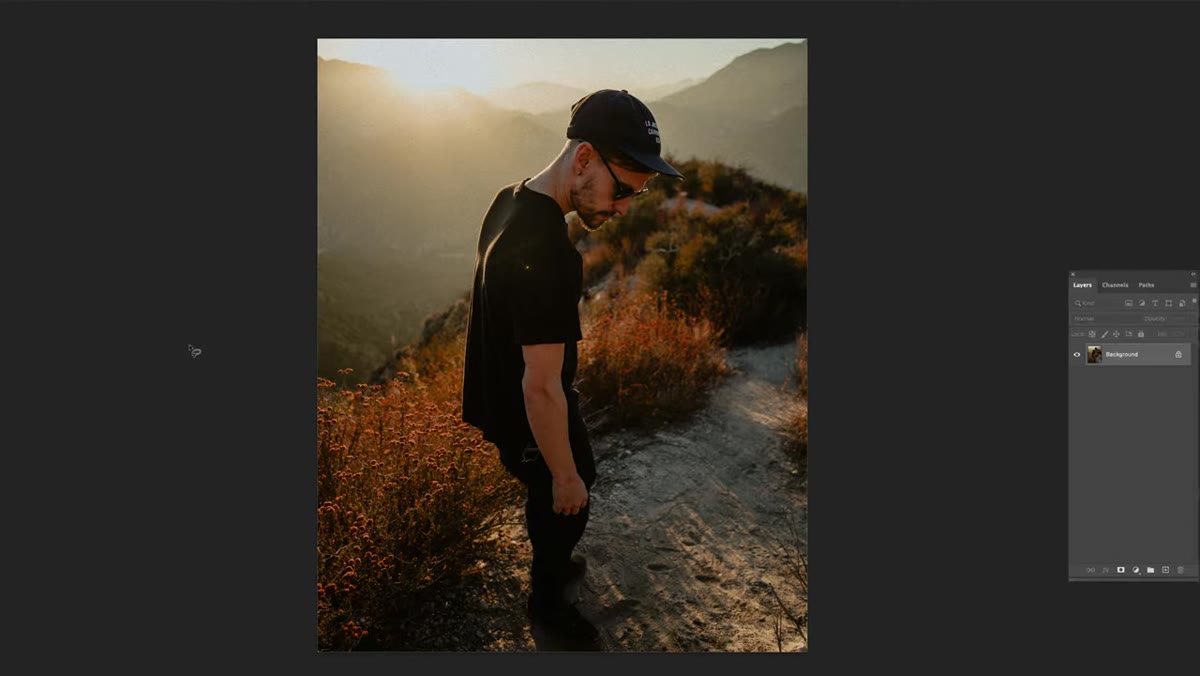 Cropped 4x5 portrait being stretched to 16x9 ratio
Grab the Crop tool, and you’ll notice something new in the contextual taskbar at the bottom of your screen: Generative Expand. Set your target ratio - in the video they go from a 4x5 Instagram crop to a 16x9 for YouTube - then just drag the canvas out beyond the original image boundary. Photoshop generates the missing background and gives you three variations to pick from.
Cropped 4x5 portrait being stretched to 16x9 ratio
Grab the Crop tool, and you’ll notice something new in the contextual taskbar at the bottom of your screen: Generative Expand. Set your target ratio - in the video they go from a 4x5 Instagram crop to a 16x9 for YouTube - then just drag the canvas out beyond the original image boundary. Photoshop generates the missing background and gives you three variations to pick from.
The results here are genuinely impressive, especially on images with consistent backgrounds like sky, walls, or simple studio setups. The AI matches lighting direction and depth of field, not just texture. If you lost your original file (RIP to everyone who skipped backups in 2019), this can save you from a reshoot conversation you really don’t want to have.
Step 2: Clean Up Studio Backgrounds with Generative Fill
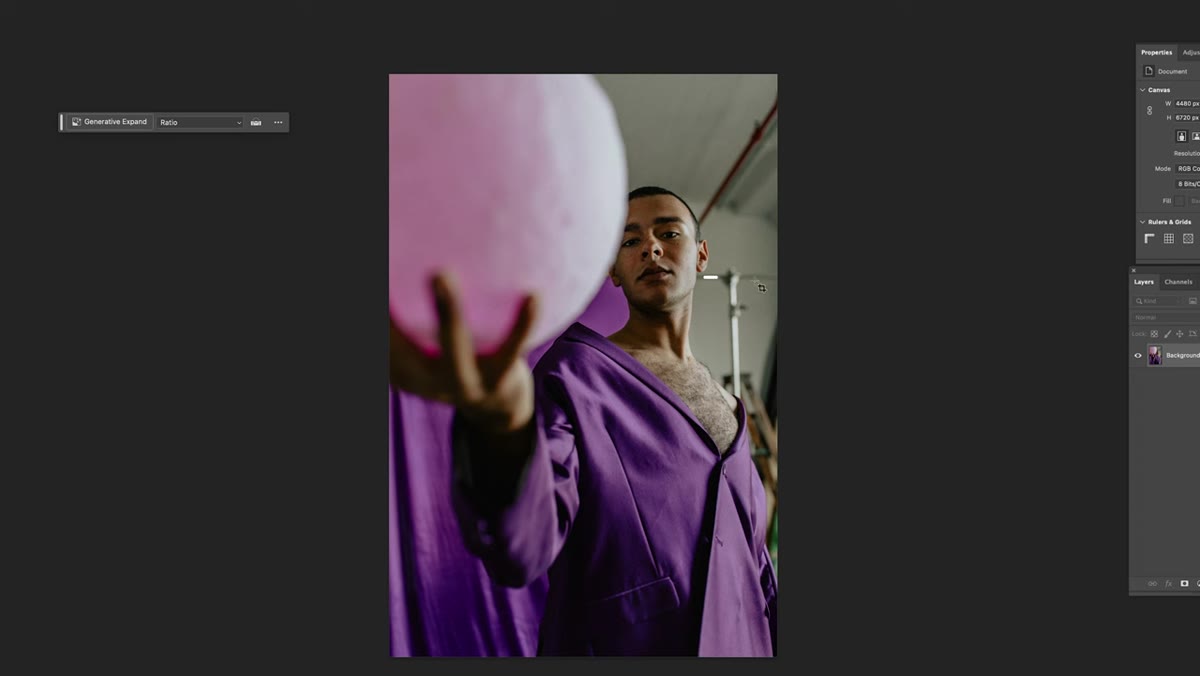 C-stand and red pipe visible through subject’s head
When you’ve got equipment showing up in your frame - c-stands, lighting rigs, random red pipes - the workflow is: Select Subject, invert the selection so you’re targeting the background only, then run Generative Fill with an empty prompt. Leaving the prompt blank tells Photoshop to just fill contextually, matching what’s already around the selection.
C-stand and red pipe visible through subject’s head
When you’ve got equipment showing up in your frame - c-stands, lighting rigs, random red pipes - the workflow is: Select Subject, invert the selection so you’re targeting the background only, then run Generative Fill with an empty prompt. Leaving the prompt blank tells Photoshop to just fill contextually, matching what’s already around the selection.
You get three variations. Pick the best one, and if needed, you can run additional passes on smaller problem areas with separate generative fill selections. Stacking a few of these on different parts of the background usually gets you to a cleaner result than trying to cover everything in one big selection.
Step 3: Remove Background Subjects with the Remove Tool
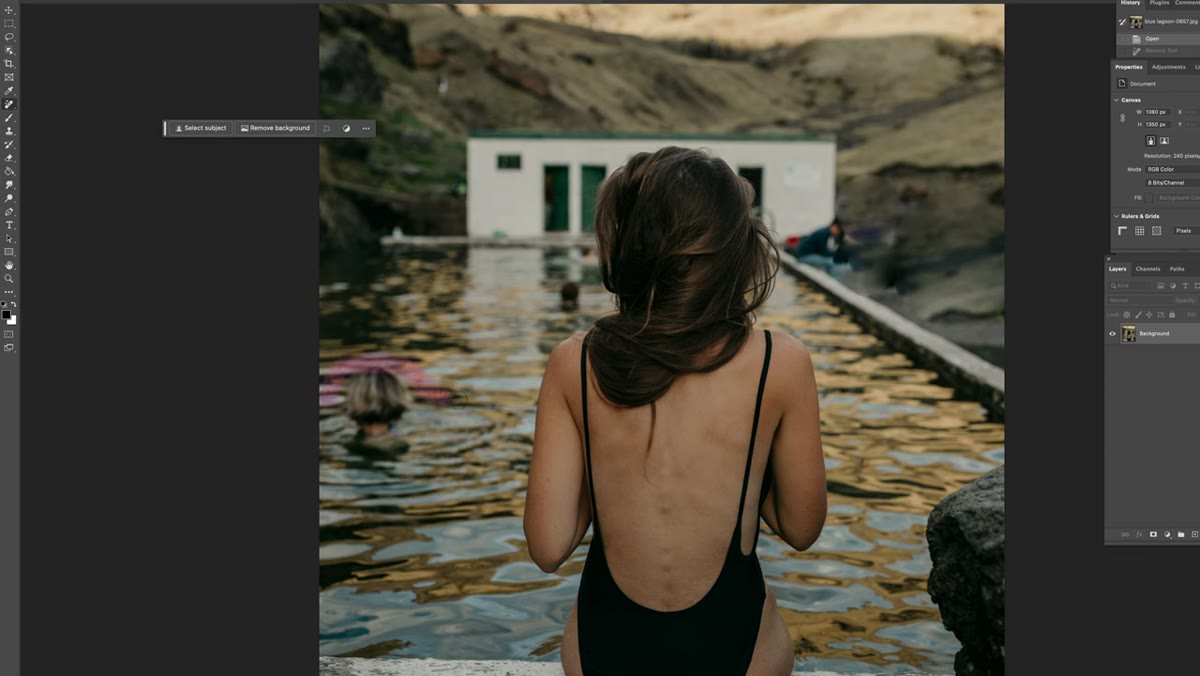 Drawing lasso around background person to remove
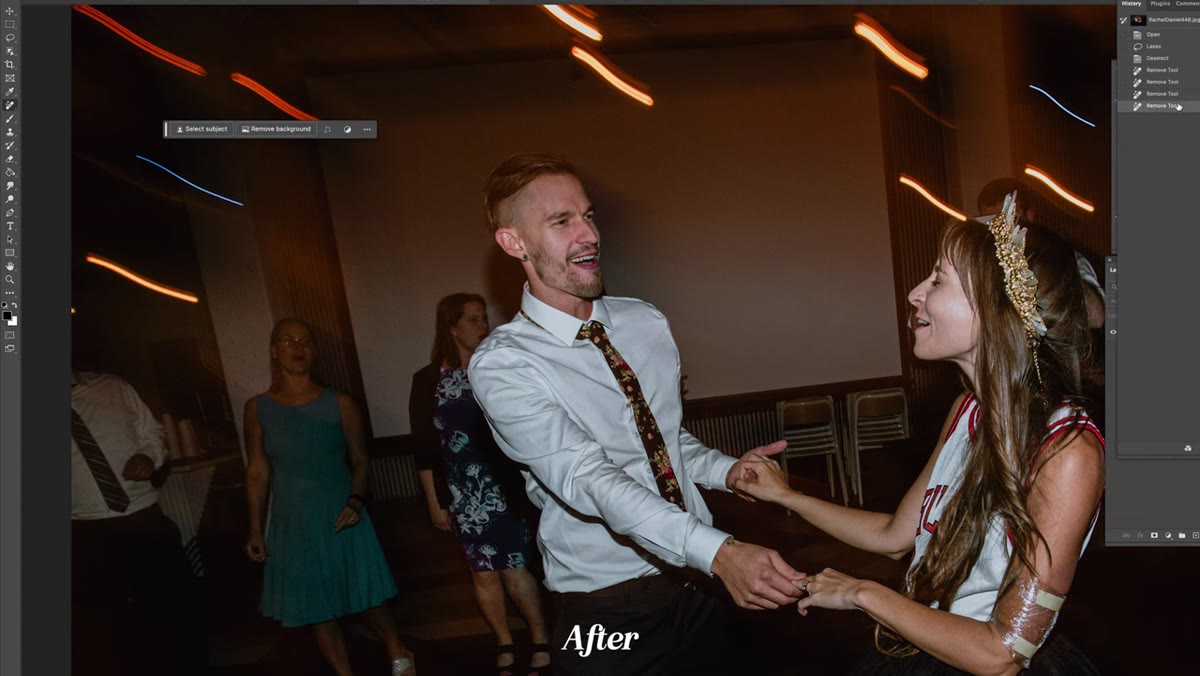
The Remove Tool lives in the same submenu as the Spot Healing Brush - click and hold to find it. What makes it different is that you use it like a lasso rather than a brush. Draw a rough outline around whatever you want gone, release, and Photoshop does the heavy lifting.
Drawing lasso around background person to remove
The Remove Tool lives in the same submenu as the Spot Healing Brush - click and hold to find it. What makes it different is that you use it like a lasso rather than a brush. Draw a rough outline around whatever you want gone, release, and Photoshop does the heavy lifting.
One thing worth knowing: check the “Sample All Layers” box and do your removals on a separate blank layer. This keeps your original intact and makes it easy to back out if the result isn’t quite right. For background people, stray objects, or anything that isn’t too close to your main subject, this tool works fast and clean.
Step 4: Colorize Black and White Photos with Neural Filters
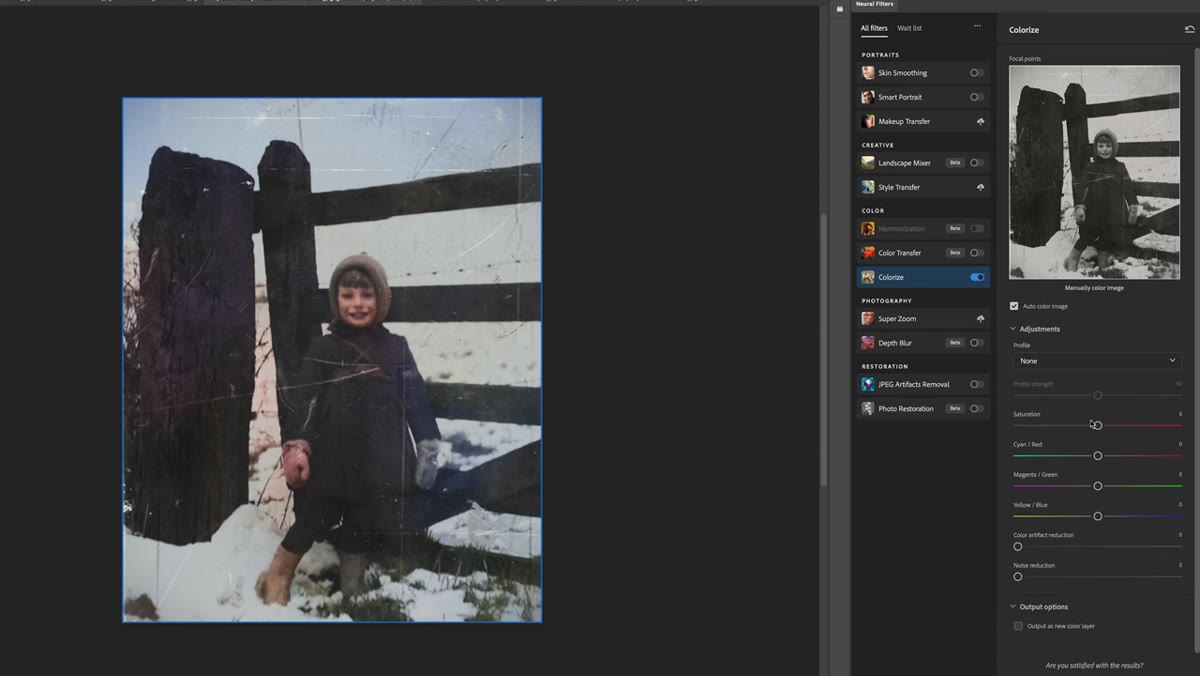 Black and white photo being colorized in Neural Filters panel
Neural Filters have been around long enough that people kind of forgot about them when generative AI showed up. That’s a mistake, because the Colorize filter specifically is excellent. Go to Filter > Neural Filters, find Colorize, and toggle it on. The defaults are solid - skin tones especially tend to land well without any adjustment.
Black and white photo being colorized in Neural Filters panel
Neural Filters have been around long enough that people kind of forgot about them when generative AI showed up. That’s a mistake, because the Colorize filter specifically is excellent. Go to Filter > Neural Filters, find Colorize, and toggle it on. The defaults are solid - skin tones especially tend to land well without any adjustment.
If you want more control, you can tweak saturation and shift individual color ranges using the color focal point tools. It’s not perfect on every image, but on a decent black and white portrait it’s startlingly good for about 30 seconds of work.
Step 5: Restore Old or Damaged Photos
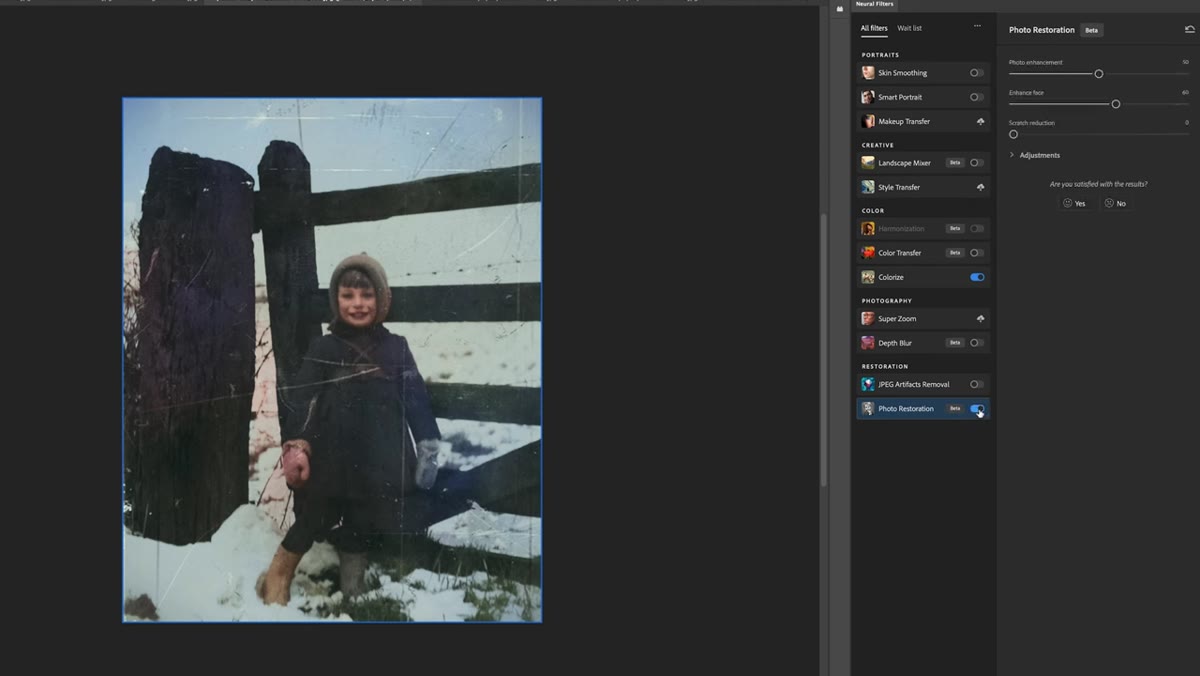 Damaged photo being processed with Photo Restoration filter
Still in Neural Filters, the Photo Restoration option handles contrast correction, artifact removal, face sharpening, and scratch removal in one pass. For lightly aged photos the defaults do most of the work. For anything more damaged, enable the scratch removal option before you click OK.
Damaged photo being processed with Photo Restoration filter
Still in Neural Filters, the Photo Restoration option handles contrast correction, artifact removal, face sharpening, and scratch removal in one pass. For lightly aged photos the defaults do most of the work. For anything more damaged, enable the scratch removal option before you click OK.
After the filter runs, use the Remove Tool to take care of anything stubborn that the filter missed. This two-step combo - Neural Filter restoration followed by targeted Remove Tool cleanup - is faster than doing it all manually by a significant margin.
Step 6: Swap Clothing with Generative Fill
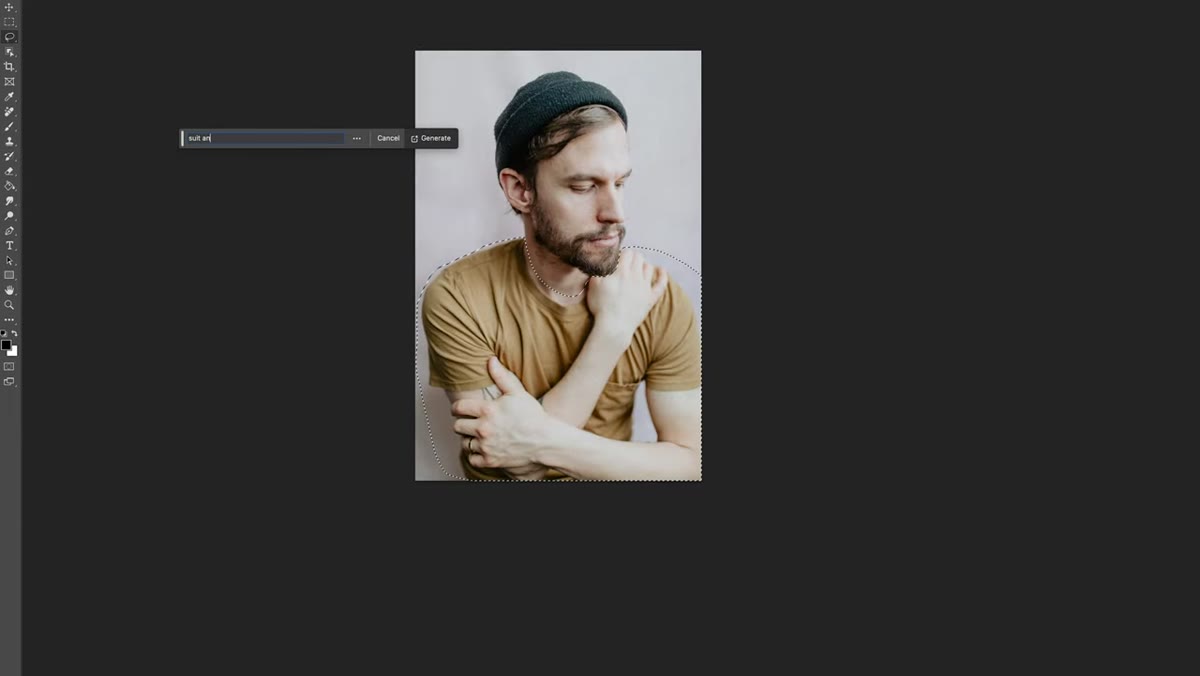 Selection drawn around torso for clothing replacement
This one feels like a party trick until you realize how often it’s actually useful. Select the clothing area on your subject, then open Generative Fill and type a description of what you want - “suit and tie,” “white button-down,” whatever fits the context. Photoshop generates options that match the subject’s body angle and even mimics the depth of field of the original photo.
Selection drawn around torso for clothing replacement
This one feels like a party trick until you realize how often it’s actually useful. Select the clothing area on your subject, then open Generative Fill and type a description of what you want - “suit and tie,” “white button-down,” whatever fits the context. Photoshop generates options that match the subject’s body angle and even mimics the depth of field of the original photo.
The results vary. Some generations are great, some are completely unhinged. The key is having three options to choose from and knowing you can regenerate if none of them work. For turning a casual photo into something closer to a professional headshot, this is genuinely faster than a reshoot.
Step 7: Remove Wrinkles from Clothing
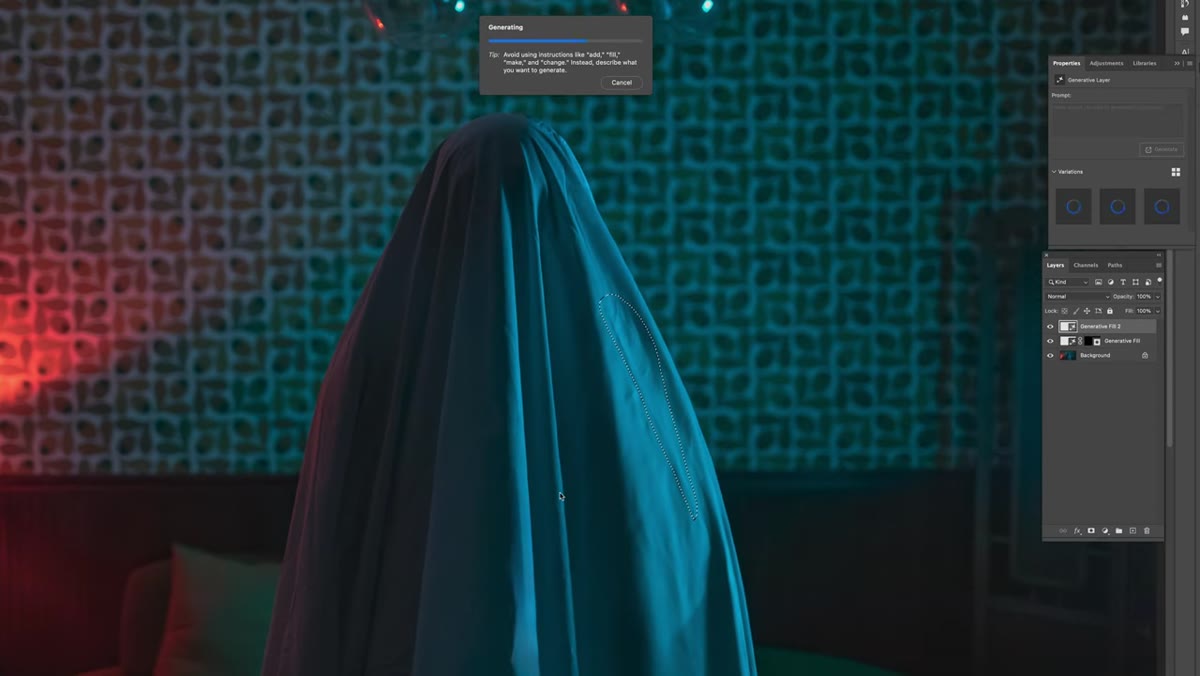 Generative Fill used on wrinkled fabric area
Run Generative Fill on the wrinkled area with no text prompt. The empty prompt approach lets the AI reference surrounding fabric texture and smooth things out contextually. It handles large wrinkled sections well - better than clone stamping over them manually, which always ends up looking flat.
Generative Fill used on wrinkled fabric area
Run Generative Fill on the wrinkled area with no text prompt. The empty prompt approach lets the AI reference surrounding fabric texture and smooth things out contextually. It handles large wrinkled sections well - better than clone stamping over them manually, which always ends up looking flat.
After the fill, come back with the Remove Tool on a new layer to clean up any smaller creases that the fill left behind. Two tools, one clean shirt.
Step 8: Fix Face Shine with the Remove Tool
 Remove Tool being used to reduce shine on forehead
Shiny foreheads are one of those things that survive even heavy highlight reduction in Lightroom. The Remove Tool handles it better than you’d expect - just paint over the shiny areas the same way you’d use a healing brush, and it blends out the hotspot without flattening the skin texture underneath.
Remove Tool being used to reduce shine on forehead
Shiny foreheads are one of those things that survive even heavy highlight reduction in Lightroom. The Remove Tool handles it better than you’d expect - just paint over the shiny areas the same way you’d use a healing brush, and it blends out the hotspot without flattening the skin texture underneath.
A Note from Working with These Tools Daily
The biggest shift in how I use Photoshop now is that I’ve stopped treating AI tools as a final answer and started treating them as a first pass. Generative Fill gives you a 70-80% solution in seconds. The Remove Tool gets you another 15%. The last few percent is still you, with your eyes, making judgment calls. That’s not a knock on the tools - that’s just an accurate description of what they are. Knowing where each tool breaks down is what separates someone who uses AI features from someone who uses them well. Sky replacement with Generative Fill, for instance, can look incredible or completely fake depending on the edge quality of your original. Always zoom in before you call it done.
The single most useful takeaway from this whole tutorial is the empty prompt trick for Generative Fill. No text, just context. It sounds like a workaround but it’s actually the right tool for texture matching, background cleanup, and fabric smoothing. Once you internalize when to type a prompt versus when to leave it blank, the whole toolset clicks into place.
Watch the full tutorial on YouTube to see Mango Street walk through all ten techniques with their own footage - watching the before and after on the photo restoration section alone is worth the click.
Comments
Leave a Comment