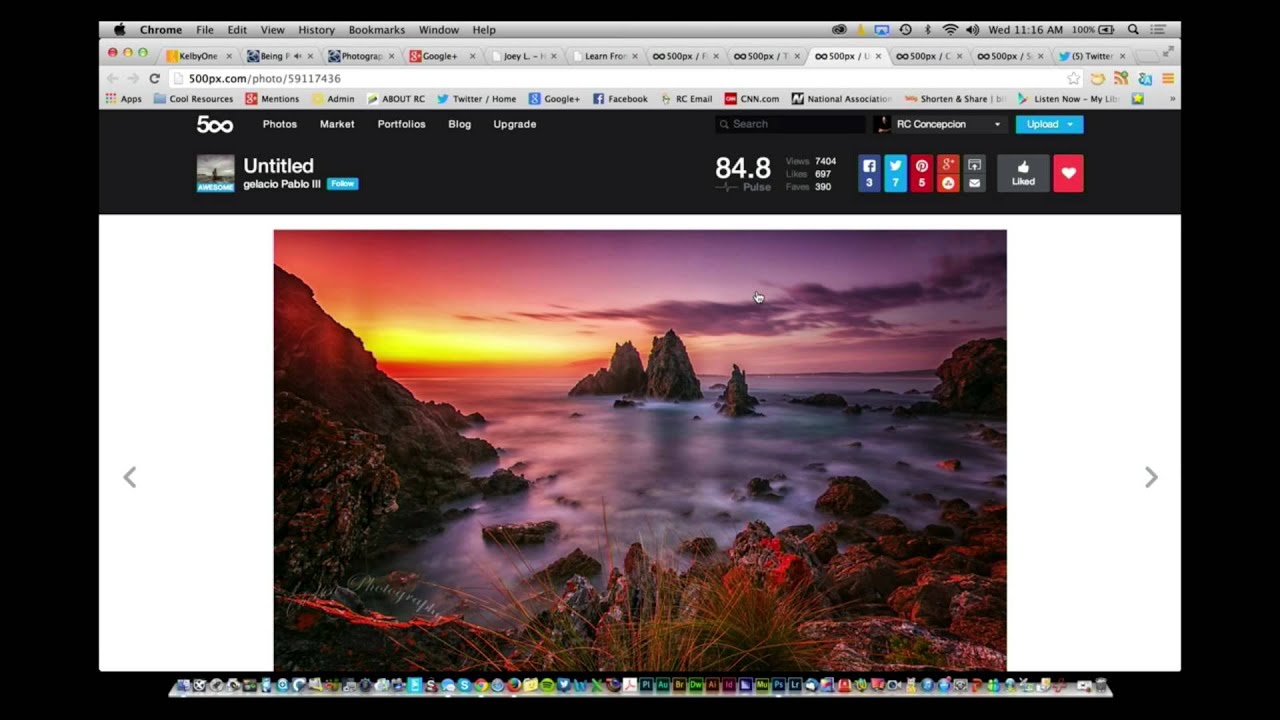
There’s a specific kind of frustration that hits when you’re standing next to a beautiful moving river, you know exactly what the shot should look like, and your camera just… refuses to cooperate. You want that silky, blurred water effect you’ve seen everywhere. Instead you get a sharp, flat, completely unromantic snapshot that looks like you were in a hurry to catch a bus. I’ve been there. Most photographers have.
The problem isn’t your composition. It’s physics. And once I watched this KelbyOne tutorial from RC Concepcion, the whole thing clicked in about ten minutes. Watch the full tutorial on YouTube before or after reading this, because RC’s delivery is solid and the actual footage comparisons are worth seeing. But if you want the walkthrough laid out step by step, here’s how it works.
The core issue is that long exposure photography fights against daylight. To get motion blur on moving water or clouds, you need a slow shutter speed, somewhere in the range of a quarter second to several seconds. But in bright outdoor conditions, even at your smallest aperture and lowest ISO, your camera is still forcing you into a fast shutter to avoid overexposure. You’re maxed out on every setting and the camera still won’t slow down. The solution is embarrassingly simple once someone just says it out loud.
Step 1: Understand What You’re Actually Fighting
 River shot open in Photoshop, metadata visible in panel
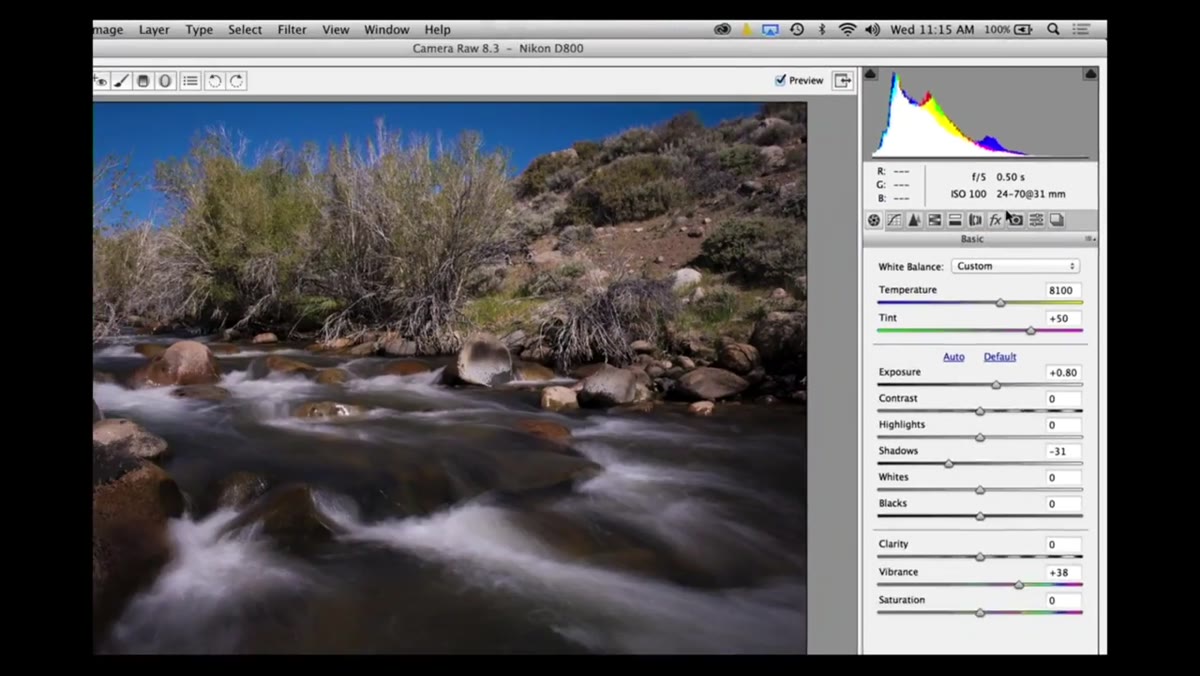
Before you buy anything or change any settings, it helps to understand why the problem exists. RC pulls up a river photo he shot at F22, ISO 100, and 1/100th of a second. That’s the camera already dialed to its absolute limits. Smallest aperture, lowest ISO, and the shutter is still way too fast to create any motion blur in the water. The shot is technically correct and completely boring.
River shot open in Photoshop, metadata visible in panel
Before you buy anything or change any settings, it helps to understand why the problem exists. RC pulls up a river photo he shot at F22, ISO 100, and 1/100th of a second. That’s the camera already dialed to its absolute limits. Smallest aperture, lowest ISO, and the shutter is still way too fast to create any motion blur in the water. The shot is technically correct and completely boring.
The key takeaway here is that in bright sunlight, there’s simply too much light for the camera to allow a slow enough shutter without completely blowing out the exposure. You can’t outsmart the physics by tweaking settings because you’ve already run out of settings to tweak.
Step 2: Think of an ND Filter as Sunglasses for Your Lens
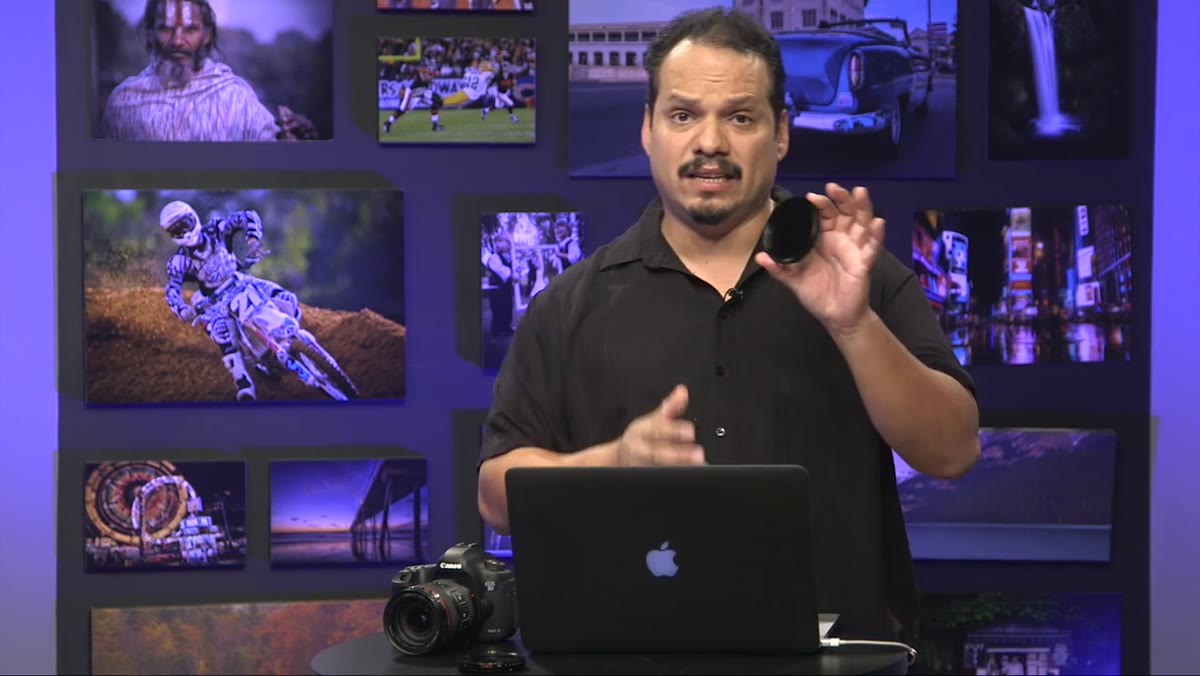 Physical ND filters shown on camera lens
RC’s analogy here is genuinely useful: an ND filter is sunglasses for your camera lens. It doesn’t change color. It doesn’t sharpen or soften anything. It just reduces the amount of light hitting the sensor uniformly, which forces the camera to compensate by opening the shutter for longer.
Physical ND filters shown on camera lens
RC’s analogy here is genuinely useful: an ND filter is sunglasses for your camera lens. It doesn’t change color. It doesn’t sharpen or soften anything. It just reduces the amount of light hitting the sensor uniformly, which forces the camera to compensate by opening the shutter for longer.
A Neutral Density filter (that’s what ND stands for) screws onto the front of your lens like a standard filter. The “neutral” part means it affects all wavelengths of light equally, so you don’t get color casts. The result is that you can be standing in full daylight and shoot at a shutter speed that would normally only make sense indoors or at night.
Step 3: Learn the ND Filter Numbering System
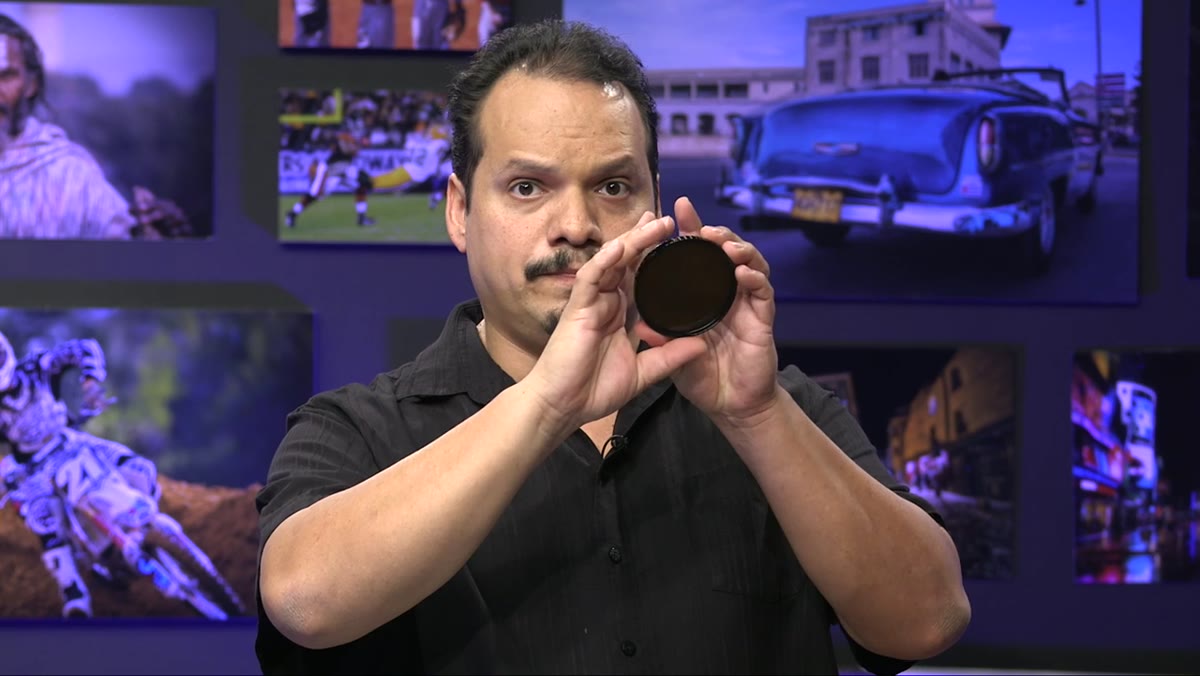 Different ND filter strengths displayed side by side
ND filters come in different strengths, and the numbering can be confusing at first because manufacturers aren’t fully consistent. The most common way to express filter strength is in “stops.” Each stop halves the amount of light reaching the sensor.
Different ND filter strengths displayed side by side
ND filters come in different strengths, and the numbering can be confusing at first because manufacturers aren’t fully consistent. The most common way to express filter strength is in “stops.” Each stop halves the amount of light reaching the sensor.
An ND3 (also written as ND8) cuts about 3 stops of light. An ND6 cuts 6 stops. An ND10 cuts 10 stops and is what you’d reach for in very bright conditions when you want exposures measured in seconds rather than fractions. RC walks through why matching the filter strength to your conditions matters, because grabbing a weak filter on a bright day still won’t get you to the shutter speeds you need. A 10-stop filter in direct midday sun can drop a 1/1000s exposure down to roughly one full second, which is where the magic happens.
Step 4: Set Up Your Camera for Long Exposure
 Camera on tripod with settings being adjusted
This step is non-negotiable: put your camera on a tripod. A slow shutter speed amplifies every tiny movement, and hand-holding at half a second will just give you a blurry mess instead of a sharp scene with blurry water. Those are very different things.
Camera on tripod with settings being adjusted
This step is non-negotiable: put your camera on a tripod. A slow shutter speed amplifies every tiny movement, and hand-holding at half a second will just give you a blurry mess instead of a sharp scene with blurry water. Those are very different things.
Once you’re stable, set your aperture first based on your depth of field preference, then drop your ISO to its lowest native value (usually 100 or 64 depending on your camera). Attach the ND filter, then let the camera meter the scene, or use manual mode and adjust until your histogram looks right. With a strong ND filter attached, your viewfinder will look almost black, so RC recommends composing and focusing before you attach the filter, not after.
Step 5: Use a Remote Shutter or Timer to Avoid Camera Shake
 Remote shutter release connected to camera
Even with a tripod, pressing the shutter button physically can introduce enough vibration to soften an otherwise sharp shot. RC flags this as an easy thing to overlook. The fix is a remote shutter release, either a cable remote or a wireless trigger. If you don’t have one, most cameras have a built-in 2-second or 10-second self-timer that works just as well for single shots.
Remote shutter release connected to camera
Even with a tripod, pressing the shutter button physically can introduce enough vibration to soften an otherwise sharp shot. RC flags this as an easy thing to overlook. The fix is a remote shutter release, either a cable remote or a wireless trigger. If you don’t have one, most cameras have a built-in 2-second or 10-second self-timer that works just as well for single shots.
This is a $15 problem with a $15 solution, and skipping it after spending real money on a quality ND filter would be a waste.
Step 6: Review and Adjust Based on the Actual Result
 Before and after river shots compared on screen
RC ends the practical section by comparing the original frozen river shot against one taken with the ND filter in place. The difference is significant. The water goes from looking static and unremarkable to having that soft, flowing quality that makes landscape photography feel like landscape photography.
Before and after river shots compared on screen
RC ends the practical section by comparing the original frozen river shot against one taken with the ND filter in place. The difference is significant. The water goes from looking static and unremarkable to having that soft, flowing quality that makes landscape photography feel like landscape photography.
The adjustment process is iterative. If the shot still looks too sharp or the water movement isn’t blurred enough, go to a stronger filter or wait for the light to drop a bit. If the shot is too bright, stop down the aperture another notch or reduce the ISO further if you have room. You’re balancing three variables (aperture, ISO, filter strength) against the specific light conditions in front of you.
One Thing RC Doesn’t Say But You’ll Figure Out Fast
Variable ND filters exist and they’re extremely tempting because one filter covers a wide range of stops by rotating the front element. I bought one early on and used it constantly. The catch is that cheaper variable NDs can introduce a strange X-shaped darkening pattern (called a cross-polarization artifact) at their maximum settings. It’s more visible on wide angle lenses. If you shoot mostly in the 6-8 stop range, a good variable ND works fine. If you regularly need 10+ stops, a fixed 10-stop filter from a reputable brand like B+W or Hoya will give you cleaner results and less grief.
Also worth knowing: ND filters are sized by millimeter to match your lens filter thread. A 77mm filter won’t fit a 67mm lens. Either buy per-lens or grab a step-down ring set so one filter covers multiple lenses.
The single most important thing this tutorial taught me is that long exposure photography isn’t a post-processing trick. You can’t fake motion blur in Photoshop and have it look like real flowing water. You have to capture it in camera, and ND filters are the specific tool that makes that possible in daylight conditions. Everything else is just knowing which filter to grab and how to set up your shot.
Watch the full tutorial on YouTube to see RC’s side-by-side comparisons and hear him walk through the filter strengths in more detail.
Comments
Leave a Comment