
There’s a specific kind of frustration that comes from doing something the slow way for years and then watching someone fix it in about twelve seconds. I’ve been there more times than I’d like to admit. I once spent three days rebuilding a composite by hand only to have a friend redo the whole thing in twenty minutes using a technique I’d never even heard of. That’s basically the feeling Dave Cross delivers in this episode of PhotoshopUser TV, a show that ran out of the KelbyOne camp and was genuinely one of the better free Photoshop education resources of its era. Watch the full tutorial on YouTube before you keep reading, or follow along here first and then go watch it.
The specific technique Dave covers in this episode is what he calls a “not really hidden but definitely not obvious” trick for working with type layers. That framing is accurate. It’s not buried in some obscure submenu. It’s just something most people never stumble across because Photoshop doesn’t exactly advertise it. If you work with type regularly, whether that’s building social graphics, laying out thumbnails, or doing any kind of compositing with text, this one is worth burning into muscle memory.
Step 1: Set Up a Basic Type Layer
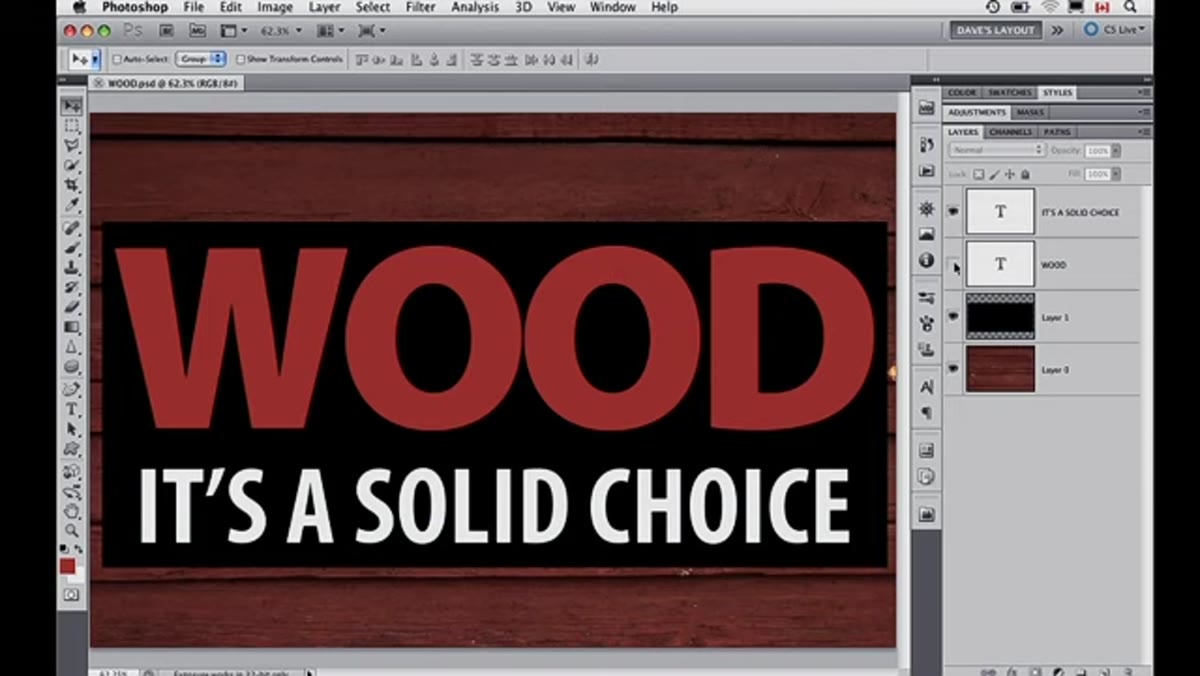 A regular type layer visible in the Layers panel
Start with any type layer. Dave uses a simple, clean example to keep the focus on the technique rather than the styling, and that’s the right call. Open a document, grab your Type tool (T), click on the canvas, and type whatever you want. Keep it straightforward for now. The point isn’t the content of the text, it’s what you can do with the layer itself.
A regular type layer visible in the Layers panel
Start with any type layer. Dave uses a simple, clean example to keep the focus on the technique rather than the styling, and that’s the right call. Open a document, grab your Type tool (T), click on the canvas, and type whatever you want. Keep it straightforward for now. The point isn’t the content of the text, it’s what you can do with the layer itself.
Make sure your Layers panel is open so you can see the layer thumbnail as you work. That visual feedback is key to understanding what’s actually happening under the hood.
Step 2: Recognize the Problem With Standard Layer Interaction
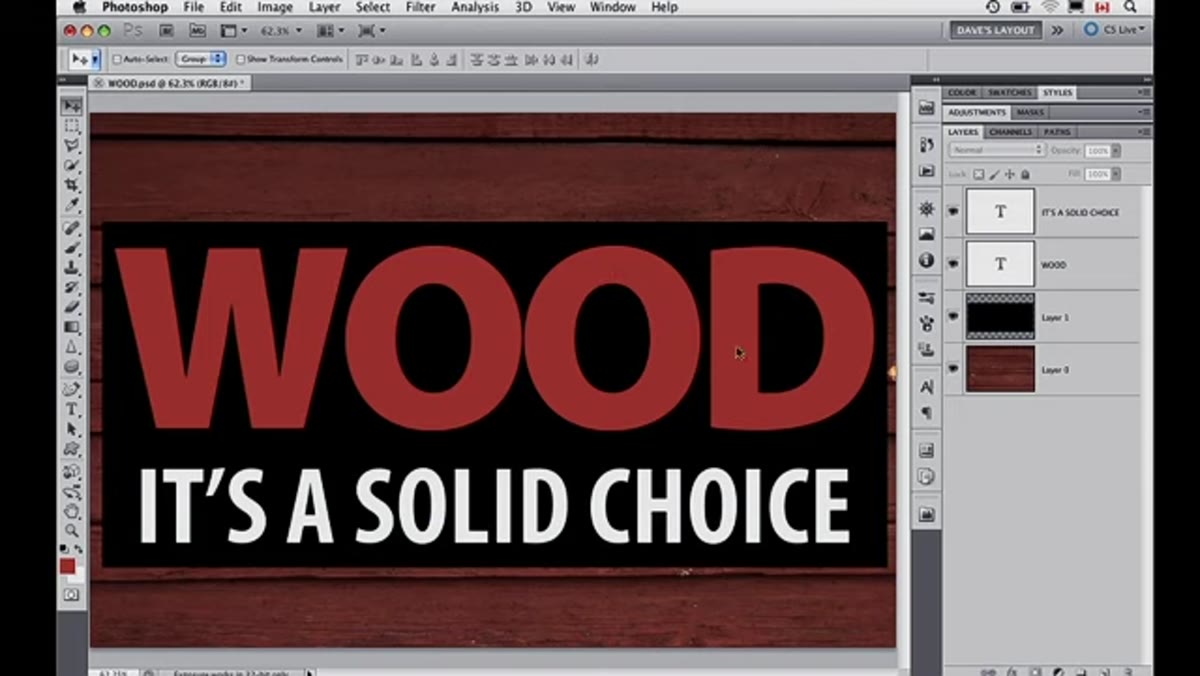 Type layer highlighted, showing the T icon in the Layers panel
Here’s the setup for why this trick matters. When you have a type layer and you want to interact with it, most people go to the Layers panel and click on the layer. Fine. But if you want to select the actual text content or manipulate the type properties, you typically have to double-click the T icon in the Layers panel, or switch to the Type tool and then triple-click to select all the text on the canvas.
Type layer highlighted, showing the T icon in the Layers panel
Here’s the setup for why this trick matters. When you have a type layer and you want to interact with it, most people go to the Layers panel and click on the layer. Fine. But if you want to select the actual text content or manipulate the type properties, you typically have to double-click the T icon in the Layers panel, or switch to the Type tool and then triple-click to select all the text on the canvas.
That’s a lot of clicks for something you do constantly. Dave’s point is that there’s a faster, more direct way to get into type editing mode without all the back and forth. This is one of those workflow inefficiencies that doesn’t feel like a big deal until you realize you’ve been doing it thousands of times across a career.
Step 3: Use the Direct Double-Click on the Canvas
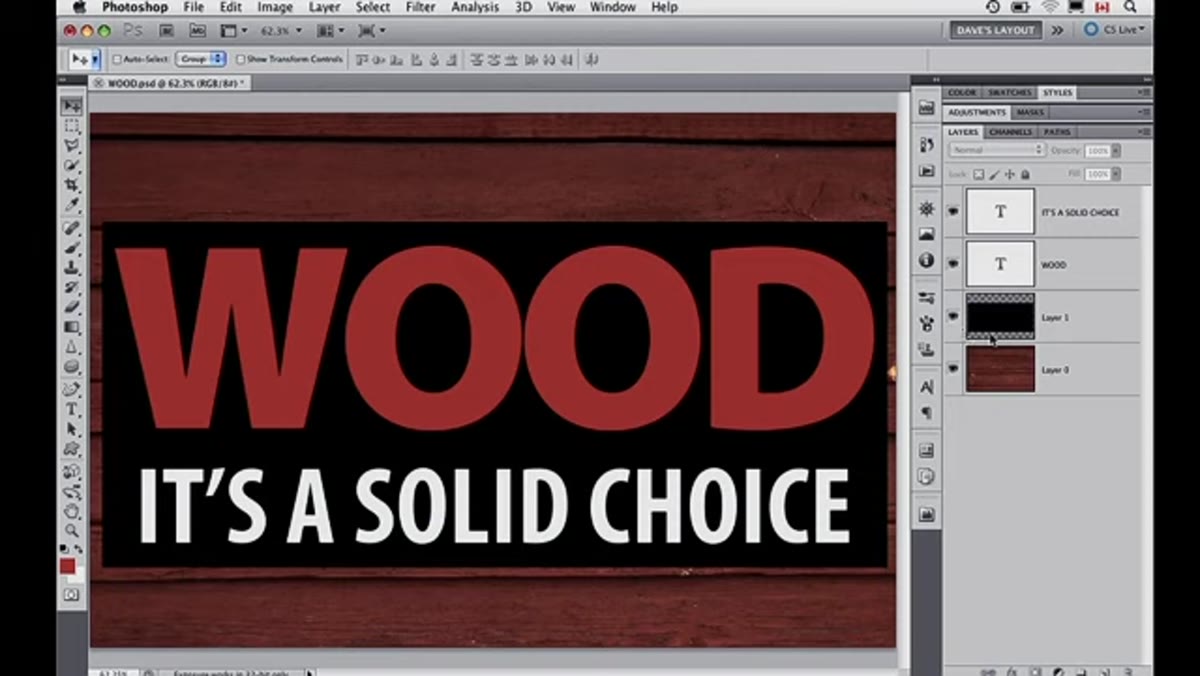 Double-clicking directly on text on the canvas with the Move tool active
Here’s the actual move. With the Move tool selected (V), double-click directly on the text on your canvas. Not in the Layers panel. On the text itself, right there on the canvas.
Double-clicking directly on text on the canvas with the Move tool active
Here’s the actual move. With the Move tool selected (V), double-click directly on the text on your canvas. Not in the Layers panel. On the text itself, right there on the canvas.
What happens is Photoshop switches you directly into Type editing mode, selects all the text on that layer automatically, and makes the layer active. All in one action. No hunting for the right tool, no going to the Layers panel, no triple-clicking. You’re just immediately in there ready to retype, reformat, or restyle. If you’ve got a document with multiple type layers, this works on any of them. Double-click the text you want, you’re in.
Step 4: Confirm the Behavior With Multiple Layers
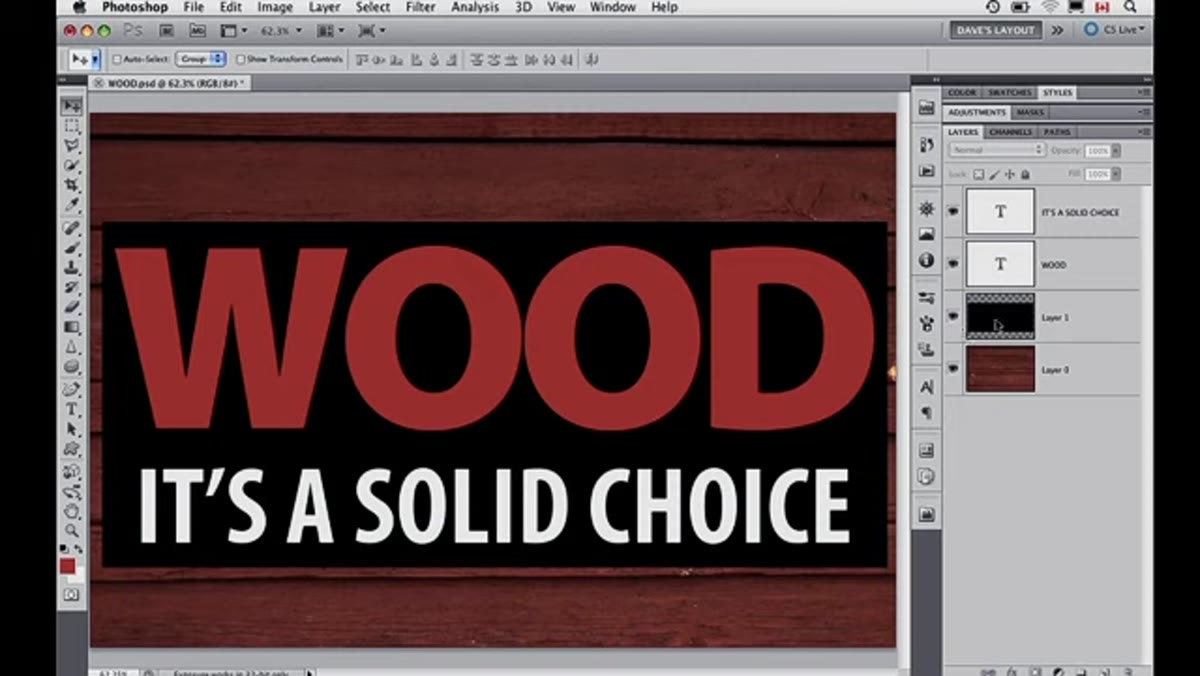 Multiple type layers in a Layers panel, one being activated by canvas click
Dave demonstrates this with a document that has more than one type layer, which is where the payoff really shows up. When you’ve got five or six text elements on a canvas, the old workflow means constantly switching layers in the panel just to get to the right piece of text.
Multiple type layers in a Layers panel, one being activated by canvas click
Dave demonstrates this with a document that has more than one type layer, which is where the payoff really shows up. When you’ve got five or six text elements on a canvas, the old workflow means constantly switching layers in the panel just to get to the right piece of text.
With this technique, you just double-click whichever word or line you want to edit, directly on the canvas, and Photoshop jumps to that layer and puts you in edit mode for it. It respects your layer stack, so if text is overlapping you might need to be precise about where you click, but in most layouts this is a significant time saver. The Layers panel becomes something you’re glancing at for context rather than using as a constant navigation tool.
Step 5: Understand the Move Tool Requirement
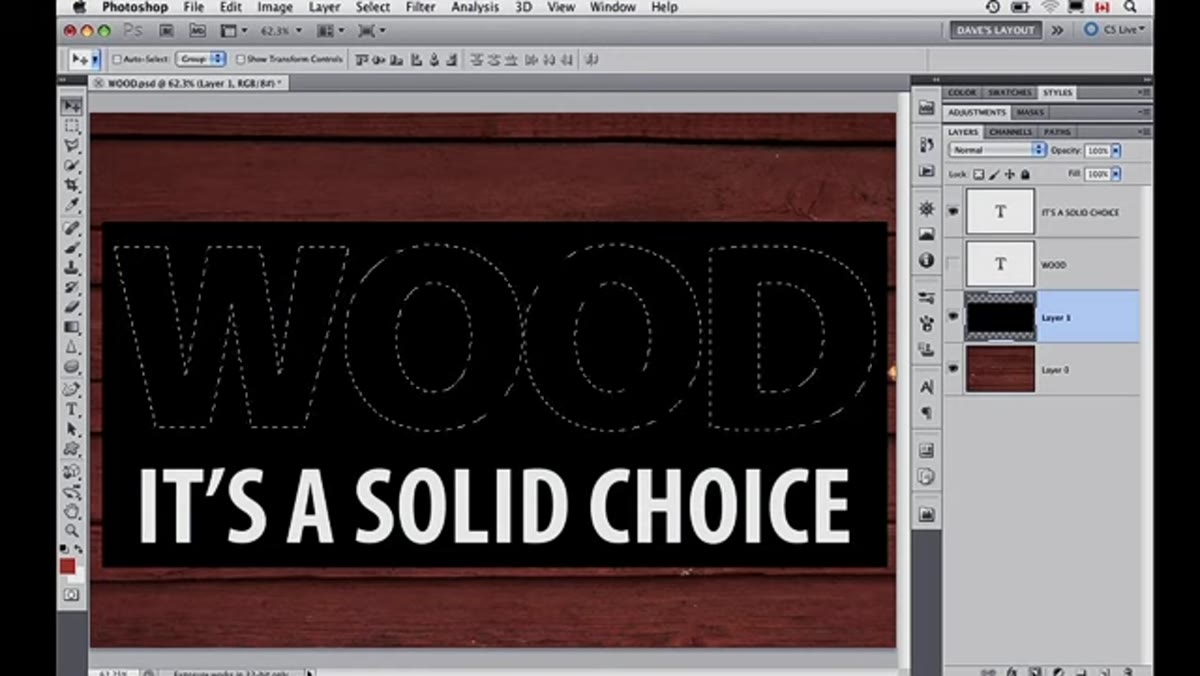 Move tool selected in toolbar, cursor positioned over type on canvas
One thing worth being explicit about, because it tripped me up when I first tried this: you have to be on the Move tool for the double-click-on-canvas behavior to work the way Dave describes. If you’re on another tool, a double-click might do something else entirely or nothing at all.
Move tool selected in toolbar, cursor positioned over type on canvas
One thing worth being explicit about, because it tripped me up when I first tried this: you have to be on the Move tool for the double-click-on-canvas behavior to work the way Dave describes. If you’re on another tool, a double-click might do something else entirely or nothing at all.
Get into the habit of tapping V to go to Move, then double-clicking your text. Two keystrokes and a click to get into full type editing mode on any layer. That’s a workflow improvement you’ll feel immediately.
My Take: Where This Actually Earns Its Keep
I work on a lot of thumbnail design and social graphics, which means I’m regularly managing documents with anywhere from four to ten text layers at different sizes and positions. Before I picked up this trick, I was doing the Layers-panel shuffle constantly. Click the layer, switch tool, click the canvas, realize I selected the wrong layer, go back to the panel, repeat.
The double-click-on-canvas method cleaned that up fast. One thing I’d add from my own experience: if your type layers are close together or if you’ve got text sitting on top of an image with complex transparency, be deliberate about where you click. Photoshop is smart about which layer gets activated, but it’s not psychic. Click close to the center of the text you want, and you’ll almost never have an issue. If you do land on the wrong layer, just hit Escape and try again. No harm done.
The single most important thing Dave Cross demonstrates here is that direct canvas interaction is almost always faster than panel navigation when it comes to type layers. Photoshop is packed with shortcuts like this one, techniques that aren’t hidden but just aren’t obvious, and the people who find them are usually the ones watching tutorials from educators who actually work in the software every day.
If you do any serious text work in Photoshop, this is five minutes well spent. Watch the full tutorial on YouTube and see Dave walk through it himself. Episode 260 has more than just this tip, so stick around for the whole thing.
Comments
Leave a Comment