
If you shoot portraits on seamless paper, you already know the betrayal. The backdrop looks pristine when you hang it. By the end of a two-hour shoot, it looks like a crime scene. Footprints, scuff marks, mysterious dark smears, wrinkles that catch light in the worst way possible. I’ve spent genuinely embarrassing amounts of time trying to patch and clone-stamp my way through dirty backgrounds, session by session, thinking that was just the cost of doing business.
Turns out I was doing it the hard way. In this Aaron Nace (PHLEARN) tutorial, Watch the full tutorial on YouTube, Aaron walks through a filter most people walk right past: the Median filter, buried inside the Noise submenu. It handles what the Healing Brush and Patch Tool struggle with on large, uneven areas, and it does it in a fraction of the time. The first time I used it on a batch of portrait files, I genuinely had a “where has this been my whole life” moment. Here’s the full breakdown.
Step 1: Assess the Damage and Duplicate the Layer
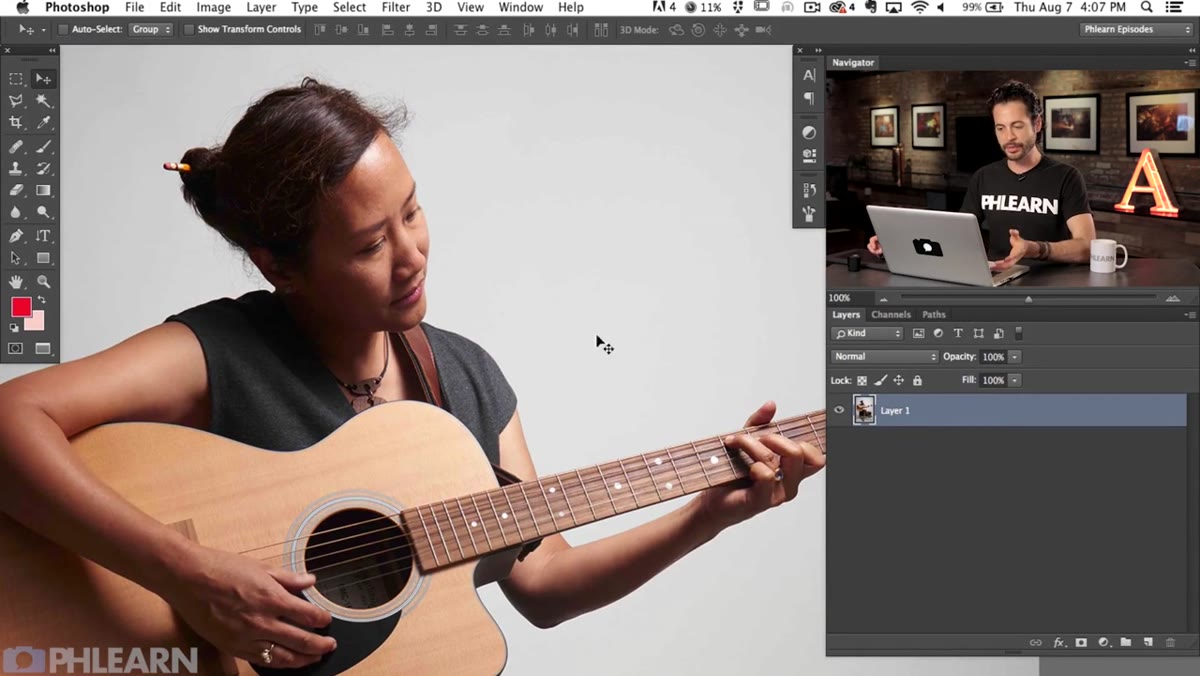 Dirty white seamless backdrop with visible scuffs and footprints
Before you do anything else, scroll through the full image and actually look at what you’re dealing with. The top of a hanging seamless backdrop is usually clean because nobody walks on it. The floor section is where things get ugly. Scratches, shoe marks, dust, all of it shows up fast under studio lighting.
Dirty white seamless backdrop with visible scuffs and footprints
Before you do anything else, scroll through the full image and actually look at what you’re dealing with. The top of a hanging seamless backdrop is usually clean because nobody walks on it. The floor section is where things get ugly. Scratches, shoe marks, dust, all of it shows up fast under studio lighting.
Once you’ve clocked the problem areas, duplicate your Background layer with Command+J (Ctrl+J on Windows). This is non-negotiable. You’re going to apply a destructive filter to this layer, and you need the original underneath as your safety net. Think of it as basic studio hygiene for your Photoshop file.
Step 2: Navigate to Filter - Noise - Median
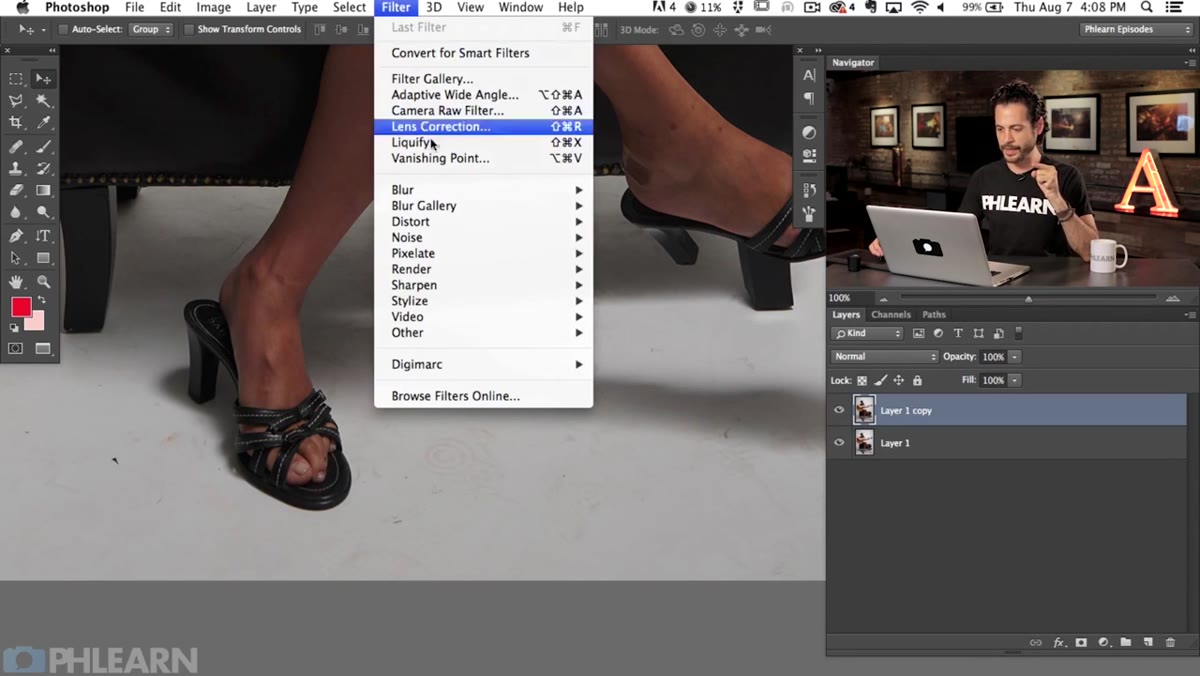 Photoshop Filter menu open showing Noise submenu and Median option
Go to Filter in the top menu bar, hover over Noise, and look for Median in the submenu. It won’t be the first tool you think of for retouching, which is exactly why most people never find it. The Median filter works by sampling neighboring pixels and replacing each pixel’s value with the median value of the surrounding area. In plain English: it smooths out small inconsistencies and texture without the aggressive blurring behavior you get from something like Gaussian Blur.
Photoshop Filter menu open showing Noise submenu and Median option
Go to Filter in the top menu bar, hover over Noise, and look for Median in the submenu. It won’t be the first tool you think of for retouching, which is exactly why most people never find it. The Median filter works by sampling neighboring pixels and replacing each pixel’s value with the median value of the surrounding area. In plain English: it smooths out small inconsistencies and texture without the aggressive blurring behavior you get from something like Gaussian Blur.
This distinction matters a lot when you’re working near your subject. Gaussian Blur bleeds edges together, so the dark tones near your subject’s feet or the couch or any props start bleeding into the white background. Median respects hard edges far better, which is what makes it actually usable for this situation.
Step 3: Set the Radius
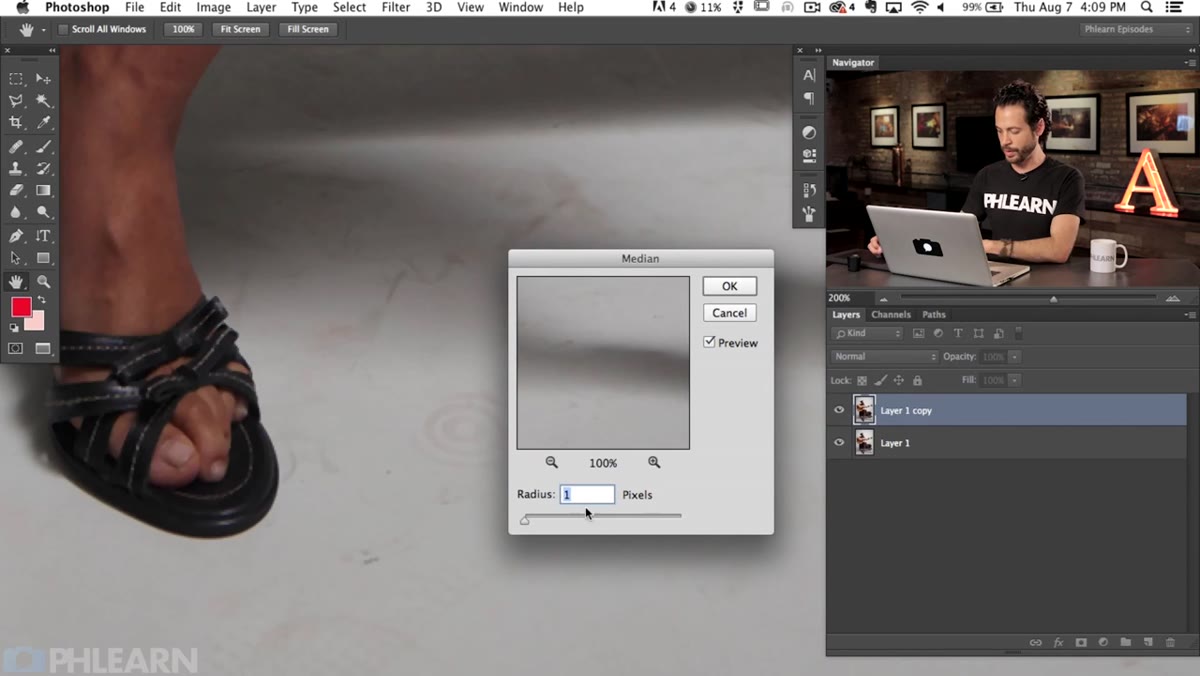 Median filter dialog box with radius slider being adjusted
The Median filter dialog is refreshingly simple: there’s one slider, the Radius. As you increase the radius, the filter samples from a wider area and does more aggressive smoothing. For a mildly dirty background you might only need a radius of 5 to 10. For a seriously beaten-up seamless that’s seen a full day of shooting, you might push into the 15 to 25 range.
Median filter dialog box with radius slider being adjusted
The Median filter dialog is refreshingly simple: there’s one slider, the Radius. As you increase the radius, the filter samples from a wider area and does more aggressive smoothing. For a mildly dirty background you might only need a radius of 5 to 10. For a seriously beaten-up seamless that’s seen a full day of shooting, you might push into the 15 to 25 range.
The move here is to increase the radius until the visible dirt and scuffs on the background disappear, then stop. Don’t keep pushing past that point. At higher radius values you’ll start to see areas of flat color blending into each other in ways that look unnatural, and you’ll lose the subtle tonal gradation that makes a lit backdrop look real. Find the threshold where the grime is gone but the background still looks like a background, not a painted wall in MS Paint. Different photos will need different values depending on how dirty the backdrop was and how it was lit.
Step 4: Apply the Filter and Check Your Edges
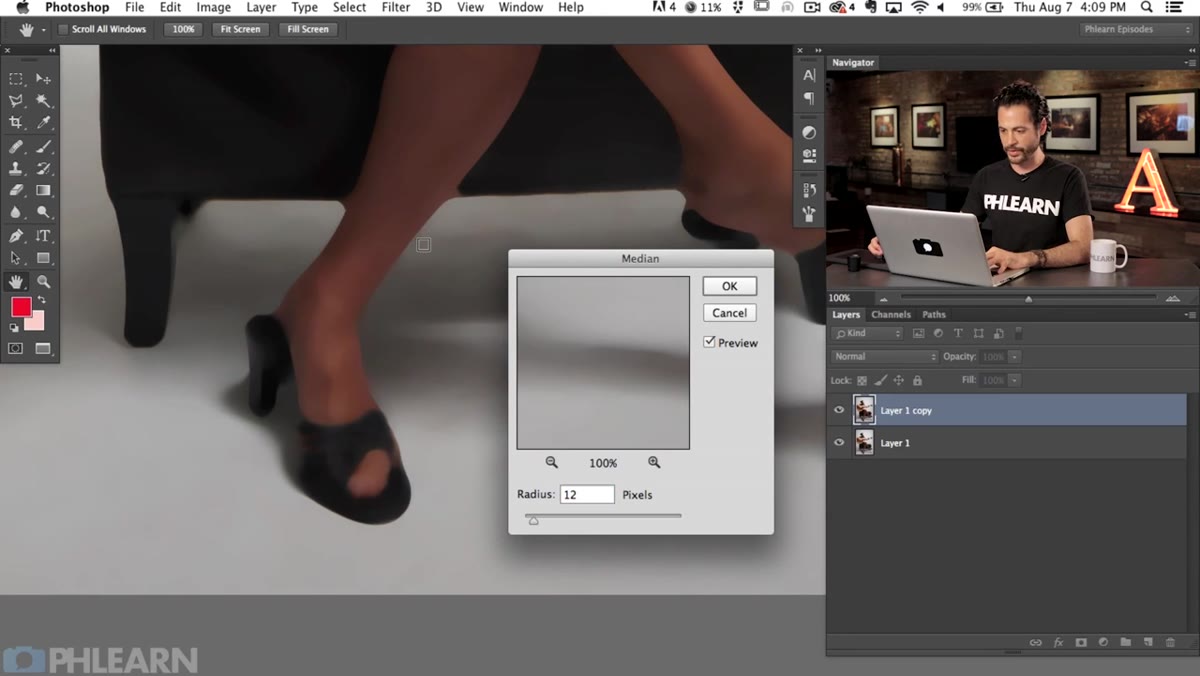 Filtered layer showing clean background with subject edges preserved
Hit OK to apply. Now zoom in to the areas where your subject meets the background and check the edges carefully. One of the genuine advantages of Median over other smoothing filters is that the transitions between your subject and the background should still look crisp. If you’re seeing any noticeable halo or bleed, your radius was probably too high. Undo, go back into the filter (it’ll remember your last setting), and pull the value down until the edges look clean.
Filtered layer showing clean background with subject edges preserved
Hit OK to apply. Now zoom in to the areas where your subject meets the background and check the edges carefully. One of the genuine advantages of Median over other smoothing filters is that the transitions between your subject and the background should still look crisp. If you’re seeing any noticeable halo or bleed, your radius was probably too high. Undo, go back into the filter (it’ll remember your last setting), and pull the value down until the edges look clean.
At this point the filter has been applied to the entire layer, including your subject. That’s expected and intentional, because the next step is where you fix that.
Step 5: Add a Layer Mask to Protect the Subject
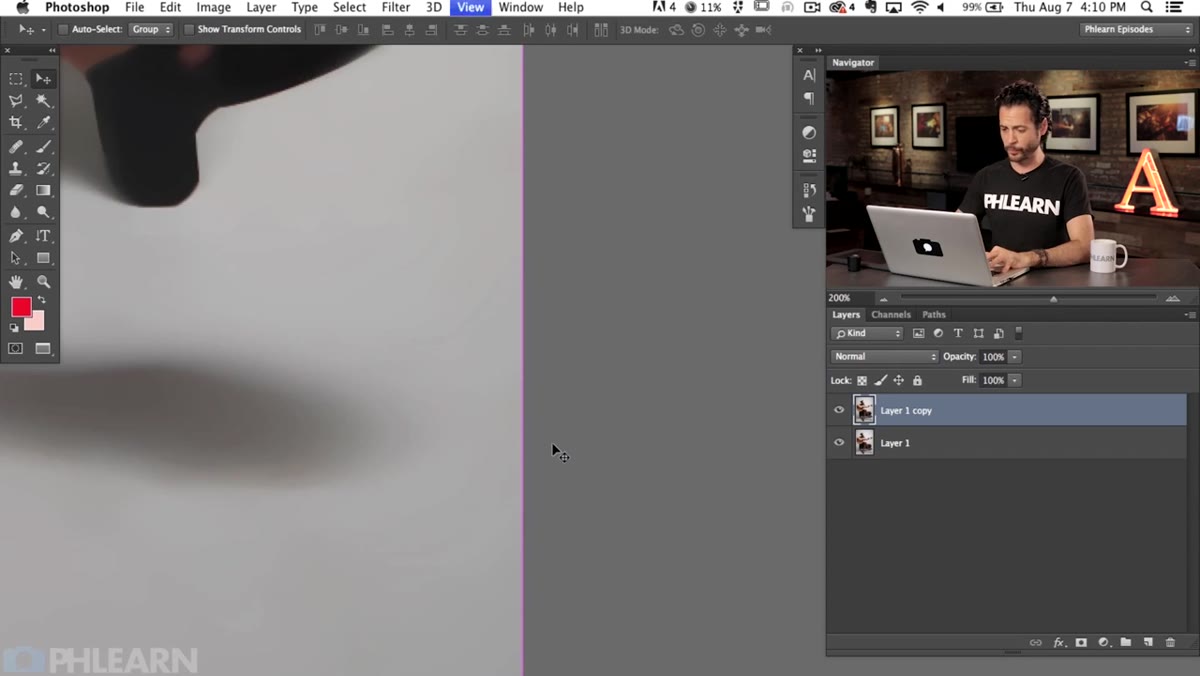 Layer mask added to duplicate layer isolating background only
Click the “Add Layer Mask” icon at the bottom of the Layers panel. This gives you a white mask on your filtered duplicate layer. White reveals, black conceals. Right now the mask is showing the entire filtered layer, including the over-smoothed version of your subject. You want to hide the filter effect on everything except the background.
Layer mask added to duplicate layer isolating background only
Click the “Add Layer Mask” icon at the bottom of the Layers panel. This gives you a white mask on your filtered duplicate layer. White reveals, black conceals. Right now the mask is showing the entire filtered layer, including the over-smoothed version of your subject. You want to hide the filter effect on everything except the background.
Grab your Brush tool, set it to black, make sure you’re painting on the mask (not the layer), and paint over your subject. You’re essentially telling Photoshop: “Show me the clean filtered background here, but give me the original untouched subject there.” Work carefully around edges, zoom in where you need to, and use a hard-edged brush for defined edges and a slightly soft one for any areas where the subject blends more gradually into the background. When you’re done, the background should look clean and smooth while the subject looks exactly like the original.
A Note on What This Won’t Fix
I want to be straight with you: this technique is excellent for diffuse, widespread grime and texture on a relatively evenly lit backdrop. It is not a magic wand for every background problem. If you’ve got a very dark, specific footprint right in the middle of the frame, or a section of backdrop that’s genuinely torn and showing a different value from the rest of the paper, Median alone might not get you all the way there.
In those cases I’ll use this filter as a first pass to handle 80% of the mess, then come back in with the Healing Brush or Clone Stamp on a separate layer to deal with the stubborn problem spots. Stacking techniques beats looking for a single perfect solution every time. I learned that after spending three days painstakingly cloning my way through a series of portraits that I could have cleaned up in an hour with a smarter workflow. The Median filter is now always the first thing I reach for on studio background work, and the manual tools are the mop-up crew.
The single biggest takeaway here is that the tool you need isn’t always the most obvious one. The Healing Brush feels like the right answer for cleaning up backgrounds because it’s a retouching tool. But for large, textured areas like seamless paper, a filter you’d normally associate with reducing digital noise turns out to be far faster and more effective. Sometimes the best Photoshop technique is the one hiding three menus deep that nobody talks about.
Watch the full tutorial on YouTube to see Aaron walk through the whole thing on a real studio portrait. His explanation of why Median preserves edges where Gaussian Blur fails is worth watching even if you’ve already got the technique down.
Comments
Leave a Comment