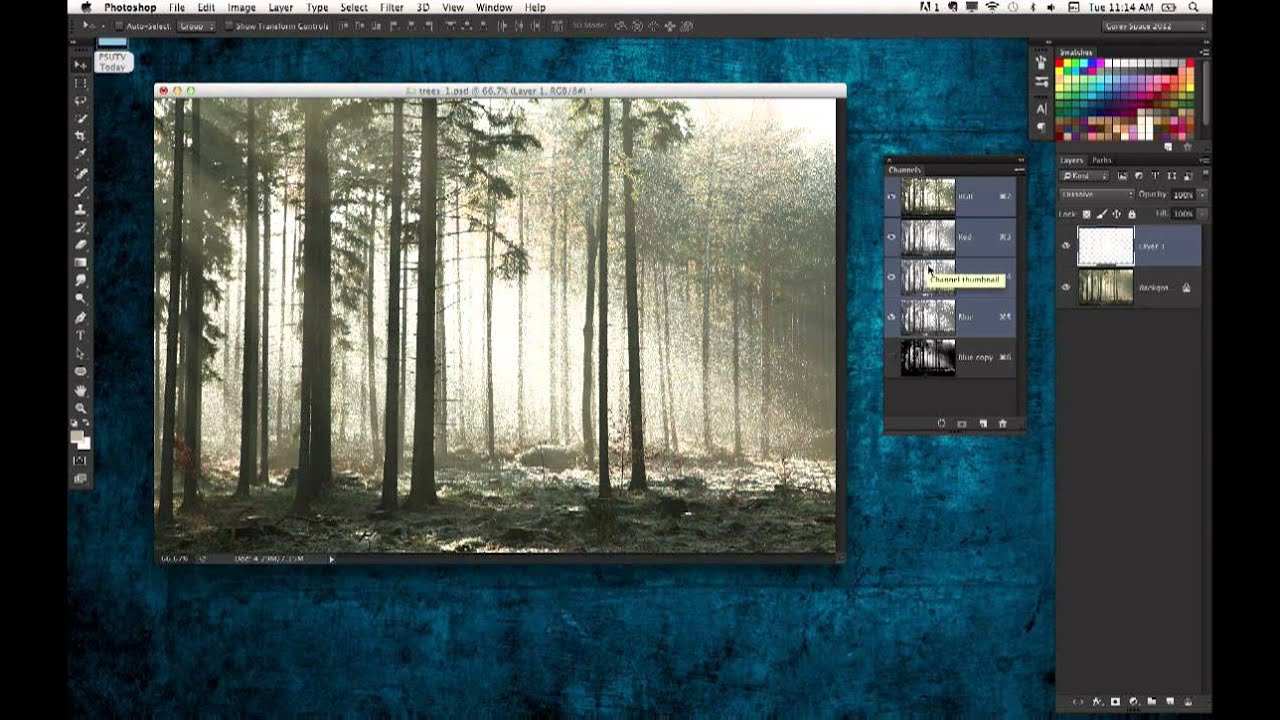
I’ll be honest: for an embarrassingly long time, I was that person clicking through every layer mask operation like I had all the time in the world. Click to add the mask, click to select it, click to disable it, click to view it. My mouse hand was getting a workout my brain wasn’t. It wasn’t until I watched Dave Cross walk through his layer mask shortcut workflow in this KelbyOne episode of Photoshop User TV that I realized how much friction I’d been building into my own process.
Watch the full tutorial on YouTube
The thing about layer masks is that most people learn them once, figure out the basics, and never revisit the workflow. You add a mask, you grab a brush, you paint. Job done, right? But when you’re deep in a composite or doing heavy retouching, all that mouse travel adds up. Dave’s point in the tutorial is simple: a few well-placed shortcuts and habits will keep your hands on the keyboard and your head in the work. Here’s what he covers and how to put it into practice.
Step 1: Set Up a Keyboard Shortcut to Add a Layer Mask
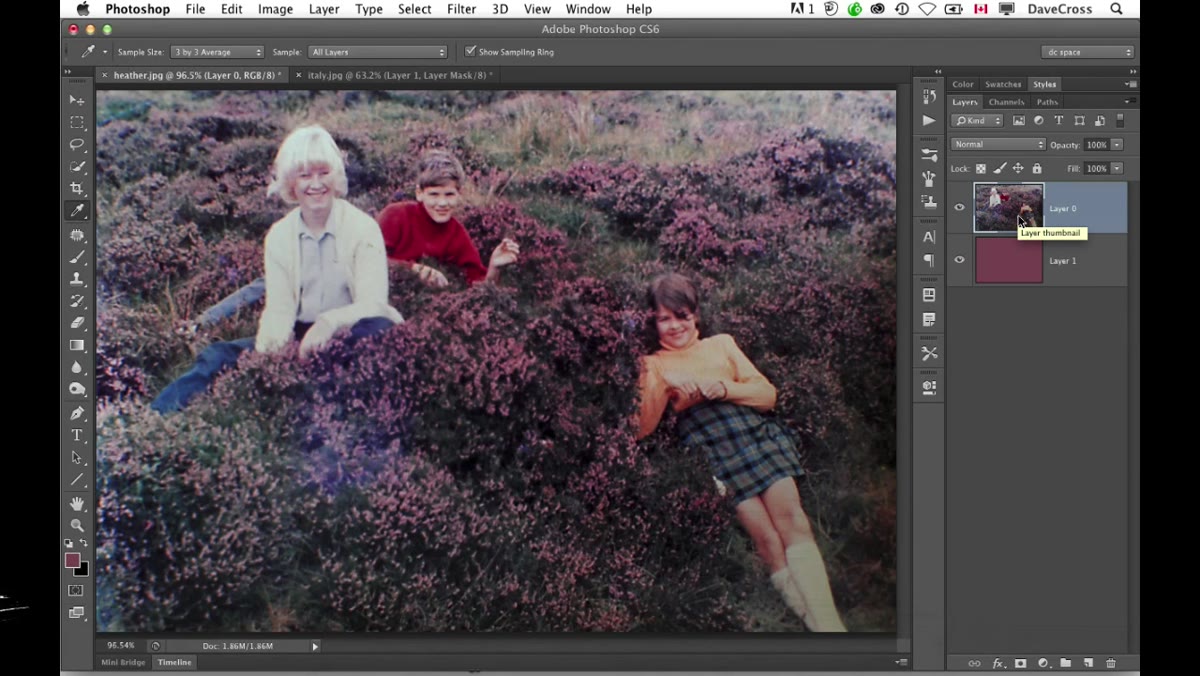 Dave Cross opening layer mask shortcut settings in Photoshop
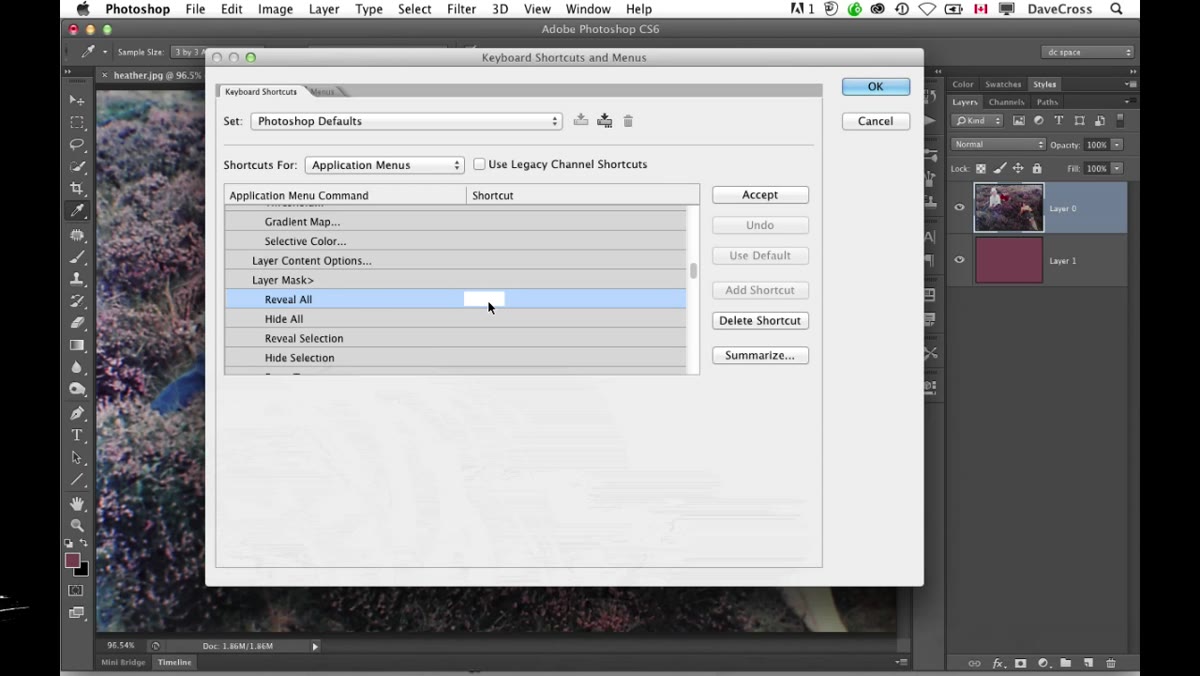
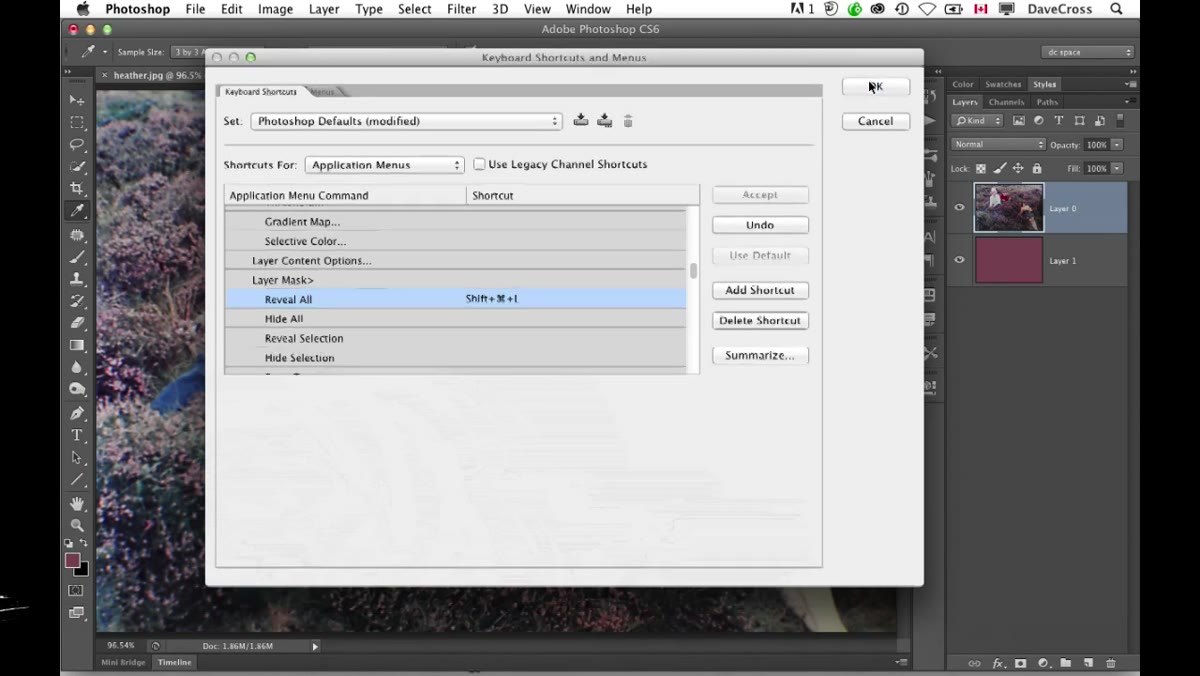
Photoshop doesn’t give you a default keyboard shortcut for adding a layer mask, which is honestly baffling. Dave’s first move is to go into Edit > Keyboard Shortcuts, find the Layer menu, and assign your own shortcut to “Add Layer Mask.” He recommends picking something that sits naturally under your fingers and doesn’t conflict with existing shortcuts. Spend two minutes doing this once and you’ll never have to drag up to the Layer menu again. It’s the kind of setup step that feels optional right up until you’ve done it.
Dave Cross opening layer mask shortcut settings in Photoshop
Photoshop doesn’t give you a default keyboard shortcut for adding a layer mask, which is honestly baffling. Dave’s first move is to go into Edit > Keyboard Shortcuts, find the Layer menu, and assign your own shortcut to “Add Layer Mask.” He recommends picking something that sits naturally under your fingers and doesn’t conflict with existing shortcuts. Spend two minutes doing this once and you’ll never have to drag up to the Layer menu again. It’s the kind of setup step that feels optional right up until you’ve done it.
Step 2: Click the Layer Thumbnail vs. the Mask Thumbnail
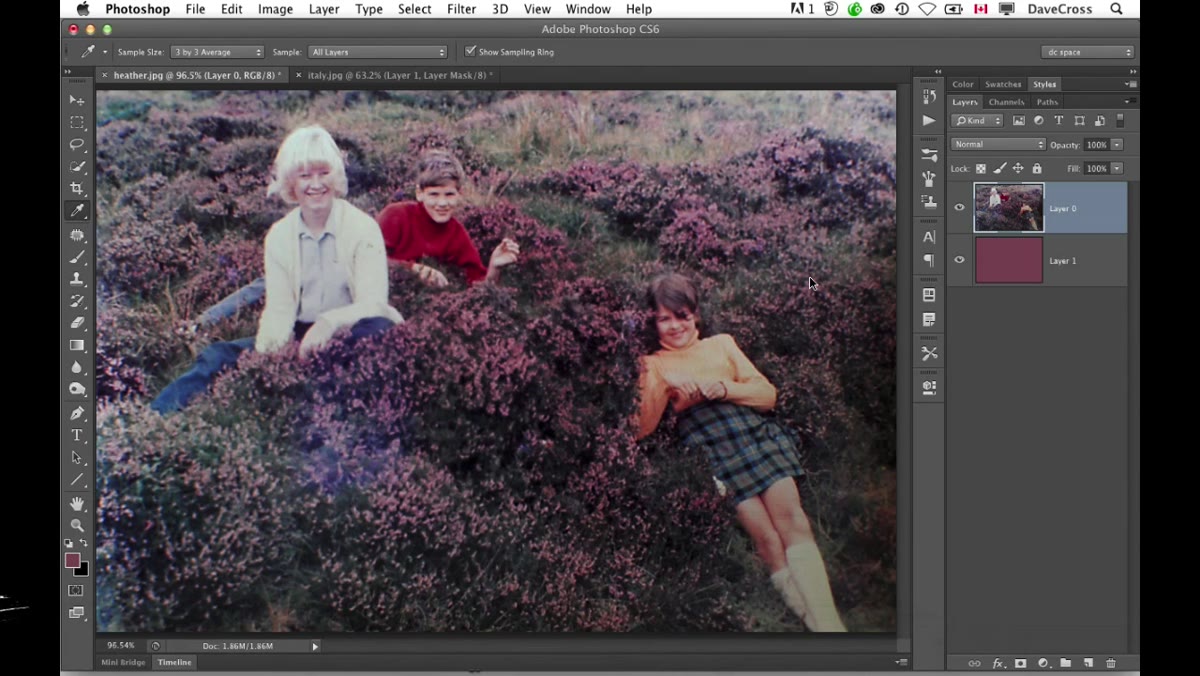 Layers panel showing the gap between layer and mask thumbnails
This one trips people up constantly. In the Layers panel, your layer has two thumbnails side by side: the layer content on the left, the mask on the right. Clicking one does not select the other. If you start painting and nothing is happening, or your mask is mysteriously untouched, check which thumbnail is highlighted with a border. Dave is clear here: before you do anything with a mask, look at which one is active. It sounds obvious, but when you’re moving fast it’s easy to miss, and chasing down “why isn’t my brush doing anything” costs more time than the shortcut saves.
Layers panel showing the gap between layer and mask thumbnails
This one trips people up constantly. In the Layers panel, your layer has two thumbnails side by side: the layer content on the left, the mask on the right. Clicking one does not select the other. If you start painting and nothing is happening, or your mask is mysteriously untouched, check which thumbnail is highlighted with a border. Dave is clear here: before you do anything with a mask, look at which one is active. It sounds obvious, but when you’re moving fast it’s easy to miss, and chasing down “why isn’t my brush doing anything” costs more time than the shortcut saves.
Step 3: Shift-Click to Disable the Mask Temporarily
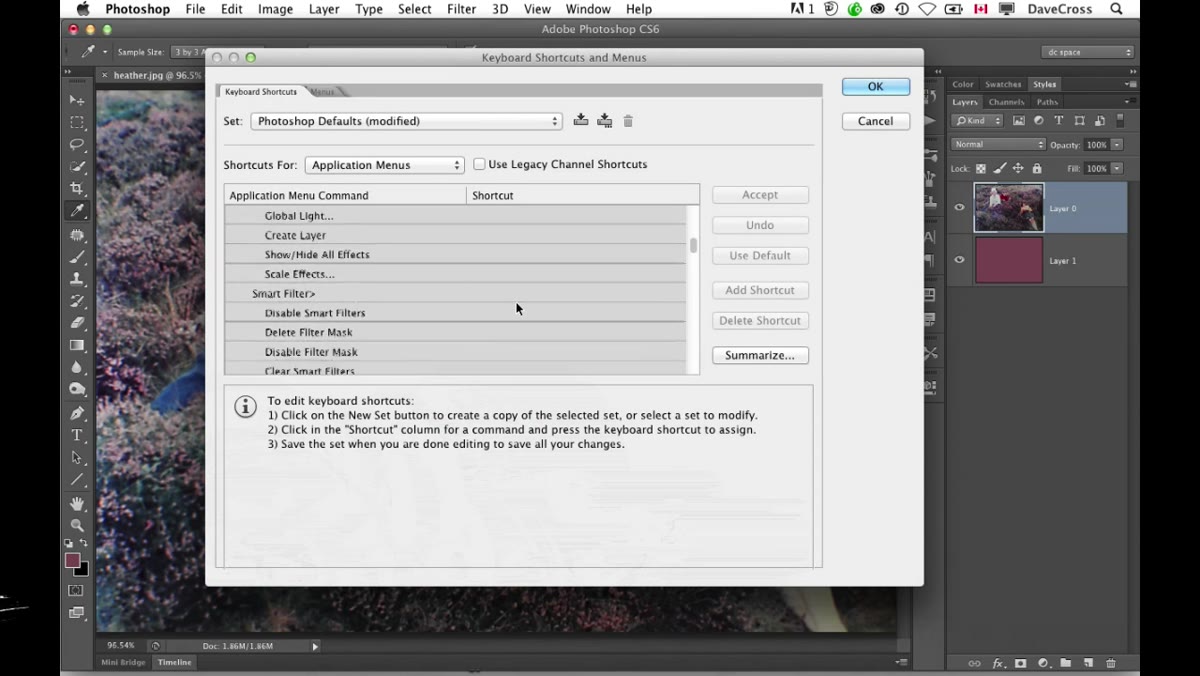 Red X appearing over mask thumbnail after Shift-click
If you want to see your image without the mask applied, without actually deleting anything, Shift-click the mask thumbnail. A red X appears over it to signal it’s disabled, and your full layer content becomes visible. Shift-click again to bring the mask back. This is genuinely one of the most useful non-obvious shortcuts in Photoshop. It’s perfect for checking whether your masking is actually doing what you think it’s doing, or whether the underlying image needs fixing before you mask it further.
Red X appearing over mask thumbnail after Shift-click
If you want to see your image without the mask applied, without actually deleting anything, Shift-click the mask thumbnail. A red X appears over it to signal it’s disabled, and your full layer content becomes visible. Shift-click again to bring the mask back. This is genuinely one of the most useful non-obvious shortcuts in Photoshop. It’s perfect for checking whether your masking is actually doing what you think it’s doing, or whether the underlying image needs fixing before you mask it further.
Step 4: Alt/Option-Click to View the Mask Directly
 Canvas showing raw black and white mask view after Alt-click
Alt-click (Option-click on Mac) on the mask thumbnail and your canvas switches to showing you the mask itself as a black-and-white image. This is where you can see every imperfection, every gray area that should be pure black or white, every soft edge you forgot to clean up. Alt-click again to return to the normal view. Dave uses this regularly as a quality-check step, not just a curiosity. If you’ve never looked at your masks this way, prepare for some humbling revelations about edges you thought were clean.
Canvas showing raw black and white mask view after Alt-click
Alt-click (Option-click on Mac) on the mask thumbnail and your canvas switches to showing you the mask itself as a black-and-white image. This is where you can see every imperfection, every gray area that should be pure black or white, every soft edge you forgot to clean up. Alt-click again to return to the normal view. Dave uses this regularly as a quality-check step, not just a curiosity. If you’ve never looked at your masks this way, prepare for some humbling revelations about edges you thought were clean.
Step 5: Use the Link/Unlink Icon to Move Layer and Mask Independently
 Clicking the chain link icon between layer and mask thumbnails
By default, the layer content and its mask are linked, meaning they move together when you use the Move tool. That little chain icon between the two thumbnails controls this. Click it to unlink them, and you can reposition the layer content without shifting the mask, or move the mask without changing what’s underneath. This is hugely useful when you’ve masked something out but want to reframe the underlying image without starting the mask over. Dave points out that people often delete and redo masks just because they didn’t know this link could be broken.
Clicking the chain link icon between layer and mask thumbnails
By default, the layer content and its mask are linked, meaning they move together when you use the Move tool. That little chain icon between the two thumbnails controls this. Click it to unlink them, and you can reposition the layer content without shifting the mask, or move the mask without changing what’s underneath. This is hugely useful when you’ve masked something out but want to reframe the underlying image without starting the mask over. Dave points out that people often delete and redo masks just because they didn’t know this link could be broken.
Step 6: Target the Mask with Keyboard Navigation
 Dave demonstrating keyboard focus switching between layer and mask
Once you know the shortcuts for switching focus between the layer thumbnail and the mask thumbnail, you stop needing to aim your mouse at tiny panel icons. Dave demonstrates that with the right keyboard shortcut setup, you can stay almost entirely in the canvas while working. The exact shortcut depends on what you’ve assigned, but the principle is: keep your eyes on the image and your hands on the keyboard. Every time you look down at the Layers panel to click something, you break the visual flow.
Dave demonstrating keyboard focus switching between layer and mask
Once you know the shortcuts for switching focus between the layer thumbnail and the mask thumbnail, you stop needing to aim your mouse at tiny panel icons. Dave demonstrates that with the right keyboard shortcut setup, you can stay almost entirely in the canvas while working. The exact shortcut depends on what you’ve assigned, but the principle is: keep your eyes on the image and your hands on the keyboard. Every time you look down at the Layers panel to click something, you break the visual flow.
What I’d Add: The “View Mask as Overlay” Trick
One thing Dave doesn’t get into here but pairs perfectly with everything above is the mask overlay view. If you press the backslash key ( \ ) while your mask is selected, Photoshop shows the mask as a red overlay on top of your image, similar to Quick Mask mode. It’s easier to read spatially than the pure black-and-white view from Alt-clicking, especially on complex subjects. I use it constantly when refining hair or fur edges. The shortcuts Dave covers get you to the mask fast; the overlay view helps you fix it faster.
The real takeaway from this tutorial is that layer masks aren’t the slow part of your workflow. Your habits around them are. Once I mapped a shortcut to add a mask, stopped confusing the layer and mask thumbnails, and started using Shift-click and Alt-click without thinking about them, my masking sessions got noticeably shorter. Not because I got better at masking necessarily, but because I stopped fighting the interface to do it.
Watch the full tutorial on YouTube and see Dave Cross walk through these in real time. His delivery is relaxed and practical, which makes it easy to pause, try the shortcut, and come back.
Comments (1)
I've watched a dozen tutorials on this and yours is the clearest by far.
Leave a Comment