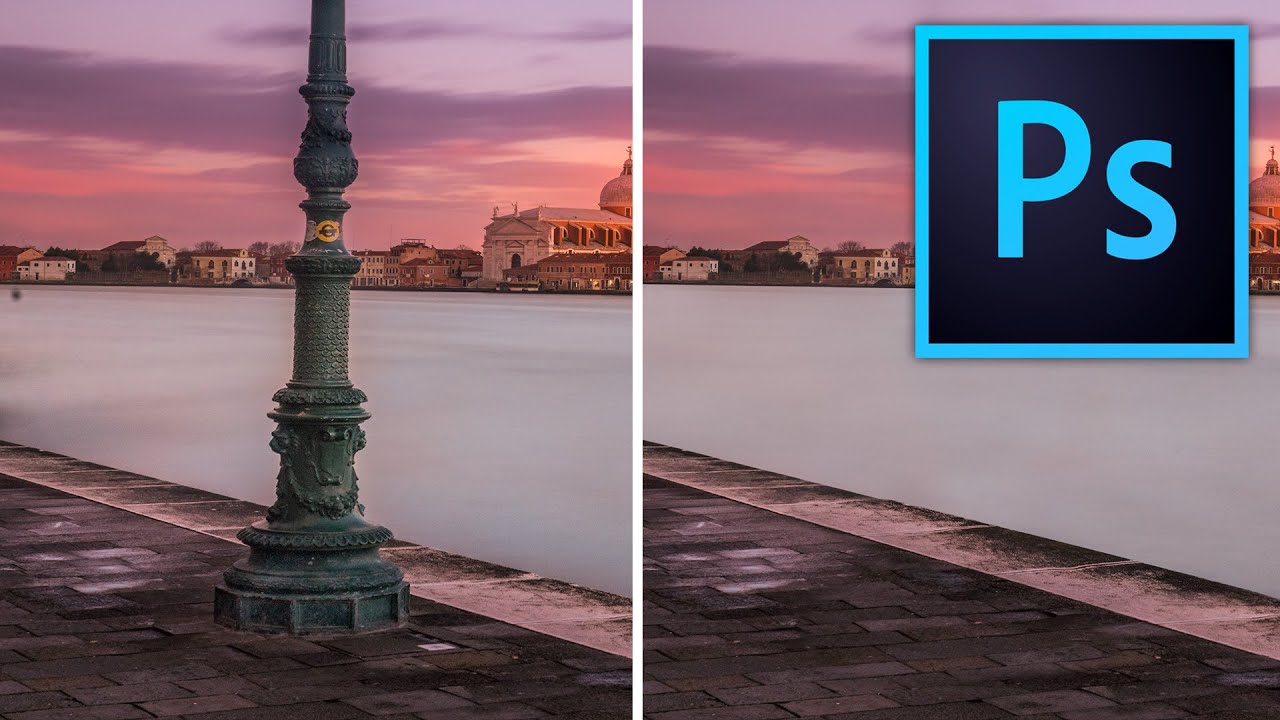
There’s a specific kind of embarrassment that comes from sending a client a retouched photo where you can clearly see where you removed something. The water ripples that suddenly repeat. The brick pattern that tiles like a bad desktop wallpaper from 2003. I know it well. Early in my freelance career I handed off a product shot with a background so obviously cloned that my client asked if the floor was “supposed to look like that.” It was not. That’s the problem with reaching for the Clone Stamp tool the moment something needs to disappear. It works great until it doesn’t, and perspective is usually what breaks it.
In this Kelvin Designs tutorial, Kelvin walks through removing a lamppost from a long-exposure photo of Venice, and the reason it’s worth your time isn’t the specific subject matter. It’s the thinking behind the approach. He breaks the image into zones, handles each section differently based on what’s actually behind the object, and the result looks like the lamppost was never there. No smearing, no obvious repetition, no moment where a viewer’s eye catches something “off.” Watch the full tutorial on YouTube if you want to follow along with the source file. Otherwise, here’s the full breakdown.
Step 1: Duplicate Your Layer Before Touching Anything
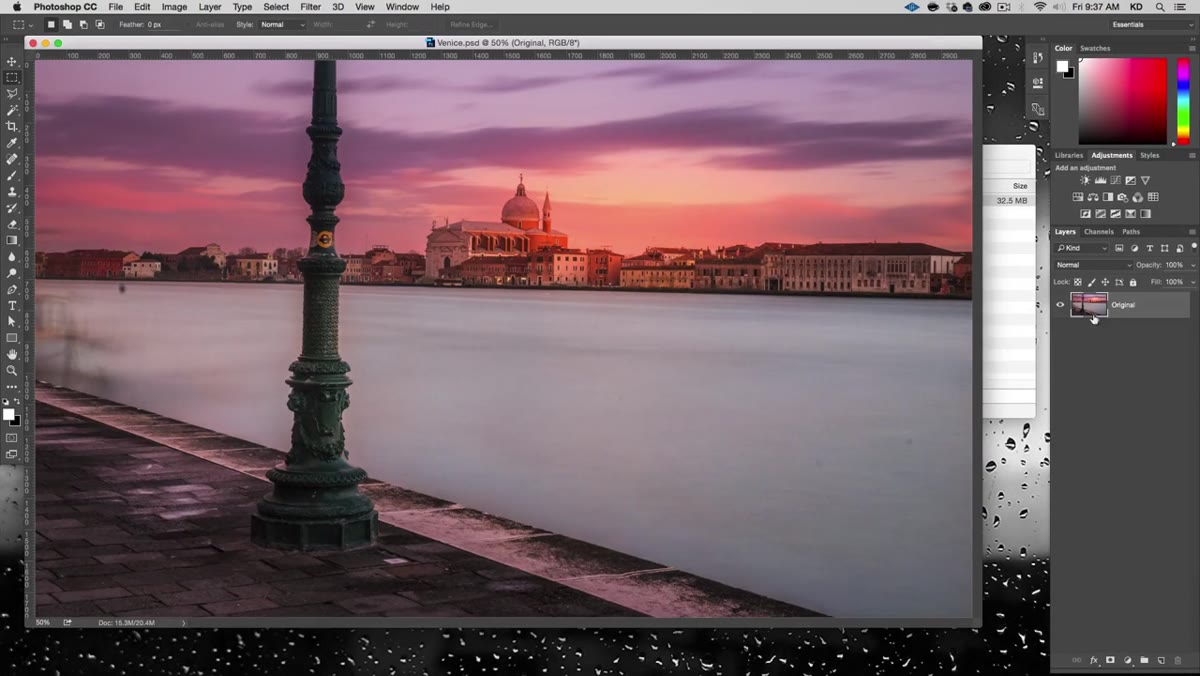 Duplicating the background layer and renaming it “retouched”
Before a single pixel moves, duplicate your working layer and label it something useful. Kelvin names his “retouched” which is about as straightforward as it gets. The point is simple: you want your original underneath as a reference, a safety net, and a before-and-after comparison tool. Skipping this step is how you end up flattening a file, closing it, and only then noticing the problem. Keep the original. Always.
Duplicating the background layer and renaming it “retouched”
Before a single pixel moves, duplicate your working layer and label it something useful. Kelvin names his “retouched” which is about as straightforward as it gets. The point is simple: you want your original underneath as a reference, a safety net, and a before-and-after comparison tool. Skipping this step is how you end up flattening a file, closing it, and only then noticing the problem. Keep the original. Always.
Step 2: Analyze the Image in Sections Before Picking a Tool
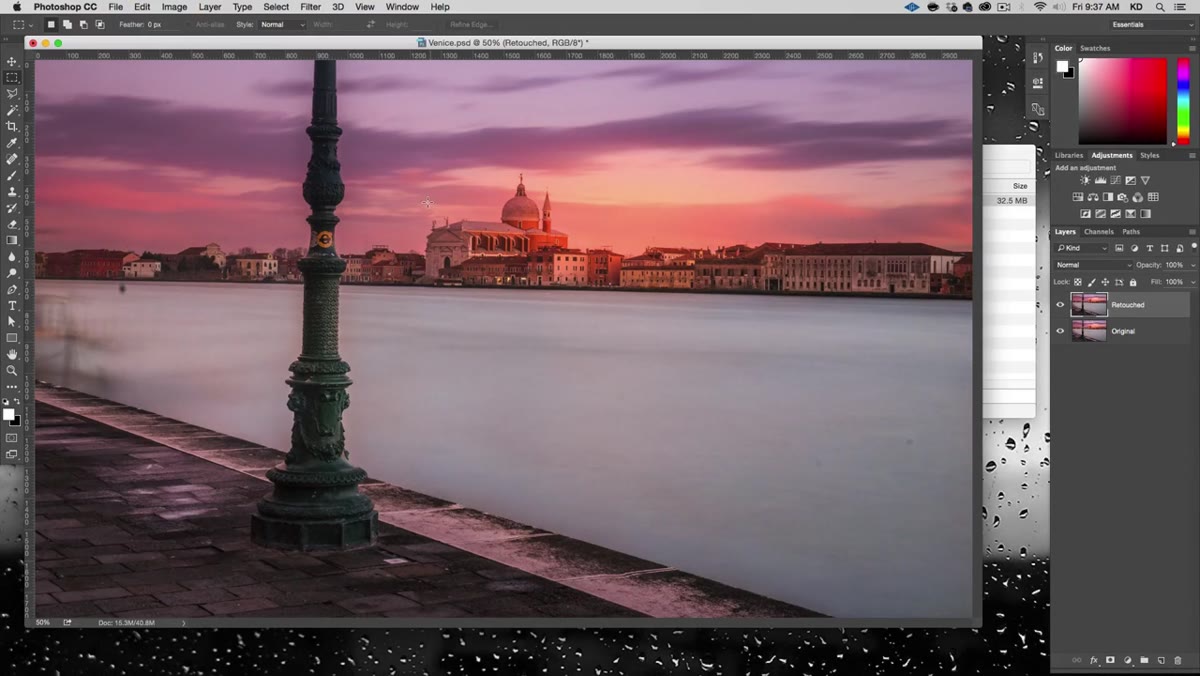 Annotating the photo into sky, buildings, water, and foreground pavement zones
This is the step most tutorials skip and it’s honestly the most important one. Kelvin looks at the image and mentally divides it into horizontal bands: sky at the top, then architecture, then water, then the brick foreground pavement. The lamppost cuts through all of them. Each zone has different texture, different lighting behavior, and different perspective logic. You can’t treat them the same way or you’ll get inconsistent results that look worse than the original problem.
Annotating the photo into sky, buildings, water, and foreground pavement zones
This is the step most tutorials skip and it’s honestly the most important one. Kelvin looks at the image and mentally divides it into horizontal bands: sky at the top, then architecture, then water, then the brick foreground pavement. The lamppost cuts through all of them. Each zone has different texture, different lighting behavior, and different perspective logic. You can’t treat them the same way or you’ll get inconsistent results that look worse than the original problem.
Before you grab any tool, spend thirty seconds doing this yourself. Look at what’s actually behind the object you’re removing. Is it a flat sky? Repeating texture? Something with strong vanishing-point perspective? The answer changes your entire approach.
Step 3: Understand Why the Clone Stamp Tool Fails Here
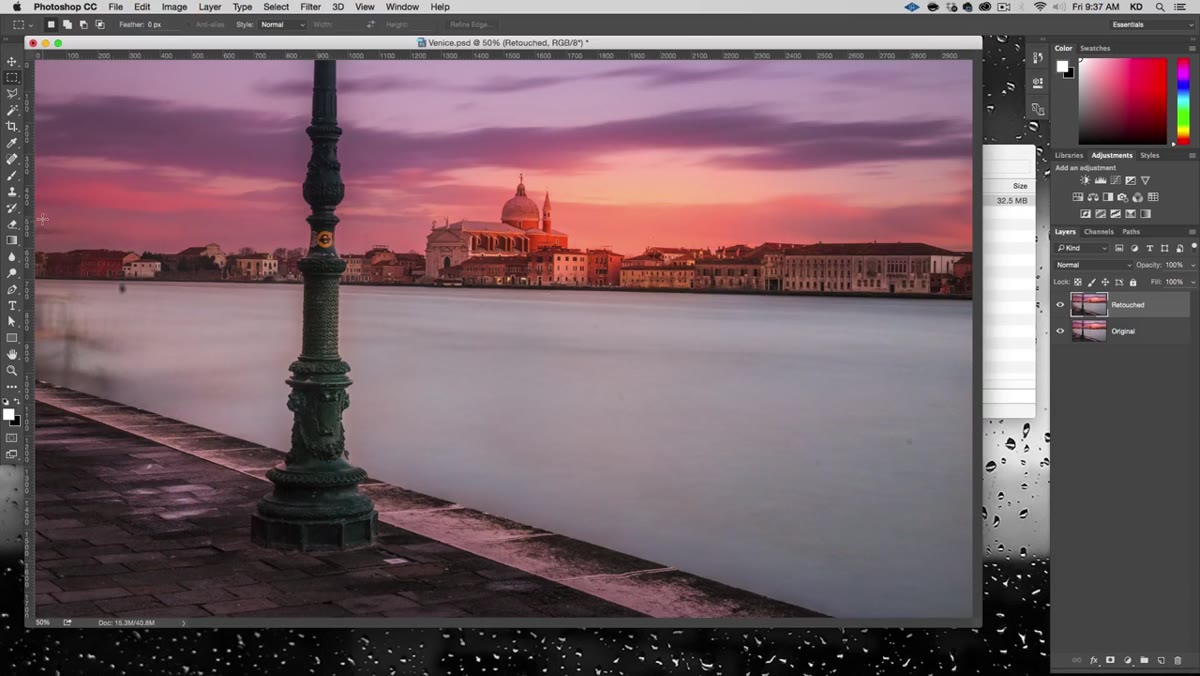 Clone stamp tool applied to brick pavement showing perspective mismatch
Kelvin does something smart here. He demonstrates the Clone Stamp tool first, not because it’s the right tool, but so you can see exactly why it fails on this particular image. He sets the brush to around 120 pixels, alt-clicks to set a sample point, and paints over part of the lamppost area. It looks passable for about two seconds.
Clone stamp tool applied to brick pavement showing perspective mismatch
Kelvin does something smart here. He demonstrates the Clone Stamp tool first, not because it’s the right tool, but so you can see exactly why it fails on this particular image. He sets the brush to around 120 pixels, alt-clicks to set a sample point, and paints over part of the lamppost area. It looks passable for about two seconds.
The problem shows up the moment there’s any perspective in the texture. The bricks in the foreground converge toward a vanishing point. When you clone from one area of the pavement and paste it somewhere else, the angles don’t match. The pattern looks flat and wrong even if the color is perfect. This is the exact failure mode I kept running into before I understood why. The Clone Stamp tool is excellent for removing small blemishes on uniform surfaces. On anything with depth or perspective, it betrays you fast.
Step 4: Use the Polygon Lasso Tool to Select a Usable Source Region
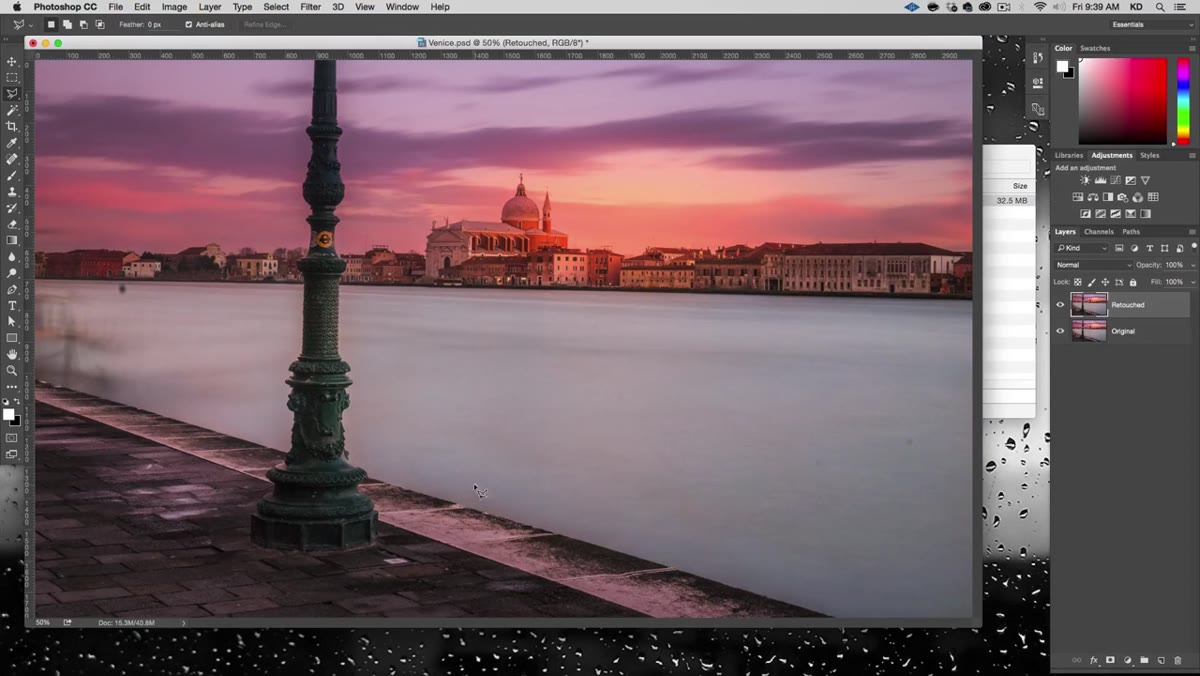 Drawing a polygonal lasso selection around a clean area of pavement
Here’s where Kelvin’s method gets genuinely useful. Instead of painting pixel-by-pixel with a clone brush, he uses the Polygon Lasso tool to draw a selection around a clean, undamaged section of the image that matches the zone he needs to fill. The Polygon Lasso is the right call here because the areas you’re working with tend to have straight edges, and the click-by-click nature of the tool lets you be precise without fighting a freehand brush.
Drawing a polygonal lasso selection around a clean area of pavement
Here’s where Kelvin’s method gets genuinely useful. Instead of painting pixel-by-pixel with a clone brush, he uses the Polygon Lasso tool to draw a selection around a clean, undamaged section of the image that matches the zone he needs to fill. The Polygon Lasso is the right call here because the areas you’re working with tend to have straight edges, and the click-by-click nature of the tool lets you be precise without fighting a freehand brush.
The selection doesn’t need to be perfect around every edge at this stage. Get a usable chunk of the replacement texture, especially one where the perspective and lighting already match the area you’re filling. That’s doing most of the heavy lifting for you.
Step 5: Copy, Paste, and Transform the Selection Into Place
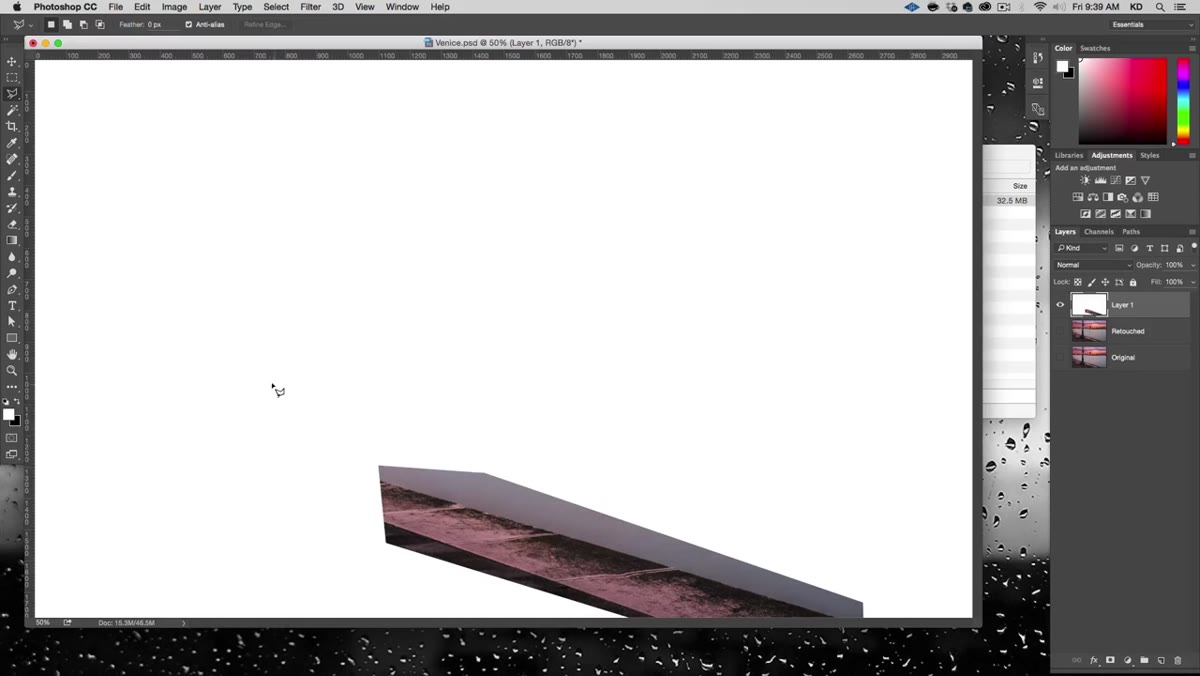 Transforming a copied selection of brickwork over the lamppost base
Once you have your selection, copy it and paste it as a new layer. Now you can move it, scale it, and use Free Transform to warp it into the correct position. This is the part where working in sections pays off. Because Kelvin isolated the foreground pavement as its own zone, he can handle the perspective correction for just that band without worrying about the sky or the buildings at the same time.
Transforming a copied selection of brickwork over the lamppost base
Once you have your selection, copy it and paste it as a new layer. Now you can move it, scale it, and use Free Transform to warp it into the correct position. This is the part where working in sections pays off. Because Kelvin isolated the foreground pavement as its own zone, he can handle the perspective correction for just that band without worrying about the sky or the buildings at the same time.
Use Free Transform (Ctrl+T on Windows, Cmd+T on Mac) and don’t be afraid to use the distort or perspective handles to make the pasted section fit the vanishing point of the surrounding area. This is the whole reason this approach beats the Clone Stamp. You’re working with geometry, not just texture. When the angles match, your eye accepts it.
Step 6: Repeat the Process for Each Image Zone
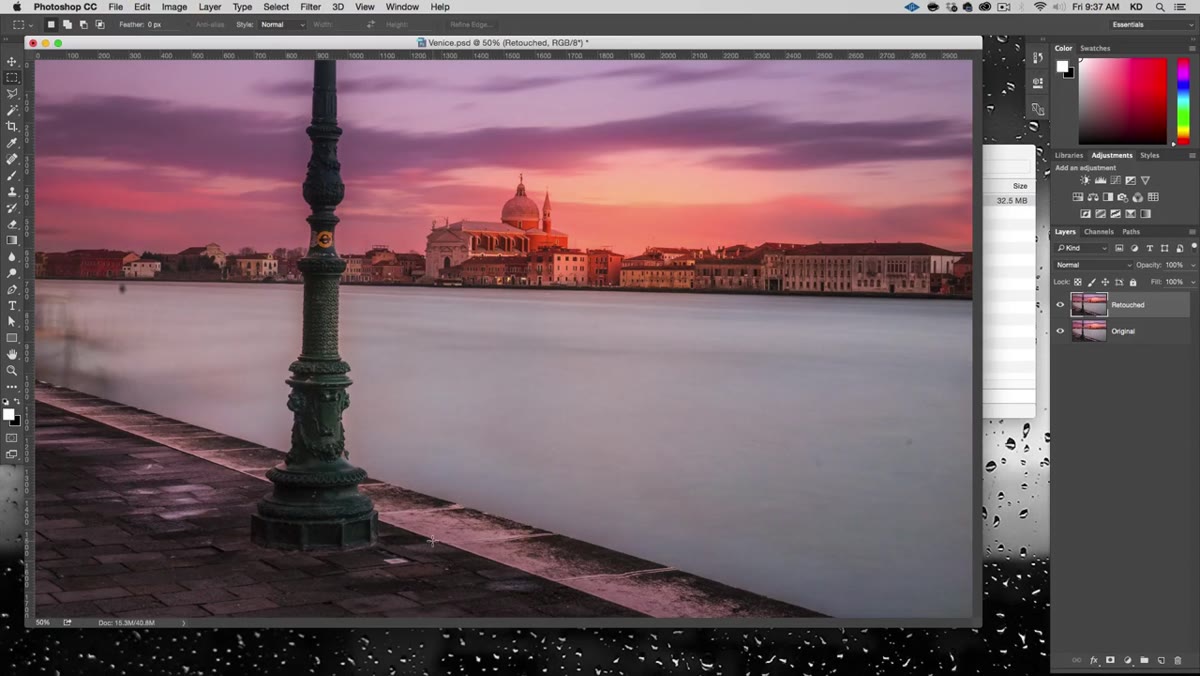 Overview showing the image divided into sky, architecture, water, and pavement bands
The lamppost runs through multiple distinct areas of the image, so the removal is really four separate jobs stacked on top of each other. Sky. Buildings. Water. Pavement. Each gets its own selection, its own paste, its own transform adjustment. It sounds like more work than one sweep of the Clone Stamp, and it is, but the difference in quality is significant enough that there’s no comparison.
Overview showing the image divided into sky, architecture, water, and pavement bands
The lamppost runs through multiple distinct areas of the image, so the removal is really four separate jobs stacked on top of each other. Sky. Buildings. Water. Pavement. Each gets its own selection, its own paste, its own transform adjustment. It sounds like more work than one sweep of the Clone Stamp, and it is, but the difference in quality is significant enough that there’s no comparison.
Work from the largest, simplest zone first (usually the sky) and move toward the most complex (usually anything with strong perspective lines). Clean up the edges between your pasted sections with a soft eraser or layer mask so the transitions blend naturally. Take your time on the water if there is any. Water catches light in ways that make sloppy edits obvious immediately.
What I’d Add: Mask Instead of Erase
One habit I’ve built on top of this kind of workflow is using layer masks instead of the Eraser tool when blending my pasted sections together. Erasing is destructive. If you mask instead, you can paint back in anything you accidentally removed, adjust the feathering, and compare the masked versus unmasked result without starting over. It’s the same non-destructive principle as duplicating your base layer at the start, just extended to every stage of the edit. Once I started doing this consistently, my revision time dropped considerably because I stopped having to undo and redo edge work.
The core insight in Kelvin’s approach is that seamless object removal is a planning problem before it’s a tool problem. Divide the image into zones, match your replacement source to the geometry of each zone, and transform it into place rather than painting it. That thinking works whether you’re removing a lamppost in Venice or a trash can in a real estate photo.
Watch the full tutorial on YouTube to see the technique applied to the full image from start to finish.
Comments (1)
Great breakdown. The step-by-step approach really helps.
Leave a Comment