There’s a specific kind of embarrassment that comes from spending three days on a composite, only to have a friend glance over your shoulder and say “why didn’t you just use a texture layer?” I’ve been there. Flat images are one of those things that you don’t notice until you do, and then you can never unsee them. Adding texture is one of those techniques that separates images that feel alive from images that look like they were printed on copy paper.
In this CreativeLive tutorial, Ben Willmore walks through a surprisingly quick method for layering texture onto a photo using blend modes. Watch the full tutorial on YouTube. I’ve broken it down step by step below so you can follow along without having to pause every thirty seconds. What I like about Ben’s approach is that it doesn’t rely on any fancy plugins or destructive edits. It’s the kind of workflow you can drop into any project in under five minutes.
The core insight here is about blend modes, specifically the group that includes Overlay, Soft Light, Hard Light, and a few others. Most people learn Normal mode and then forget that the other sixty options exist. This tutorial is a solid reminder that blend modes are doing a lot of the heavy lifting that people usually try to do manually with masking and adjustment layers.
Step 1: Open Your Base Image and Your Texture File
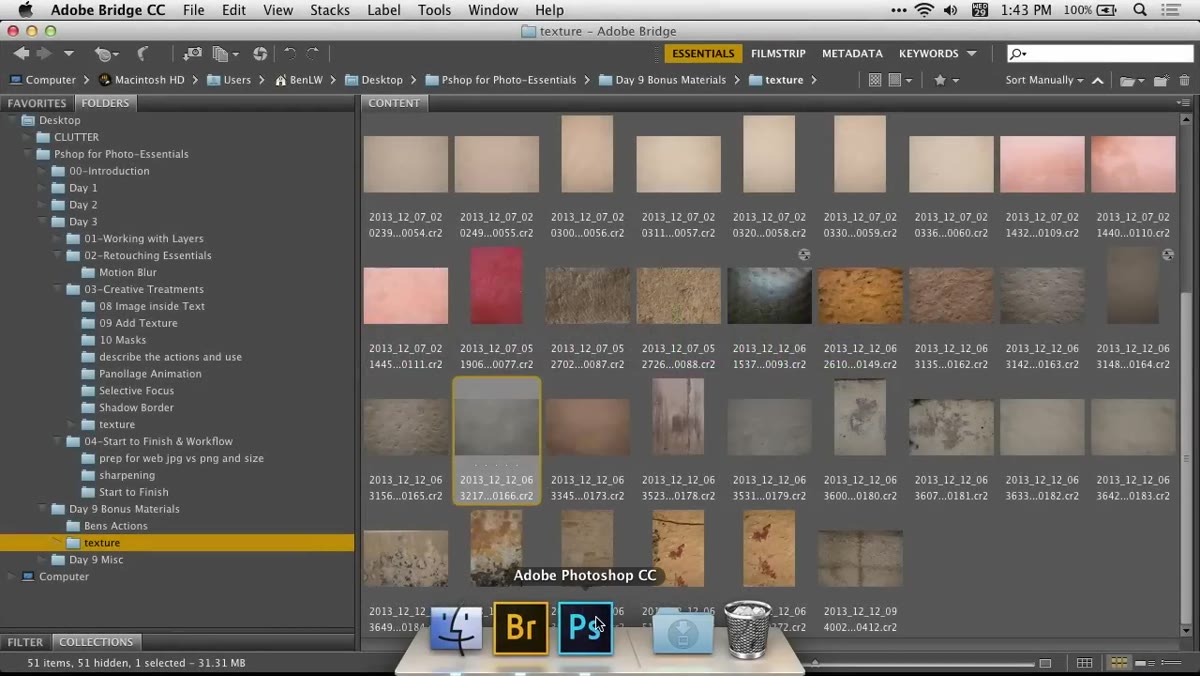 Base image open in Photoshop workspace ready to edit
Start with your main photo open in Photoshop. Then open your texture file separately. If your texture is a RAW file, it’ll open through Camera Raw first. Just click “Open Image” to bring it into Photoshop as a regular document. Ben is working with two separate documents here, which is the cleanest way to handle this.
The texture file can be anything with physical character: paper grain, concrete, fabric, weathered wood. The specific texture matters less than its brightness level, which we’ll deal with in a later step.
Step 2: Drag the Texture onto Your Base Image Using the Move Tool
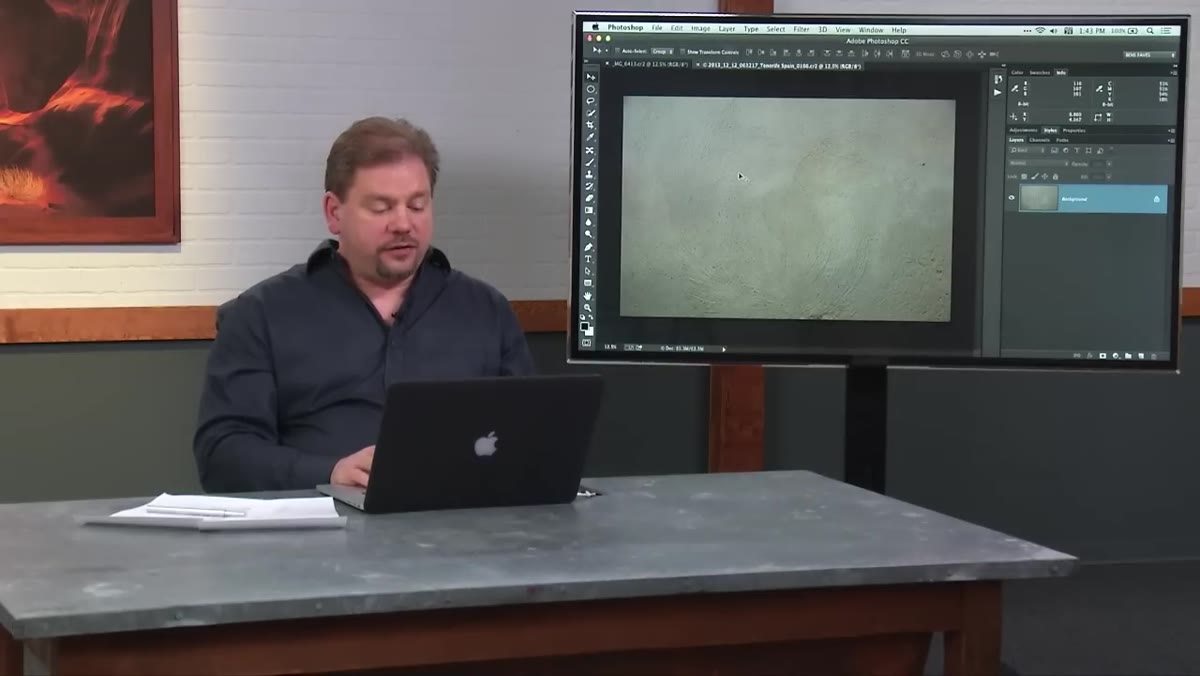 Move tool selected, dragging texture layer between documents
Grab the Move tool (keyboard shortcut V) and drag the texture directly from its document window onto your base image. Photoshop will create a new layer automatically. This is faster than copying and pasting, and it keeps things cleaner in the layers panel.
Once it lands on your base image, it probably won’t cover the whole canvas. Don’t panic about that yet. We’re going to scale it up in the next step, and Ben specifically points out that scaling a texture up a bit is totally fine. Textures can handle some softening. Just don’t go crazy and scale something to eight times its original size.
Step 3: Scale the Texture to Fit with Free Transform
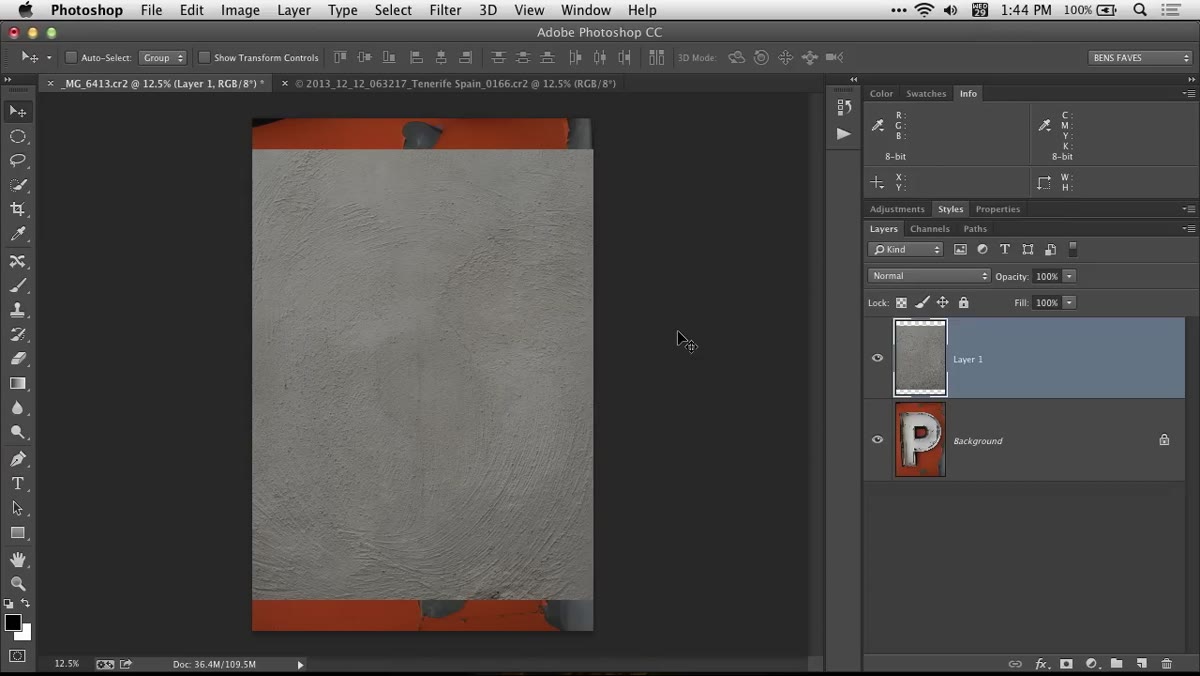 Free Transform handles visible around texture layer on canvas
Hit Command+T (Ctrl+T on Windows) to enter Free Transform mode. Grab a corner handle and drag to scale up. Hold Shift while dragging to keep the proportions locked so you don’t end up with a stretched, weird-looking texture.
Here’s a bonus trick Ben drops that I hadn’t seen before: if you hold Option (Alt on Windows) while dragging a corner, Photoshop scales from the center outward, pulling the opposite corner in the same amount simultaneously. It keeps the texture centered over your image while you scale, which saves you from having to reposition it afterward. Hit Enter to commit the transform when it covers the full canvas.
Step 4: Change the Blend Mode to Overlay
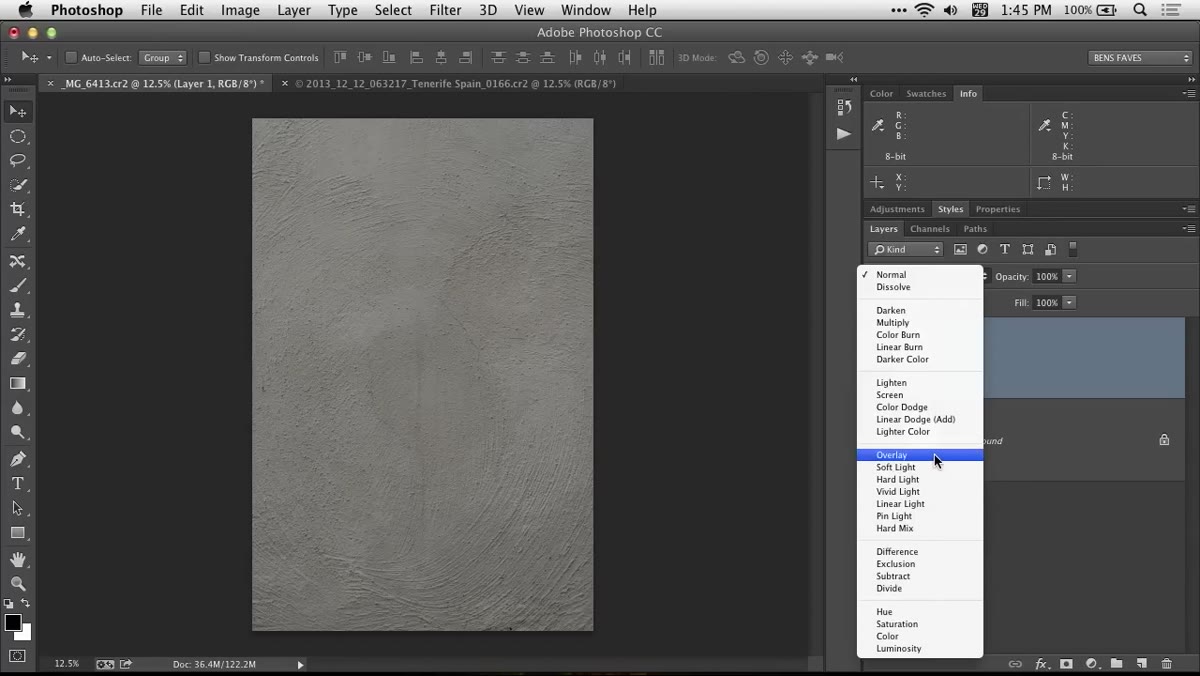 Blend mode dropdown open showing Overlay option selected in layers panel
This is where the magic happens. At the top of the Layers panel, you’ll see the blend mode dropdown, which defaults to Normal. Click it and look for the group that starts with Overlay. It’s roughly in the middle of the list. Select Overlay.
The texture layer will immediately interact with the image below it. Toggle the layer’s visibility on and off using the eyeball icon to compare before and after. You should see the texture coming through in a way that feels integrated rather than slapped on top. If it looks like your image is blowing out in highlights or going muddy in shadows, that’s a brightness problem with the texture itself, which the next step fixes.
Step 5: Adjust Texture Brightness with Levels
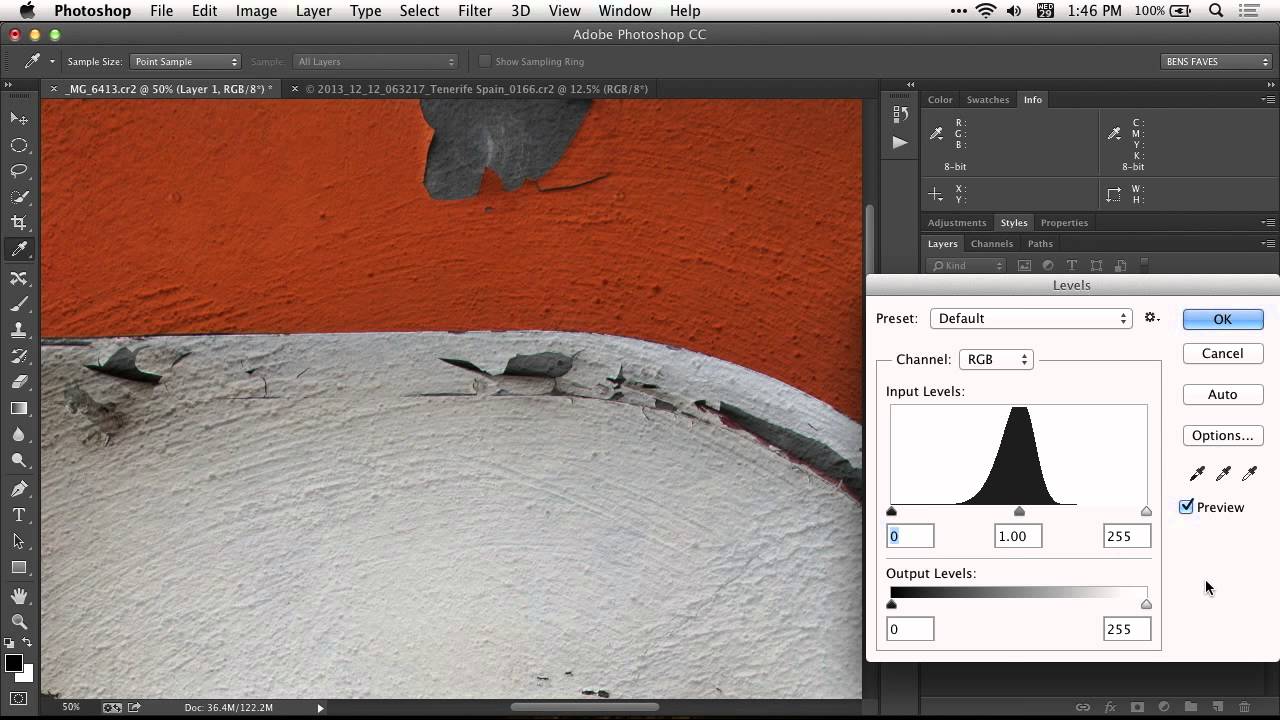
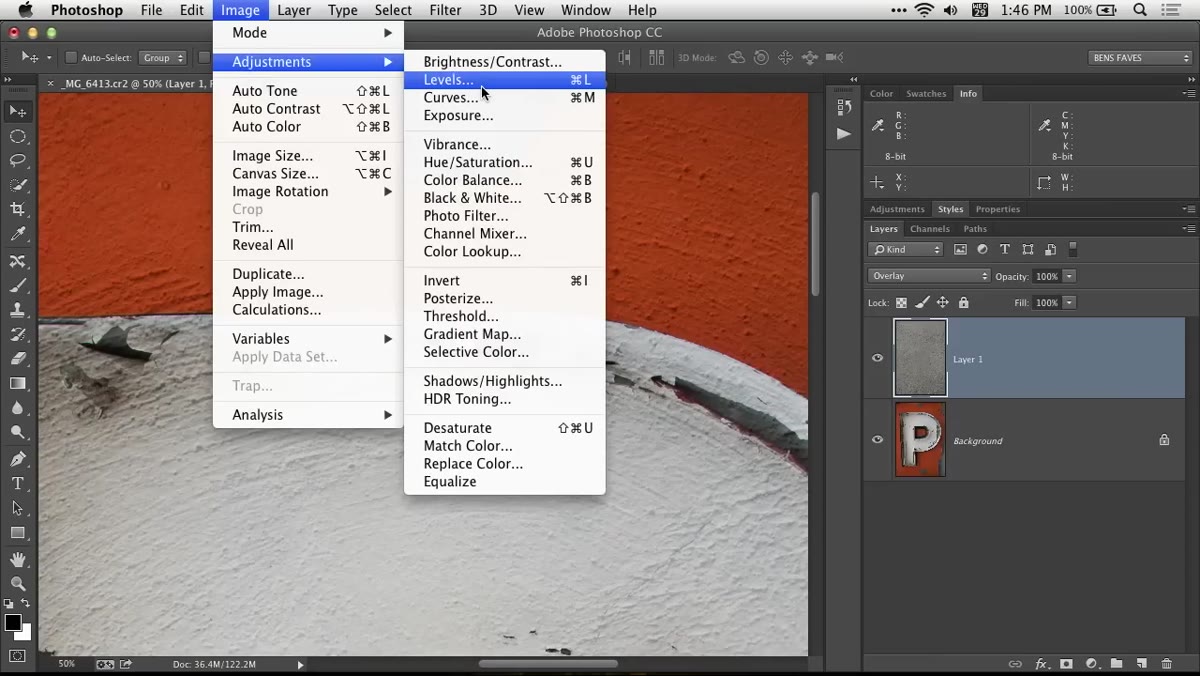 Levels dialog open showing histogram hump for texture layer
If the texture is too bright or too dark, it’s going to push your whole image in that direction. The reason is that this group of blend modes treats 50% gray as neutral. Anything brighter than that lightens the image underneath, anything darker darkens it. A texture sitting near 50% gray will add surface detail without wrecking your exposure.
Go to Image, Adjustments, Levels (or Cmd+L / Ctrl+L). You’ll see a histogram that, for a consistent texture, usually shows one big hump. Grab the middle slider (the gray one) and drag it until it sits roughly in the center of that hump. What you’re telling Photoshop is “treat the majority of this texture as 50% gray.” It’s a fast, effective way to neutralize a texture that’s too light or too dark before it causes problems.
Step 6: Experiment with Other Blend Modes in the Same Group
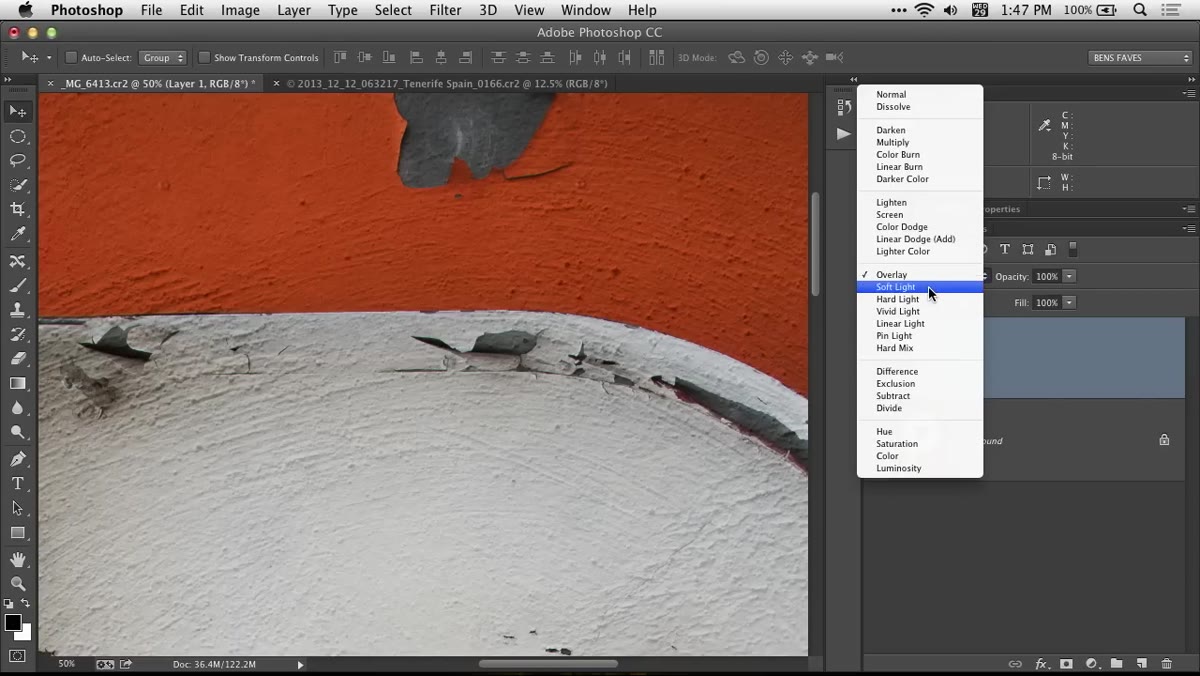 Blend mode dropdown cycling through Soft Light, Hard Light, Vivid Light options
Overlay isn’t your only option here. The whole group, including Soft Light, Hard Light, Vivid Light, Linear Light, and Pin Light, follows the same 50% gray logic. They just apply it with different intensity and character. Soft Light is subtler and more flattering for portraits. Hard Light is more aggressive. Linear Light cranks things up even further.
Ben tries Linear Light in the tutorial and it delivers a seriously heavy texture effect. Whether that’s good or overkill depends on what you’re making. The point is to cycle through these with your texture visible and see what serves the image. There’s no rule here. Pick what looks right.
A Note on Selective Texture Application
One thing I’ve taken to doing after learning this technique is masking the texture layer so it doesn’t apply uniformly across the whole image. Ben hints at this at the end of the clip, and it’s worth expanding on. A white layer mask on your texture layer lets you paint black over areas where you want to pull the texture back, like your subject’s face, or a clean sky, or anywhere the grain is fighting with the important parts of the image.
Add the mask by clicking the mask icon at the bottom of the Layers panel. Grab a soft brush, set it to black, and paint over whatever you want to protect. It takes maybe an extra minute and makes the whole thing look intentional rather than like a filter you threw on at the last second.
The single most important thing I took from Ben’s tutorial is the brightness rule. Keep your texture near 50% gray before you apply any contrast blend mode, and you’re in control of the result. Ignore that and you’re basically guessing. It’s the kind of principle that makes every future texture project faster and less frustrating.
Watch the full tutorial on YouTube to see Ben walk through it live, including some additional blend mode comparisons that are worth seeing in motion.
Comments (2)
I've watched a dozen tutorials on this and yours is the clearest by far.
The tip about stop making flat images how to was the missing piece for me. Thank you.
Leave a Comment