
I spent three days once trying to fix a background in a client’s outdoor portrait. Clone Stamp. Healing Brush. Content-Aware Fill. I cycled through every removal tool Photoshop has like I was spinning a broken roulette wheel. The result was technically fine and visually unconvincing, with those telltale smudgy patches that scream “someone was in here messing around.” There’s a better way, and I wish I’d known it sooner.
In this Matt Kloskowski tutorial, Watch the full tutorial on YouTube, Matt walks through how to simplify a distracting background using a technique that’s almost embarrassingly straightforward once you see it. The core idea: instead of trying to erase or paint over a problem area, you borrow a clean section of the image itself, copy it onto its own layer, stretch it to cover the mess, and blend it in with a soft mask. That’s it. No plugins. No wizardry. Just smart use of what’s already in the frame.
What makes this click for me is that it works especially well for nature shots and outdoor photography, where backgrounds tend to be organic textures, sky gradients, blurred foliage. Those kinds of surfaces are forgiving. Small inconsistencies disappear into the noise. The technique plays to the strengths of those environments in a way that surgical cloning never quite does.
Step 1: Do Your RAW Processing First
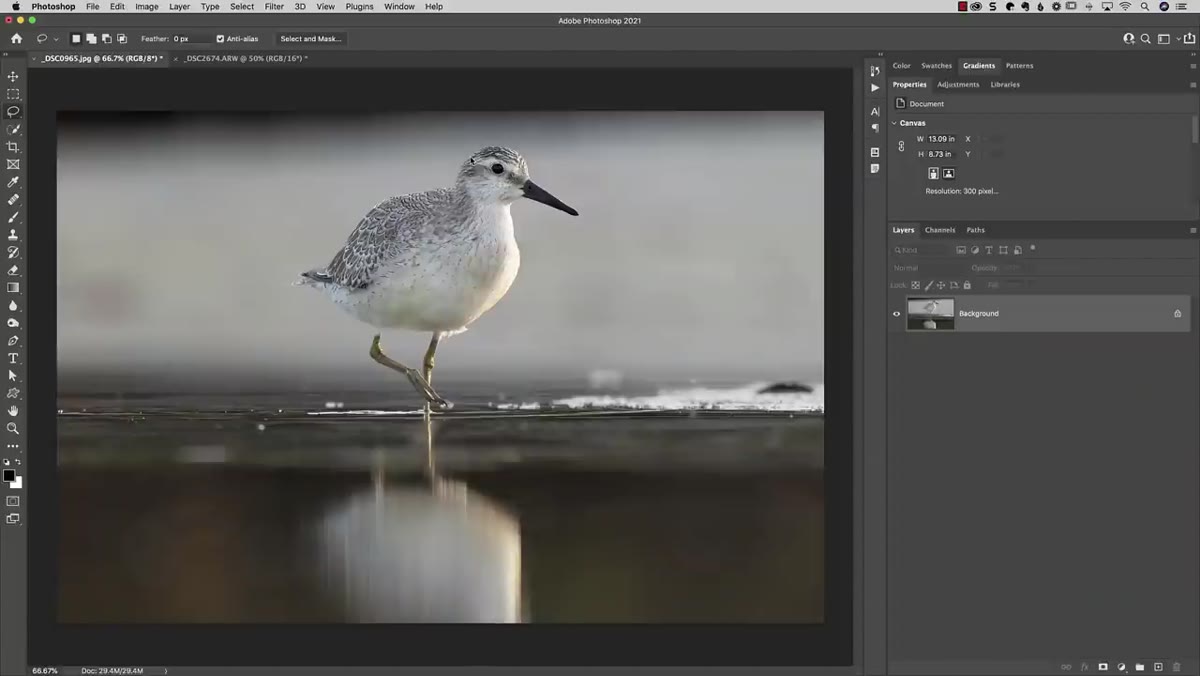 Photoshop open with a processed nature photo ready to edit
Before you touch anything in Photoshop, make sure you’ve finished your global adjustments in Lightroom, Camera Raw, or whatever RAW processor you use. Exposure, color, sharpening, all of it. Matt is explicit about this: Photoshop is where you handle targeted cleanup, not broad tonal work. Coming in with a half-processed file will make it harder to match tones when you’re blending layers later.
Photoshop open with a processed nature photo ready to edit
Before you touch anything in Photoshop, make sure you’ve finished your global adjustments in Lightroom, Camera Raw, or whatever RAW processor you use. Exposure, color, sharpening, all of it. Matt is explicit about this: Photoshop is where you handle targeted cleanup, not broad tonal work. Coming in with a half-processed file will make it harder to match tones when you’re blending layers later.
Matt also notes that he tried fixing the problem area directly in Lightroom using its healing tools and wasn’t happy with the results. That’s worth filing away. Lightroom’s healing brush has gotten better over the years, but for anything complex, Photoshop is still the right tool for the job. Get the image looking the way you want globally, then bring it over.
Step 2: Select a Clean Section of the Background
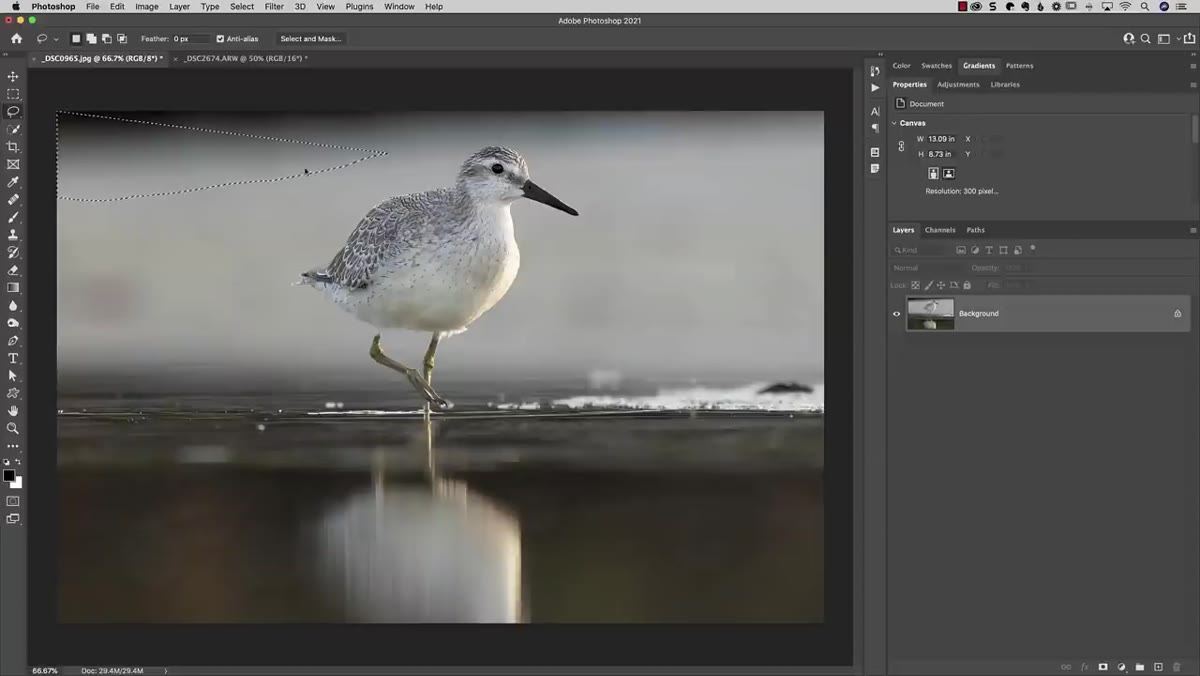 Lasso tool drawing selection around clean foreground area
Grab the Lasso tool (L) or the Quick Selection tool (W) and draw a selection around a part of the image that looks the way you want the problem area to look. For nature shots this is usually a patch of clean sky, grass, or out-of-focus foliage that shares the same general color and tone as the area you’re trying to fix. You don’t need a perfect selection here. A rough, generous selection is fine.
Lasso tool drawing selection around clean foreground area
Grab the Lasso tool (L) or the Quick Selection tool (W) and draw a selection around a part of the image that looks the way you want the problem area to look. For nature shots this is usually a patch of clean sky, grass, or out-of-focus foliage that shares the same general color and tone as the area you’re trying to fix. You don’t need a perfect selection here. A rough, generous selection is fine.
The goal is just to grab enough good texture to work with. Think of it like patching a pair of jeans from the inside hem. You’re pulling material from somewhere it won’t be missed and using it to cover the worn spot. Matt selects from the foreground area of his image, pulling a section that has the soft, even tones he wants in the background.
Step 3: Duplicate the Selection to a New Layer
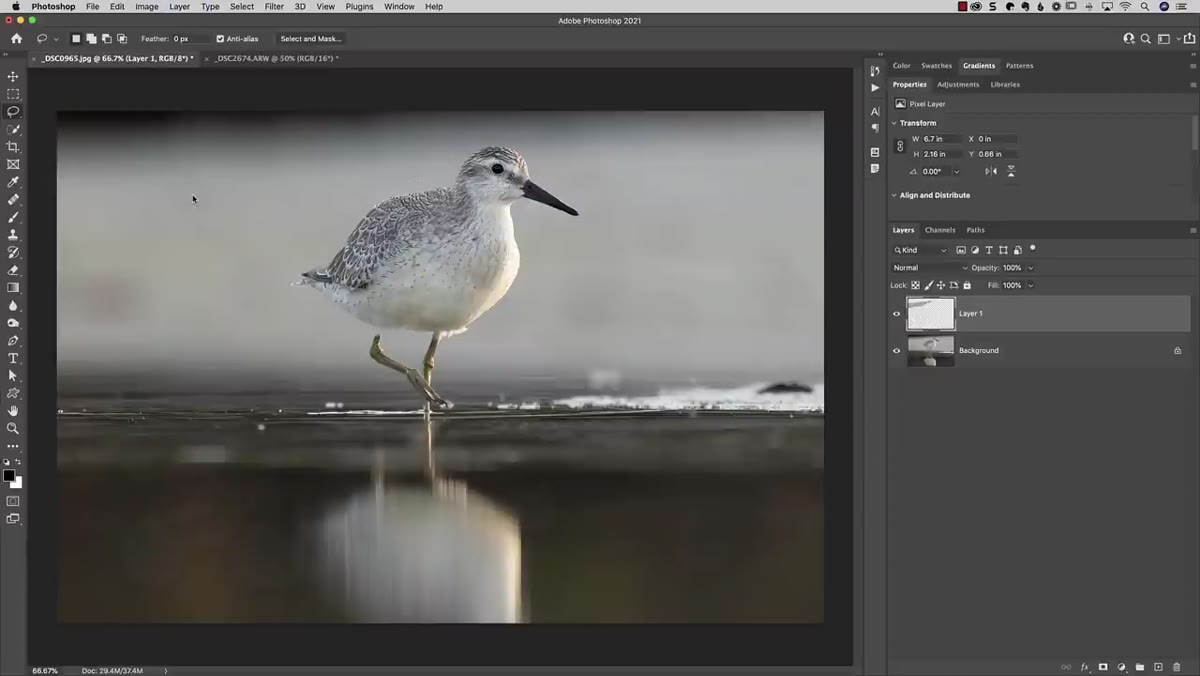 Layers panel showing duplicated layer from selection
With your selection active, press Command+J (Mac) or Control+J (Windows). This lifts just the selected area onto its own new layer, leaving your original image untouched below. You’ll see the new layer appear in the Layers panel containing only that selected patch.
Layers panel showing duplicated layer from selection
With your selection active, press Command+J (Mac) or Control+J (Windows). This lifts just the selected area onto its own new layer, leaving your original image untouched below. You’ll see the new layer appear in the Layers panel containing only that selected patch.
This is the part where the technique starts feeling smart. You’re not painting over anything. You’re not destroying pixels. You’ve got a clean, independent piece of the image sitting above the original, ready to be moved and shaped without committing to anything permanent. Non-destructive all the way down.
Step 4: Use Free Transform to Cover the Problem Area
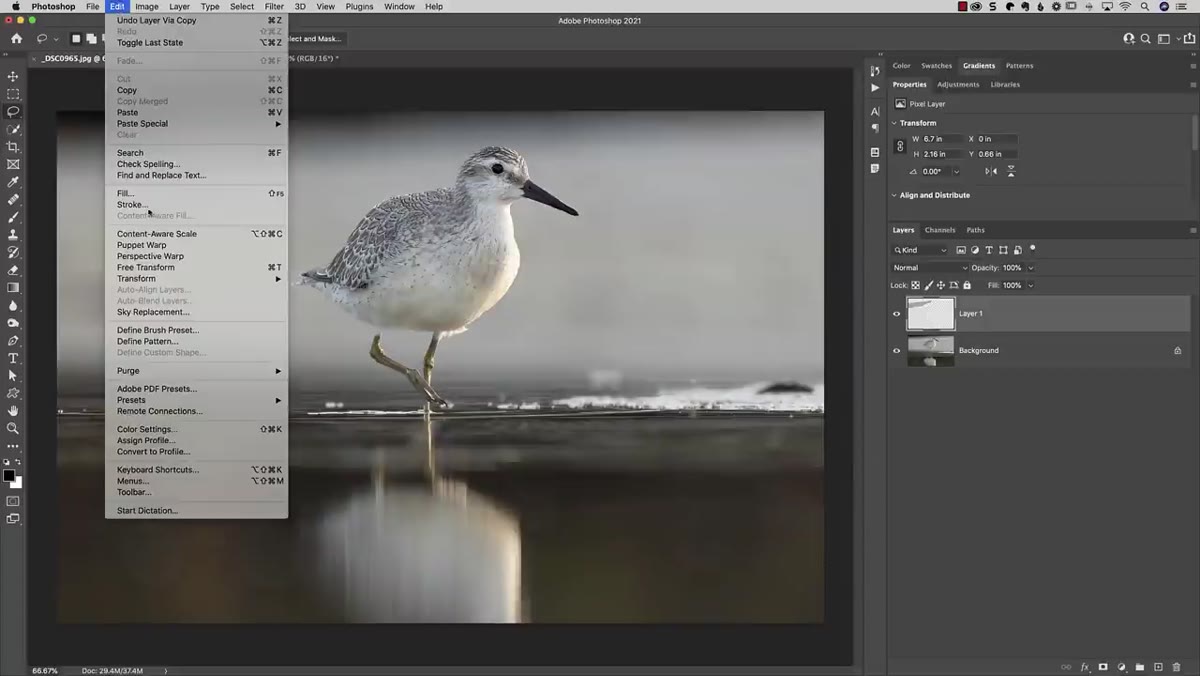 Free Transform handles visible around the duplicated layer patch
Press Command+T (Mac) or Control+T (Windows) to enter Free Transform. Now move and resize that copied patch so it covers the distracting area in your background. Matt holds Shift while dragging to break the aspect ratio constraint, which lets him stretch the patch independently on each axis to fill the shape of the area he’s covering.
Free Transform handles visible around the duplicated layer patch
Press Command+T (Mac) or Control+T (Windows) to enter Free Transform. Now move and resize that copied patch so it covers the distracting area in your background. Matt holds Shift while dragging to break the aspect ratio constraint, which lets him stretch the patch independently on each axis to fill the shape of the area he’s covering.
Don’t stress about covering every pixel perfectly or about the edges looking clean at this stage. Matt even rotates his patch slightly to help it fill the corner areas more naturally. The edges are going to get masked out in the next step, so rough coverage now is completely fine. Confirm the transformation when you’re happy with the placement.
Step 5: Add a Layer Mask and Paint with a Soft Black Brush
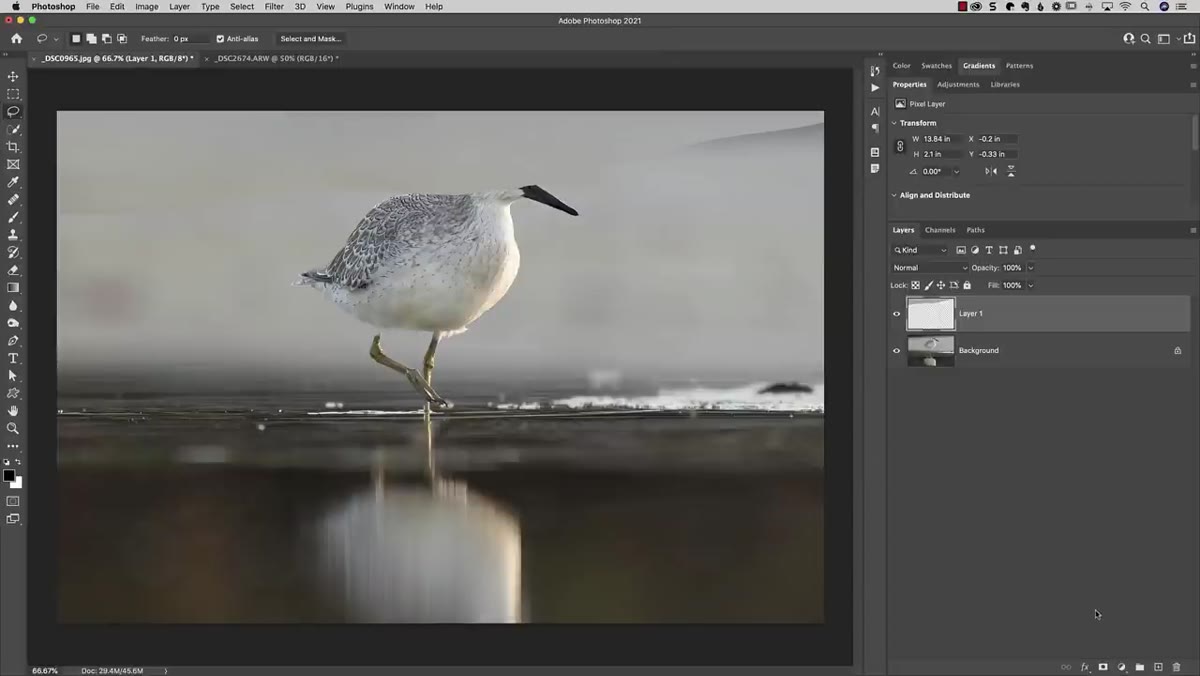 Layer mask added with soft brush blending patch into background
Click the Layer Mask icon at the bottom of the Layers panel (the rectangle with a circle inside it). This adds a white mask to your patch layer, which means the entire layer is currently visible. To hide parts of it, you paint on the mask with black.
Layer mask added with soft brush blending patch into background
Click the Layer Mask icon at the bottom of the Layers panel (the rectangle with a circle inside it). This adds a white mask to your patch layer, which means the entire layer is currently visible. To hide parts of it, you paint on the mask with black.
Press B for the Brush tool, set your foreground color to black, and here’s the critical part: set your brush hardness to zero. Matt uses a large, completely soft brush, and the real move is using the edge of the brush rather than the center. When you paint along a seam with the feathered outer edge of a soft brush, the blend is far more gradual and natural than if you paint directly over it with the full brush. Work around the edges of the patch, letting the underlying original layer show through naturally. Keep your brush large and your strokes light. Zoom in to clean up around any important subjects in the frame, like birds, branches, or anything with a defined silhouette.
A Word From Someone Who Overcomplicates Things
I have a bad habit of going straight to the complicated solution. Content-Aware Fill is genuinely impressive and I still reach for it first out of reflex, even when it’s overkill. What Matt’s technique reminded me is that Photoshop’s best tricks are often just creative uses of basic tools. A copied layer, a transform, a soft mask. The same tools you learned in week one of using Photoshop.
Where I’ve extended this in my own work: I’ll sometimes duplicate the patch layer two or three times, using slightly different rotations on each one, then mask them together. It adds variation to the texture so it doesn’t look obviously tiled or repeated. Works especially well with grass and foliage. And if the tones between the patch and the background don’t quite match, a quick Hue/Saturation or Levels adjustment clipped to that layer usually closes the gap without touching anything else.
The biggest thing this technique teaches is patience with the mask. Most of the magic lives in step five. Slow down there, use a big soft brush, and let the blend do the heavy lifting. A mask with careful edge work will beat a technically perfect selection every single time when it comes to looking natural in the final image.
Watch the full tutorial on YouTube to see Matt walk through the whole process on a real image. Seeing the before and after in motion is worth your time.
Comments
Leave a Comment