A client asked me last month to swap the eye color on a portrait series. Simple enough, right? I did what I always do when I’m half-paying attention at a coffee shop: slapped on a Hue/Saturation layer, cranked the hue slider, called it done. The eyes looked like someone had poured paint directly into the subject’s skull. Flat, fake, completely lifeless. The client noticed immediately. Of course they did.
That embarrassment sent me down a rabbit hole, which is how I landed on this Kelvin Designs tutorial on changing eye color in Photoshop. Kelvin’s whole approach is built around the problem I’d been ignoring: eyes aren’t one color. They’re layered. They have shadows, highlights, dark rings, light flecks, and a pupil doing its own thing in the middle. Any technique that treats the iris as a flat object is going to look wrong because it is wrong.
Why Hue/Saturation Alone Will Betray You
The standard Hue/Saturation colorize trick works by replacing existing color information with a single hue. Fast, yes. Useful for some things, sure. But eyes have too much going on for that approach to survive contact with reality. You lose the tonal variation that makes eyes look wet and dimensional. What you get instead looks like a colored contact lens in a photocopied face.
Kelvin’s method keeps all that variation intact by using multiple adjustment layers stacked together, each one doing a narrow, specific job. Think of it less like repainting a wall and more like tinting glass. The original information stays underneath, and you’re just shifting how it reads.
Building the Selection That Makes Everything Else Work
The foundation here is a tight, accurate selection of the iris. Kelvin uses the Elliptical Marquee Tool to rough out a circle, then refines it. The key move is subtracting the pupil from your selection so your adjustments don’t accidentally shift that area, and feathering the edges slightly (1-2 pixels depending on image resolution) so the color change doesn’t have a hard border that screams “Photoshop.”
Once you have your selection, convert it to a mask on a group or on each adjustment layer individually. Working non-destructively here matters. You will want to go back and tweak things.
The Adjustment Layer Stack, Layer by Layer
This is where the technique earns its keep. Kelvin builds a stack of adjustment layers, each targeting something specific:
Hue/Saturation comes first, but it’s not doing the colorizing work here. Instead, it’s used to shift the base hue of the existing eye color toward your target range. Keep the Colorize checkbox off. You’re nudging, not replacing. If you’re going from brown to blue, pull the hue toward cyan territory. Don’t go all the way. Expect to come back to this.
Color Balance is where a lot of the real character gets added. Kelvin uses this to push warmth or coolness into the shadows and highlights separately. Eyes have cooler light reflections and warmer depth in the iris. Color Balance lets you honor that split instead of flattening it. Midtones, Shadows, and Highlights sliders all do different things here, and small moves matter. We’re talking shifts of 10-20 points, not 80.
Levels on the eye group helps with overall brightness and contrast after the color shift. Changing a color often changes the perceived luminosity of an area, and a quick Levels tweak brings the eye back into balance with the rest of the face.
Selective Color is the finishing layer, and it’s one I genuinely hadn’t been using enough in this context. If you’ve shifted the eye to blue, Selective Color lets you go into the Blues (or Cyans) and make micro-corrections, like pulling out unwanted green cast or adding just a touch more depth to the dark ring around the iris. It’s surgical in a way that Hue/Saturation just isn’t built for.
Where I’d Push This Further (and Where It Falls Down)
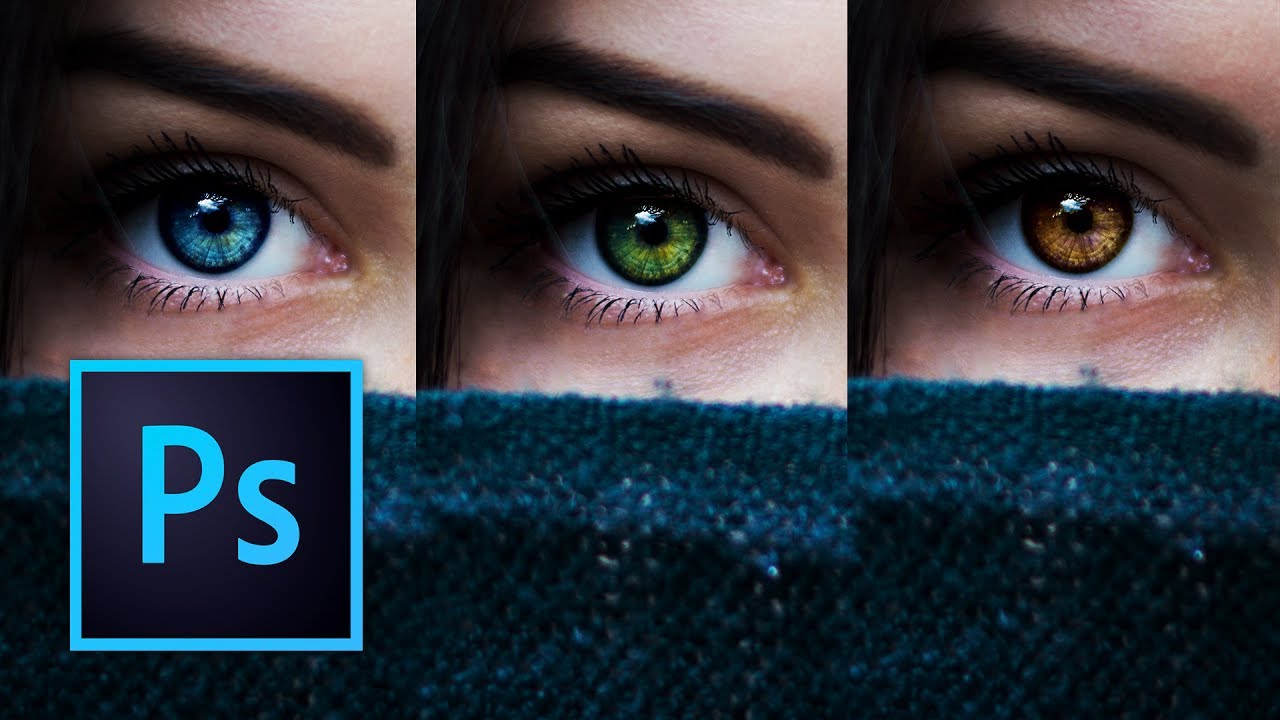
For straightforward portraits with decent iris detail, this technique holds up really well. Where it gets harder is with very dark brown eyes on a low-res image. There’s not enough color information in the iris to push dramatically toward blue or green without the result looking muddy. In those cases, I’ve had better luck using a Solid Color fill layer set to the target color, masked to the iris, and blending it on the Color or Hue blend mode at a reduced opacity around 40-60 percent. It’s a different approach but it gives you something to work with when the source material isn’t cooperating.
Also worth noting: this whole technique assumes a fairly static shot where the eye is reasonably in focus. Motion blur or significant catchlight blown out across the iris will fight you the entire way through, and no amount of Selective Color tweaking saves a technically compromised source image.
The Part That Changes How You Think About Color Work
The core idea that makes this technique stick is that color changes in Photoshop should respect the existing tonal structure of whatever you’re editing. Stack narrow adjustments instead of making one blunt adjustment. Protect your shadows and highlights differently from your midtones.
That principle applies well beyond eyes. It’s the same logic behind good skin retouching, good sky replacements, and good product color matching work.
Watch the full Kelvin Designs tutorial to see the exact slider positions and the before/after comparison in motion. Reading the technique is useful. Watching someone dial in the settings in real time makes it click in a different way.
Comments (4)
Never thought of approaching it this way. Really creative.
Wow, I had no idea you could do this. Mind blown.
Applied this to my portfolio shots and the improvement is noticeable.
Printing this out and pinning it next to my monitor. That good.
Leave a Comment