
There’s a specific kind of frustration that comes from spending an hour manually painting a water reflection, only to realize the perspective is slightly off and the whole thing looks like a puddle on Mars. I’ve been there more times than I’d like to admit. Water reflections are one of those things that look simple until you’re actually doing them, and then suddenly you’re watching clock minutes disappear while you nudge opacity sliders and question your life choices. So when I came across this Matt Kloskowski tutorial showing how Photoshop can generate a sky reflection automatically as part of the Sky Replacement workflow, I stopped what I was doing and watched it twice.
Watch the full tutorial on YouTube
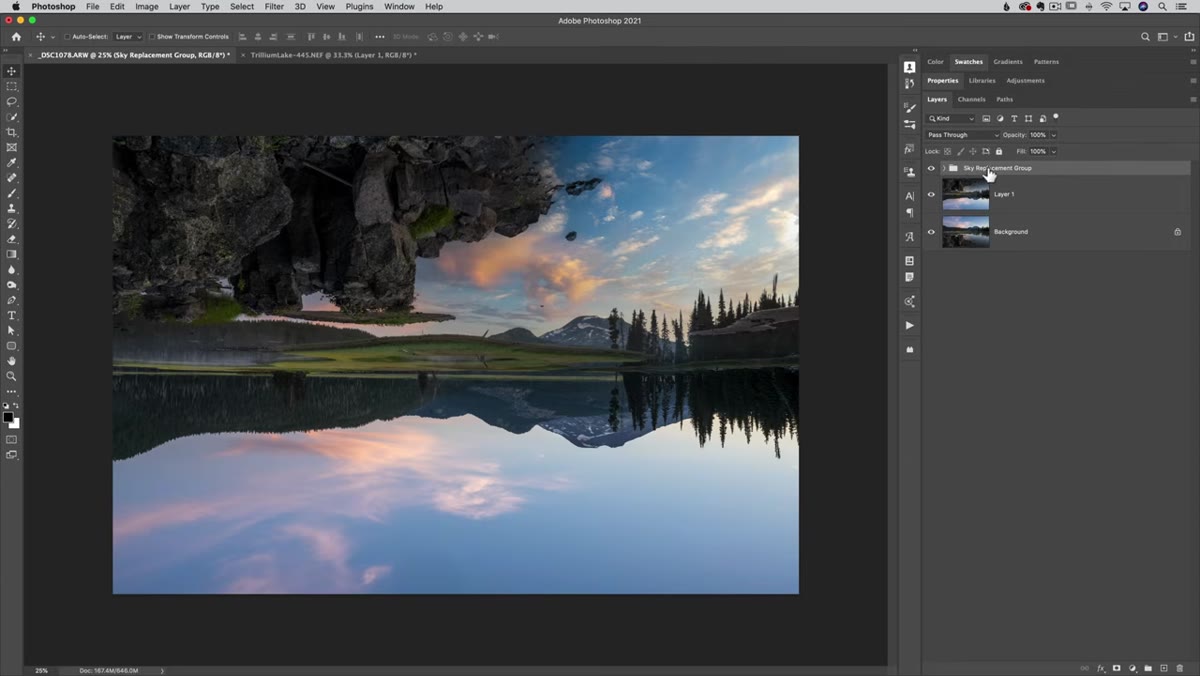
The core idea here is elegant: Photoshop’s Sky Replacement tool doesn’t just swap out a blown-out sky. When used correctly, it can simultaneously produce a reflection of that new sky in a body of water below, keeping the lighting and color consistent between the two. For photographers shooting lakes, rivers, or any reflective surface, this is the kind of workflow shortcut that makes you feel like you’ve been doing things the hard way for years. Spoiler: you probably have been. I know I was.
Step 1: Open Your Image and Access Sky Replacement
 Opening the base image in Photoshop workspace
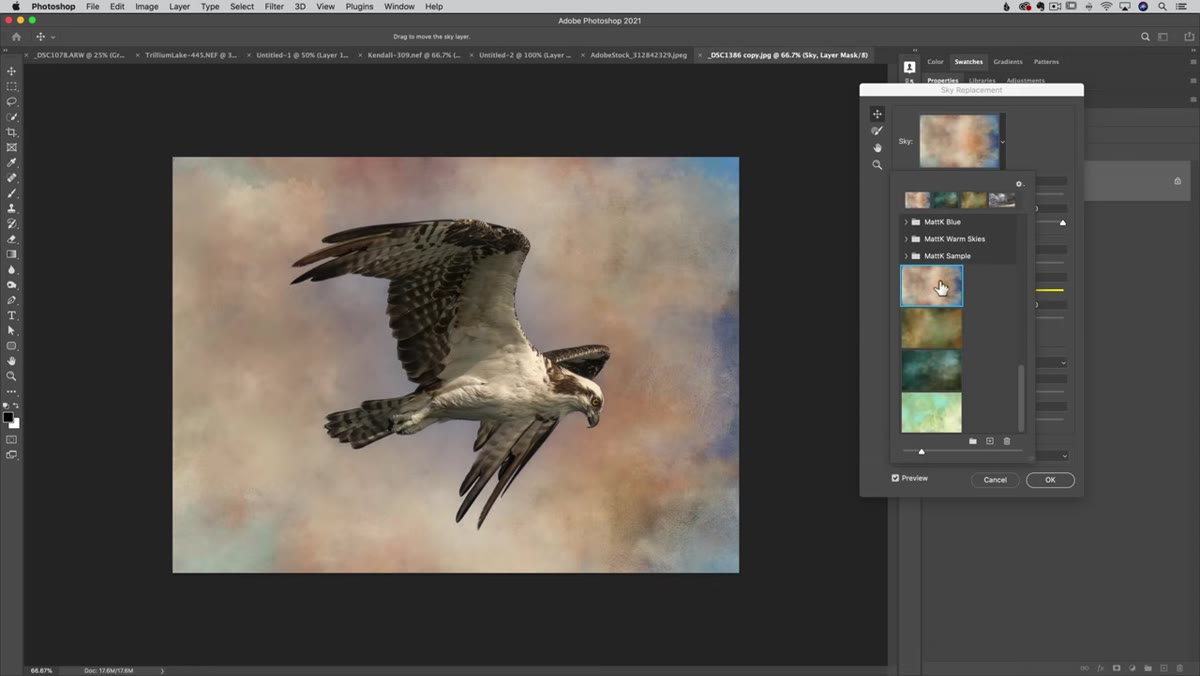
Start with a photo that has two key ingredients: a replaceable sky and a body of water in the foreground. The reflection technique only works if Photoshop has something reflective to work with. Once your image is open, head to Edit > Sky Replacement. This opens the Sky Replacement dialog, which gives you a live preview of the swap before you commit to anything. Pick a sky from the built-in library or load one of your own using the gear icon.
Opening the base image in Photoshop workspace
Start with a photo that has two key ingredients: a replaceable sky and a body of water in the foreground. The reflection technique only works if Photoshop has something reflective to work with. Once your image is open, head to Edit > Sky Replacement. This opens the Sky Replacement dialog, which gives you a live preview of the swap before you commit to anything. Pick a sky from the built-in library or load one of your own using the gear icon.
The sky you choose matters more than you might think, because Photoshop is going to mirror it into the water below. A dramatic sunset or a moody overcast sky will carry a lot of visual weight in both the sky and the reflection. Keep that in mind before you fall in love with something that might look chaotic doubled up.
Step 2: Adjust the Sky to Fit the Scene
 Sky Replacement dialog open with sky selected
Inside the Sky Replacement dialog, you’ve got sliders to control the sky’s position, scale, flip, and how it blends with the existing scene. Spend a few minutes here getting the sky to sit naturally. Use the Shift Edge and Fade Edge sliders to clean up the transition between the new sky and the horizon line. A harsh edge is the most obvious giveaway that a sky has been swapped.
Sky Replacement dialog open with sky selected
Inside the Sky Replacement dialog, you’ve got sliders to control the sky’s position, scale, flip, and how it blends with the existing scene. Spend a few minutes here getting the sky to sit naturally. Use the Shift Edge and Fade Edge sliders to clean up the transition between the new sky and the horizon line. A harsh edge is the most obvious giveaway that a sky has been swapped.
The Foreground Adjustments section is where Photoshop tries to harmonize the lighting of the foreground with the new sky. Tweak the Lighting Mode, Lighting Adjustment, and Color Adjustment sliders until the ground and the sky feel like they belong to the same photograph. This part is iterative, so don’t rush it.
Step 3: Enable the Reflection Option
 Sky Replacement reflection checkbox in dialog panel
Here’s the part that changes everything. Still inside the Sky Replacement dialog, scroll down and look for the Sky Reflection option. Check that box. Photoshop will analyze the water area in your foreground and project a reflection of the replacement sky into it automatically.
Sky Replacement reflection checkbox in dialog panel
Here’s the part that changes everything. Still inside the Sky Replacement dialog, scroll down and look for the Sky Reflection option. Check that box. Photoshop will analyze the water area in your foreground and project a reflection of the replacement sky into it automatically.
This is not a perfect, physics-accurate simulation, but it’s a remarkably convincing starting point. The reflection respects the general shape of the water, and Photoshop does a decent job of keeping the colors aligned between the sky above and the mirror below. For most compositing work, this gets you 80 percent of the way there without any manual work at all.
Step 4: Fine-Tune Reflection Intensity
 Reflection intensity slider being adjusted in dialog
Once the reflection is visible, you’ll see a Reflection slider that controls how strong the effect is. Pull it down if your water needs to look rougher or more turbulent, since a perfectly crisp reflection reads as dead-calm water, which may not match the rest of your image. Push it higher for a glass-like surface effect.
Reflection intensity slider being adjusted in dialog
Once the reflection is visible, you’ll see a Reflection slider that controls how strong the effect is. Pull it down if your water needs to look rougher or more turbulent, since a perfectly crisp reflection reads as dead-calm water, which may not match the rest of your image. Push it higher for a glass-like surface effect.
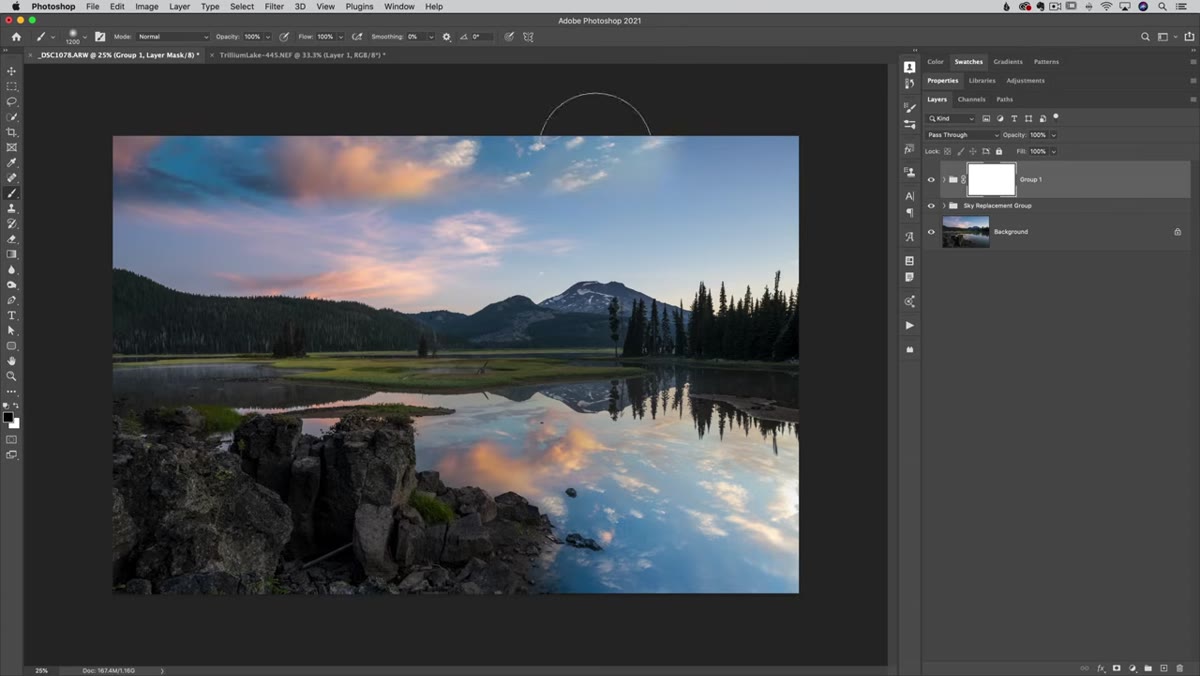
Pay attention to whether the edges of the reflection look believable. If the reflection is bleeding into areas that aren’t actually water, like rocks or a shoreline, you may need to do some masking work after you apply the effect. But for images where the water takes up a clean portion of the foreground, the automatic detection usually handles this well.
Step 5: Output as Layers and Apply
 Output options showing New Layers selection in dialog
Before you hit OK, check the Output setting at the bottom of the dialog. Choose New Layers instead of flattening to the image. This keeps the sky, the reflection, the masks, and the foreground adjustments as separate, editable layers in your layer stack. Trust me on this one. Applying it flat is a decision you will regret the moment a client asks for a revision.
Output options showing New Layers selection in dialog
Before you hit OK, check the Output setting at the bottom of the dialog. Choose New Layers instead of flattening to the image. This keeps the sky, the reflection, the masks, and the foreground adjustments as separate, editable layers in your layer stack. Trust me on this one. Applying it flat is a decision you will regret the moment a client asks for a revision.
Once you click OK, Photoshop builds out the layer group. You’ll see the sky layer, a foreground adjustment layer, and a separate reflection layer, each with its own mask. From here, you can go in and paint on those masks to clean up any edges or push the reflection further into specific areas using a soft brush at low opacity.
Step 6: Refine the Masks Post-Apply
 Layer panel showing Sky Replacement layer group structure
After applying, the reflection mask is where most of your cleanup happens. Click the mask on the reflection layer and use a black brush to remove any reflection that’s spilling onto areas that shouldn’t be reflective. A soft brush at around 30-40 percent opacity gives you gradual control, which is almost always what you want near shorelines and where water meets land.
Layer panel showing Sky Replacement layer group structure
After applying, the reflection mask is where most of your cleanup happens. Click the mask on the reflection layer and use a black brush to remove any reflection that’s spilling onto areas that shouldn’t be reflective. A soft brush at around 30-40 percent opacity gives you gradual control, which is almost always what you want near shorelines and where water meets land.
If the color temperature between the sky and the reflection feels slightly mismatched, add a Hue/Saturation or Color Balance adjustment layer clipped directly to the reflection layer. A small shift toward cooler tones in the reflection often sells it as more realistic, since water naturally desaturates and shifts the colors it reflects.
My Extra Layer: Selling the Realism With Blend Mode Tweaks
One thing I’ve started doing after running this workflow is changing the reflection layer’s blend mode from Normal to Luminosity or Multiply, then backing off the opacity to somewhere between 60 and 75 percent. It gives the reflection a more submerged, translucent quality rather than looking like a sky poster lying flat on the water. It’s a subtle shift, but subtlety is exactly what separates a composite that makes people ask “where was this taken?” from one that makes them ask “what software did you use?”
I also keep a small collection of custom sky files saved for reuse, so when I find a sky that plays well with this reflection technique, I hold onto it. Not every sky Photoshop ships with is reflection-friendly. Some have lighting that’s too directional, and the reflection ends up looking like it belongs to a different time of day than the foreground.
The biggest thing this tutorial drove home for me is that Sky Replacement is more than a sky-swap tool. When you use the reflection feature, you’re essentially doing a full scene relighting in one dialog. That’s a significant amount of power sitting behind a checkbox most people scroll right past. Don’t scroll past it.
Watch the full tutorial on YouTube and see Matt walk through the full process, including his specific approach to getting the foreground and sky to feel cohesive. Seeing the before and after in motion makes the payoff of each slider adjustment a lot clearer than any screenshot can.
Comments (2)
Wow, I had no idea you could do this. Mind blown.
Wow, I had no idea you could do this. Mind blown.
Leave a Comment