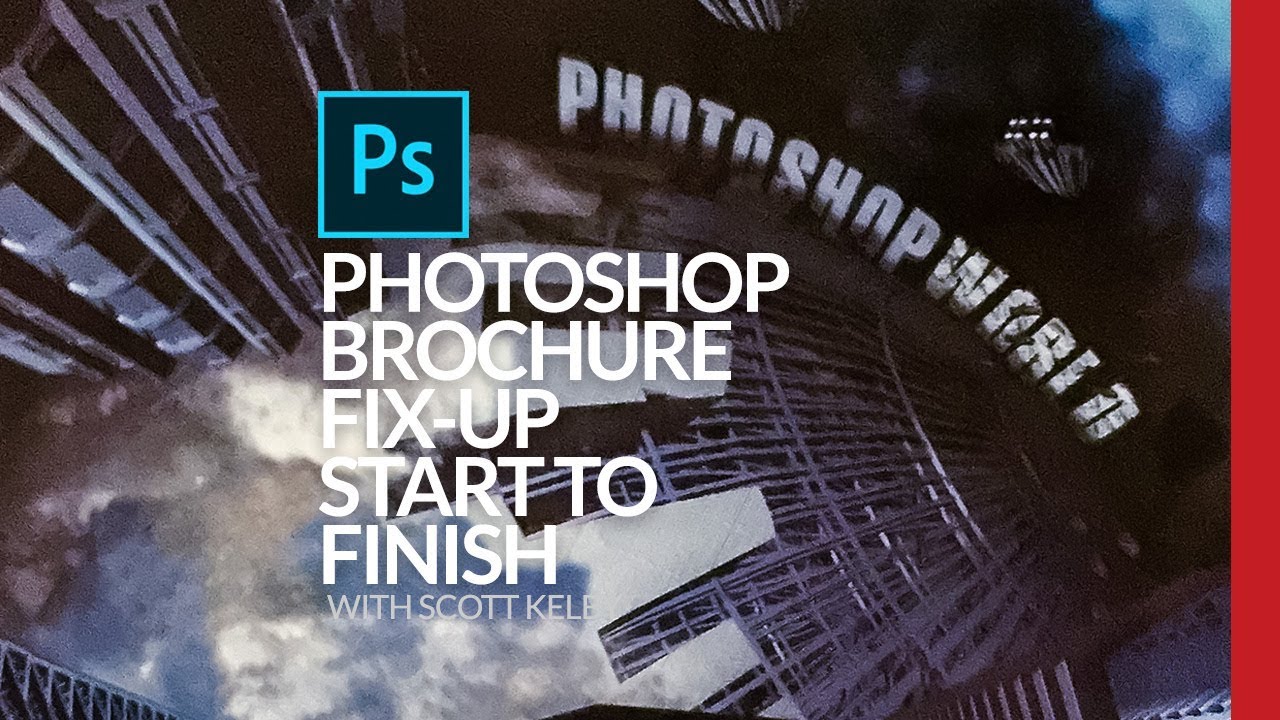
Client sends you a photo taken on an iPhone, under bad lighting, of a bent, faded, color-cast piece of paper. No raw file. No scanner. Just that. If you’ve been doing design or photo work for any length of time, you’ve been here. I’ve been here more times than I’d like to admit, usually sitting in a coffee shop trying to work miracles on someone’s terrible source material before a deadline hits.
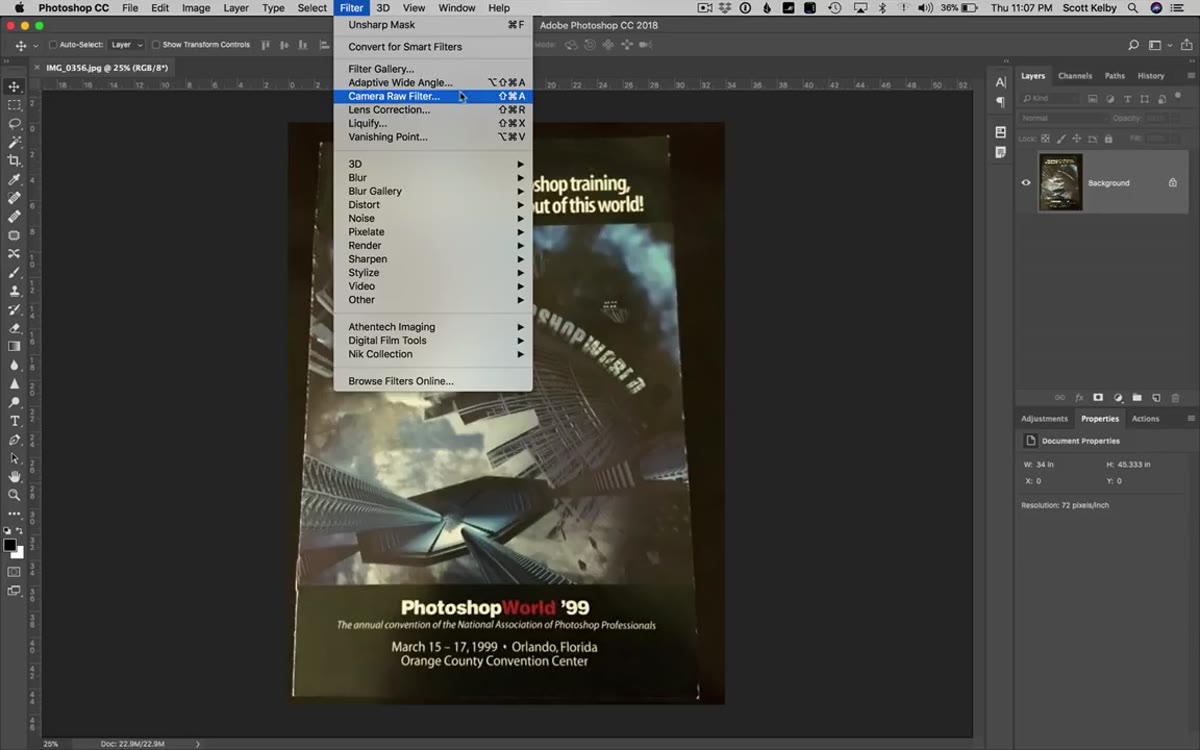
That’s exactly the scenario Scott Kelby works through in this tutorial, and it’s one of the more practically useful things I’ve watched recently because it’s not a contrived classroom exercise. A friend literally texted him a photo of a 19-year-old Photoshop World Conference brochure shot on an iPhone, reflection of the photographer’s head included, and Kelby just… fixes it. Live. No do-overs. Watch the full tutorial on YouTube if you want to follow along, but here’s the full breakdown so you can run through it yourself.
Fair warning Kelby gives at the top: this one’s aimed at intermediate users. He moves fast and doesn’t stop to explain what every panel is. I’ll fill in a few of those gaps as we go, but if you’re brand new to Photoshop, maybe bookmark this one and come back.
Step 1: Open in Camera Raw and Attack the Perspective Distortion
 Guided Upright tool active in Camera Raw Transform panel
Before touching exposure or color, get the geometry right. Kelby heads straight to Camera Raw (Filter > Camera Raw Filter) and opens the Transform panel. The specific tool here is Guided Upright, which lets you draw lines over features that should be straight, and Camera Raw corrects the perspective to match.
Guided Upright tool active in Camera Raw Transform panel
Before touching exposure or color, get the geometry right. Kelby heads straight to Camera Raw (Filter > Camera Raw Filter) and opens the Transform panel. The specific tool here is Guided Upright, which lets you draw lines over features that should be straight, and Camera Raw corrects the perspective to match.
Draw one line along a horizontal edge that should be flat, then another along a vertical edge that should be plumb. Two lines is usually enough to tell Photoshop what “straight” looks like for this image. The brochure in the video is noticeably tilted and warped from being held at an angle, and a couple of guided lines snap it into much better shape quickly. Don’t stress about getting it perfect here. You’ll crop the awkward edges out later.
Step 2: Fix the Color Cast with the White Balance Eyedropper
 White balance eyedropper clicking a neutral gray area in Camera Raw
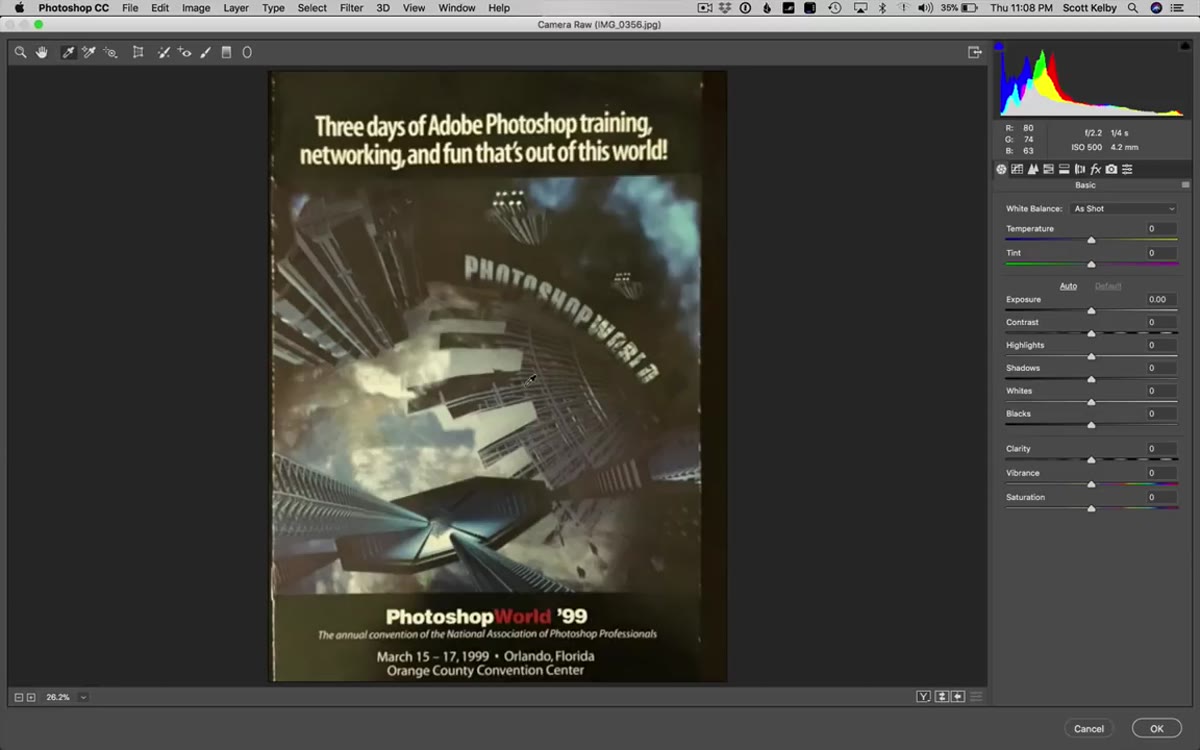
After perspective, color. The iPhone photo has a nasty warm cast baked in from whatever ambient lighting was in the room. In Camera Raw, grab the White Balance eyedropper (the one that looks like a dropper in the toolbar) and click on something in the image that should be a neutral gray.
White balance eyedropper clicking a neutral gray area in Camera Raw
After perspective, color. The iPhone photo has a nasty warm cast baked in from whatever ambient lighting was in the room. In Camera Raw, grab the White Balance eyedropper (the one that looks like a dropper in the toolbar) and click on something in the image that should be a neutral gray.
The key is finding a genuinely neutral tone. Kelby clicks on part of the brochure artwork that he knows should read as gray. One click and the overall color cast shifts into a much more believable range. This is faster and more accurate than dragging temperature and tint sliders by eye, especially when you have an obvious neutral reference point in the image itself.
Step 3: Rebuild the Tonal Range Manually
 Camera Raw basic panel with Whites, Blacks, and Contrast sliders being adjusted
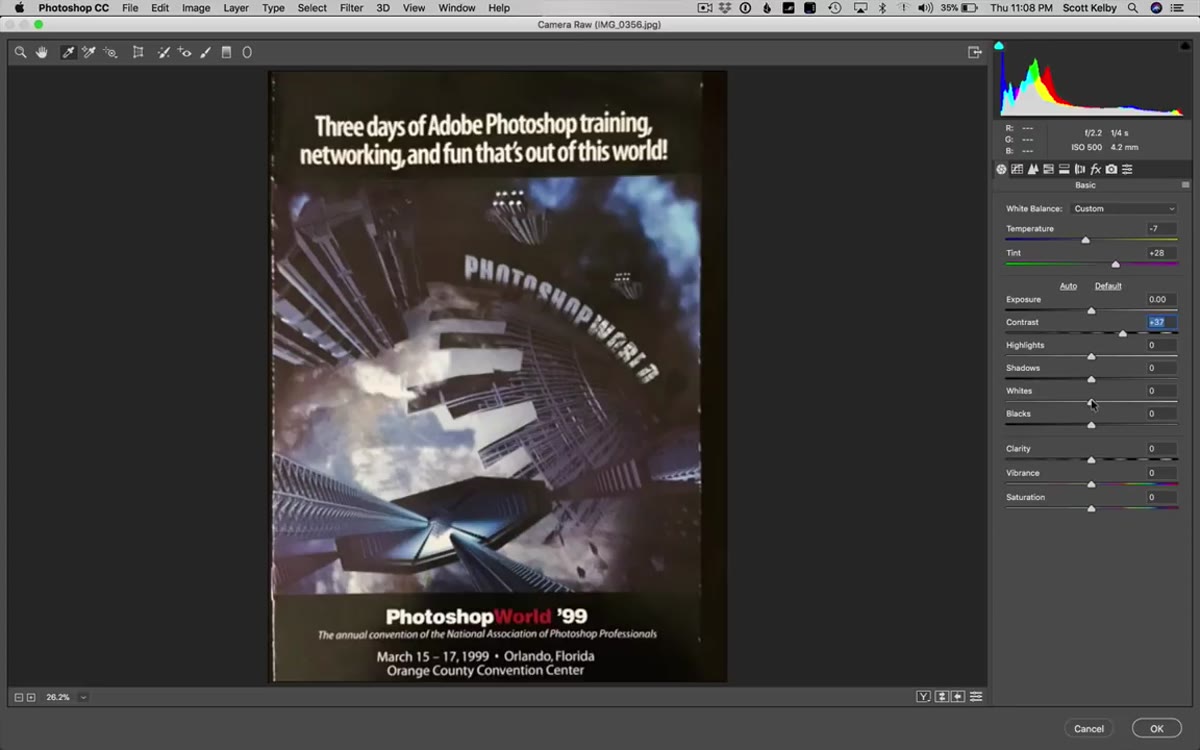
The Auto button in Camera Raw gets a quick audition here and doesn’t earn the job. Kelby dismisses it and goes manual, which is the right call when you’re dealing with a faded document rather than a regular photograph.
Camera Raw basic panel with Whites, Blacks, and Contrast sliders being adjusted
The Auto button in Camera Raw gets a quick audition here and doesn’t earn the job. Kelby dismisses it and goes manual, which is the right call when you’re dealing with a faded document rather than a regular photograph.
The move here is to push Whites up and pull Blacks down aggressively. This re-establishes the tonal endpoints that the washed-out scan completely lost. Then bump Contrast and add some Clarity to pull texture and detail back into the type and artwork. Finally, bring Highlights down a touch to recover anything blowing out in the lighter areas. You’re essentially rebuilding the full tonal range from scratch, which is exactly what Camera Raw is built for.
Step 4: Paint In Local Corrections with the Adjustment Brush
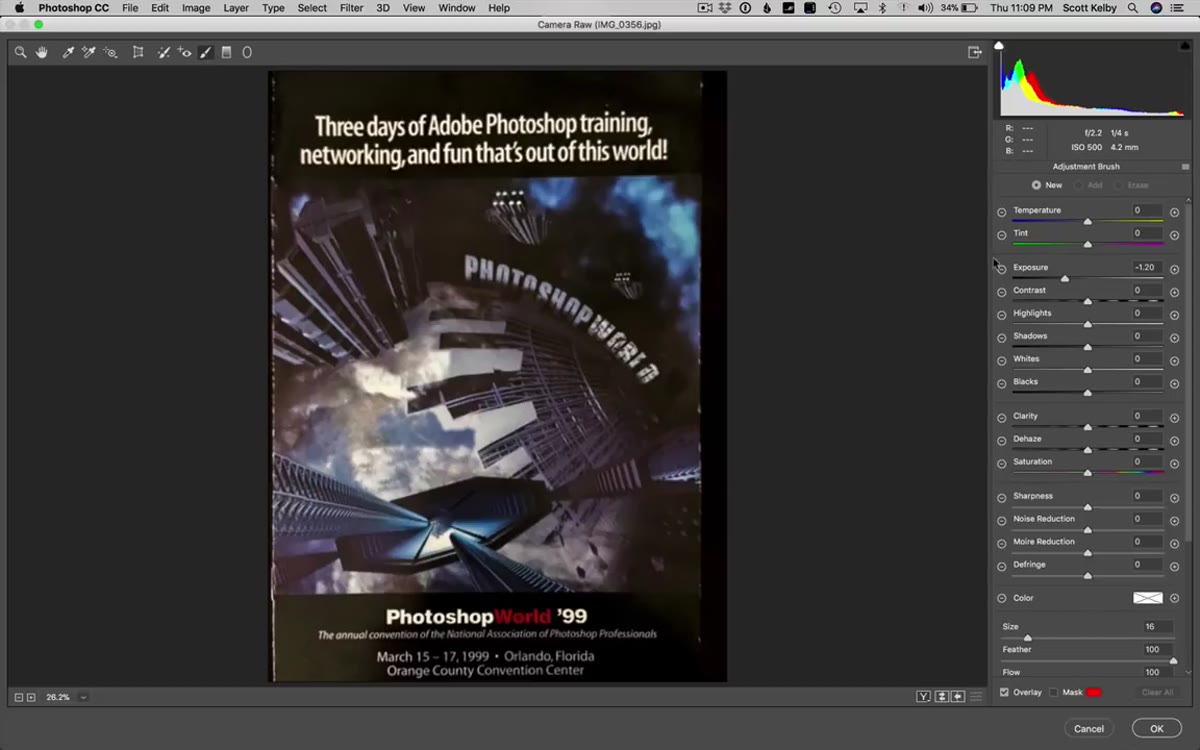 Camera Raw Adjustment Brush painting over dark banding area near bottom of brochure
Global adjustments only get you so far when the light was uneven to begin with. On this photo, the bottom edge of the brochure goes from a solid black to a washed-out gray mush, and the top corners are similarly blown. Kelby switches to the Adjustment Brush in Camera Raw to paint targeted exposure corrections over just those regions.
Camera Raw Adjustment Brush painting over dark banding area near bottom of brochure
Global adjustments only get you so far when the light was uneven to begin with. On this photo, the bottom edge of the brochure goes from a solid black to a washed-out gray mush, and the top corners are similarly blown. Kelby switches to the Adjustment Brush in Camera Raw to paint targeted exposure corrections over just those regions.
Drop the Exposure in the brush settings, then paint over the problem areas. The goal isn’t perfection, it’s making the dark areas read consistently so the eye doesn’t get snagged on the inconsistency. A few brush strokes over the bottom band and the top corners, and the image reads much more like a single evenly-lit document rather than a phone snapshot.
Step 5: Crop Out the Damage
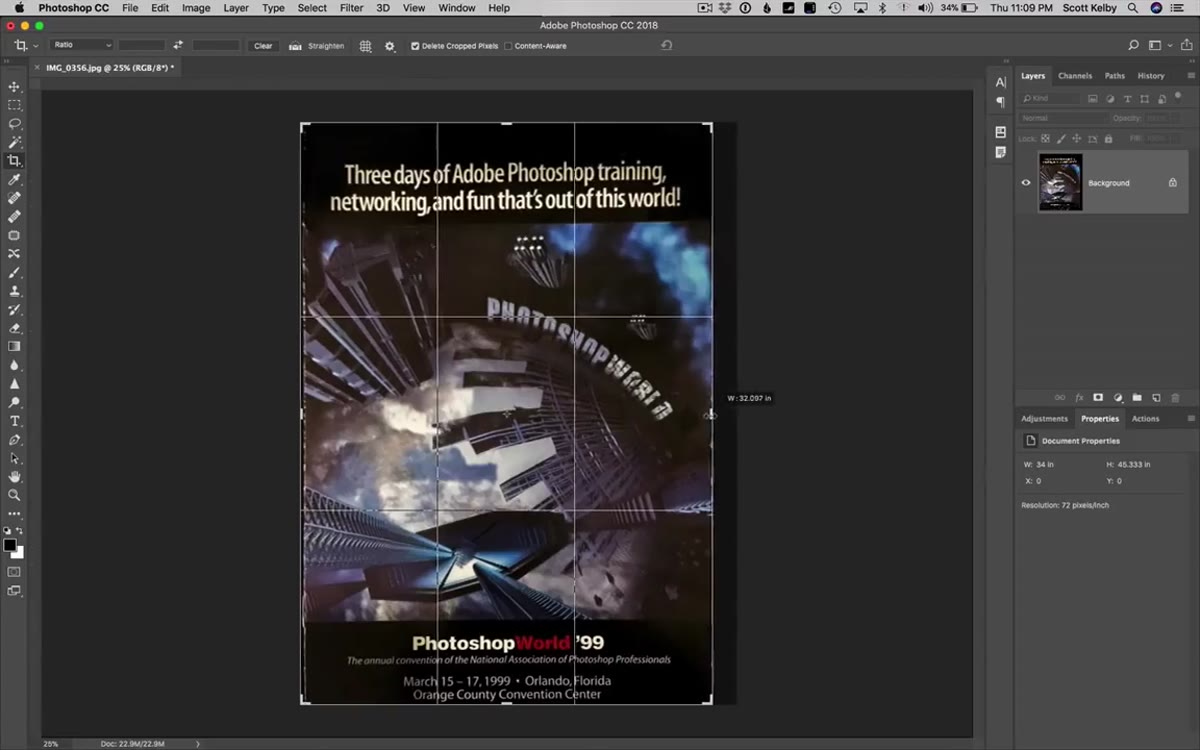 Crop tool active, trimming bent edges and distortion from brochure corners
Once you’re out of Camera Raw, the Crop tool does some heavy lifting. The edges of the brochure are still showing the physical bending of the paper and the perspective correction artifacts from Step 1. Crop those out. Pull in all four sides until you’re left with just the clean interior of the document.
Crop tool active, trimming bent edges and distortion from brochure corners
Once you’re out of Camera Raw, the Crop tool does some heavy lifting. The edges of the brochure are still showing the physical bending of the paper and the perspective correction artifacts from Step 1. Crop those out. Pull in all four sides until you’re left with just the clean interior of the document.
This is one of those steps that feels almost too simple to mention, but it’s doing a lot. Removing the warped edges makes the remaining straightening work look far more convincing. The image should now look like a clean document scan rather than a photo of one.
Step 6: Fix Misaligned Elements with Free Transform on an Unlocked Layer
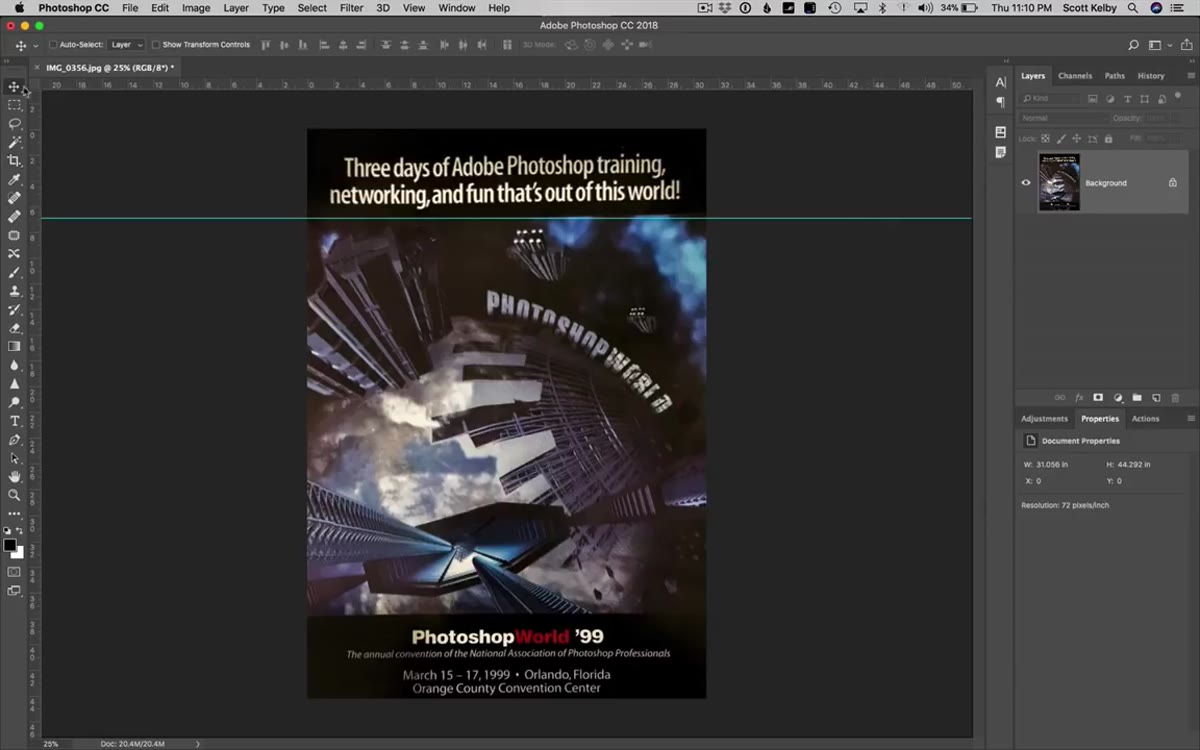 Background layer being unlocked before using Free Transform to correct a misaligned line
Even after Guided Upright does its thing, there can still be small geometric problems. Kelby spots a horizontal line on the brochure that still looks slightly off-axis. To fix it, he unlocks the background layer first by clicking the lock icon in the Layers panel, which converts it from a locked Background into a regular editable layer.
Background layer being unlocked before using Free Transform to correct a misaligned line
Even after Guided Upright does its thing, there can still be small geometric problems. Kelby spots a horizontal line on the brochure that still looks slightly off-axis. To fix it, he unlocks the background layer first by clicking the lock icon in the Layers panel, which converts it from a locked Background into a regular editable layer.
From there, Free Transform (Cmd/Ctrl + T) lets you nudge, rotate, or skew specific elements back into alignment. This is micro-surgery compared to the broad-stroke perspective correction from Camera Raw, but it matters. Documents live and die on whether the lines are straight, and one slightly askew rule or border can undermine everything else you’ve fixed.
What I’d Add: Do This on a Smart Object
One thing I’d layer on top of Kelby’s workflow is converting the image to a Smart Object before applying the Camera Raw Filter. If you right-click the layer and choose Convert to Smart Object first, all those Camera Raw adjustments become re-editable at any point. You can double-click back into Camera Raw and tweak the exposure or color cast without starting over.
I learned this particular lesson the hard way after committing to a bunch of destructive adjustments on a client file and then getting feedback that the color looked wrong. A Smart Object would have made that a two-minute fix instead of a complete redo. Apply the same logic here and you’ll thank yourself later.
The real takeaway from this whole walkthrough is that Camera Raw isn’t just for raw files. It’s a genuinely powerful correction environment for any image with tonal, color, or geometric problems, and the Guided Upright tool alone is worth knowing if you ever have to deal with documents or architectural photography shot from a weird angle. These techniques together turn a nearly unusable iPhone snapshot into something that actually looks like a clean historical document.
Watch the full tutorial on YouTube to see Kelby work through it in real time. Watching someone fix a real image, with real problems, under no particular pressure to make it look easy is genuinely more instructive than a lot of polished classroom demos.
Comments
Leave a Comment