A few months back I was working on a portrait series for a local musician here in Austin. Good photos, decent light, but the skin tones were all over the place and I kept painting myself into a corner trying to fix them on regular Photoshop layers. Every adjustment I made to one area wrecked something in another. I kept bouncing between Hue/Saturation layers and Curves masks like a person who has technically used Photoshop for years but is somehow still learning it.
Then I stumbled across this technique, and a lot of that friction just… dissolved.
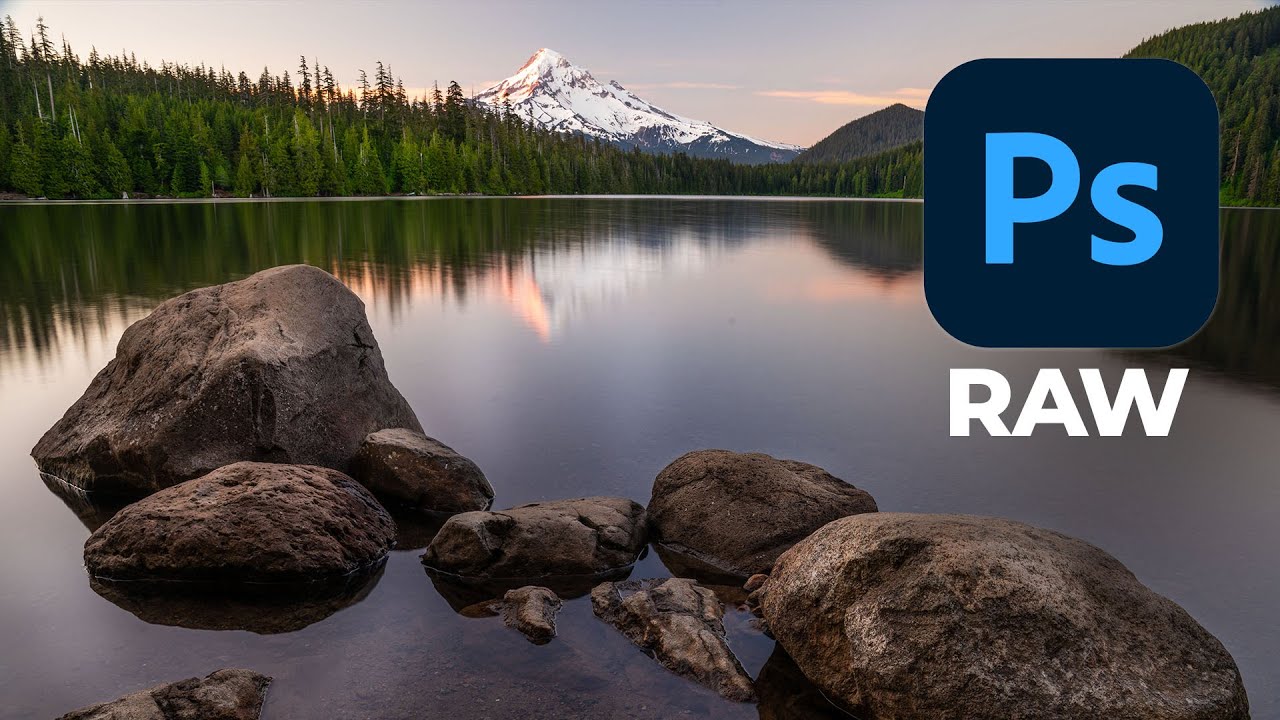
In this Kelvin Designs tutorial, Kelvin walks through exactly how to use RAW brushes inside Adobe Camera Raw, which is something I’d largely ignored as a tool beyond basic exposure corrections. Turns out I was sleeping on an entire retouching workflow. Here’s what I took away and how I’ve started applying it.
Why Adobe Camera Raw Brushes Are Different From Regular Photoshop Brushes
The key thing to understand upfront is that these brushes operate inside Adobe Camera Raw, not on your standard Photoshop canvas. That matters because ACR is a non-destructive environment. You’re not painting pixels, you’re painting parametric adjustments. If you mess up, you dial it back. If a client asks you to remove a change six saves later, you can. There’s no “flatten and regret” moment lurking at the end of your session.
The Masking tool inside ACR gives you access to a brush you can use to apply localized corrections, and when you load a preset (what Kelvin calls a RAW brush) onto that tool, you’re essentially applying a saved combination of ACR adjustments to a specific area of your image with one stroke. It’s the same logic as a Photoshop action, except it lives inside Camera Raw and works on the raw data.
Installing the RAW Brushes (This Part Is Easier Than You Think)
Kelvin sells a set of RAW brushes through his site, and the install process is genuinely simple once you know where ACR hides things. After downloading the preset files, you open Adobe Camera Raw, go into the Presets panel, click the menu icon, and choose Import Presets. Navigate to your downloaded files, select them, and they show up in your panel. Done. No digging through obscure system folders, no restarting Photoshop three times while cursing under your breath.
Once they’re loaded, you access them through the Masking tool. You create a new mask, choose Brush, make your selection, and then instead of manually adjusting every slider, you apply a preset directly to that mask. The brush stroke defines where, and the preset defines what. That combination is the whole trick.
Walking Through the Actual Retouching Process
Kelvin’s demo walks through a portrait correction, and the workflow breaks down into a few clear steps.
First, open your image in Camera Raw. You can do this by opening a raw file directly, or by using Filter > Camera Raw Filter on a Smart Object layer in Photoshop. Smart Object is the move here, because it keeps everything editable.
Second, go to the Masking panel (the icon looks like a circle with a dotted edge) and create a new mask using the Brush option. Paint over the area you want to affect, whether that’s the skin, the shadows under the eyes, a blown-out highlight patch, whatever the problem is.
Third, with that mask active, open the Presets panel and click whichever RAW brush preset fits the correction you’re after. Kelvin’s set includes options for things like skin tone smoothing, dodging, burning, and color correction. The sliders in the Basic panel will shift to reflect the preset values, applied only to the masked area.
Fourth, refine. You can still manually tweak the sliders after applying the preset if the effect is too heavy or not quite right. The preset is a starting point, not a final answer. Opacity on the brush itself also controls how strongly the correction lands, so feathering your edges and varying your brush pressure gives you smooth, realistic transitions.
Where I’d Push Back Slightly
This workflow is excellent for portraits and any image where you need localized, parametric corrections. But I’ve run into one real limitation: it’s not the right tool for complex object selections. If you need to isolate a detailed product shot with fine edges, or you’re working on something that needs a pixel-level mask, the Camera Raw masking tools can struggle compared to Select and Mask in Photoshop proper. ACR has improved a lot with its AI-powered subject and sky selection, but for tight, commercial-grade compositing work, I still move back into Photoshop for my masking and use Camera Raw adjustments as a pre-processing step rather than the whole pipeline.
That’s not a knock on the technique. It’s just knowing which tool fits which job, which is basically the whole game with Photoshop anyway.
The Part That Actually Changed How I Work
What clicked for me after watching this tutorial was treating Camera Raw not as a gate I pass through on the way to “real” editing, but as a fully functional retouching environment for a specific category of work. Portraits, skin corrections, localized exposure fixes, color grading on raw files. That’s its lane, and the RAW brush approach makes it genuinely fast once your presets are set up.
The single biggest takeaway: building a library of your own RAW brush presets, tuned to the corrections you make repeatedly, turns a time-consuming manual process into a two-click workflow. That kind of leverage is worth an afternoon of setup.
Watch Kelvin’s full tutorial for the visual walkthrough, especially the mask painting section, because seeing how he builds and feathers his selections makes the written steps above click into place much faster: How to use Photoshop RAW Brushes by Kelvin Designs.
Comments
Leave a Comment