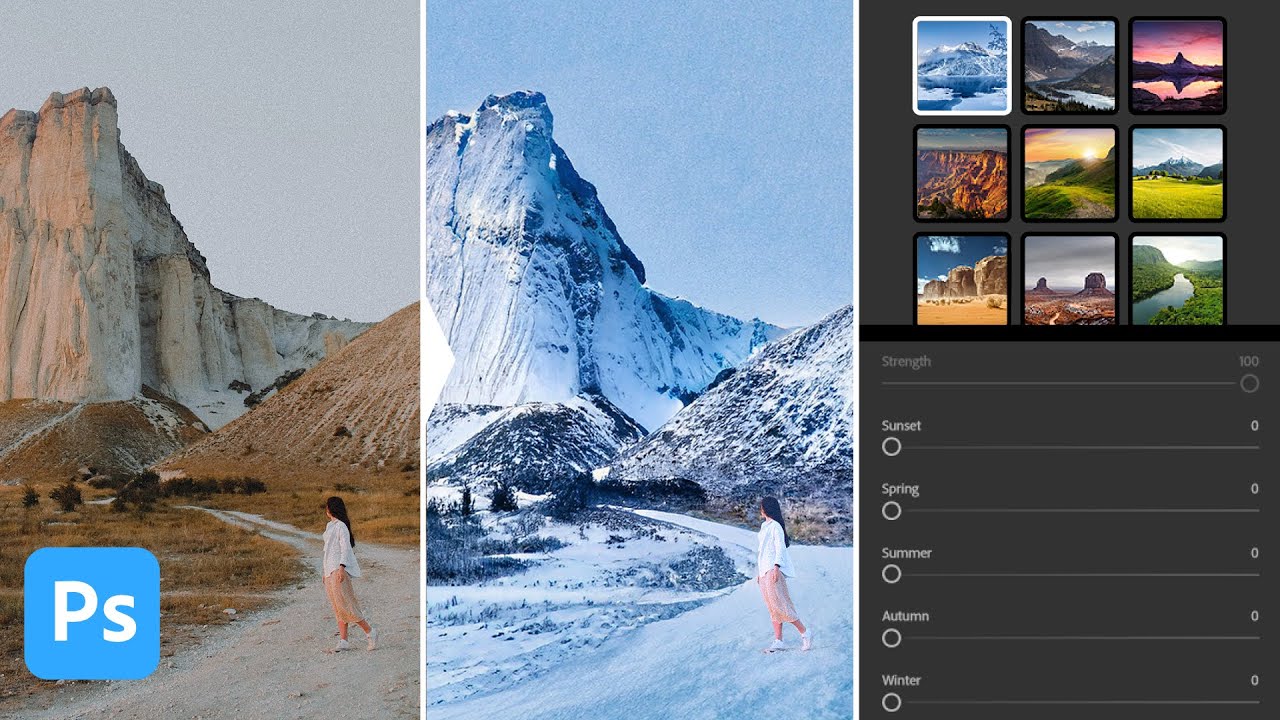
There’s a specific kind of panic that hits when a client says “can you make this look like it was shot in winter?” and you’ve got exactly one image of a sun-scorched desert to work with. I’ve been there. My old solution involved approximately fourteen stock photo licenses, a lot of blending modes I only half understood, and one very long night at my usual corner table at Epoch Coffee. So when I caught this Watch the full tutorial on YouTube from Aaron Nace over at PHLEARN, I nearly knocked my cold brew onto my laptop. The Landscape Mixer Neural Filter in Photoshop 2022 does in about ten seconds what used to take me the better part of an afternoon.
The short version: Adobe’s AI can take a landscape photo and re-light it, re-texture it, and transform its entire seasonal mood just by analyzing reference landscapes you feed it. It’s part of the Neural Filters suite, which is Adobe’s umbrella term for their AI-powered tools. And yes, it’s as ridiculous as it sounds. But there’s a catch that matters a lot if your photo includes a person, which mine usually do. Here’s exactly how it works and how to handle that wrinkle.
Step 1: Open the Neural Filters Panel
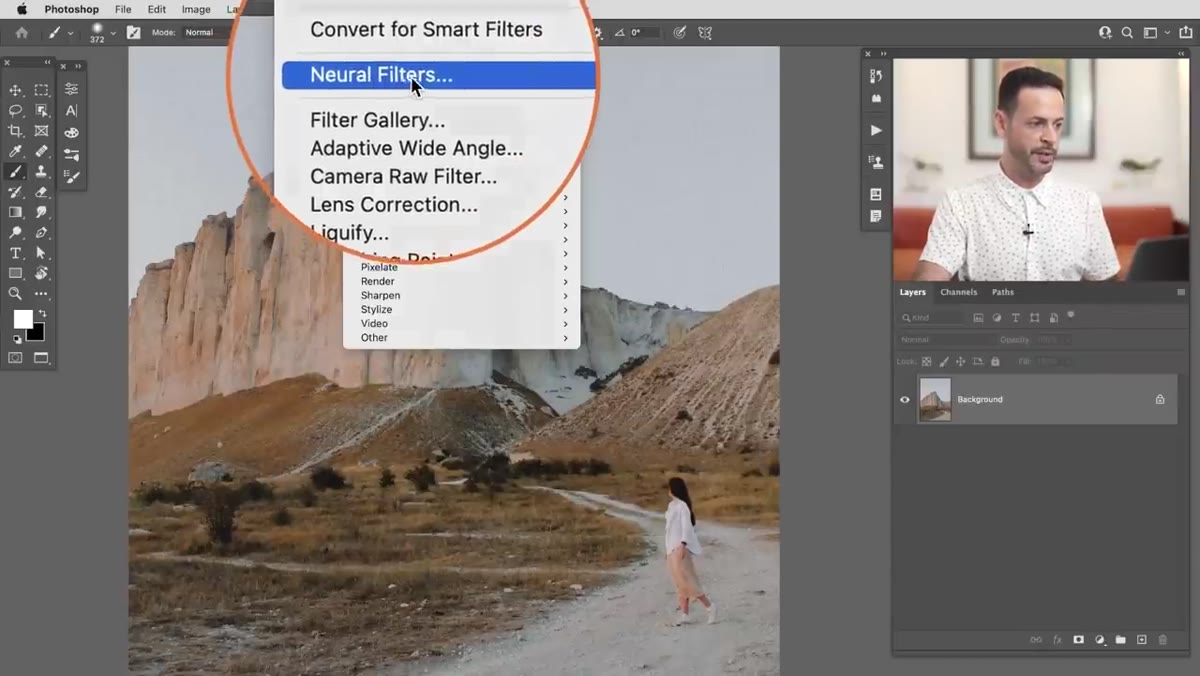 Neural Filters panel opening from the Filter menu
Go to Filter in the top menu bar and scroll down to Neural Filters. This opens a dedicated panel that lists all of Adobe’s AI-powered filters. If you haven’t used it before, some filters may need to be downloaded the first time you enable them. The Landscape Mixer should be near the top of the “Featured” section. Click the toggle to turn it on. Give it a moment to load, especially if this is your first time activating it.
Neural Filters panel opening from the Filter menu
Go to Filter in the top menu bar and scroll down to Neural Filters. This opens a dedicated panel that lists all of Adobe’s AI-powered filters. If you haven’t used it before, some filters may need to be downloaded the first time you enable them. The Landscape Mixer should be near the top of the “Featured” section. Click the toggle to turn it on. Give it a moment to load, especially if this is your first time activating it.
Worth noting: this is not a lightweight filter. It’s doing real computational work on your image using Adobe’s Sensei AI engine. If your machine is a bit older, grab your coffee now.
Step 2: Select a Target Landscape Style
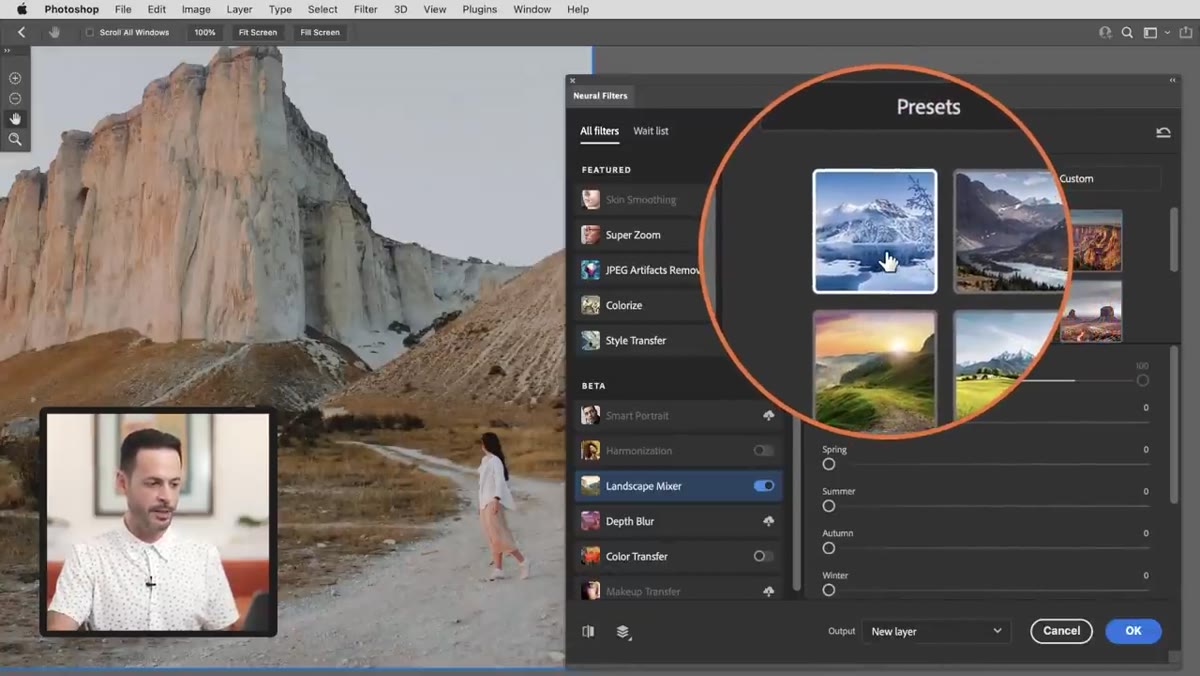 Landscape style thumbnails shown in the Landscape Mixer panel
Once the filter is active, you’ll see a row of landscape preset thumbnails across the top of the panel. These are your style references, things like snowy tundra, golden desert, lush green forest. Click any one of them and Photoshop will begin processing your image to match that environment’s lighting, color, and texture. The transformation happens directly in the preview on the left side of the panel.
Landscape style thumbnails shown in the Landscape Mixer panel
Once the filter is active, you’ll see a row of landscape preset thumbnails across the top of the panel. These are your style references, things like snowy tundra, golden desert, lush green forest. Click any one of them and Photoshop will begin processing your image to match that environment’s lighting, color, and texture. The transformation happens directly in the preview on the left side of the panel.
Aaron’s reaction in the tutorial is pretty much exactly what yours will be the first time. The AI isn’t just slapping a color grade on top. It’s actually re-texturizing surfaces to look like snow, ice, or dry cracked earth. The results aren’t always print-resolution crisp, but for the speed and the concept, it’s genuinely impressive.
Step 3: Test the “Preserve Subject” Option
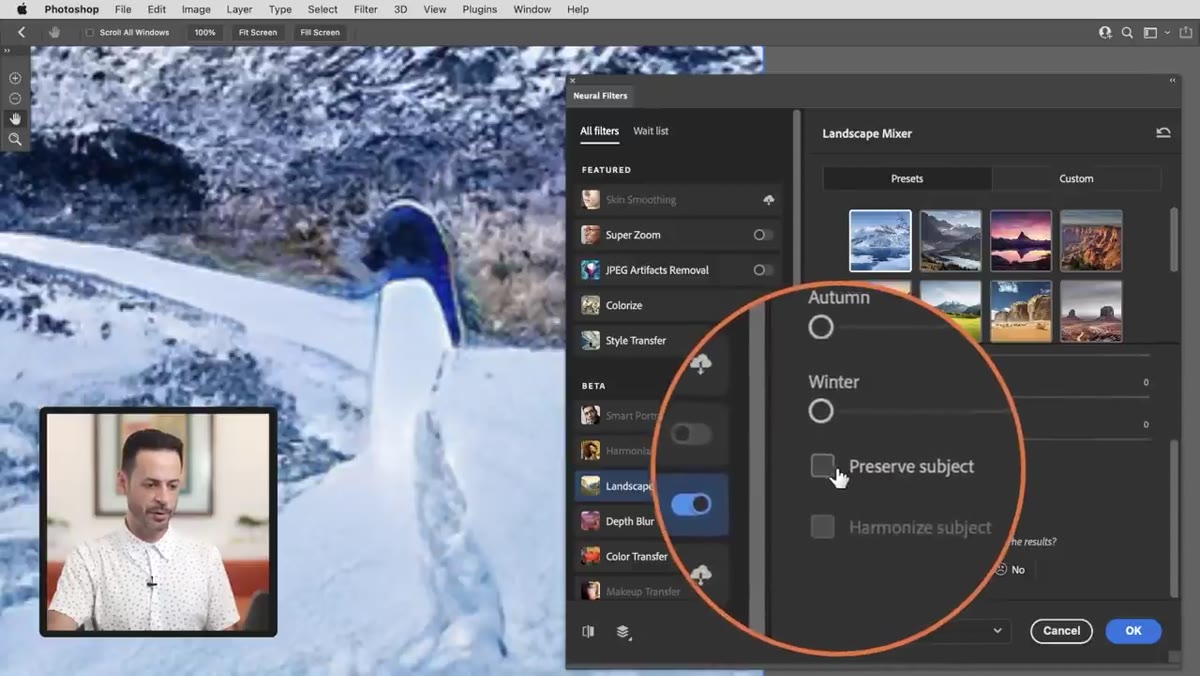 Preserve Subject checkbox being toggled in the Landscape Mixer panel
Here’s where the workflow gets interesting. If your photo has a person in it, the filter will happily transform them along with everything else. Enabling the “Preserve Subject” checkbox tells the AI to detect your subject and attempt to leave them unaffected while transforming the background. In theory, great idea. In practice, the detection isn’t perfect. Aaron shows that the AI sometimes grabs parts of the background it shouldn’t, or misses edges around the subject.
Preserve Subject checkbox being toggled in the Landscape Mixer panel
Here’s where the workflow gets interesting. If your photo has a person in it, the filter will happily transform them along with everything else. Enabling the “Preserve Subject” checkbox tells the AI to detect your subject and attempt to leave them unaffected while transforming the background. In theory, great idea. In practice, the detection isn’t perfect. Aaron shows that the AI sometimes grabs parts of the background it shouldn’t, or misses edges around the subject.
There’s also a “Harmonize Subject” option, which tries to recolor your subject to match the new background environment. It’s a clever idea borrowed from the Harmonization Neural Filter, but it’s still a bit rough around the edges. For a polished result, you’ll get better mileage doing this adjustment manually.
Step 4: Apply the Filter to a New Layer
 Output settings showing New Layer option before clicking OK
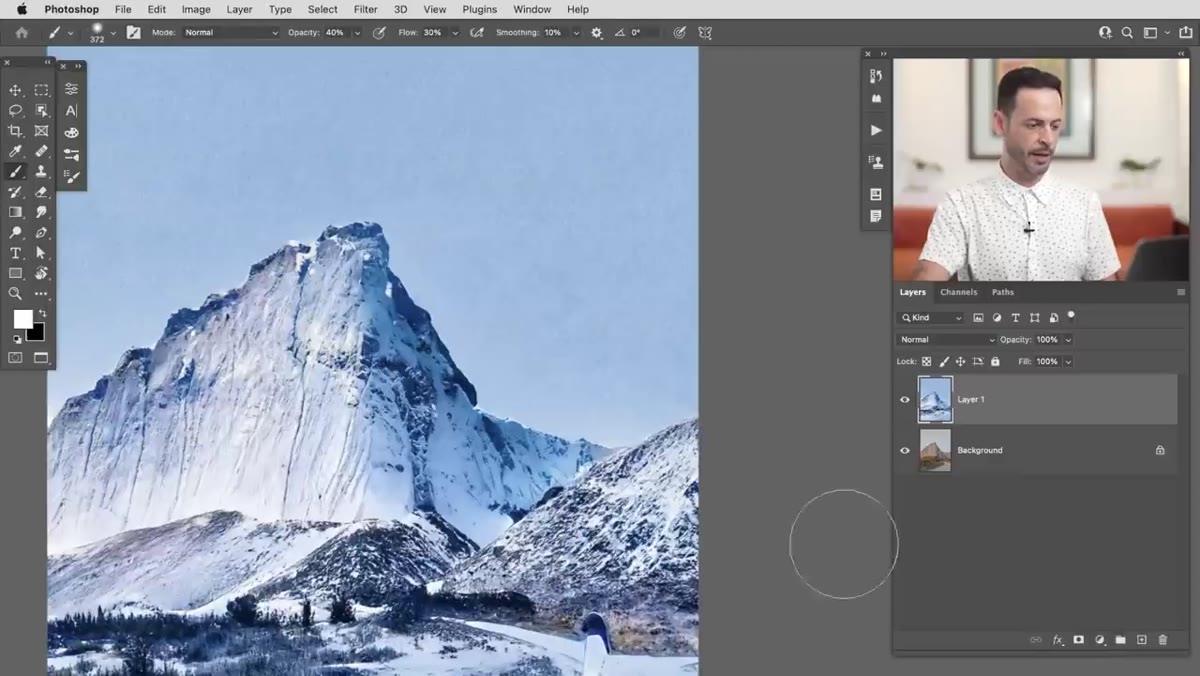
Before you hit OK, check your output settings at the bottom of the panel. Choose “New Layer” so the Landscape Mixer result lands on its own layer above your original. This is non-negotiable for a clean workflow. You want your untouched original preserved underneath, because you’ll need it for the next step.
Output settings showing New Layer option before clicking OK
Before you hit OK, check your output settings at the bottom of the panel. Choose “New Layer” so the Landscape Mixer result lands on its own layer above your original. This is non-negotiable for a clean workflow. You want your untouched original preserved underneath, because you’ll need it for the next step.
Once you click OK, Photoshop will process and apply the transformation. You now have the mixed landscape on one layer and your original image safely below it.
Step 5: Remove the Subject from the Mixed Layer
 Spot Healing Brush being used to remove subject from landscape layer
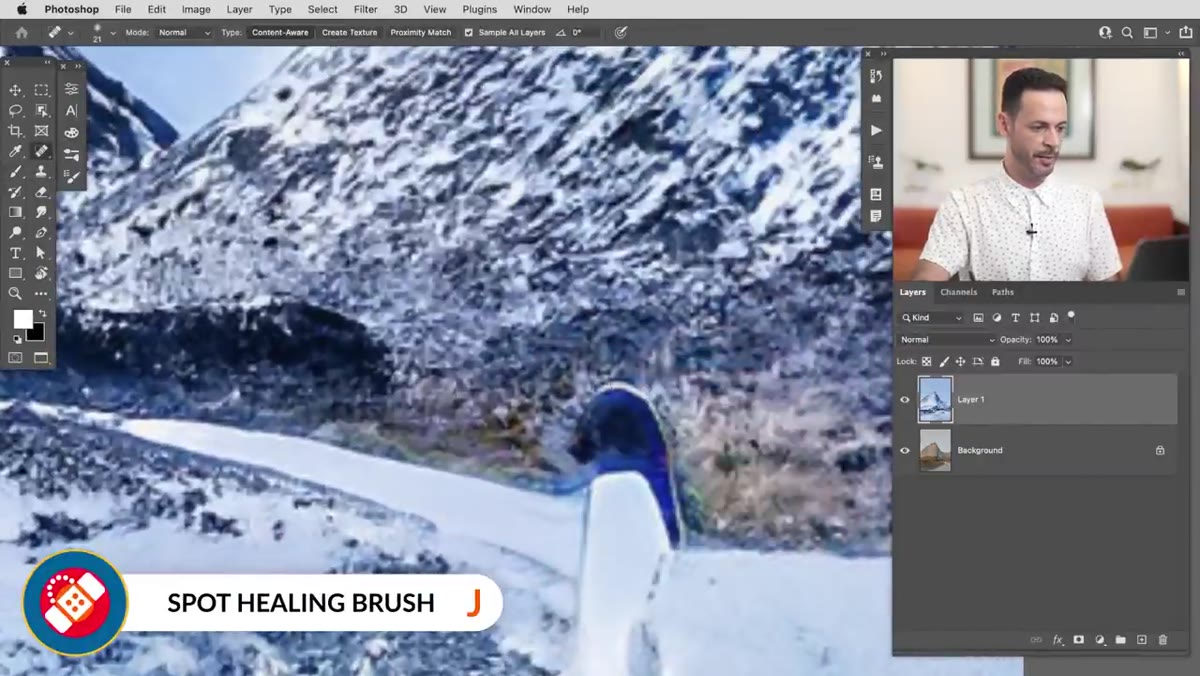
Since the “Preserve Subject” option didn’t do a perfect job, the approach Aaron uses is faster and cleaner: paint out the subject on the mixed landscape layer using the Spot Healing Brush. Select the Spot Healing Brush from your toolbar, make sure you’re on the Landscape Mixer layer, and brush over the area where your subject appears. Photoshop will fill in the area using surrounding background detail from the transformed landscape.
Spot Healing Brush being used to remove subject from landscape layer
Since the “Preserve Subject” option didn’t do a perfect job, the approach Aaron uses is faster and cleaner: paint out the subject on the mixed landscape layer using the Spot Healing Brush. Select the Spot Healing Brush from your toolbar, make sure you’re on the Landscape Mixer layer, and brush over the area where your subject appears. Photoshop will fill in the area using surrounding background detail from the transformed landscape.
It won’t be pixel-perfect, especially in areas with fine detail like ice textures, but it gets the job done well enough because you’re about to place the real subject back on top anyway. Work in passes rather than one big stroke for cleaner results.
Step 6: Select the Subject from the Original Layer
 Object Selection Tool hovering over subject on original background layer
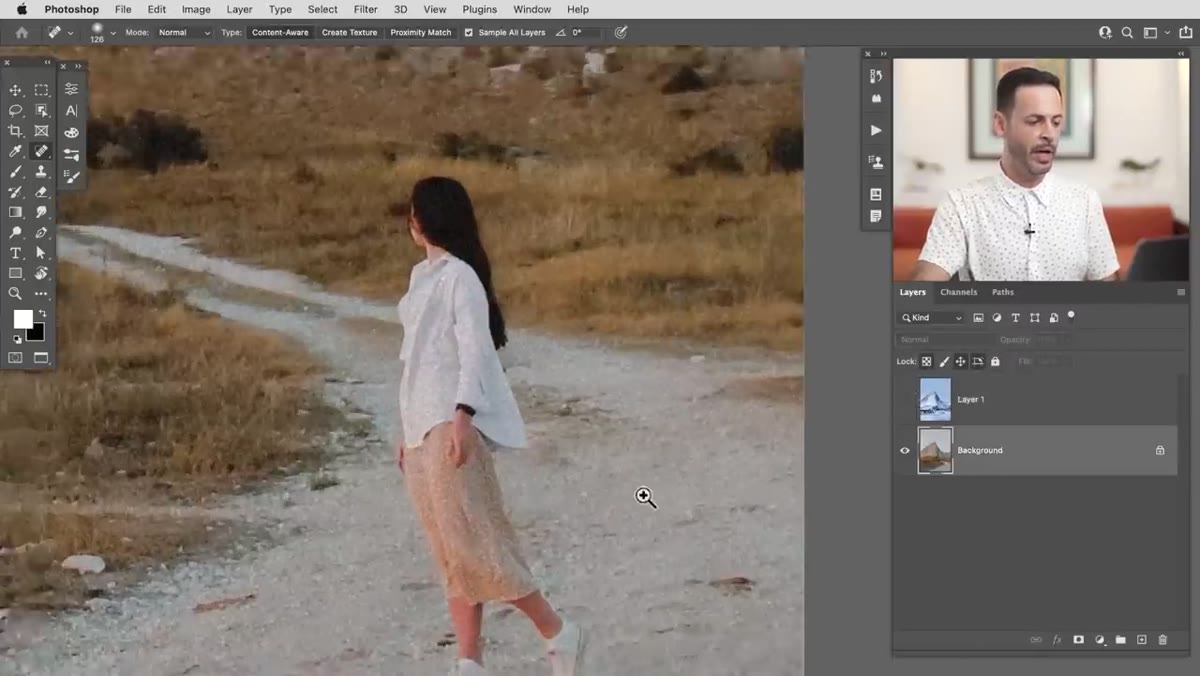
Click on your original background layer. Now grab the Object Selection Tool from the toolbar, which you can find grouped with the Quick Selection Tool. Hover your cursor over your subject and Photoshop’s AI highlights what it thinks you want to select. Click once. The selection snaps around your subject with surprisingly clean edges.
Object Selection Tool hovering over subject on original background layer
Click on your original background layer. Now grab the Object Selection Tool from the toolbar, which you can find grouped with the Quick Selection Tool. Hover your cursor over your subject and Photoshop’s AI highlights what it thinks you want to select. Click once. The selection snaps around your subject with surprisingly clean edges.
Aaron makes a good point here: this tool has existed for a bit, but the version in Photoshop 2022 is noticeably more accurate than earlier iterations. You may still need to refine the selection edges with Select and Mask if the background is complex, but for a quick composite it’s often good enough right out of the gate.
Step 7: Copy the Subject onto the Composite
 Subject selected and ready to be placed onto the mixed landscape layer
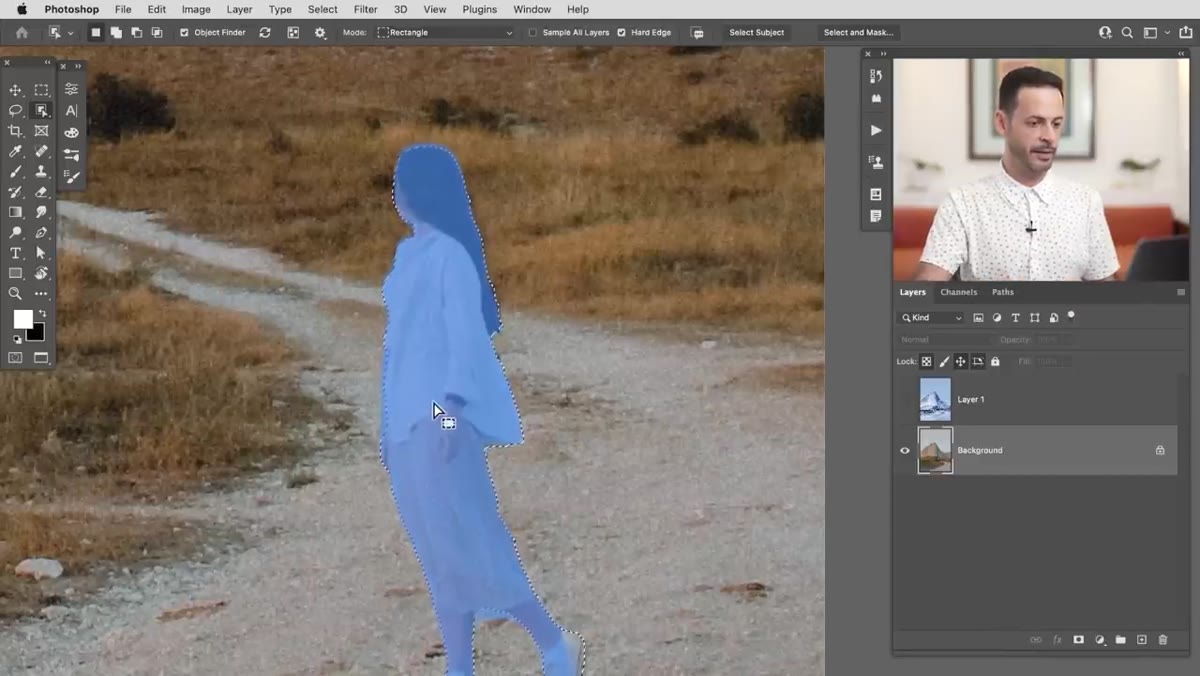
With your subject selected on the original layer, copy and paste it or use Layer via Copy (Cmd/Ctrl + J) to lift it onto a new layer. Position this new layer above both the Landscape Mixer layer and the original. Now you have your transformed background with the AI-painted-out subject, and your real subject sitting cleanly on top.
Subject selected and ready to be placed onto the mixed landscape layer
With your subject selected on the original layer, copy and paste it or use Layer via Copy (Cmd/Ctrl + J) to lift it onto a new layer. Position this new layer above both the Landscape Mixer layer and the original. Now you have your transformed background with the AI-painted-out subject, and your real subject sitting cleanly on top.
From here, any finishing work like color grading the subject to match the new background, adding shadows, or tweaking the edge mask, is standard compositing territory.
A Note on Resolution and Expectations
I’ll be straight with you: the Landscape Mixer output has a slightly “crunchy” quality compared to a high-resolution source image. Fine detail, like individual blades of grass or intricate ice formations, gets smoothed out or simplified. Aaron mentions this in the tutorial and frames it as a “give it time” situation, and he’s probably right. Adobe’s AI tools have improved noticeably between versions, and this filter feels like it’s in a solid early-middle stage of development.
For comp mockups, client approvals, or creative exploration, it’s completely usable right now. For final print work, you’ll want to either sharpen up the output or use it as a guide for a more manual approach. I’ve started using it as a blocking-in step, getting the mood and lighting concept locked, then refining the details by hand. Cuts my concept time down by a lot.
The single biggest takeaway from Aaron’s tutorial: don’t let the “Preserve Subject” option be your whole plan. Treat the Landscape Mixer as a background-only tool, cut your subject out manually using the Object Selection Tool, and composite them back together. That two-step approach turns a cool but imperfect AI filter into a genuinely useful production shortcut.
Watch the full tutorial on YouTube to see Aaron walk through the whole thing live, including his real-time reactions that are honestly worth the watch on their own.
Comments (1)
My workflow just got 10x faster. Not even kidding.
Leave a Comment