I spent my first few months in Photoshop treating the whole canvas like a single piece of paper. Everything on one layer. Edits baked directly into the image. It was fine, until it wasn’t, and then it was catastrophic. The day I accidentally painted over a client’s background and had exactly one undo left in my history is a day I’d prefer to forget. The fix, obviously, was layers. But understanding why layers work the way they do, not just where the button is, made the real difference.
Watch the full tutorial on YouTube
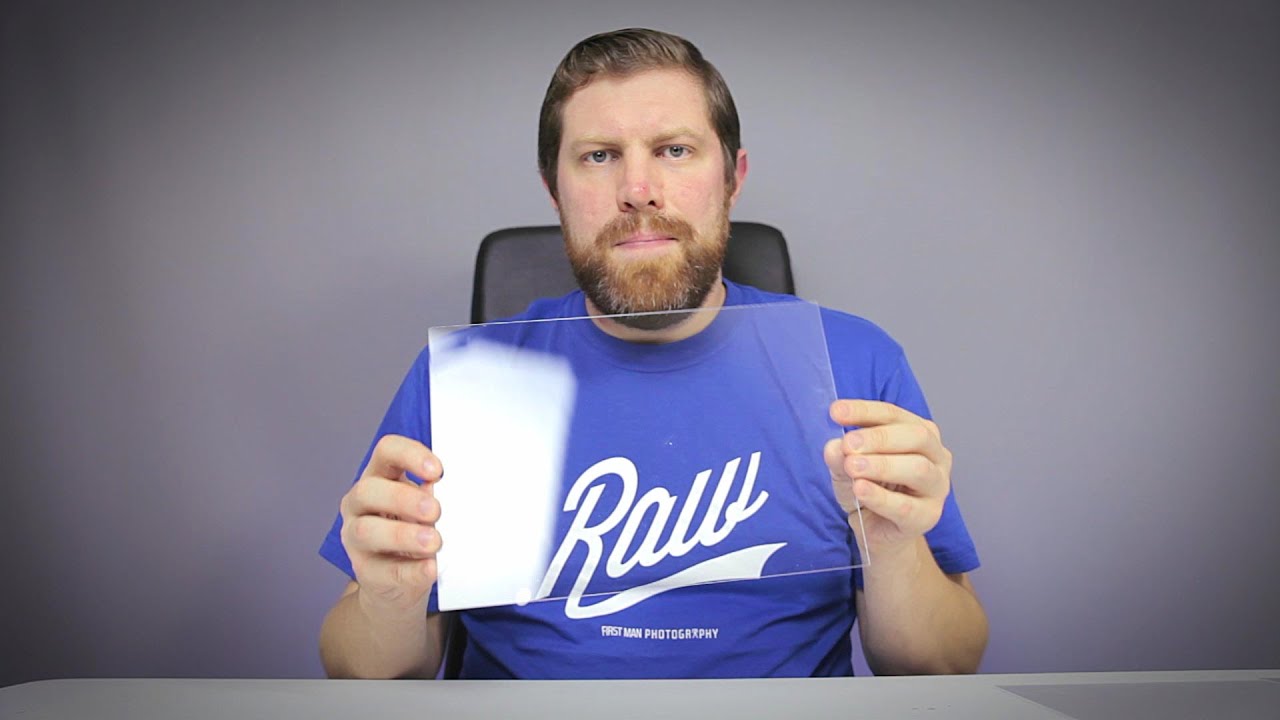
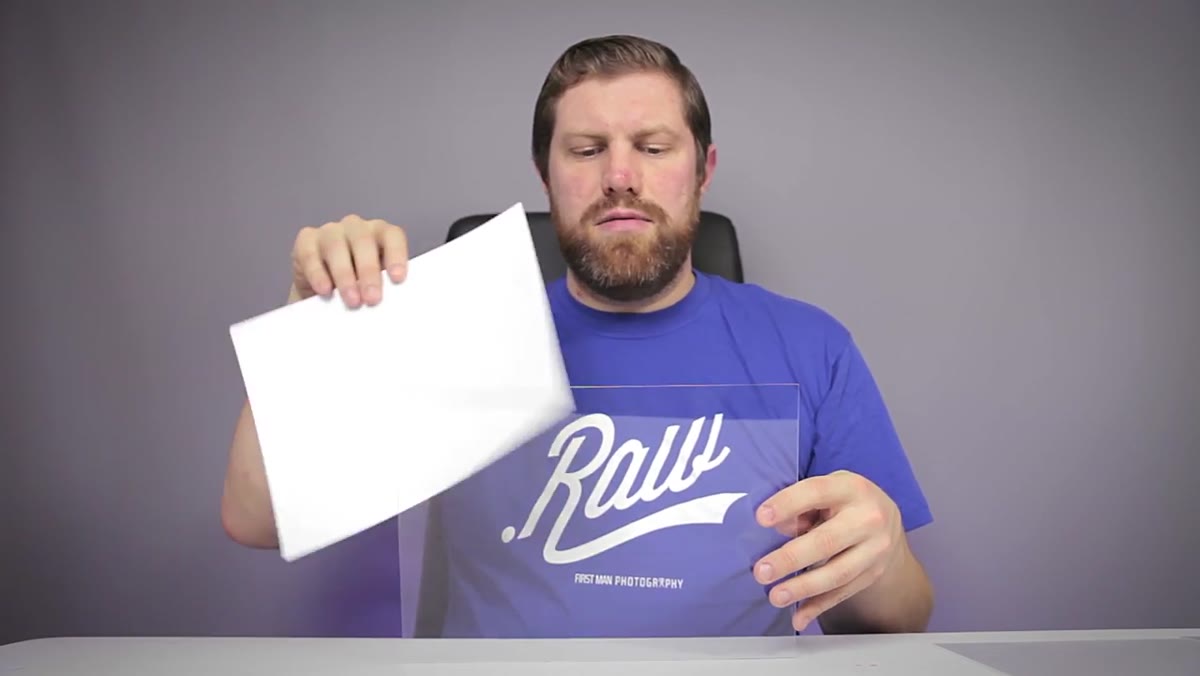
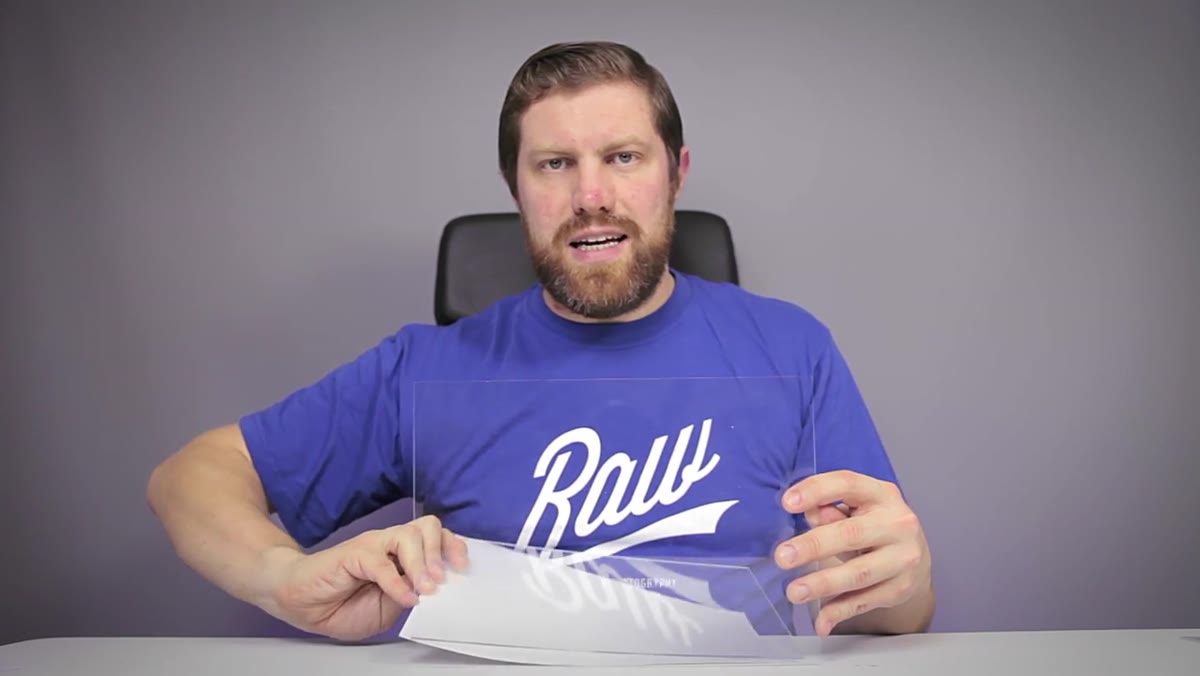
In this First Man Photography tutorial, Adam does something I genuinely respect: he explains layers before touching Photoshop. He grabs a physical piece of transparent plastic to show what a layer actually is in the real world, then carries that analogy directly into the software. It’s the kind of grounding that most written guides skip because they assume you’ll just figure it out. You won’t. Or rather, you will, but it’ll cost you a few projects first. This walkthrough follows his tutorial closely, with the extra context I wish someone had handed me when I was just getting started.
Step 1: Understand What a Layer Actually Is
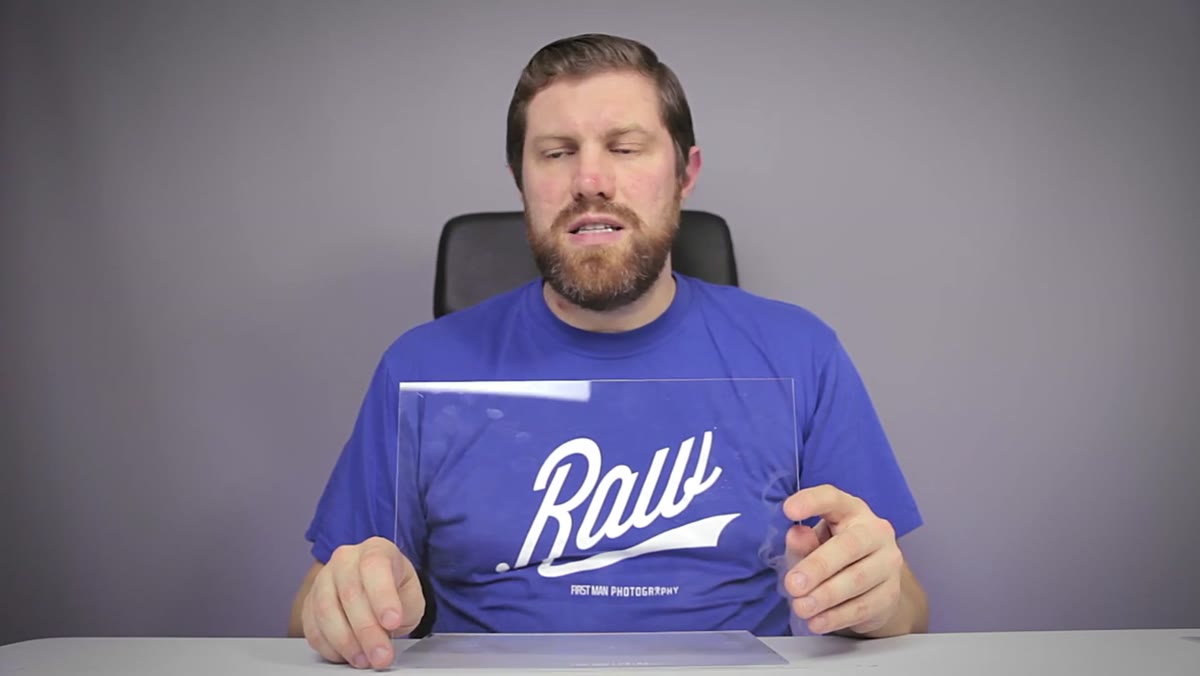
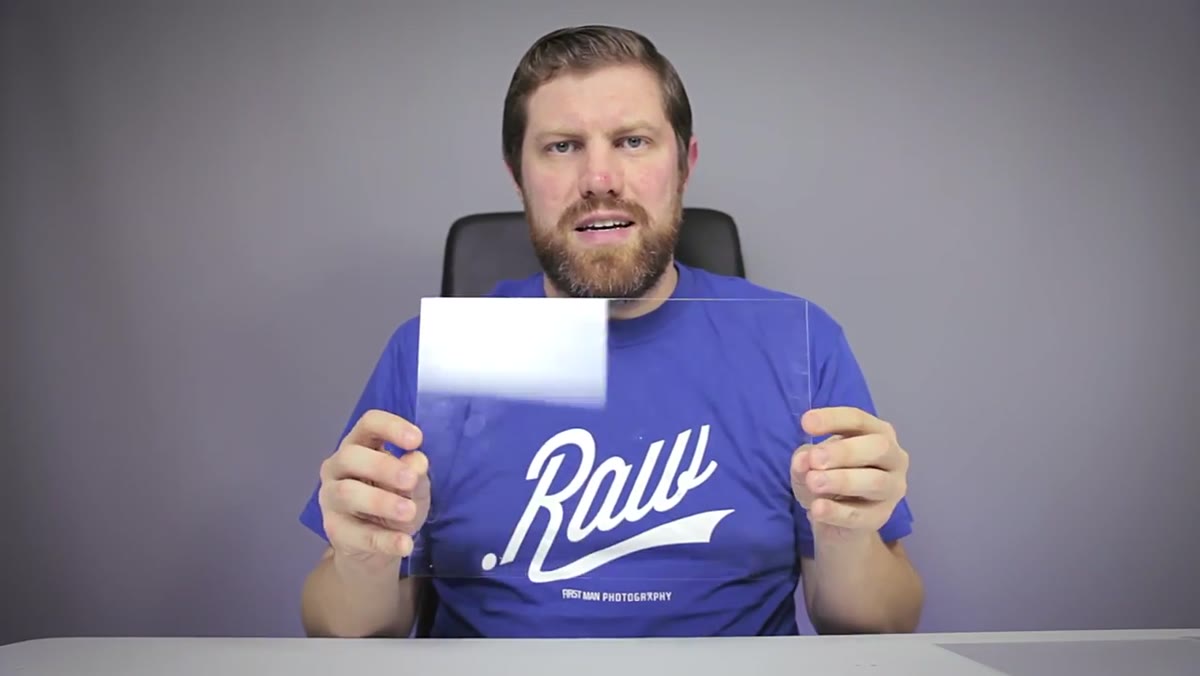 Transparent plastic sheet held up to represent a layer
Before you click anything, get this idea locked in. A layer in Photoshop is essentially a transparent sheet of film stacked over your image. When that sheet has nothing on it, you see straight through to whatever is underneath. When you paint, place a shape, or drop a photo onto that sheet, only that specific content sits on the layer. Everything else stays transparent.
This matters because it means you can stack dozens of these sheets on top of each other, each holding a different element, and edit any one of them without touching the others. That’s the whole game. That’s why layers exist.
Step 2: Create a New Document and Meet the Background Layer
 New Photoshop document open with white background layer visible
Open Photoshop and create a new document. File, then New, pick whatever canvas size works for you. When the document opens, look at the bottom right corner. You’ll see the Layers panel, and sitting inside it is a layer called “Background.” This is automatic. Photoshop creates it for you.
If you started with a blank document, that Background layer will be filled with white. If you opened a photo instead, the Background layer holds your image. Either way, this is your starting point, the bottom of your stack.
Step 3: Toggle Layer Visibility with the Eye Icon
 Eye icon being clicked to hide the background layer
See the small eye icon on the left side of each layer in the Layers panel? Click it. The layer disappears from your canvas. Click it again, it comes back. This isn’t deleting anything, it’s just hiding it temporarily so you can focus on other elements without visual noise.
Adam uses this trick throughout his demo to isolate individual shapes as he builds them. It’s genuinely one of the most underrated habits in Photoshop. When I’m working on a composite with 20 layers, toggling visibility is how I sanity-check each piece without flattening anything. Make friends with that little eye.
Step 4: Add a New Layer and Place Content on It
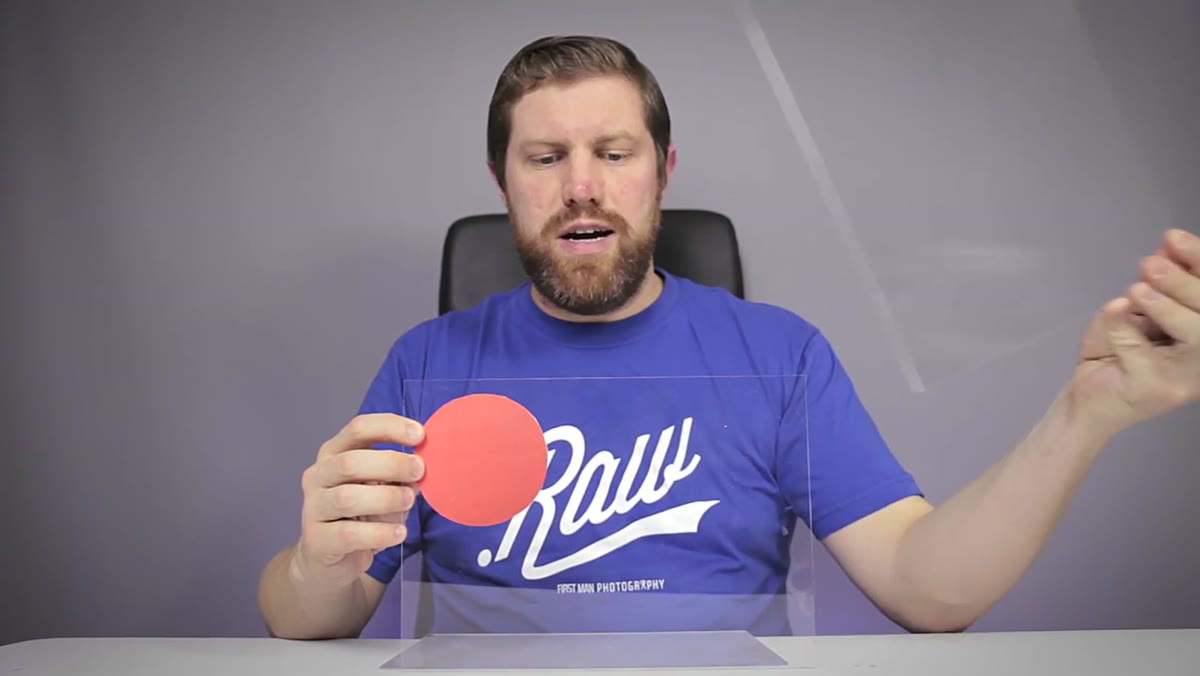
 Red circle added to a new transparent layer above the background
To add a new layer, look at the bottom of the Layers panel for the small square icon with a folded corner. Click it. A new blank, transparent layer appears above whichever layer you currently have selected. It will be named something like “Layer 1” by default.
Now here’s the key part: whatever you do next, drawing a shape, painting with a brush, pasting an image, only affects the layer that’s currently highlighted in the Layers panel. If you click away and accidentally select the wrong layer before you start working, your edits land in the wrong place. It happens constantly when you’re starting out. Just get into the habit of glancing at the Layers panel before every edit to confirm you’re on the right one.
Step 5: Repeat the Process for Each New Element
 Yellow star placed on its own separate layer above the red circle layer
Every distinct element you want to control independently should live on its own layer. Adam demonstrates this by giving his red circle, yellow star, and blue square each a dedicated layer. It seems like overkill when you’re working with three shapes, but the logic scales directly to real projects.
Create a new layer, add your content, repeat. The order in the Layers panel matters: layers higher in the stack appear in front of layers lower in the stack on your canvas. If your blue square is covering your red circle on screen, check the panel. The square’s layer is probably sitting above the circle’s layer. Drag layers up or down in the panel to change that stacking order.
Step 6: Move Elements Independently Using the Move Tool
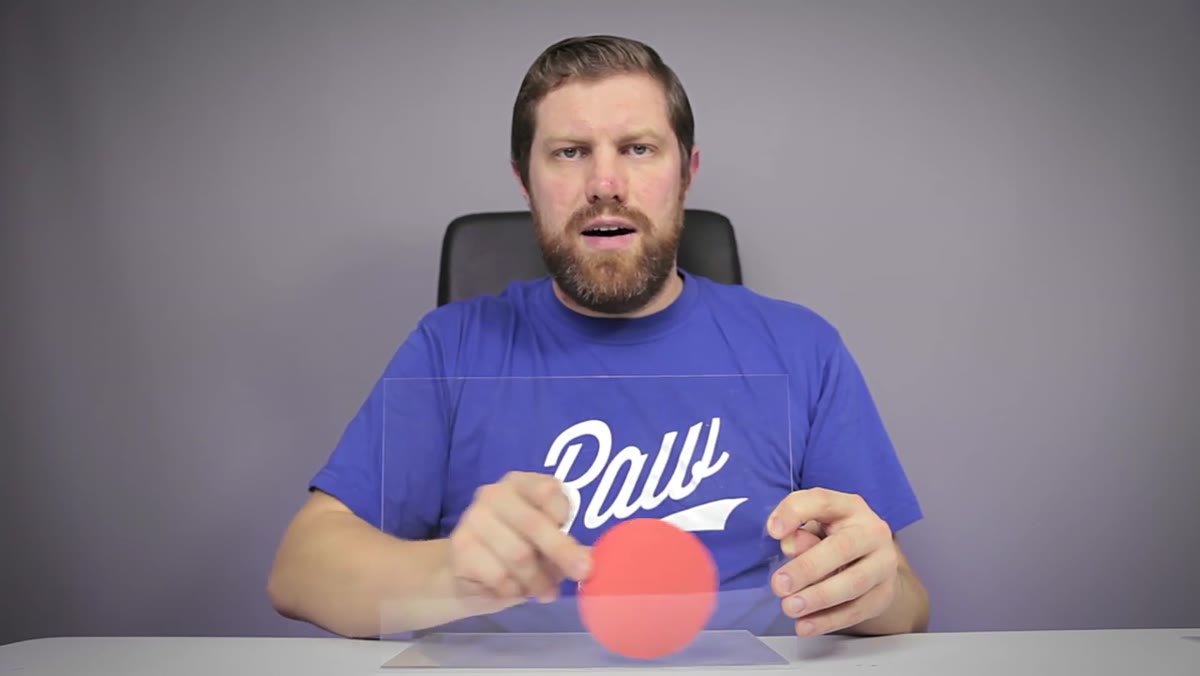 Red circle being repositioned freely on its own layer
Select the Move tool (keyboard shortcut: V, and yes, I will always mention the shortcut). Click on the layer you want to reposition in the Layers panel, then drag the content around on the canvas. Because each element lives on its own layer, you can nudge the red circle to the top left without disturbing the star or the square at all.
This is the payoff for all that layer setup work. When a client asks you to move a logo three pixels to the right, you select that layer, tap the arrow key three times, done. No repainting, no guessing, no undos. Just clean, isolated control over every piece of your design.
Step 7: View the Final Composite with All Layers Visible
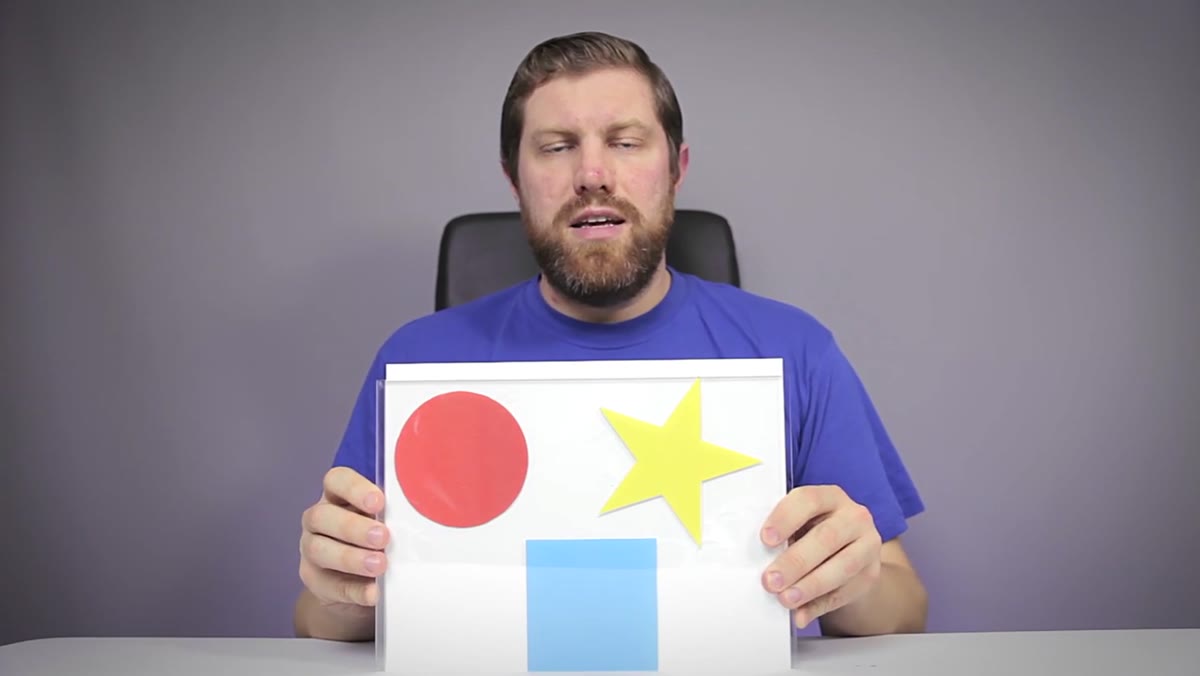 All layers visible showing the complete image with all shapes
Turn all your hidden layers back on by clicking each eye icon, and you’ll see the finished image with every element in place. Adam’s example is intentionally simple, three shapes on a white background, but the structure is identical to what you’d use for a multi-element photo composite or a full design layout.
The Layers panel becomes a kind of table of contents for your image. You can read through it, understand what’s where, and jump to any element in seconds.
What I’d Add: Name Your Layers Before You Forget
Photoshop’s default layer names, Layer 1, Layer 2, Layer 3, become completely meaningless the moment you have more than five of them. The fix takes two seconds: double-click the layer name in the panel and type something descriptive. “Client Logo,” “Shadow,” “Background Texture.” Done.
I learned this the messy way after handing a PSD file to a collaborator and getting a very polite but pointed email asking which of the twelve “Layer copy” layers contained the actual headline. Now I rename everything as I go. It’s the kind of habit that feels unnecessary until suddenly it isn’t.
The single most important thing to take from Adam’s tutorial is the transparent sheet analogy. Once that clicks, everything else in Photoshop, masks, blending modes, adjustment layers, starts to make structural sense. Layers aren’t a feature. They’re the architecture of how Photoshop works. Build on that foundation first and everything else gets easier.
Watch the full tutorial on YouTube to see Adam walk through the whole thing, including the physical demonstration that honestly made the concept clearer than any on-screen explanation I’ve seen.
Comments (2)
The tip about photoshop layers explained the was the missing piece for me. Thank you.
Couldn't agree more. I've seen this make a huge difference in retouching work specifically.
Leave a Comment