There’s a specific kind of freelance misery that comes from a client sending you a product photo at 11pm with “can you just clean up the logo on the shirt and make the sky look less depressing?” Like, sure, no problem. I’ll just fire up my selection tools, wrestle with Generative Fill, make a sky that looks vaguely cinematic, and call it a Tuesday. That workflow has been fine. Fine. But fine is not a word I use to describe my coffee, my shortcuts, or ideally my tools.
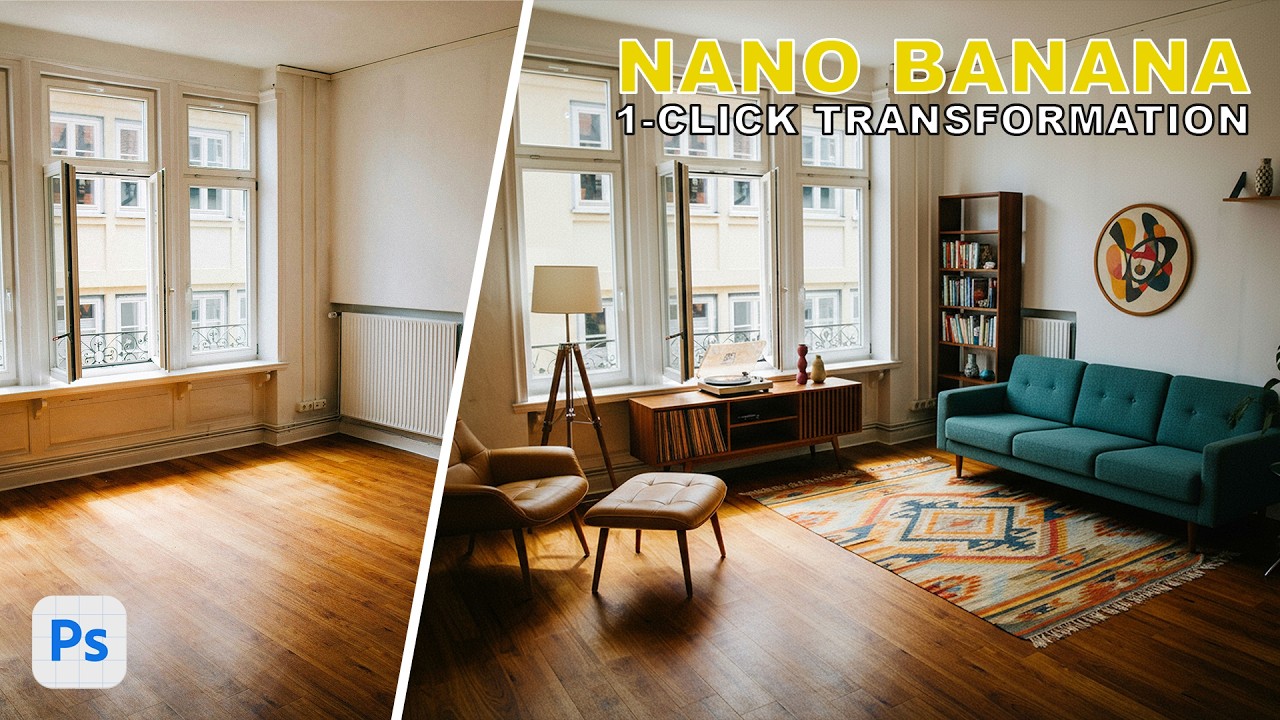
So when Aaron Nace over at PHLEARN dropped a tutorial this week showing that Photoshop Beta now has access to not one but multiple AI image models – including Google’s Gemini 2.5 Nano Banana and Flux Kontext Pro – I watched the whole thing immediately and then immediately watched it again. This is, without any exaggeration, the biggest shift in how Generative Fill works since the feature launched. Watch the full tutorial on YouTube if you want to follow along directly with Aaron, but I’m going to break down the exact steps here so you can hit the ground running.
The short version: instead of writing robotic AI prompts (“clouds, blue sky, dramatic, photorealistic”), you can now talk to Photoshop like you’re texting a retoucher. Multiple edits in one prompt. Conversational language. And depending on which model you pick, results that are either creatively stylized or tightly literal. That distinction matters a lot in practice, which I’ll get into.
Step 1: Download the Photoshop Beta and Update to the Latest Version
 Photoshop Beta download prompt in Creative Cloud app
This only works in Photoshop Beta, not the main release. Open Creative Cloud, find Photoshop Beta in your apps list, and make sure you’ve got the absolute latest version installed. The new model options won’t appear in an outdated Beta build. If you haven’t touched Beta in a while, assume it needs an update before you do anything else. Worth the two minutes.
Photoshop Beta download prompt in Creative Cloud app
This only works in Photoshop Beta, not the main release. Open Creative Cloud, find Photoshop Beta in your apps list, and make sure you’ve got the absolute latest version installed. The new model options won’t appear in an outdated Beta build. If you haven’t touched Beta in a while, assume it needs an update before you do anything else. Worth the two minutes.
Step 2: Open Your Image and Select the Entire Canvas
 Full image selected with marching ants around entire canvas
Here’s where the workflow breaks from what you might expect. Your instinct is probably to make a precise selection around whatever you want to change – lasso the sky, select the logo, etc. Forget that reflex for now. Aaron’s advice, straight from a call with Adobe’s own team, is that these new models actually perform better with larger selections. So hit Cmd+A (Mac) or Ctrl+A (Windows) to select the entire image. No masks, no careful marquees. Just select everything and let the model figure out context from the whole frame.
Full image selected with marching ants around entire canvas
Here’s where the workflow breaks from what you might expect. Your instinct is probably to make a precise selection around whatever you want to change – lasso the sky, select the logo, etc. Forget that reflex for now. Aaron’s advice, straight from a call with Adobe’s own team, is that these new models actually perform better with larger selections. So hit Cmd+A (Mac) or Ctrl+A (Windows) to select the entire image. No masks, no careful marquees. Just select everything and let the model figure out context from the whole frame.
This feels wrong the first time you do it. Do it anyway.
Step 3: Open Generative Fill from the Contextual Taskbar
 Contextual taskbar showing Generative Fill button below selected image
With your full-canvas selection active, the contextual taskbar at the bottom of your workspace should show a “Generative Fill” button. Click it. This opens the familiar prompt field – but now there’s a model selector sitting right there next to it, which is the new piece of the puzzle. Don’t type anything yet. We’re picking our model first.
Contextual taskbar showing Generative Fill button below selected image
With your full-canvas selection active, the contextual taskbar at the bottom of your workspace should show a “Generative Fill” button. Click it. This opens the familiar prompt field – but now there’s a model selector sitting right there next to it, which is the new piece of the puzzle. Don’t type anything yet. We’re picking our model first.
Step 4: Choose Your AI Model – Gemini 2.5 or Flux Kontext Pro
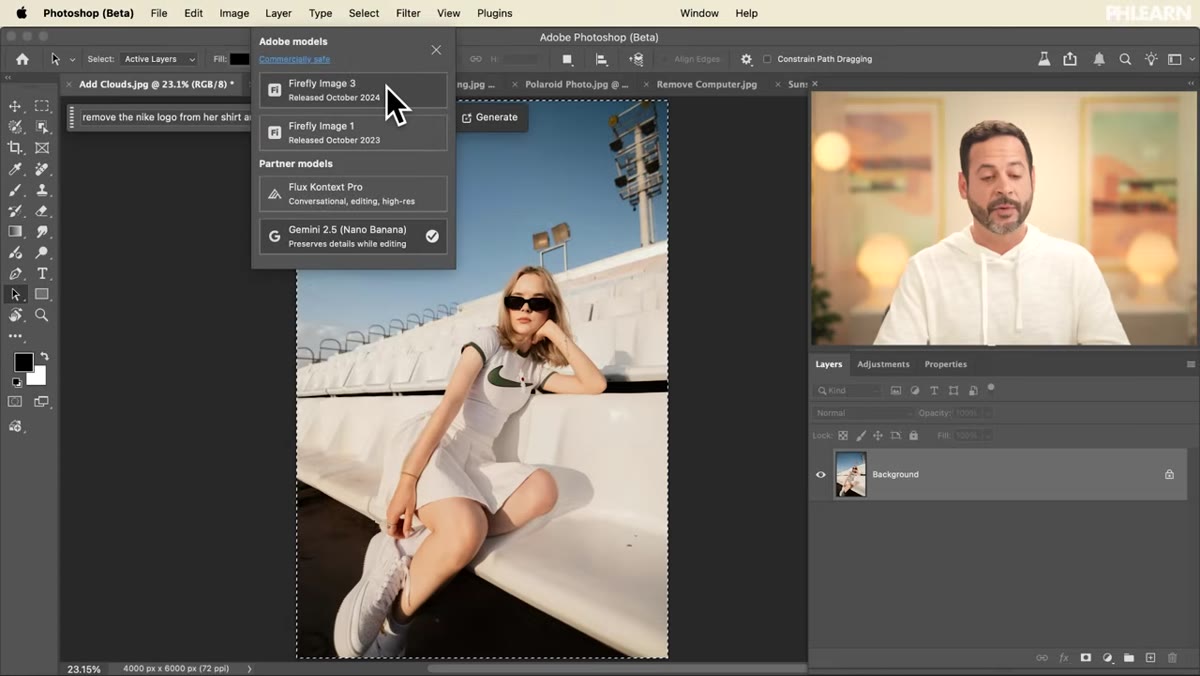 Model selector dropdown showing Firefly, Flux Kontext Pro, and Gemini 2.5 options
This dropdown is the whole reason this tutorial exists. You now have options beyond Adobe Firefly Image 3: Flux Kontext Pro and Google’s Gemini 2.5 Nano Banana are both available. Here’s the practical difference as Aaron lays it out.
Model selector dropdown showing Firefly, Flux Kontext Pro, and Gemini 2.5 options
This dropdown is the whole reason this tutorial exists. You now have options beyond Adobe Firefly Image 3: Flux Kontext Pro and Google’s Gemini 2.5 Nano Banana are both available. Here’s the practical difference as Aaron lays it out.
Flux Kontext Pro is built for conversational, high-fidelity editing. It sticks close to your original image and treats your prompt like precise instructions. Think surgical. Gemini 2.5 is a bit more interpretive – it can hallucinate details, lean into stylization, and sometimes give you something more interesting than what you asked for, for better or worse. Aaron’s personal preference for most retouching work is Gemini 2.5 because the results are strong the majority of the time, but Flux is worth knowing when you need the output to stay tight to the source material.
For the example in the tutorial, he’s going with Gemini 2.5.
Step 5: Write a Conversational Multi-Edit Prompt
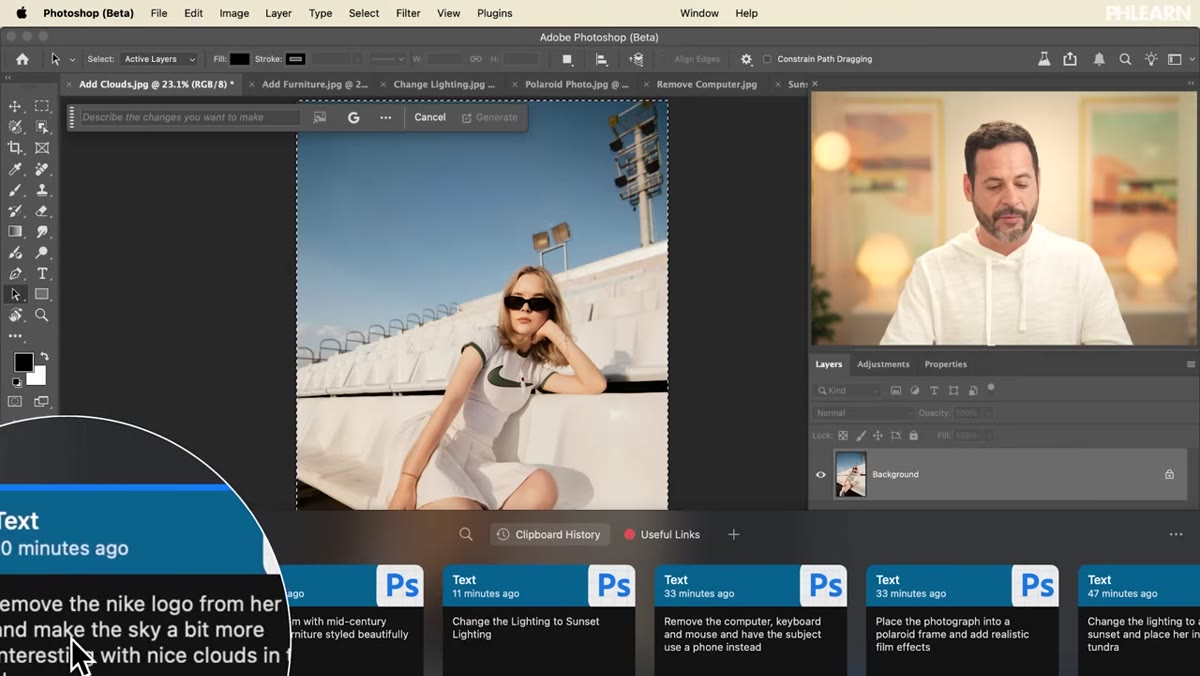 Prompt field showing natural language instruction for multiple edits
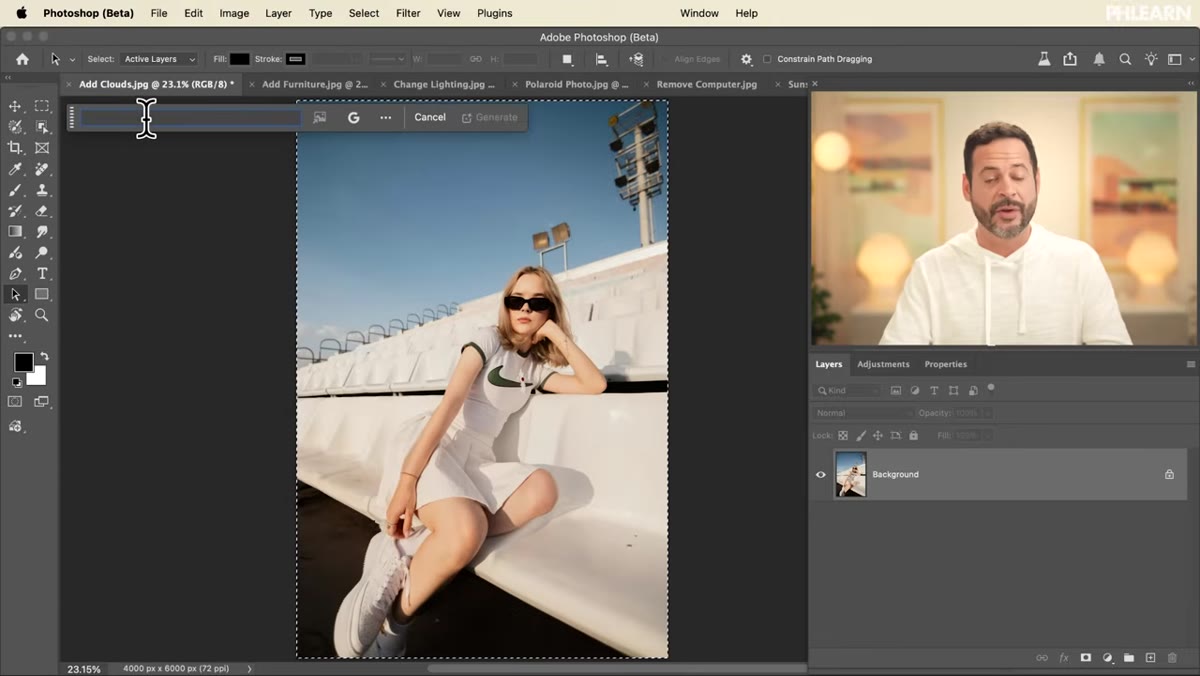
This is genuinely new behavior. Instead of a single-task prompt, you can write something like: “Remove the logo from her shirt and make the sky more interesting with some nice clouds.” Two separate edits, one prompt, plain English. No special syntax. No keyword stuffing. You’re not talking to a search engine, you’re talking to something that understands editing context.
Prompt field showing natural language instruction for multiple edits
This is genuinely new behavior. Instead of a single-task prompt, you can write something like: “Remove the logo from her shirt and make the sky more interesting with some nice clouds.” Two separate edits, one prompt, plain English. No special syntax. No keyword stuffing. You’re not talking to a search engine, you’re talking to something that understands editing context.
Paste or type your prompt into the Generative Fill field and then generate. Each generation uses one generative credit from your Adobe plan, so it’s not infinite, but it’s not going to drain your account in an afternoon of testing either.
Step 6: Evaluate the Output and Cycle Through Variations
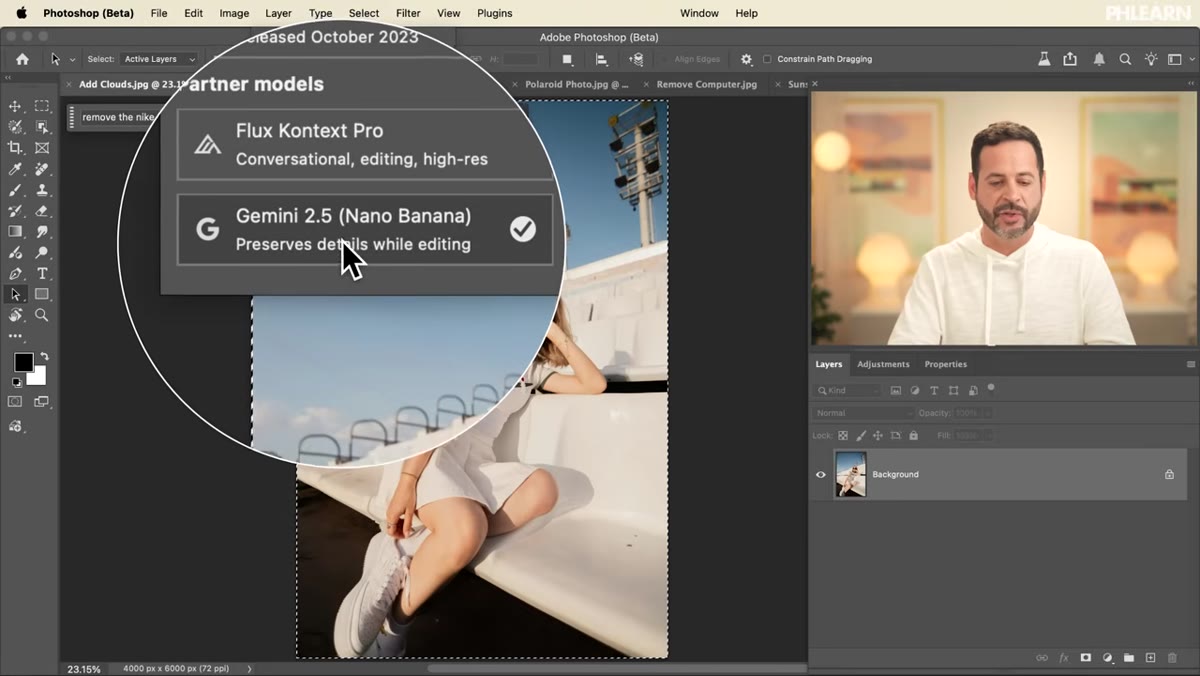 Properties panel showing multiple generated variation thumbnails
Photoshop generates a few variations and drops them into a Generative Layer in the layers panel, same as before. Flip through them in the Properties panel. With Gemini 2.5 you may notice the results are more creative and occasionally more chaotic – a sky that’s a bit more dramatic than you intended, or a logo removal that introduces some texture variation. With Flux, results tend to stay closer to what the original photo looked like.
Properties panel showing multiple generated variation thumbnails
Photoshop generates a few variations and drops them into a Generative Layer in the layers panel, same as before. Flip through them in the Properties panel. With Gemini 2.5 you may notice the results are more creative and occasionally more chaotic – a sky that’s a bit more dramatic than you intended, or a logo removal that introduces some texture variation. With Flux, results tend to stay closer to what the original photo looked like.
Aaron is upfront that neither model is perfect every time. That’s not a knock on the technology, it’s just reality. Run it a few times if the first result isn’t working. The variation-to-variation range can be pretty wide, and sometimes the third result is the one that actually works.
My Take: The Prompt Discipline Thing Is Real
I’ve spent enough time yelling at Generative Fill to know that how you phrase things matters enormously. What’s different here is that these new models seem to reward clarity over keywords. When I tested this after watching Aaron’s tutorial, the prompts that worked best were written the way I’d describe a task to a junior designer: specific, sequential, and in plain language. “Remove the text on the hat, then add some mist in the lower third of the background” outperformed anything resembling my old Firefly prompt habits.
The flip side: because Gemini 2.5 is more interpretive, it occasionally gets creative in directions you didn’t ask for. I had a result where it decided to update the subject’s hair while fixing the sky, which was not in the brief. Keep an eye on the full image, not just the area you were targeting.
The single most useful shift in this whole update is the move away from selection-based, single-task prompting toward describing an edit the way you’d explain it to another person. That conceptual jump – from “tool syntax” to “editor conversation” – is where most of the real productivity gain lives here. The models are good, but the interface philosophy change is what actually matters long-term.
Download Photoshop Beta, update it, and spend 20 minutes with this before you decide how you feel about it. Then watch Aaron’s full tutorial on YouTube for more examples, including the cases where things go sideways and why that’s still useful information.
Comments
Leave a Comment