There’s a version of me from three years ago who would have laughed at the idea of doing real Photoshop work on a phone. That guy was also doing all his retouching on a cracked laptop screen in a coffee shop, so maybe he shouldn’t have been so smug. The point is: Photoshop on iPhone is here now, and after working through this tutorial, I’m genuinely impressed by how much it gets right. In this Aaron Nace (PHLEARN) tutorial, Watch the full tutorial on YouTube, Aaron walks through a fast, practical workflow for enhancing a photo directly on an iPhone. No desktop. No stylus. Just your finger and some seriously smart AI doing heavy lifting in the background.
The specific problem this solves for me is the “I’ll fix it later” lie I tell myself on shoots. You know the one. There’s a pole in the background. A piece of trash on the ground. Some tourist who wandered into frame at the exact wrong moment. I take the shot anyway, tell myself I’ll deal with it in post, and then “later” becomes a week later and somehow it never gets done. Having a capable remove tool in my pocket means I can deal with that stuff the same day, sometimes before I’ve even left the location. That’s a workflow change worth paying attention to.
Aaron keeps the tutorial tight and practical, which is very much his style. No fluff, no ten-minute intro. Let’s break down exactly what he does, step by step.
Step 1: Open Your Photo in Photoshop for iPhone
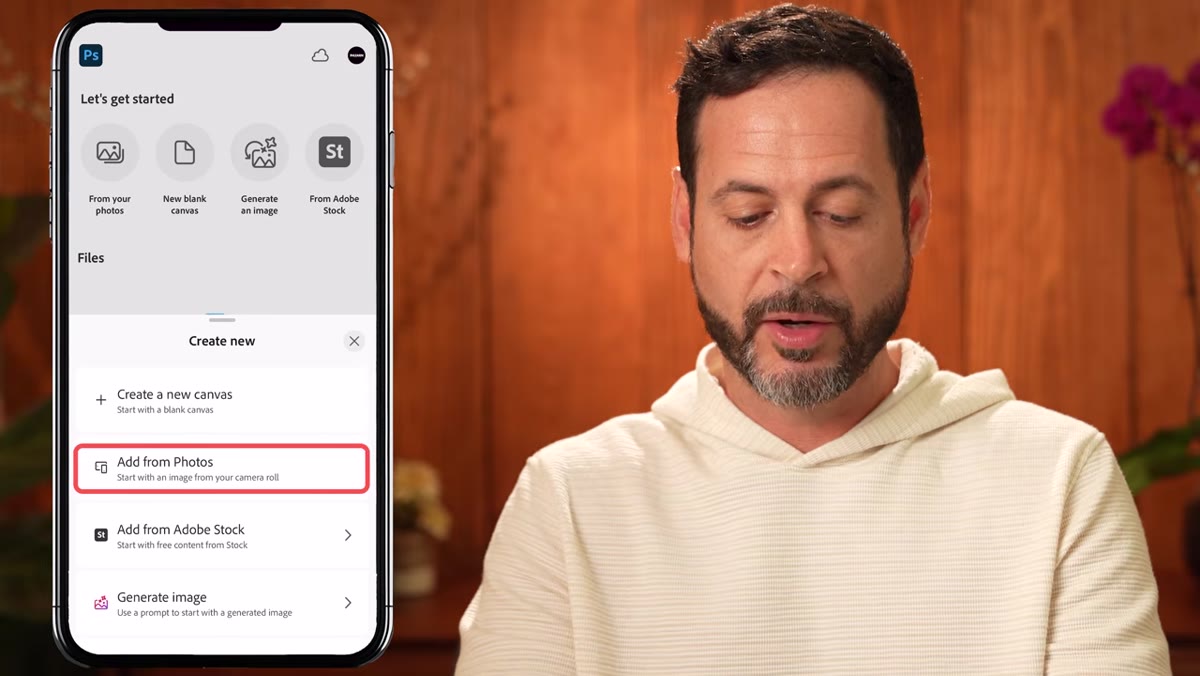 Adding a photo from camera roll using the plus icon
Tap the plus icon in the bottom-right corner of the home screen and select “Add from Photos.” Pick your image from the camera roll. When the photo loads, Photoshop will surface a few quick-action suggestions, things like background removal or black-and-white conversion. Skip all of that for now and head straight into the main editor. Those presets are fine for quick social posts, but if you’re doing any real editing, you want full control from the start.
Step 2: Add a New Layer Before Retouching
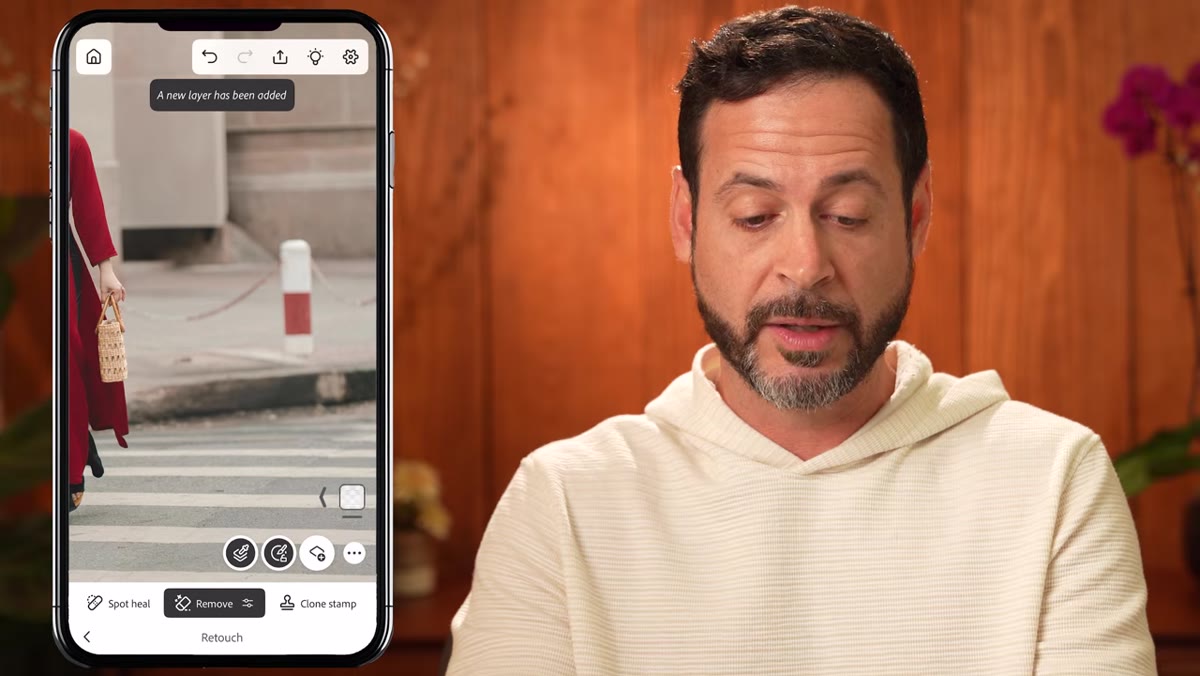 Creating a new layer above the background layer
This is the step most people skip on mobile because it feels fiddly, and it’s also the step that saves you later. Before touching the Remove tool, tap the new layer icon to create a blank layer above your image. Then make sure the “sample all layers” option is enabled. This little checkbox means your Remove tool will pull pixel information from the layers below, so it’s working with the actual image data even though you’re painting on an empty layer. The payoff is that you can toggle that retouch layer on and off at any time, or throw it away completely without touching your original. Non-destructive editing on a phone. Wild.
Step 3: Pinch to Zoom Into the Problem Area
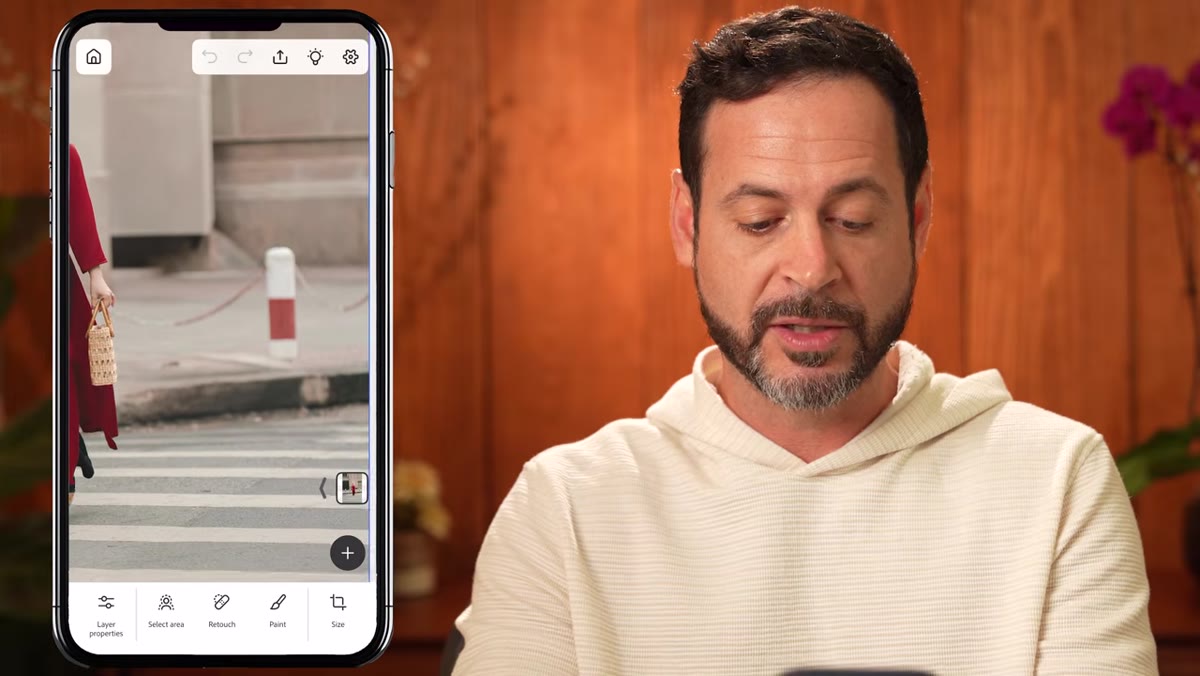 Pinching to zoom into a section of the photo
Use two fingers to pinch and zoom into the area you want to clean up. This sounds basic but it matters: trying to paint over a thin pole or a small distraction at full zoom is a recipe for sloppy results. Get close enough that the object you want to remove takes up a meaningful portion of your screen. You’ll have much better control over where you’re painting, and the Remove tool will have a cleaner selection area to work with.
Step 4: Use the Remove Tool to Paint Out Distractions
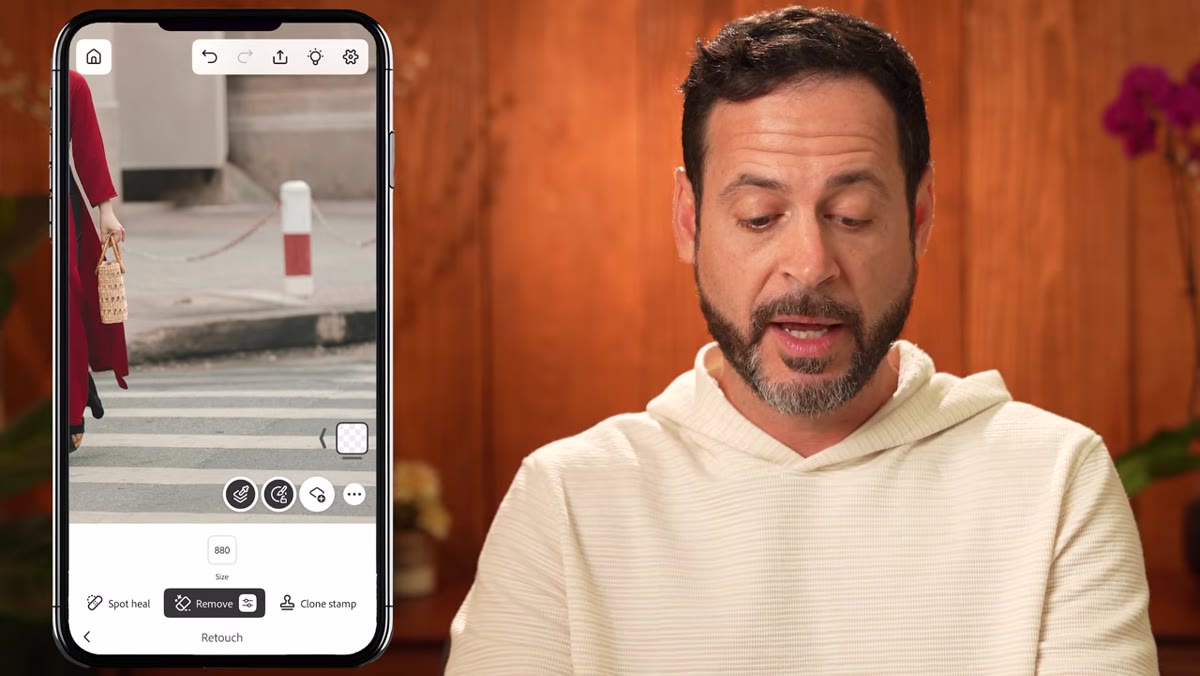 Painting over background poles with the Remove tool
Navigate to the Retouch section at the bottom of the editor and select the Remove tool. Tap the tool icon again to bring up the brush size slider, and adjust it so the brush is roughly the same width as the object you want to remove. Don’t go massive here. A brush that’s way too big introduces unnecessary context and can confuse the AI fill. Paint over the distraction in a single stroke if you can, then lift your finger. Photoshop processes the selection and fills the area using the same generative AI technology that’s in the desktop version. If the result looks off, hit undo immediately and try again with a slightly different stroke. Sometimes painting in a different direction or breaking the object into two separate passes gives you a cleaner result.
Step 5: Pan Around to Clean Up the Rest of the Frame
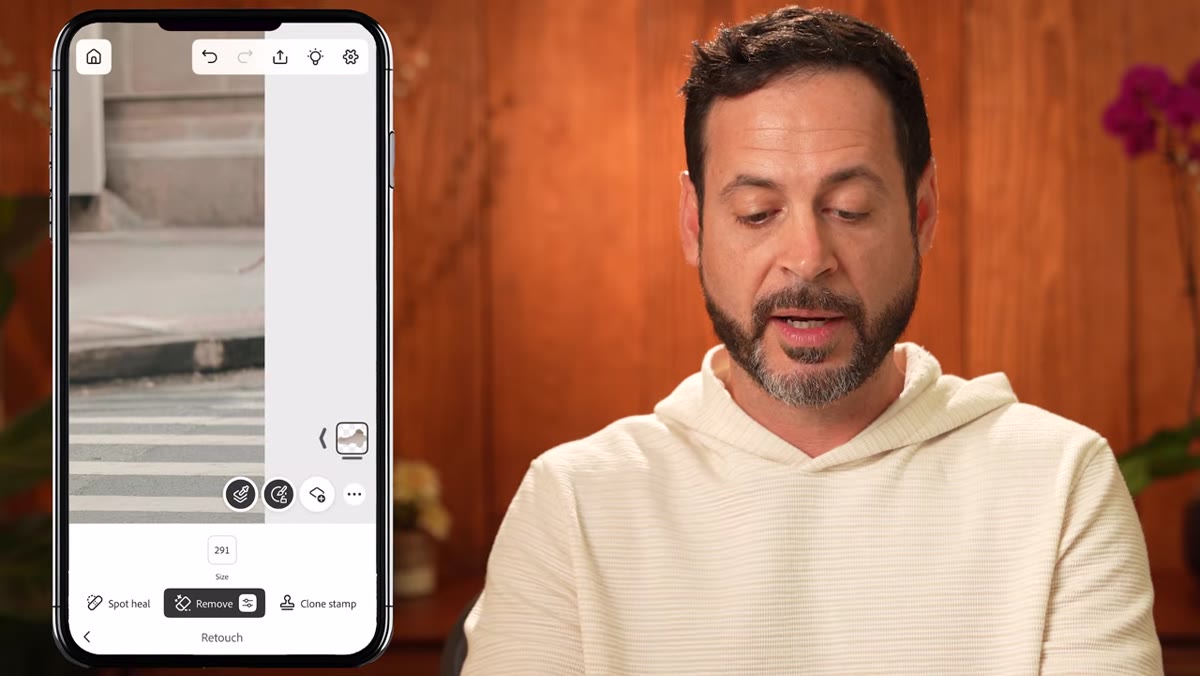 Using two fingers to drag and reposition the zoomed image
Use two fingers to drag the image around the screen without losing your zoom level. This lets you work across the full frame without having to pinch in and out every time you move to a new area. Aaron does this naturally in the tutorial and it’s one of those things that makes the whole mobile workflow feel much less awkward once you get the hang of it. Work your way around the frame, removing anything that pulls attention away from your subject. The process is the same each time: paint, lift, review, undo if needed.
Step 6: Resize the Canvas Using the Size Presets
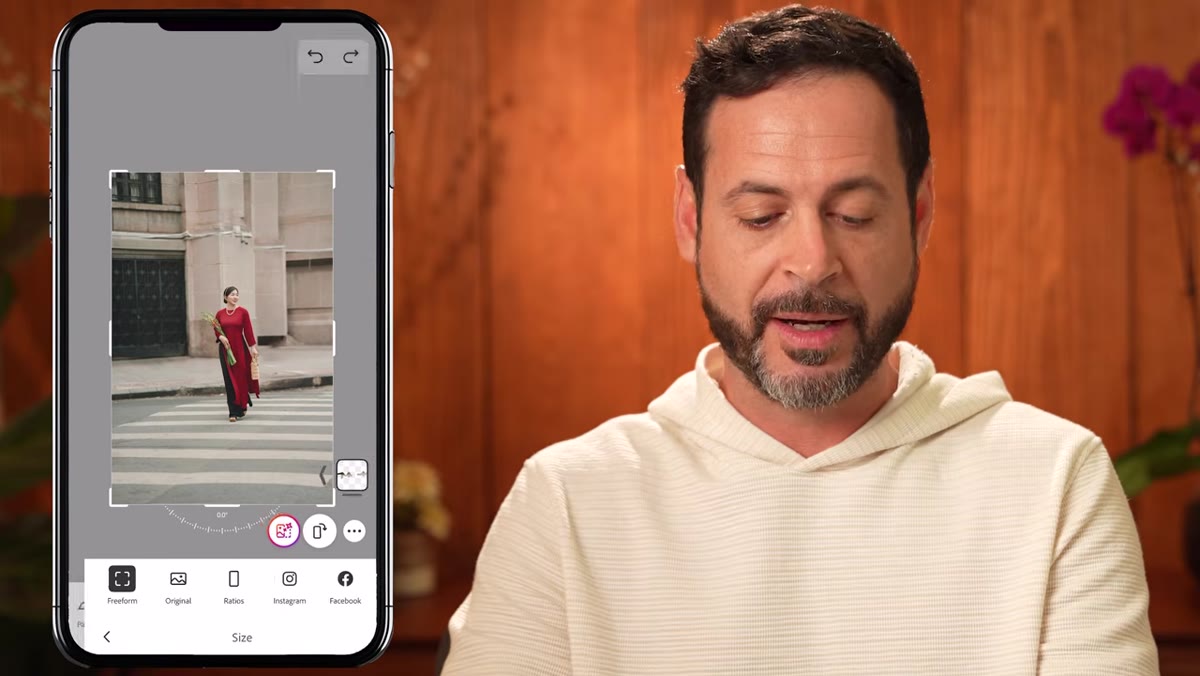 Tapping the size option to expand the canvas width
Once the retouching is done, tap the back button and head to the Size option in the bottom-right of the editor. Photoshop gives you a set of preset dimensions based on common platforms, which is useful if you’re editing specifically for Instagram or a story format. Aaron uses this to make his image wider, dragging the canvas out horizontally. This is a quick way to reframe a shot for a different aspect ratio without cropping into your subject. Just be aware that expanding the canvas beyond the original image boundaries will require some fill in the new areas, so plan accordingly if you go too wide.
One Thing I’d Do Differently
The Remove tool’s AI fill is impressive, but it works best when the surrounding area has consistent, readable texture. Skies, grass, solid walls? Great. Complex backgrounds with lots of overlapping detail? It starts to struggle, and you’ll end up undoing and re-painting more than you’d like. My workaround on shots like that is to work in smaller sections, painting over just a slice of the problem area at a time rather than the whole thing in one stroke. It’s slower, but you get more predictable results. Also, if you’re doing a lot of remove work, zoom way in and check your edges before you call it done. The AI can leave soft halos around fills that look fine at full view and obvious at 100%.
The single most important thing this tutorial taught me is that mobile Photoshop is no longer a compromise tool for emergencies only. The Remove tool alone, with AI generative fill behind it and non-destructive layer support underneath, is genuinely usable for professional work. Is it going to replace a desktop session for complex compositing? No. But for fast cleanup on a photo you actually want to use? It handles it.
Watch the full tutorial on YouTube and see Aaron’s workflow in real time. It moves fast, which means watching it once before you try it yourself is worth the 10 minutes.
Comments (2)
Shared this with my photography group. Everyone loved it.
Great article! I actually covered something related on my site — the gear angle is really complementary to this.
Leave a Comment