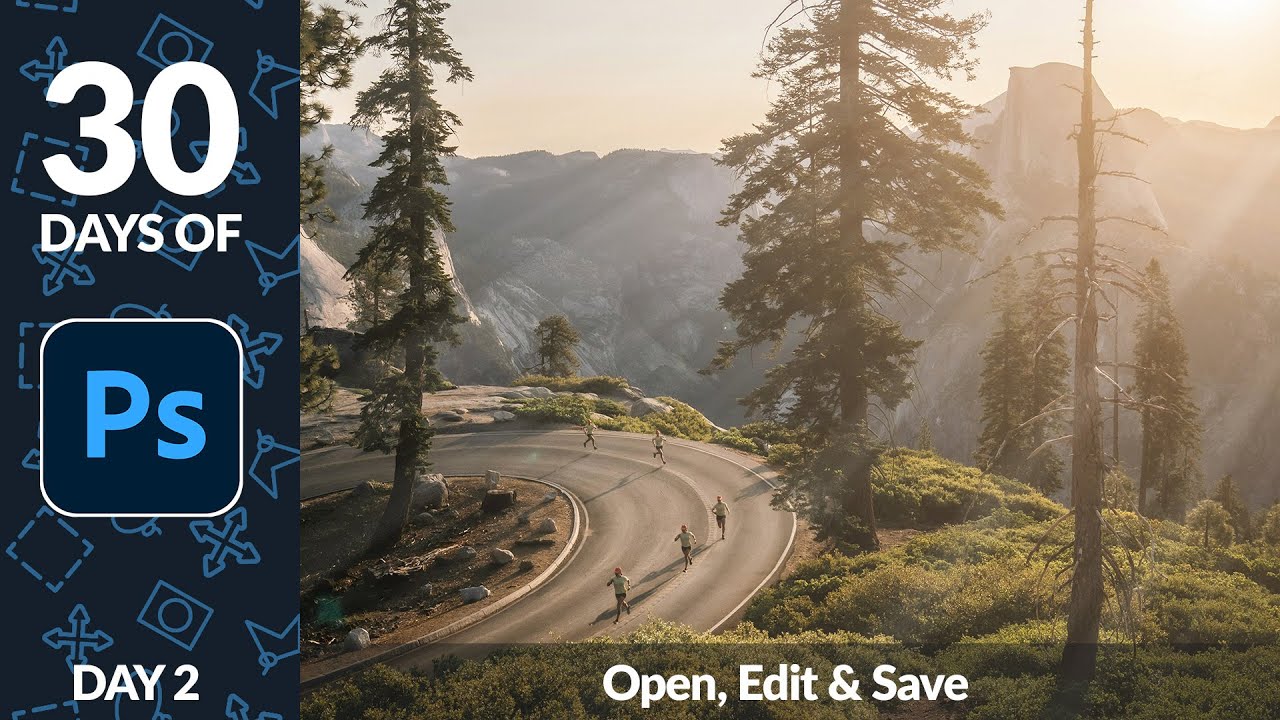
There’s a particular kind of embarrassment that comes from being a working designer and realizing you’ve been opening files the slow way for years. Not wrong, just slow. Inefficient in that quiet, compounding way that costs you ten seconds here, thirty seconds there, until one day you’re watching someone else work and they pull off three steps in the time it took you to reach for your mouse. That was me, earlier in my career, and honestly it still catches me off guard when I stumble onto a faster method.
In this Aaron Nace (PHLEARN) tutorial, part of his 30 Days of Photoshop series, the focus is on what sounds almost embarrassingly simple: opening files, doing some editing, and saving your work. But here’s the thing. The fundamentals are where most people leave money on the table. If you’re sloppy about how you open and save files, you will eventually destroy something important. I know this from personal experience. I won’t get into it. Just trust me. Watch the full tutorial on YouTube and then come back here for the expanded walkthrough.
The tutorial also covers adding light rays to a photograph using gradients and layers, which is a genuinely useful creative technique wrapped inside what could have been a dry file-management lesson. Aaron is smart to do that. Nobody wants to watch ten minutes about Save As dialogs without a payoff.
Step 1: Open a File Using the Method That Actually Fits Your Workflow
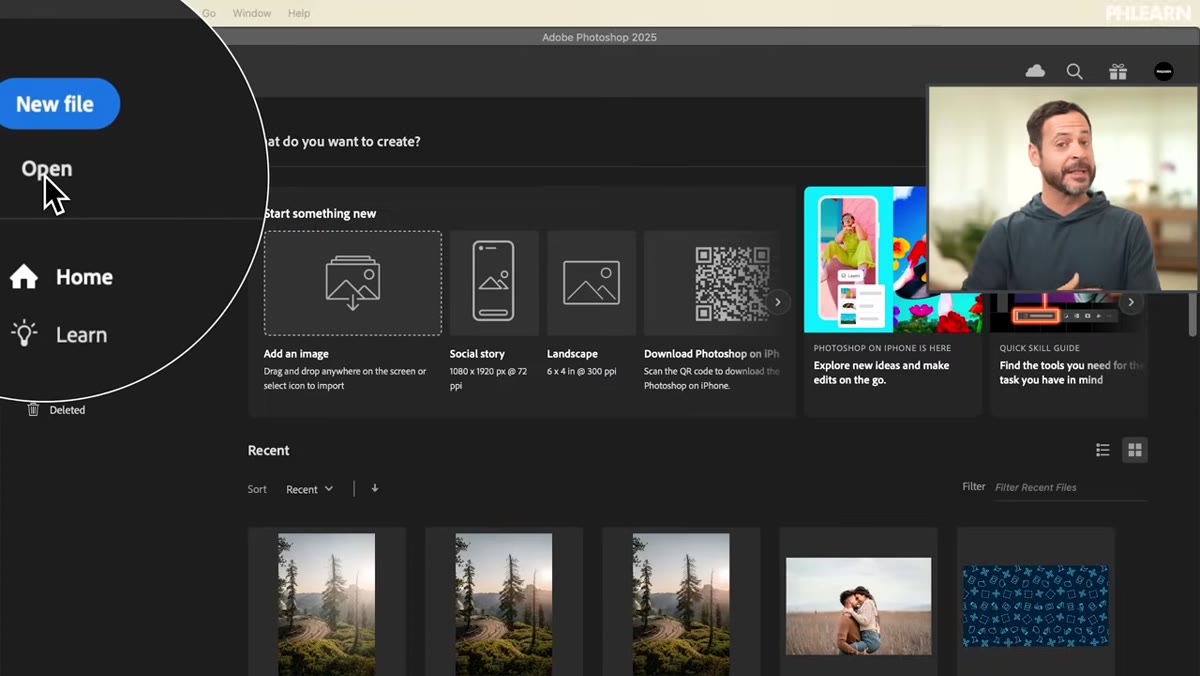 Photoshop splash screen with Open button highlighted top left
Most people click File, then Open, every single time. It works. It’s also the longest route. Photoshop gives you at least four ways to open a document and knowing all of them means you pick the right one for the moment. From the splash screen, you can click the Open button in the top left corner, which launches your system’s file browser. You can also hit Command+O (Mac) or Control+O (Windows) from anywhere in the application, which does the same thing without making you reach for the menu bar.
Photoshop splash screen with Open button highlighted top left
Most people click File, then Open, every single time. It works. It’s also the longest route. Photoshop gives you at least four ways to open a document and knowing all of them means you pick the right one for the moment. From the splash screen, you can click the Open button in the top left corner, which launches your system’s file browser. You can also hit Command+O (Mac) or Control+O (Windows) from anywhere in the application, which does the same thing without making you reach for the menu bar.
The two drag-and-drop methods are where it gets interesting. If you drag an image file from Finder or Explorer directly onto an existing open document in Photoshop, it drops in as a new layer, complete with transform handles so you can resize it before committing. If you drag it up to the tab bar at the top of the workspace instead, Photoshop opens it as a brand new document in its own tab. Same action, different drop zone, completely different result. That distinction tripped me up for longer than I’d like to admit.
Step 2: Navigate Between Open Documents Using Tabs and the Window Menu
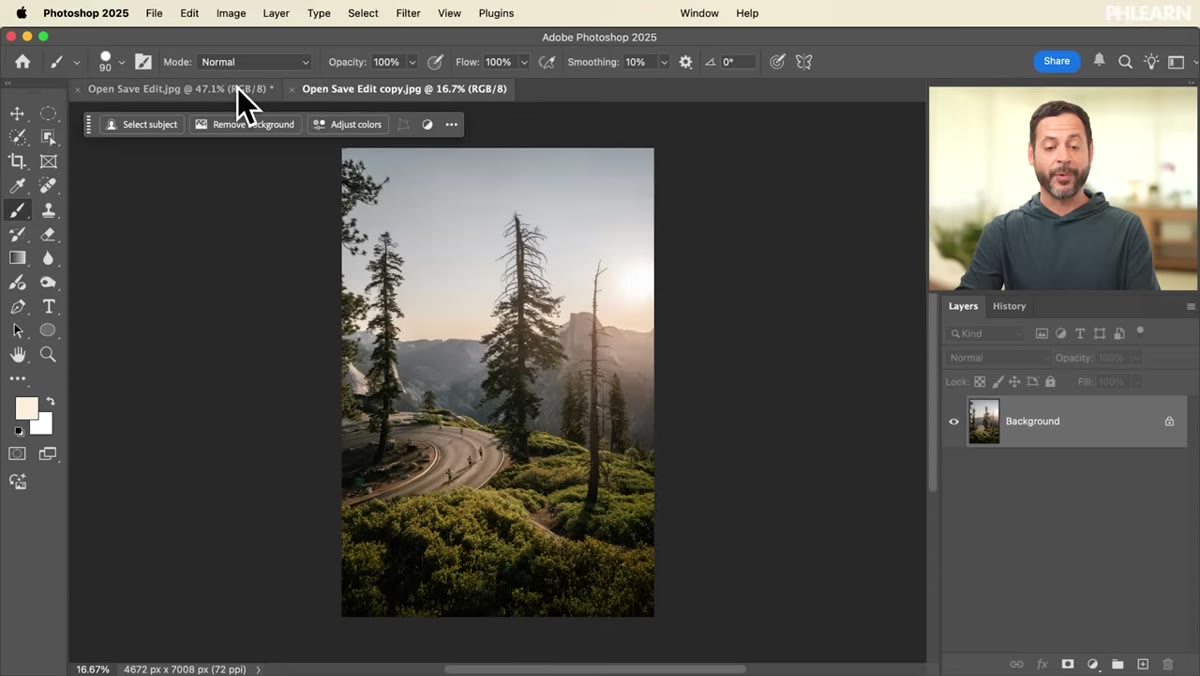 Multiple document tabs visible at top of Photoshop workspace
Once you have more than one file open, Photoshop lines them up as tabs across the top of the workspace. You can click between them freely, which is obvious enough. Less obvious is that the Window menu gives you a full list of every open document. If your tabs get crowded or you’re working on a small screen, that menu is a cleaner way to jump around without hunting for a tab that’s been squished to unreadability.
Multiple document tabs visible at top of Photoshop workspace
Once you have more than one file open, Photoshop lines them up as tabs across the top of the workspace. You can click between them freely, which is obvious enough. Less obvious is that the Window menu gives you a full list of every open document. If your tabs get crowded or you’re working on a small screen, that menu is a cleaner way to jump around without hunting for a tab that’s been squished to unreadability.
To close a document without saving, hit Command+W or Control+W. Photoshop will ask if you want to save if there are unsaved changes. If you close out and then open Photoshop fresh, your recent documents show up on the home screen. One click and you’re back in. The recent files list is underrated as a speed tool, especially if you’re bouncing between the same handful of projects across a workday.
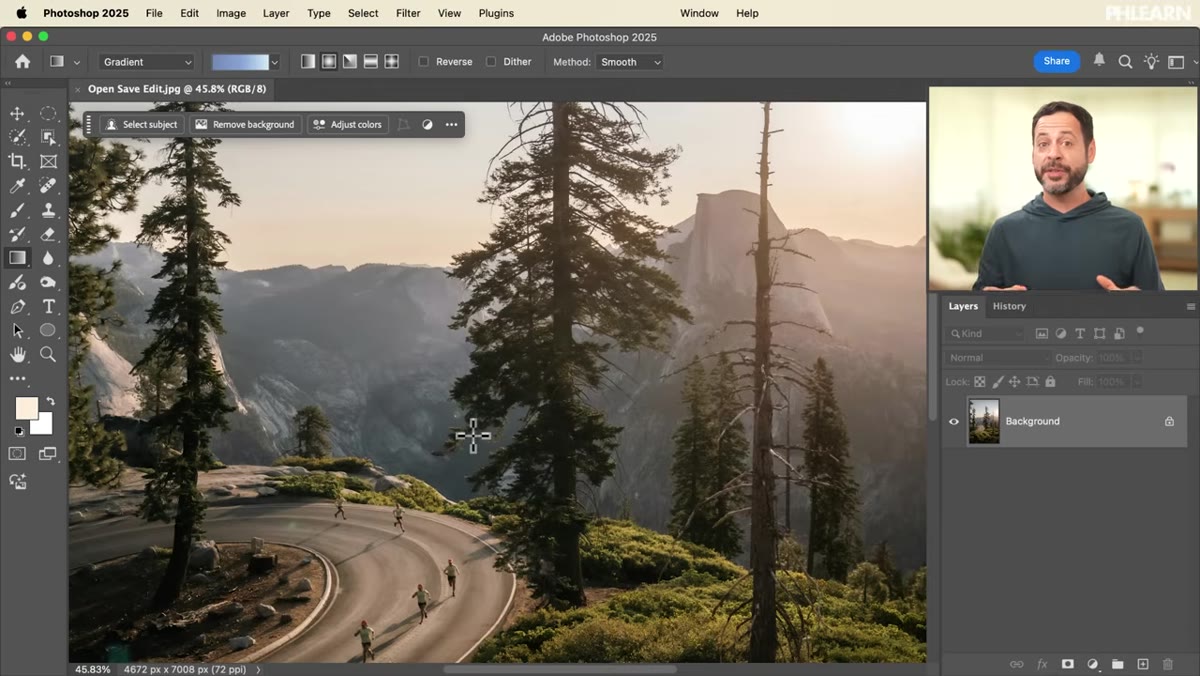
Step 3: Select the Gradient Tool and Open the Gradient Editor
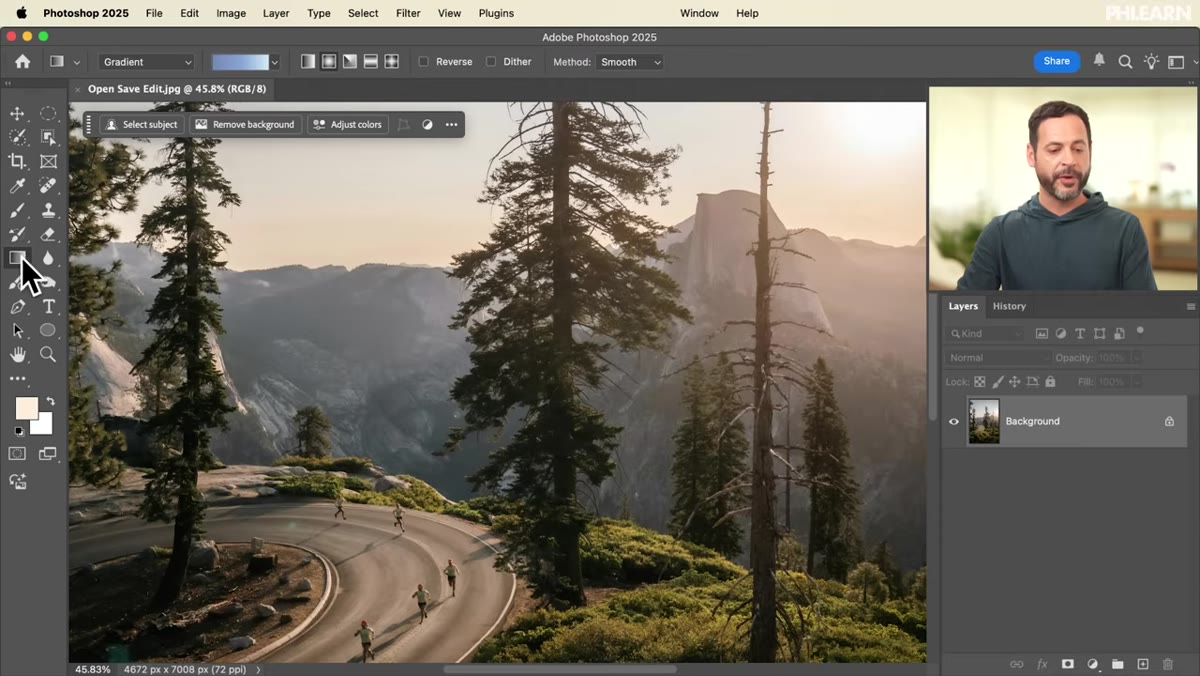 Gradient tool selected in toolbar, gradient editor open at top of screen
With the file open, the editing portion of the tutorial kicks off with adding a gradient to enhance a sun effect in the photograph. Select the Gradient tool from the left-hand toolbar, or just press G. Up in the options bar at the top of the screen, you’ll see a gradient preview strip. Click on it to open the Gradient Editor, not the dropdown arrow next to it, but the strip itself.
Gradient tool selected in toolbar, gradient editor open at top of screen
With the file open, the editing portion of the tutorial kicks off with adding a gradient to enhance a sun effect in the photograph. Select the Gradient tool from the left-hand toolbar, or just press G. Up in the options bar at the top of the screen, you’ll see a gradient preview strip. Click on it to open the Gradient Editor, not the dropdown arrow next to it, but the strip itself.
The Gradient Editor is one of those panels that looks more intimidating than it is. It shows you a list of gradient presets and a visual editor at the bottom where you can manipulate color stops and opacity stops. For this technique, the goal is to build a gradient that mimics the warm, blown-out quality of direct sunlight, so the colors and transparency values matter a lot. Aaron walks through the specific settings in the video, and it’s worth watching that section closely because gradient behavior changes significantly depending on whether you’re in linear, radial, or angle mode.
Step 4: Apply the Gradient on a Separate Layer
 New layer being created above background in Layers panel
This is the step most beginners skip, and it’s the one that bites them later. Before applying the gradient, create a new layer to paint it onto. Never apply a gradient directly onto your background image if you want to preserve any flexibility. A dedicated layer means you can adjust opacity, change blend modes, or delete the whole thing without touching the original photograph underneath.
New layer being created above background in Layers panel
This is the step most beginners skip, and it’s the one that bites them later. Before applying the gradient, create a new layer to paint it onto. Never apply a gradient directly onto your background image if you want to preserve any flexibility. A dedicated layer means you can adjust opacity, change blend modes, or delete the whole thing without touching the original photograph underneath.
With your new layer selected in the Layers panel, draw the gradient across the image. The direction and length of your drag determine the angle and spread of the gradient. For a sun ray effect, starting from a bright corner or horizon point and dragging outward tends to give you a natural-looking result. Experiment with blend modes on that layer, specifically Screen or Soft Light, to see how the gradient interacts with the image below it rather than just sitting on top of it.
Step 5: Save in Two Formats - PSD for Layers, JPEG for Sharing
 Save dialog showing format options including PSD and JPEG
Here’s where a lot of people make a workflow mistake that costs them later. When you’re done editing, you need two saves, not one. First, save as a PSD (Photoshop Document) to preserve your layers. Go to File, Save As, and choose Photoshop from the format dropdown. This is your working file. Guard it.
Save dialog showing format options including PSD and JPEG
Here’s where a lot of people make a workflow mistake that costs them later. When you’re done editing, you need two saves, not one. First, save as a PSD (Photoshop Document) to preserve your layers. Go to File, Save As, and choose Photoshop from the format dropdown. This is your working file. Guard it.
Second, export a flattened JPEG for sharing, sending to clients, or uploading anywhere. Go to File, Export, Export As, and choose JPEG. You can set your quality level there. The JPEG collapses all your layers into a single image, which is smaller and universally compatible, but you lose the ability to go back and edit individual layers. The PSD is your source of truth. The JPEG is your delivery format. Keeping that mental distinction clear will save you a genuine headache someday.
A Note From Someone Who Learned the Hard Way
I spent a long stretch of my freelance career saving everything as a flattened file because I figured I’d “just remember” what I did. Reader, I did not remember what I did. A client came back six months after a project asking for a small tweak, and I had no layered file to work from. I rebuilt the whole thing from scratch. It took four hours for a twenty-minute job.
Saving a PSD alongside every export feels like extra admin until the one time it saves you completely. Make it automatic. Name your files consistently, keep the PSD, and export the JPEG or PNG as a separate deliverable. Future you will not send a thank-you note, but Future You will also not have a four-hour Tuesday.
The single most important idea in this whole tutorial is the two-save system. Everything else, the shortcuts, the drag-and-drop methods, the gradient technique, that’s all genuinely useful. But if you walk away only remembering to always save a layered PSD before you export anything flat, this tutorial has done its job. Watch the full tutorial on YouTube to see Aaron demonstrate all of this in real time, especially the gradient editor portion, which is much clearer in motion than in text.
Comments (4)
My workflow just got 10x faster. Not even kidding.
This is exactly what I needed today. Been struggling with this for weeks.
Finally someone explains this in a way that actually makes sense.
Couldn't agree more. I've seen this make a huge difference in photography work specifically.
Leave a Comment