If you shoot in anything resembling real-world conditions — low light, fast-moving subjects, indoor venues where flash is banned by someone wearing a lanyard — you know the specific dread of zooming into a shot and seeing that grain. Not film grain, which at least has a certain romantic quality. Digital noise. The gritty, color-splotchy kind that makes a microstock agency reject your photo faster than you can say “ISO 1600.”
I’ve lost more good shots to noise than I care to count. For a while my solution was “just don’t crop too tight and hope nobody notices,” which is not a solution. So when I found myself deep in a YouTube rabbit hole on a Tuesday afternoon at my usual coffee shop table, stumbling onto this Tony & Chelsea Northrup tutorial on noise reduction, I sat up a little straighter. Tony walks through three different approaches – Lightroom’s built-in tools, Photoshop’s native filter, and a dedicated plugin called Noise Ninja – comparing them directly on the same image. It’s the kind of side-by-side comparison that saves you from running your own three-hour experiment.
Here’s the full breakdown, written so you can follow along without watching first (though you should absolutely watch it after).
Step 1: Understand What You’re Actually Fighting
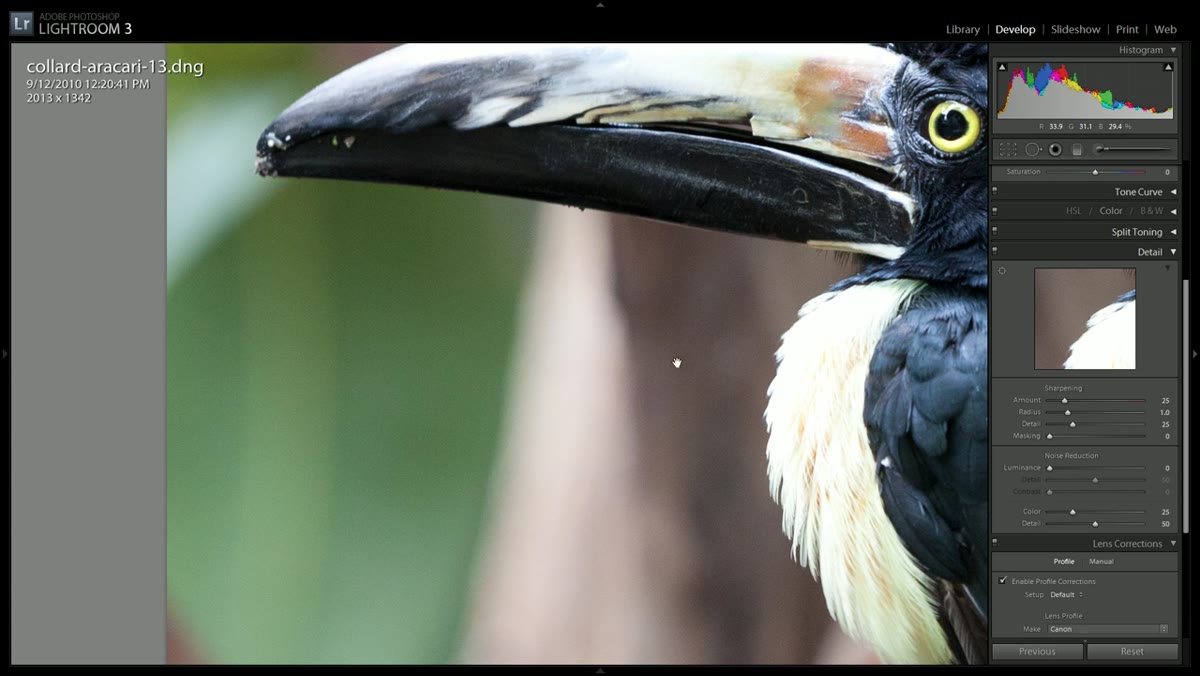 Zoomed-in crop showing heavy grain in background
Before you touch a slider, zoom in on your image and identify where the noise actually lives. Tony’s test image – a collared aracari shot at ISO 1600 on a Canon 5D Mark I – is a great case study because the noise isn’t uniform. The well-lit areas of the bird look fine. The background is a disaster. This distinction matters enormously for how you approach the fix.
Luminance noise shows up as brightness variation between pixels, that grainy texture. Color noise (sometimes called chroma noise) shows up as random colored specks, usually more obvious in darker areas. Your camera, your ISO setting, and even your sensor size all influence which type dominates. Full-frame sensors help, but cramming more megapixels into the same physical space means each pixel captures less light – which is exactly why a 21-megapixel full-frame can still get noisy at high ISOs.
Step 2: Use Lightroom’s Detail Panel for a Global Fix
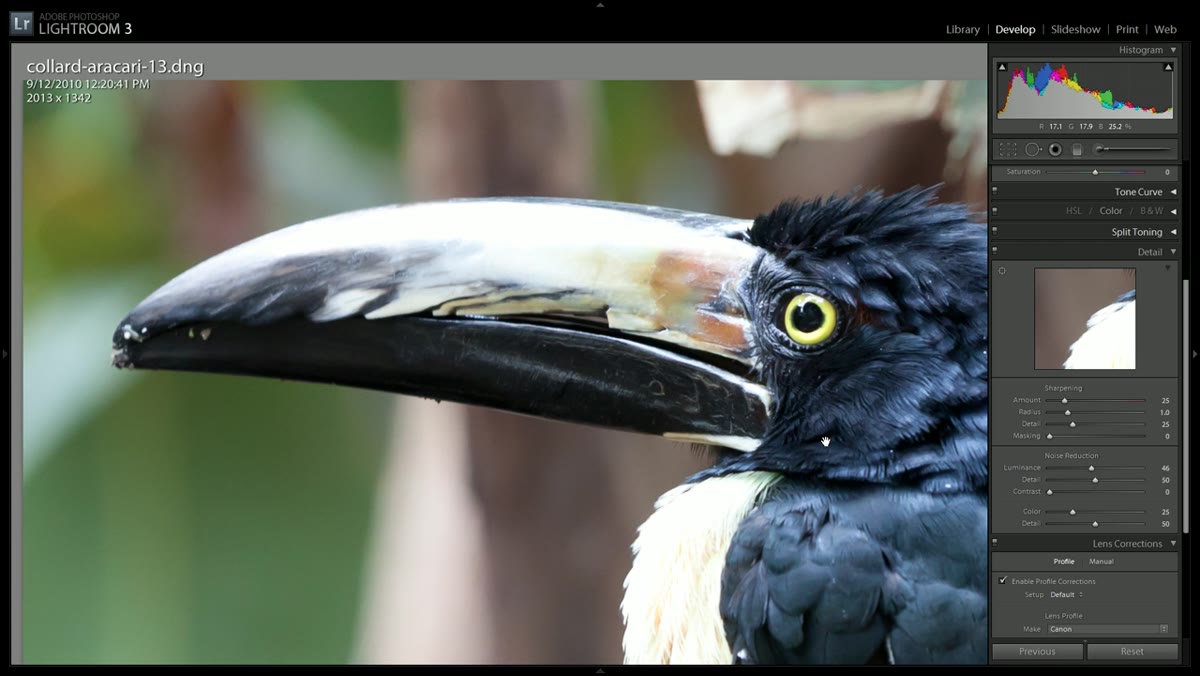
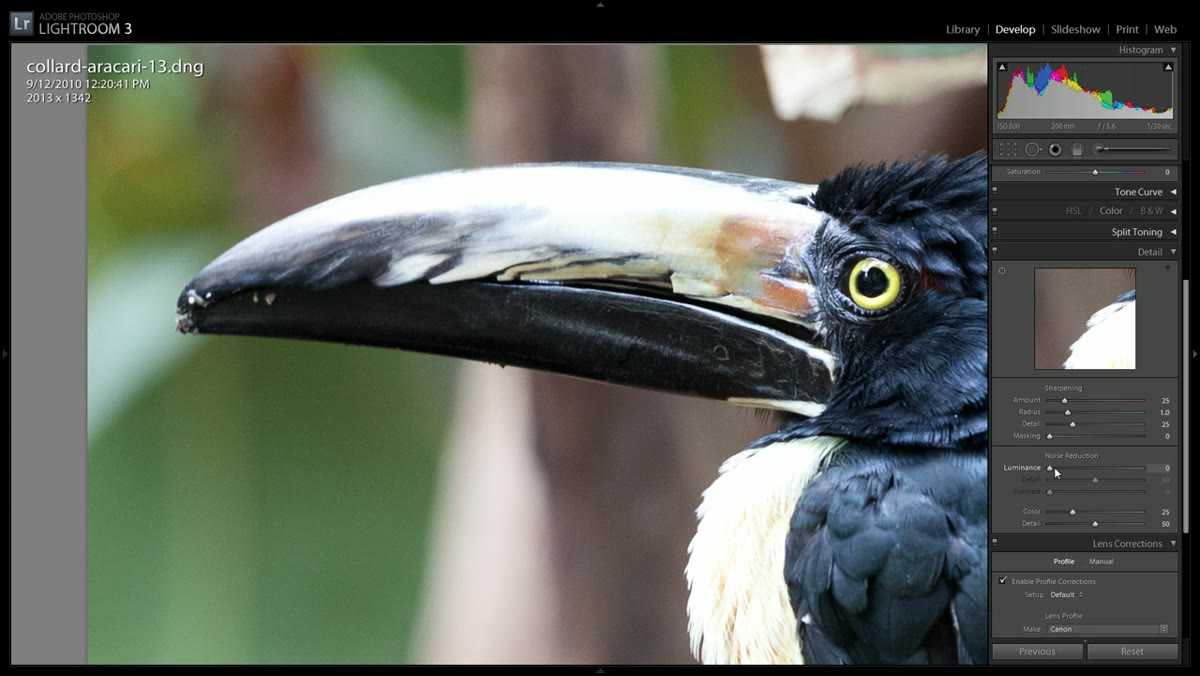 Lightroom Detail panel showing Luminance and Color noise sliders
In Lightroom, open your image and head to the Develop module. Scroll down to the Detail panel – it’s the one with the magnifying glass icon. You’ll see two sections: Sharpening and Noise Reduction. The two sliders you care about most are Luminance and Color.
For high-ISO shots with that classic grain texture, start by dragging the Luminance slider upward. Tony takes his all the way up on the test image and the background clears out significantly. Color noise slider handles the colored speckle problem – if your shadows have a green or magenta tinge, this is your fix. The rule of thumb he suggests is practical: just play with both and see what the image responds to. There’s no universal setting. ISO 1600 on one camera body looks completely different from ISO 1600 on another.
Step 3: Notice the Trade-Off (Because There Always Is One)
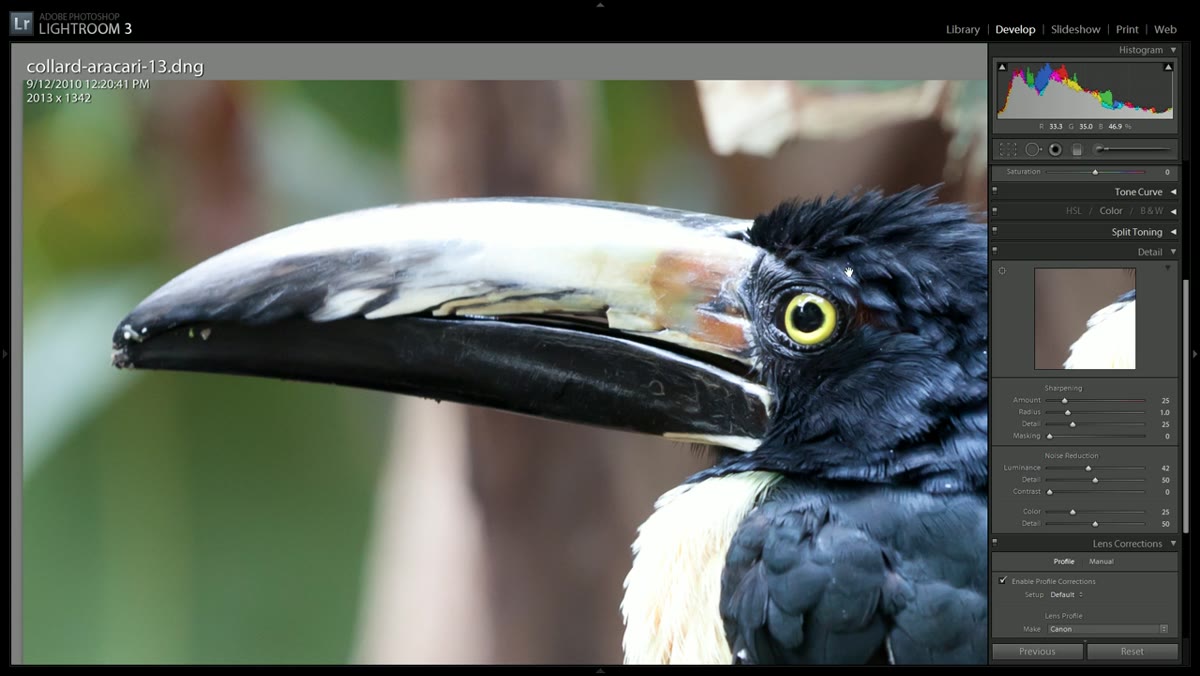 Before and after toggle showing loss of feather detail on the bird
This is the part most tutorials skip over because it complicates the narrative. Noise reduction is not free. Every algorithm that smooths out grain is also making decisions about what counts as detail versus what counts as noise – and it gets those decisions wrong sometimes. Tony toggles back and forth between the before and after, focusing on the bird’s beak and eye area. The difference is visible. Feather texture softens. The eye loses a bit of its crispness.
If you’re printing small or posting to Instagram, you probably won’t care. If you’re submitting to a stock agency or printing large, you might. The point isn’t to avoid Lightroom’s noise reduction – it’s to go in with eyes open about what you’re trading away.
Step 4: Open in Photoshop for Selective Noise Reduction
 Lightroom “Edit in Photoshop CS5” option selected
Here’s where it gets more surgical. Lightroom applies noise reduction globally, across the whole image. Photoshop lets you apply it only where you actually need it. In Lightroom, right-click your image and choose “Edit in Photoshop.” Before you do this, reset any noise reduction you already applied in Lightroom – you want to start clean in Photoshop.
The logic here is simple and smart. The background of Tony’s image is soft and out-of-focus anyway. Blurring the detail there costs you almost nothing visually. The bird itself is sharp and detailed and worth preserving. So the plan is to hammer the background with aggressive noise reduction while leaving the subject largely untouched.
Step 5: Select the Background with the Quick Selection Tool
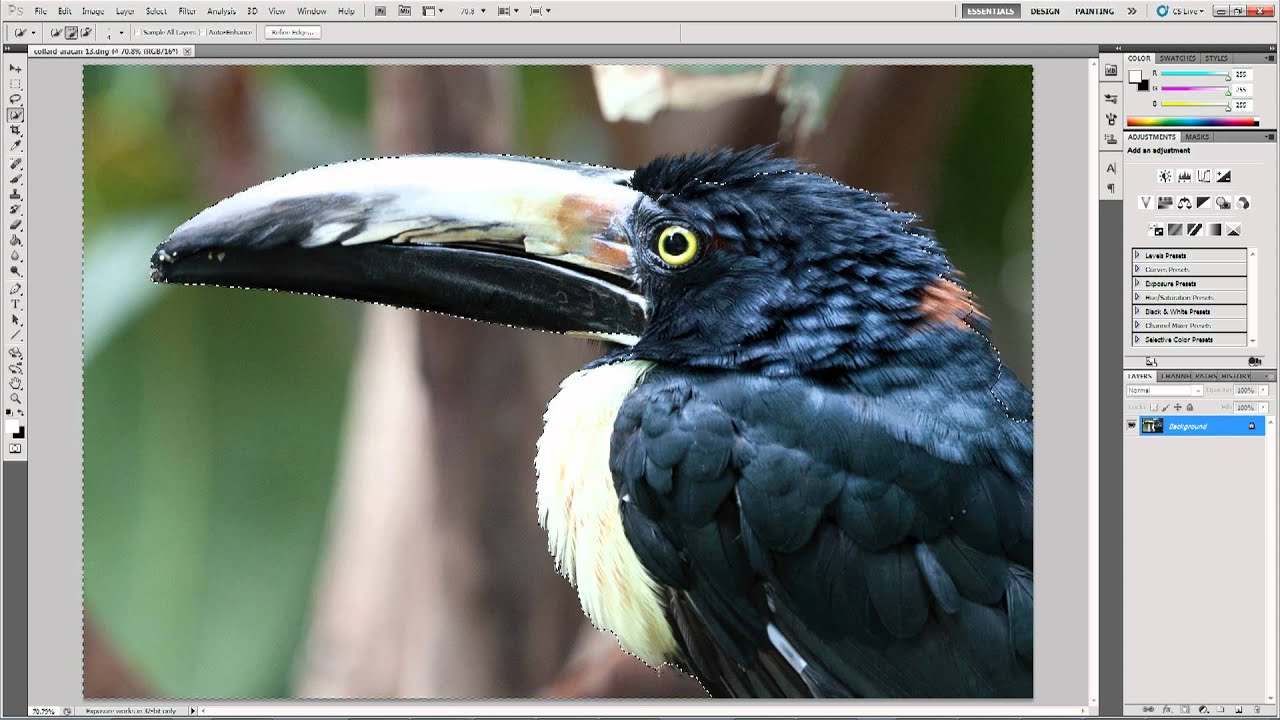
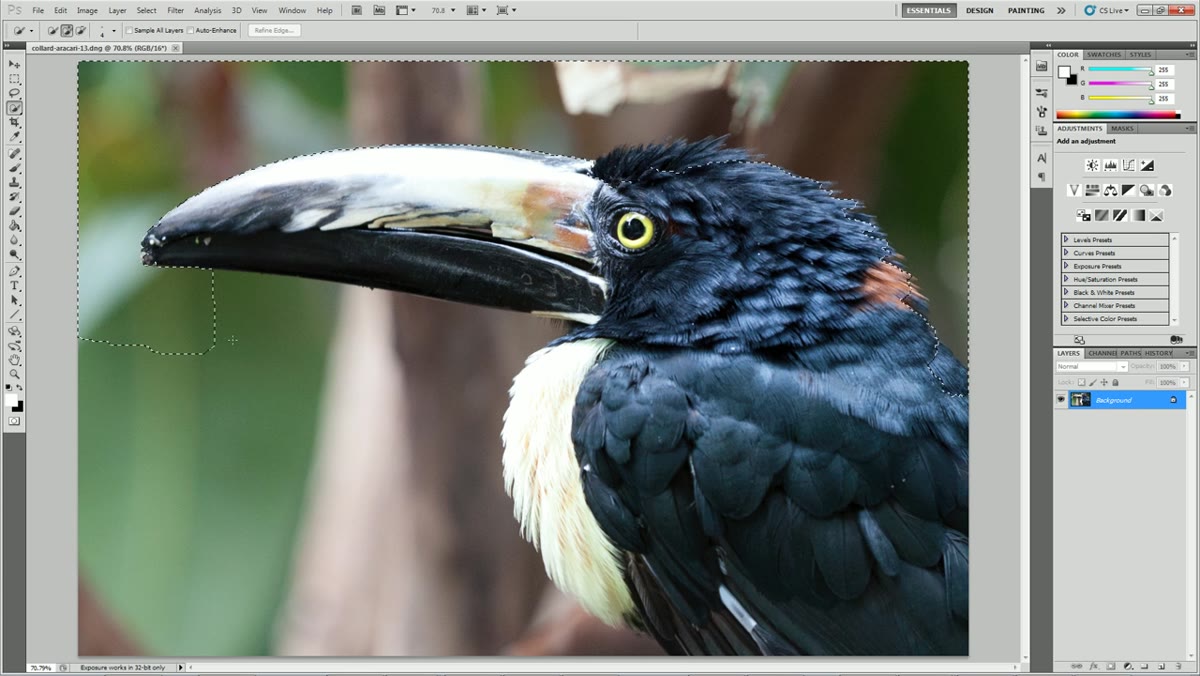 Quick Selection tool active, background being selected around the bird
Grab the Quick Selection tool (W is your shortcut, you’re welcome) and paint over the background. Photoshop will try to detect edges automatically. It will not be perfect. Tony’s selection picks up parts of the bird, and he cleans it up with the Lasso tool in subtraction mode – hold Alt or Option and draw around the areas you want to remove from the selection.
Here’s the thing: you don’t need a pixel-perfect selection. You’re not cutting the bird out. You’re applying noise reduction to the background. A slightly soft or imprecise edge isn’t going to show up in the final image, especially in an out-of-focus background area. Spend two minutes on the selection, not twenty.
Step 6: Apply Photoshop’s Reduce Noise Filter to the Selection
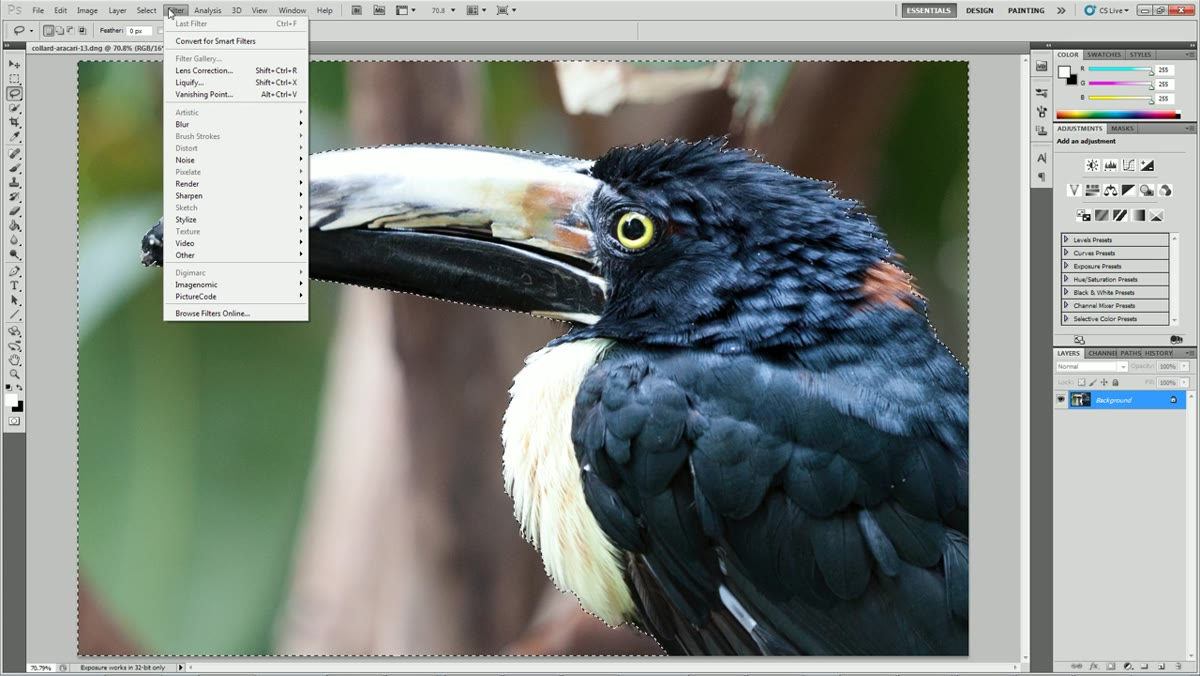 Filter > Noise > Reduce Noise dialog open with Strength slider
With your background selection active, go to Filter, then Noise, then Reduce Noise. Because you made a selection first, the filter will only affect that area – everything else stays untouched. The dialog gives you a Strength slider, a Preserve Details slider, a Reduce Color Noise slider, and a Sharpen Details option.
Tony’s honest assessment here is worth repeating: Photoshop’s built-in noise reduction isn’t as good as Lightroom’s, let alone a dedicated plugin like Noise Ninja. But because you’re applying it selectively to background areas that are already blurred, the quality gap matters a lot less. Crank the Strength up. Since the background has no critical detail to preserve, you can be aggressive without consequences.
One Thing I’d Add: Mask Your Noise Reduction with a Layer
Photoshop’s approach in this tutorial is selection-based, which works. But if you want more flexibility and the ability to revisit your work later, apply the noise reduction on a duplicate layer and use a layer mask instead of a selection. Duplicate your Background layer (Ctrl+J / Cmd+J), apply the full-image noise reduction to that layer, then paint a black mask over the areas where you want the sharp original to show through – typically your subject. You get the same selective effect, but you can refine the mask at any point without redoing the filter.
I learned this the hard way after flattening an edited file and realizing I’d permanently nuked the detail on a client’s subject. Smart layers and masks exist for a reason. Use them. Your future self will be significantly less stressed.
The biggest takeaway from this tutorial is that noise reduction isn’t one-size-fits-all – it’s a decision about where detail matters and where it doesn’t. Lightroom is fast and genuinely good for global fixes. Photoshop gives you the surgical control to protect the parts of your image that actually count. Use them in combination and you’re covering most real-world scenarios.
Watch the full tutorial on YouTube to see the Noise Ninja comparison and the direct before-and-after results – Tony’s side-by-side is worth seeing with your own eyes.
Comments
Leave a Comment