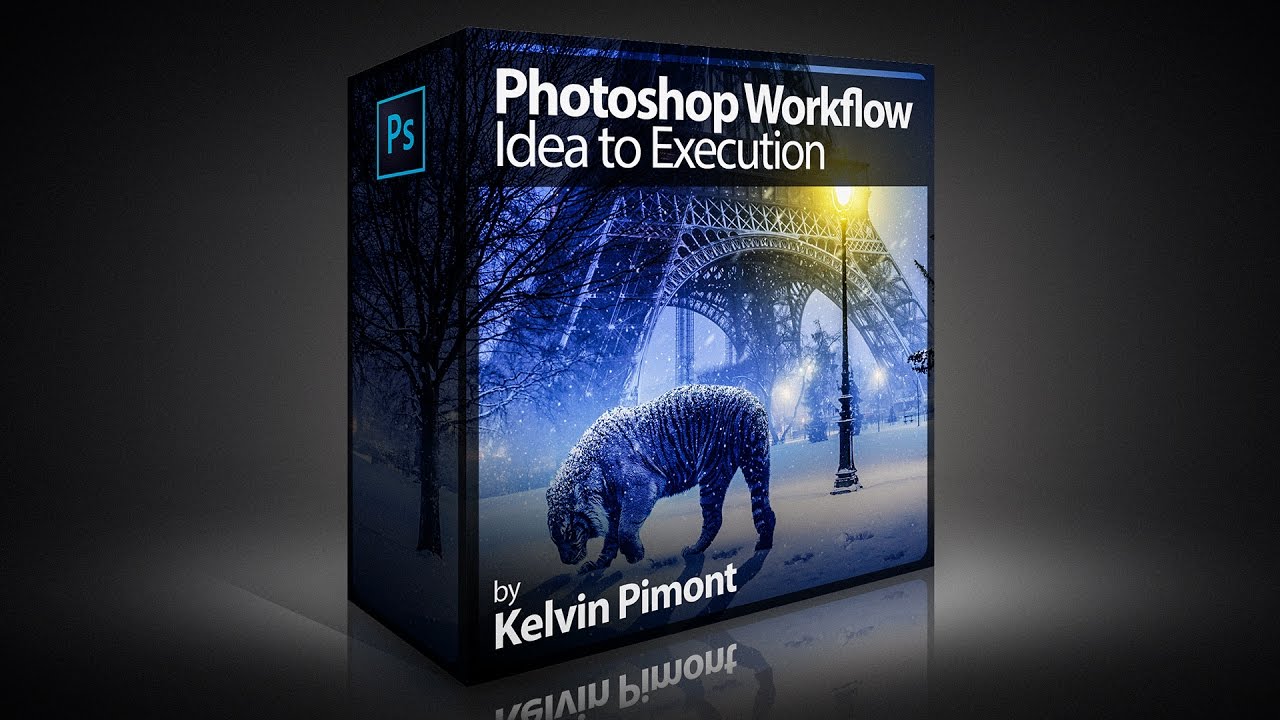
There’s a specific kind of frustration that hits when you’re staring at a photo that’s almost great. The composition is solid, the light is decent, but something about it feels flat and forgettable. For me, that problem shows up constantly with landscape and water shots. I’d spend time color grading, maybe dodging and burning a little, and still end up with something that looked like stock photo filler. Turns out I was skipping a step that takes maybe five minutes and makes a genuinely dramatic difference.
Watch the full tutorial on YouTube
In this Kelvin Designs tutorial, the free first lesson from his new Photoshop Workflow Course, Kelvin walks through exactly that scenario: a landscape photo with water that looks fine, and the process of turning it into something that actually stops a scroll. The technique is simple enough that you’ll wonder why you weren’t doing it already, but specific enough that you’d probably never stumble onto it on your own. That’s the sweet spot, and it’s why this lesson is worth your time even if you’ve been using Photoshop for years.
The broader course covers a serious range of compositing challenges, from fantastical photo manipulations with multiple elements to tricky stuff like water refractions, proper shadow logic, and lighting consistency across layers. But this first lesson is a perfect entry point because it teaches the workflow mindset before the complexity kicks in.
Step 1: Open the Image and Set Up Your Workspace
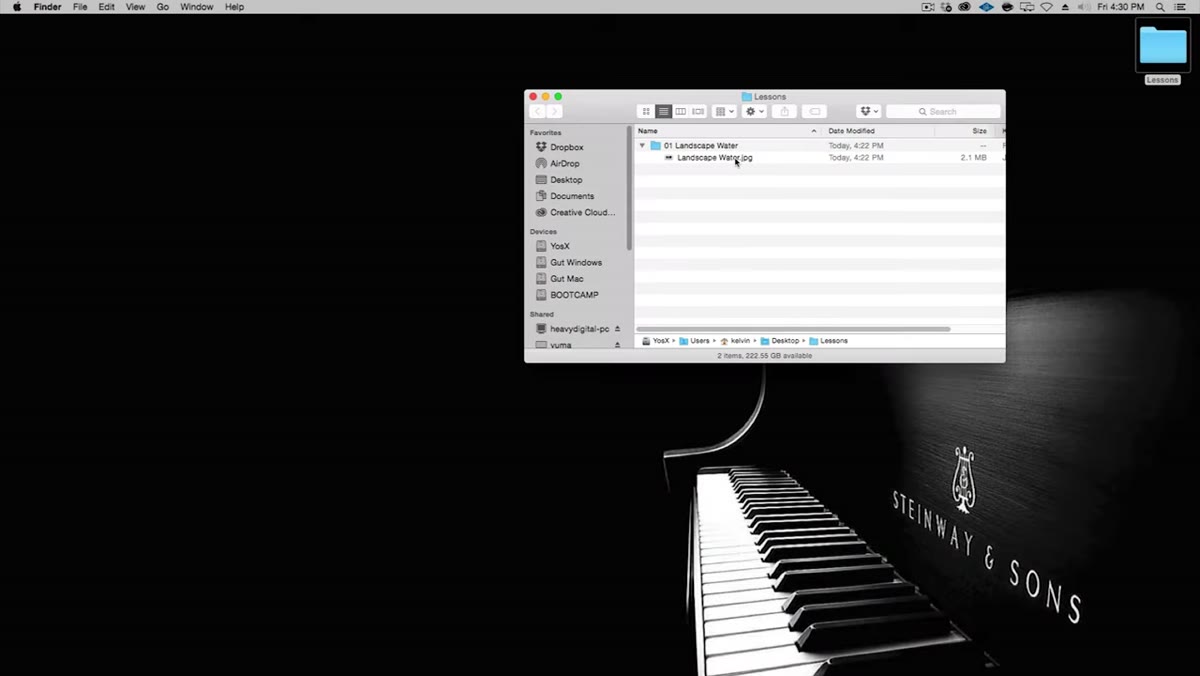 Landscape water photo open in Photoshop Essentials workspace
Start by opening your image in Photoshop. Kelvin uses the Essentials workspace, which you can switch to by clicking the workspace dropdown in the upper right corner and selecting “Essentials.” If you’ve got a bunch of floating panel groups cluttering your screen, right-click the tab group and close it. You want clean screen real estate before you start, not a panel graveyard. A less cluttered interface means faster decision-making, and honestly, your brain will thank you.
Landscape water photo open in Photoshop Essentials workspace
Start by opening your image in Photoshop. Kelvin uses the Essentials workspace, which you can switch to by clicking the workspace dropdown in the upper right corner and selecting “Essentials.” If you’ve got a bunch of floating panel groups cluttering your screen, right-click the tab group and close it. You want clean screen real estate before you start, not a panel graveyard. A less cluttered interface means faster decision-making, and honestly, your brain will thank you.
This step sounds trivial but it’s not. How your workspace is set up directly affects how you notice tonal and color problems in your image. Kelvin’s deliberate about this, and it’s a habit worth stealing.
Step 2: Assess What the Water Is Actually Doing
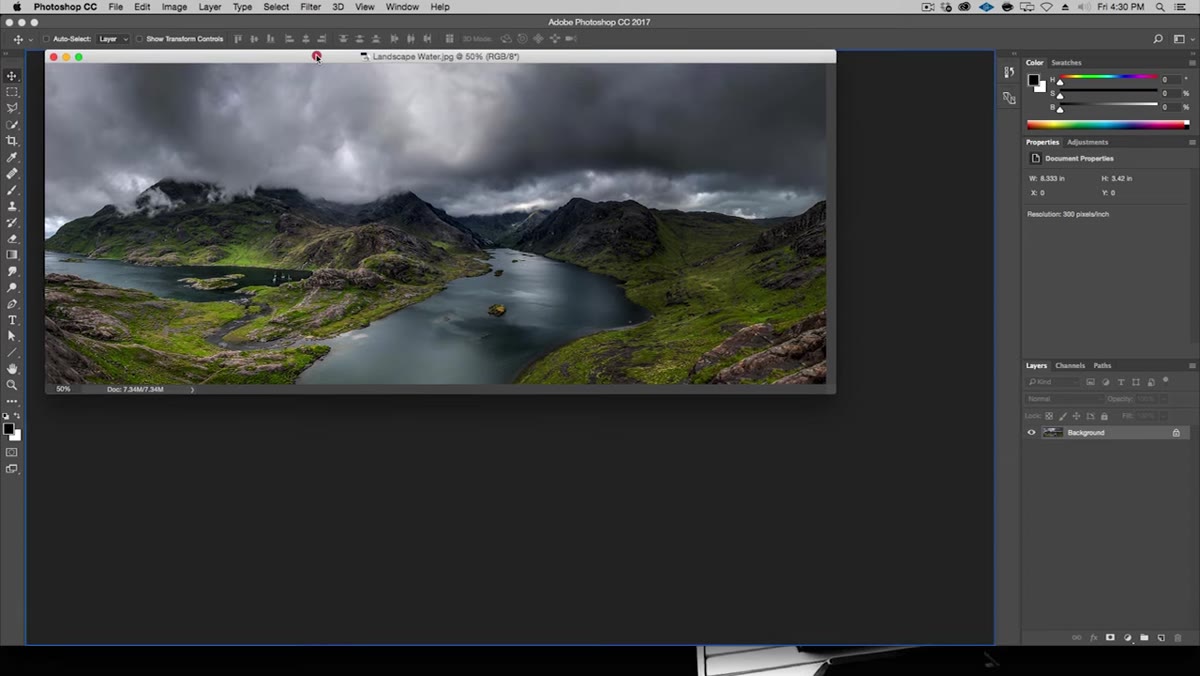 Instructor pointing out reflective water area in landscape photo
Before you touch a single slider, look at the water. What does the reflection look like right now? Where is it dull? Where does it have potential? Kelvin’s approach to Photoshop workflow starts here, with observation before action. The water in the example image already has some nice qualities, but the reflection lacks depth and the surface looks a little static.
Instructor pointing out reflective water area in landscape photo
Before you touch a single slider, look at the water. What does the reflection look like right now? Where is it dull? Where does it have potential? Kelvin’s approach to Photoshop workflow starts here, with observation before action. The water in the example image already has some nice qualities, but the reflection lacks depth and the surface looks a little static.
This is a mindset shift that pays off across every kind of editing you do. Diagnosing the problem first means your edits are intentional rather than random. Most people, myself included for longer than I’d like to admit, just start dragging sliders and hope something looks cool.
Step 3: Duplicate the Layer and Prep for the Reflection Enhancement
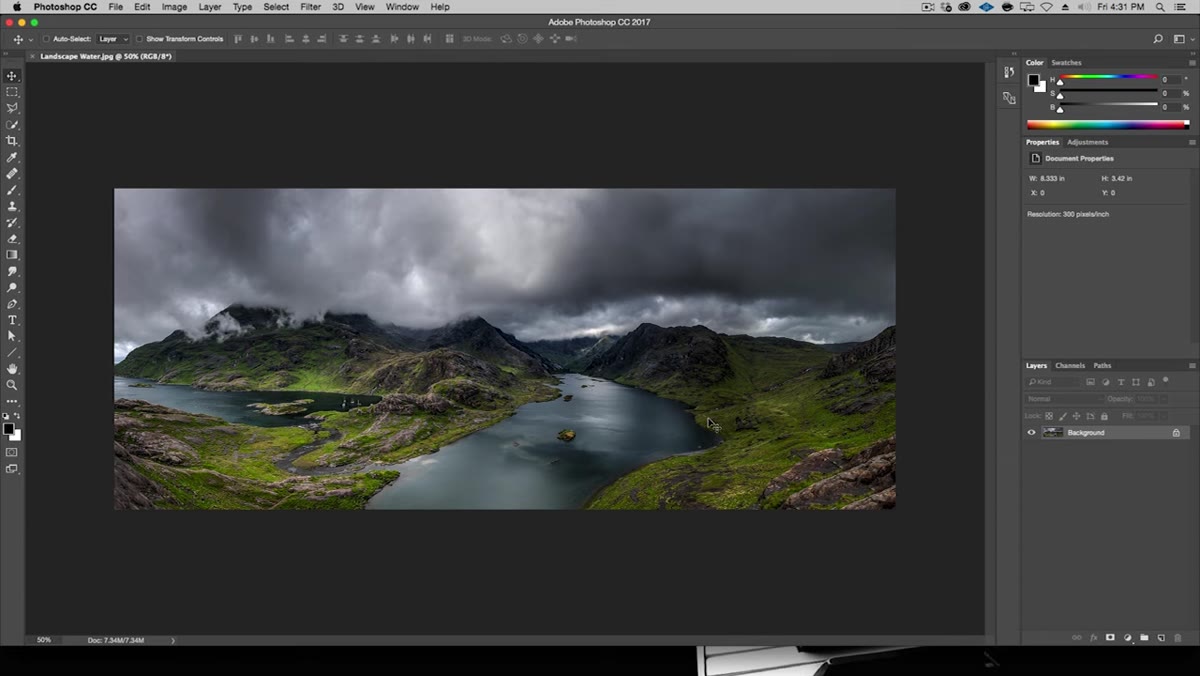 Layers panel showing duplicated background layer
Duplicate your background layer before doing anything destructive. Command+J on Mac, Ctrl+J on Windows. Work on the duplicate. This is non-negotiable and Kelvin treats it that way throughout the course, which is part of what makes his workflow practical rather than just demonstrative. You always want a safety net, especially when you’re working with techniques that affect large areas of the image.
Layers panel showing duplicated background layer
Duplicate your background layer before doing anything destructive. Command+J on Mac, Ctrl+J on Windows. Work on the duplicate. This is non-negotiable and Kelvin treats it that way throughout the course, which is part of what makes his workflow practical rather than just demonstrative. You always want a safety net, especially when you’re working with techniques that affect large areas of the image.
Rename the duplicate something useful while you’re at it. “reflection work” or even just “edit” beats “Layer 1 copy copy copy” at 2am when you’re trying to find something.
Step 4: Target the Water Area with a Selection
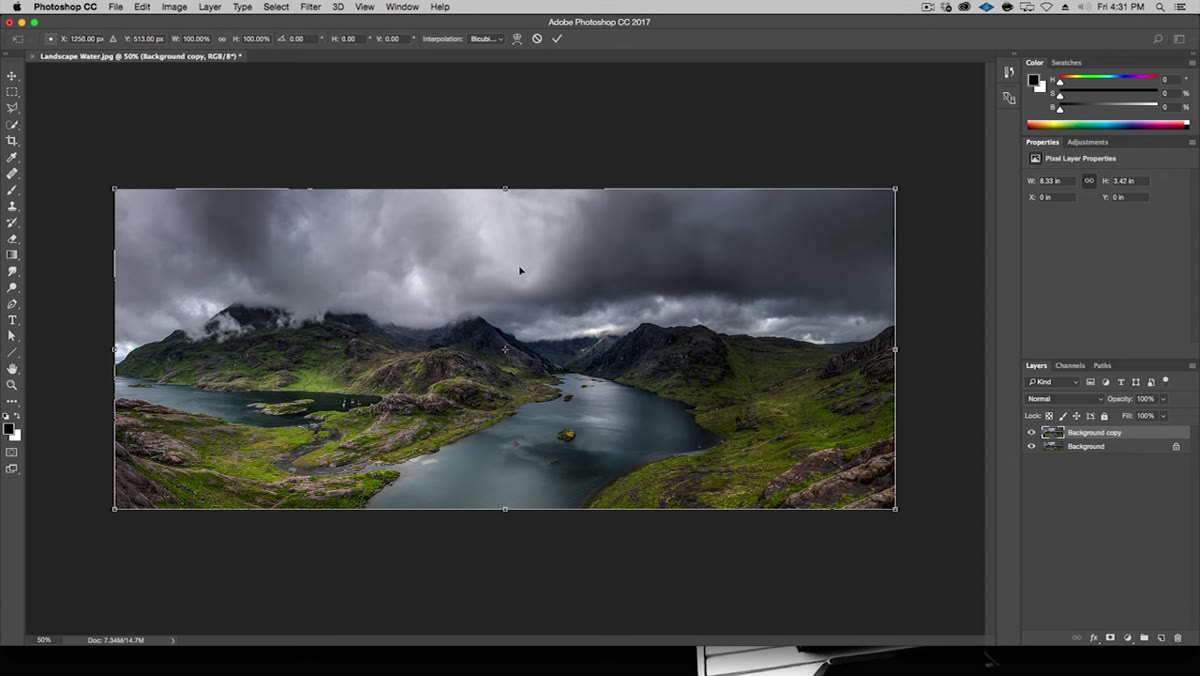 Selection active around water reflection in landscape image
Use whatever selection method fits your image to isolate the water or reflective surface. Kelvin keeps this efficient, using straightforward selection tools rather than overcomplicating it. The key is that you’re not trying to achieve a perfect pixel-level cutout here. You’re targeting an area for tonal and texture work, so a clean but not obsessive selection is the goal.
Selection active around water reflection in landscape image
Use whatever selection method fits your image to isolate the water or reflective surface. Kelvin keeps this efficient, using straightforward selection tools rather than overcomplicating it. The key is that you’re not trying to achieve a perfect pixel-level cutout here. You’re targeting an area for tonal and texture work, so a clean but not obsessive selection is the goal.
If your horizon line is fairly straight, the Rectangular Marquee tool works great. For more irregular water shapes, Quick Select or even a simple lasso will do. Feather your selection slightly (3-5 pixels is usually enough) so your edits blend in rather than showing a hard edge.
Step 5: Apply the Technique to Enhance the Reflection
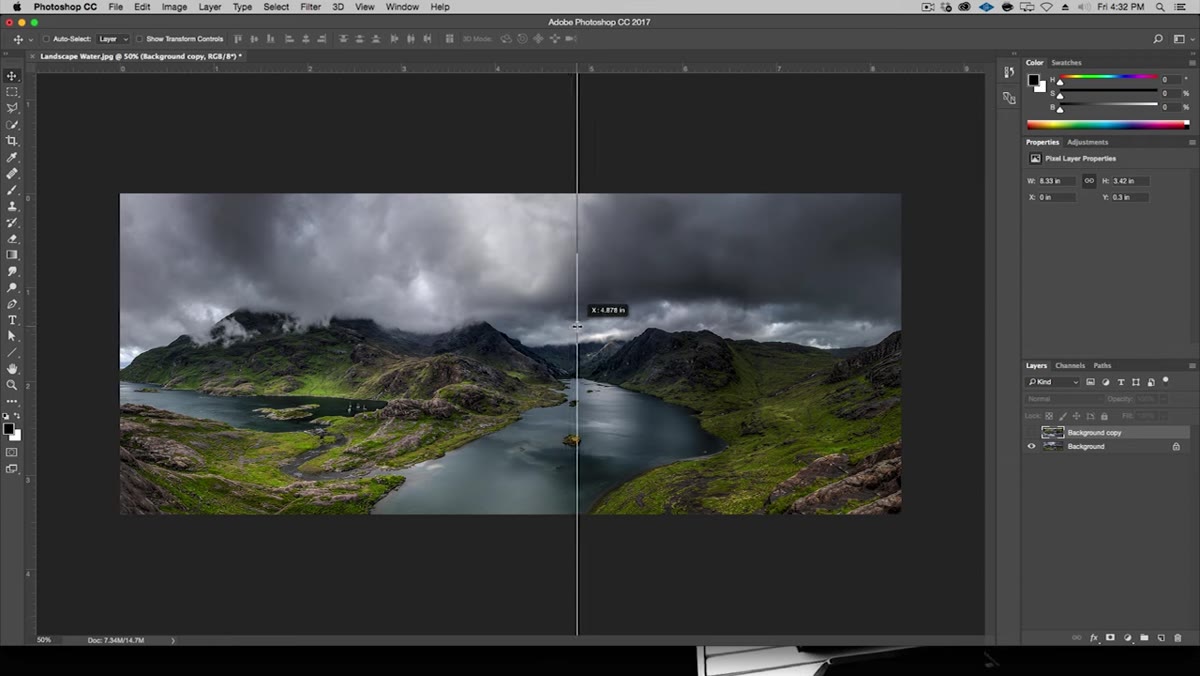 Filter or adjustment being applied to isolated water area
This is where the actual magic happens. Kelvin’s approach to making reflective water look more dramatic and silky involves working within that selection to adjust how light and texture read on the surface. The goal is to push the contrast and depth in the reflection so it feels like it has dimension rather than just being a flat mirror copy of the sky.
Filter or adjustment being applied to isolated water area
This is where the actual magic happens. Kelvin’s approach to making reflective water look more dramatic and silky involves working within that selection to adjust how light and texture read on the surface. The goal is to push the contrast and depth in the reflection so it feels like it has dimension rather than just being a flat mirror copy of the sky.
Think about what makes water look cinematic in professional photography. It’s not just brightness. It’s the way highlights bloom slightly, the way darker areas of the reflection hold real depth, and the way the surface feels like it has weight. Those qualities can be pushed in post, and that’s exactly what this step accomplishes.
Step 6: Fine-Tune and Compare Before and After
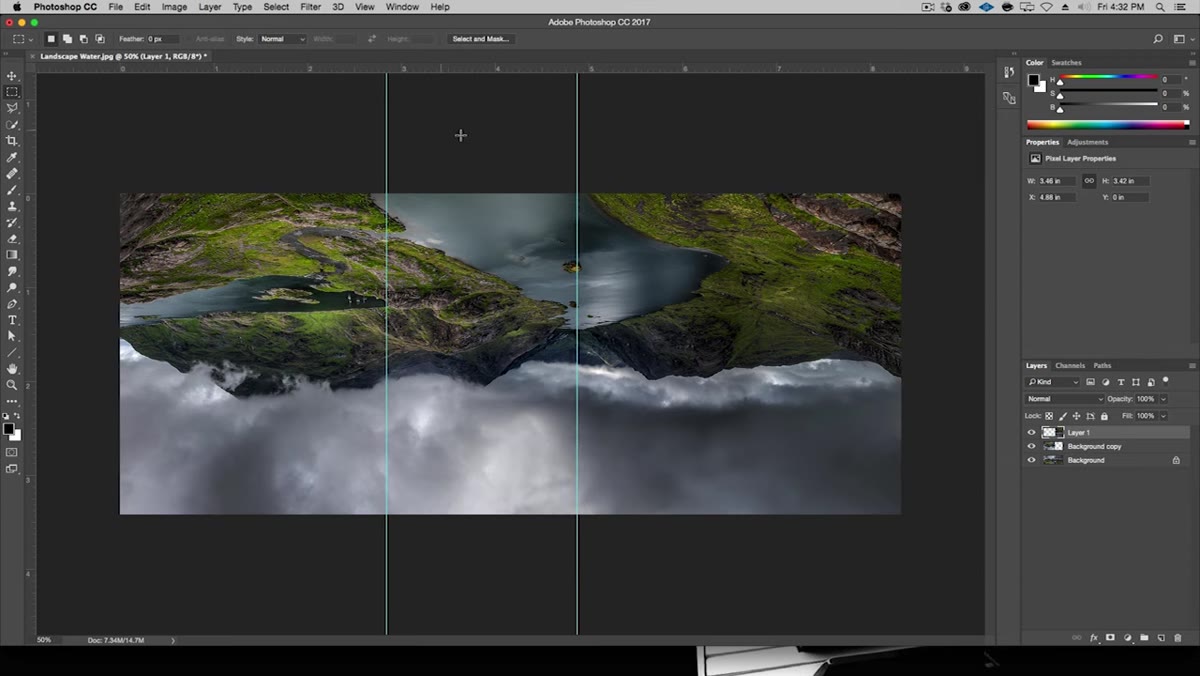 Before and after comparison of water reflection enhancement
Once you’ve applied your adjustments, toggle the layer visibility on and off to compare your before and after. Kelvin does this throughout the course and it’s one of those habits that keeps you honest. It’s easy to over-process something when you’re zoomed in and focused, and the before/after check snaps you back to reality.
Before and after comparison of water reflection enhancement
Once you’ve applied your adjustments, toggle the layer visibility on and off to compare your before and after. Kelvin does this throughout the course and it’s one of those habits that keeps you honest. It’s easy to over-process something when you’re zoomed in and focused, and the before/after check snaps you back to reality.
If the effect feels too strong, dial back the layer opacity. If it feels too subtle, consider whether the selection needs to be refined or whether another pass is needed. The final result should feel like the water was always that good, not like someone put a filter on it.
What I’d Add From My Own Experience
The workflow Kelvin teaches here maps directly onto a lesson I learned the hard way: a friend once recreated a composite I’d spent three days on in about 20 minutes, using a process I’d never seen before. The difference wasn’t raw Photoshop skill. It was workflow, specifically the habit of solving the problem conceptually before touching any tools. That’s what this course is actually teaching underneath the specific techniques. The water reflection trick is useful. The thinking process behind it is what makes it transferable to every other project.
If you’re working on images with glass, puddles, windows, or any kind of reflective surface, the instinct Kelvin builds here (isolate, diagnose, enhance with intention) will speed up your editing across the board. I’d also encourage you to try this on urban photography, wet pavement at night especially. The technique translates beautifully and the results look expensive.
The single most important takeaway from this lesson is that dramatic results don’t require complex techniques. They require the right technique applied with intention. Kelvin’s course is built around that principle, starting simple and building toward advanced compositing work like water refractions, multi-element scenes, and proper lighting logic. This free first lesson is a genuinely useful preview of that, not a watered-down teaser.
Watch the full tutorial on YouTube and check out the full Photoshop Workflow Course if you want to take your compositing work somewhere more interesting than where it is right now.
Comments (3)
This finally clicked for me after struggling for months. Thanks.
Printing this out and pinning it to my studio wall. That good.
Used this technique for a wedding shoot last week. Client was thrilled.
Leave a Comment