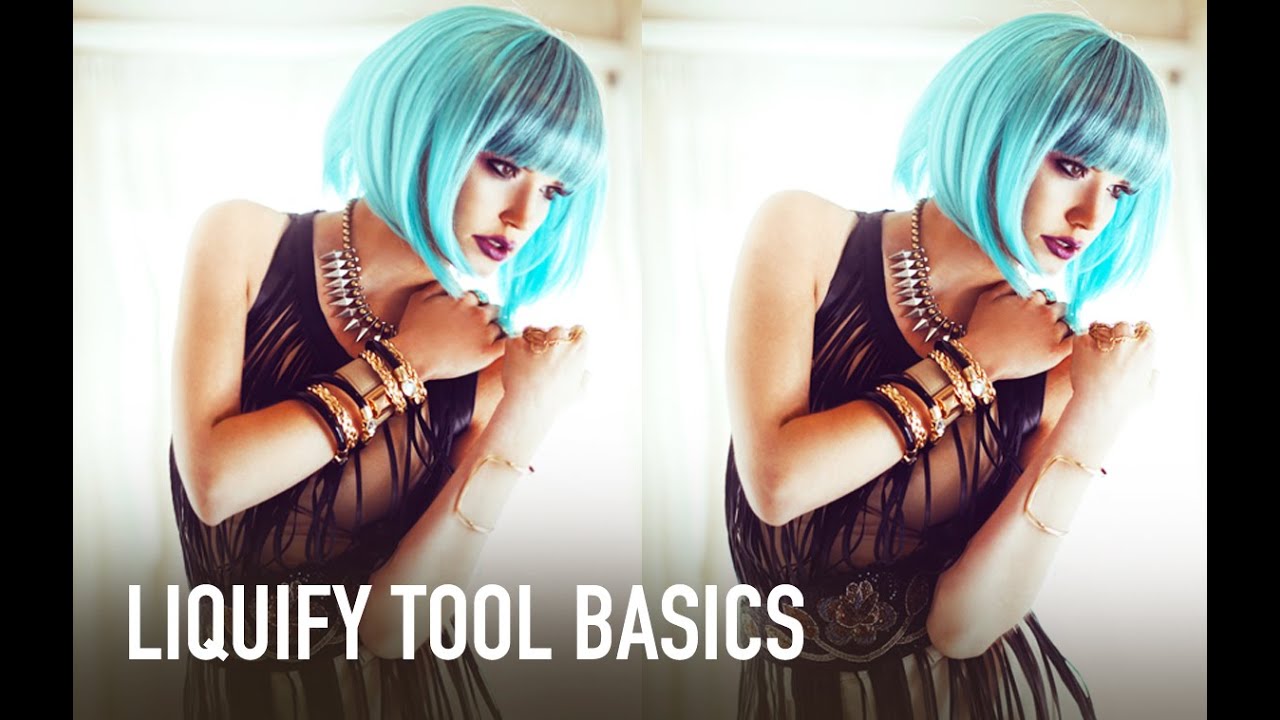
I used to treat the Liquify tool like a blunt instrument. Push here, pull there, hit OK, and spend the next ten minutes wondering why my subject’s arm looks like it’s made of warm taffy. If you’ve ever handed a client a portrait and quietly hoped they wouldn’t zoom in too hard on the edges, you already know the problem. Liquify is genuinely powerful, but it’s the kind of tool that rewards patience and punishes anyone who rushes in without a system.
That’s why I kept coming back to this Jessica Kobeissi tutorial on the Liquify basics. Watch the full tutorial on YouTube. Jessica is a portrait and fashion photographer who clearly uses this tool on real client work, not just for demos, and it shows. The workflow she lays out is clean, non-destructive, and built around actually protecting what you don’t want to distort. That last part is where most beginners (including past-me) fall apart.
What I want to do here is walk through her approach step by step, with the kind of specificity that lets you follow along in Photoshop without watching the video on loop. Think of it as the written companion.
Step 1: Duplicate Your Layer Before You Touch Anything
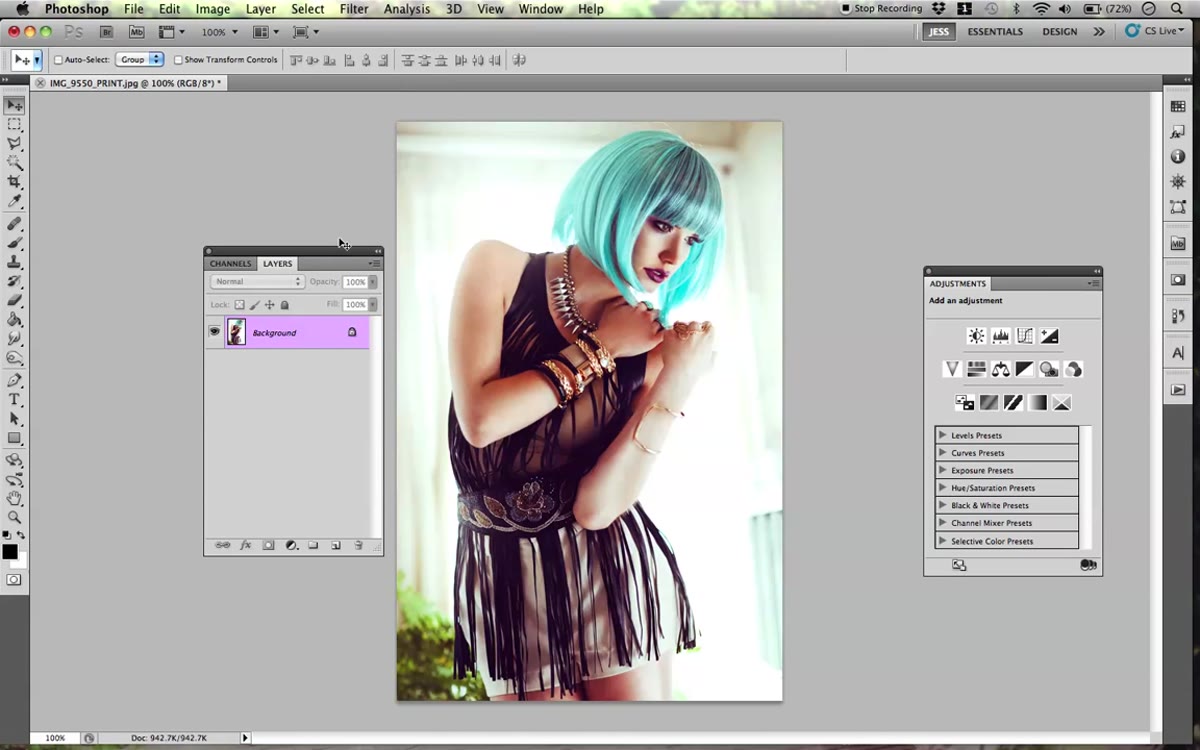 Duplicating the background layer before opening Liquify
Before you even think about opening Liquify, duplicate your background layer. In the tutorial, Jessica does this immediately and explains the reason plainly: if things go sideways inside Liquify, you can just delete the duplicate and start over. Your original is untouched underneath. On Mac, that’s Command+J. On Windows, Control+J. One keystroke, zero risk. This is the kind of habit that feels unnecessary right up until the moment it saves a project.
Duplicating the background layer before opening Liquify
Before you even think about opening Liquify, duplicate your background layer. In the tutorial, Jessica does this immediately and explains the reason plainly: if things go sideways inside Liquify, you can just delete the duplicate and start over. Your original is untouched underneath. On Mac, that’s Command+J. On Windows, Control+J. One keystroke, zero risk. This is the kind of habit that feels unnecessary right up until the moment it saves a project.
Make sure that duplicate layer is selected before you do anything else. It sounds obvious, but I have absolutely opened Liquify on the wrong layer before and wondered why nothing looked right.
Step 2: Open the Liquify Filter
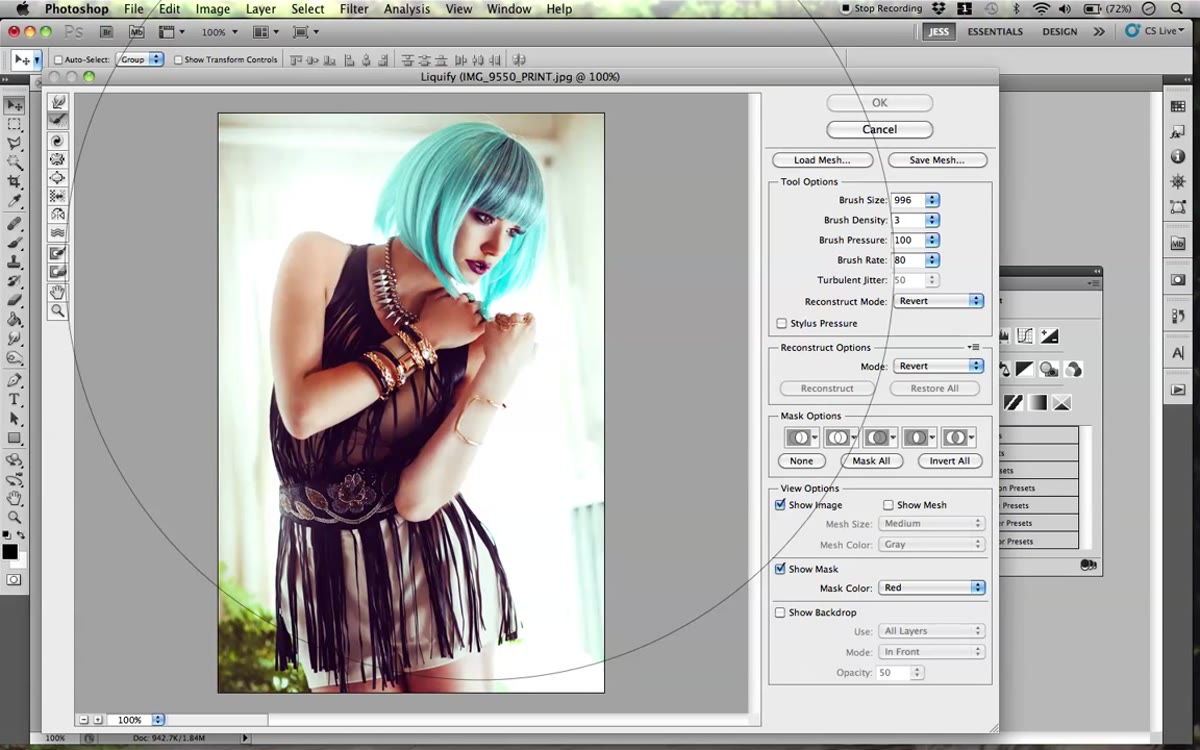 Filter menu open with Liquify option highlighted
With your duplicate layer active, head up to Filter in the top menu and select Liquify. This opens Liquify’s dedicated workspace, which is essentially its own little editor within Photoshop. The tool panel lives on the left, the canvas is in the center, and your brush settings run along the right side. Take a second to orient yourself before diving in. The workspace can feel overwhelming at first glance, but you’ll mostly be living in three or four tools during any given session.
Filter menu open with Liquify option highlighted
With your duplicate layer active, head up to Filter in the top menu and select Liquify. This opens Liquify’s dedicated workspace, which is essentially its own little editor within Photoshop. The tool panel lives on the left, the canvas is in the center, and your brush settings run along the right side. Take a second to orient yourself before diving in. The workspace can feel overwhelming at first glance, but you’ll mostly be living in three or four tools during any given session.
Step 3: Use the Forward Warp Tool for Directional Pushes
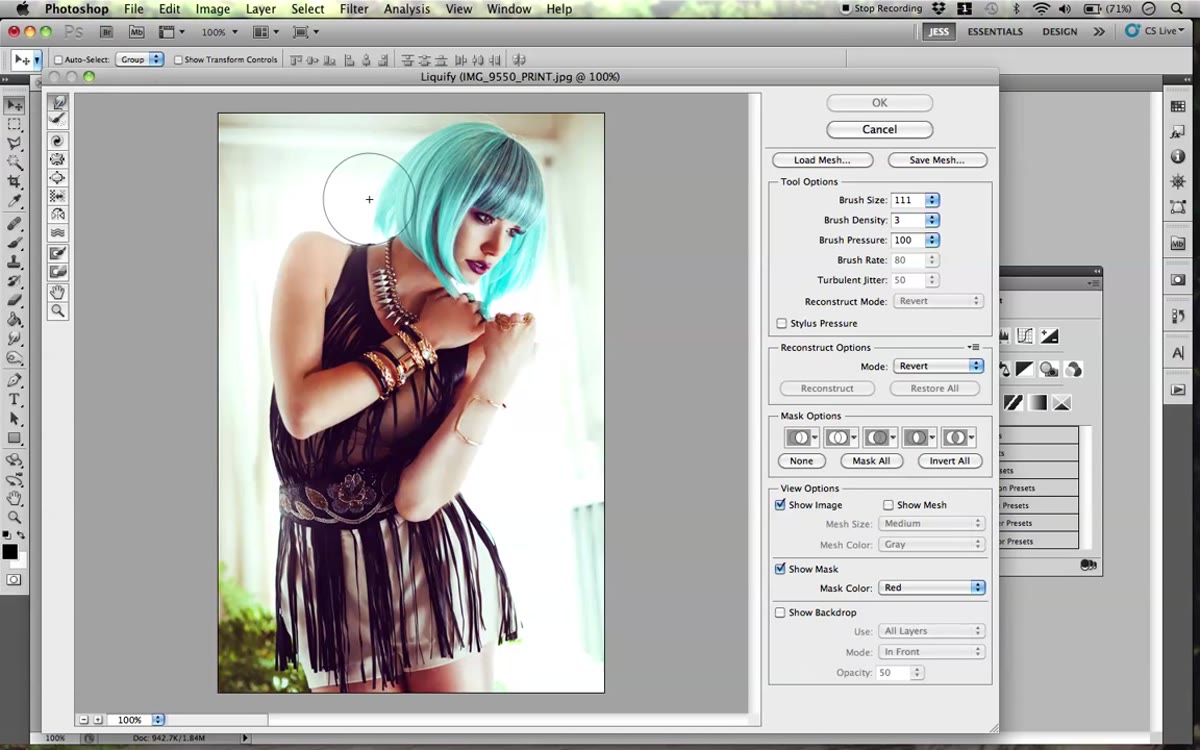 Forward Warp tool selected, being used on hair area
The Forward Warp tool is the first one Jessica reaches for, and it’s probably the tool you’ll use 80% of the time. It works exactly like it sounds: you click and drag, and pixels push in the direction you’re moving. It’s the go-to for reshaping hair, softening the silhouette of an arm, or nudging something that just looks a little off in the frame.
Forward Warp tool selected, being used on hair area
The Forward Warp tool is the first one Jessica reaches for, and it’s probably the tool you’ll use 80% of the time. It works exactly like it sounds: you click and drag, and pixels push in the direction you’re moving. It’s the go-to for reshaping hair, softening the silhouette of an arm, or nudging something that just looks a little off in the frame.
The key setting to pay attention to is brush size. Jessica makes the point that a larger brush produces a smoother, more gradual warp, while a smaller brush creates a tighter, more obvious distortion. For anything related to body shape or hair volume, go bigger than feels necessary. Small, poky adjustments are how you end up with that taffy-arm problem. Use slow, deliberate strokes and check your work constantly.
Step 4: Apply the Freeze Mask to Protect Areas You Don’t Want Warped
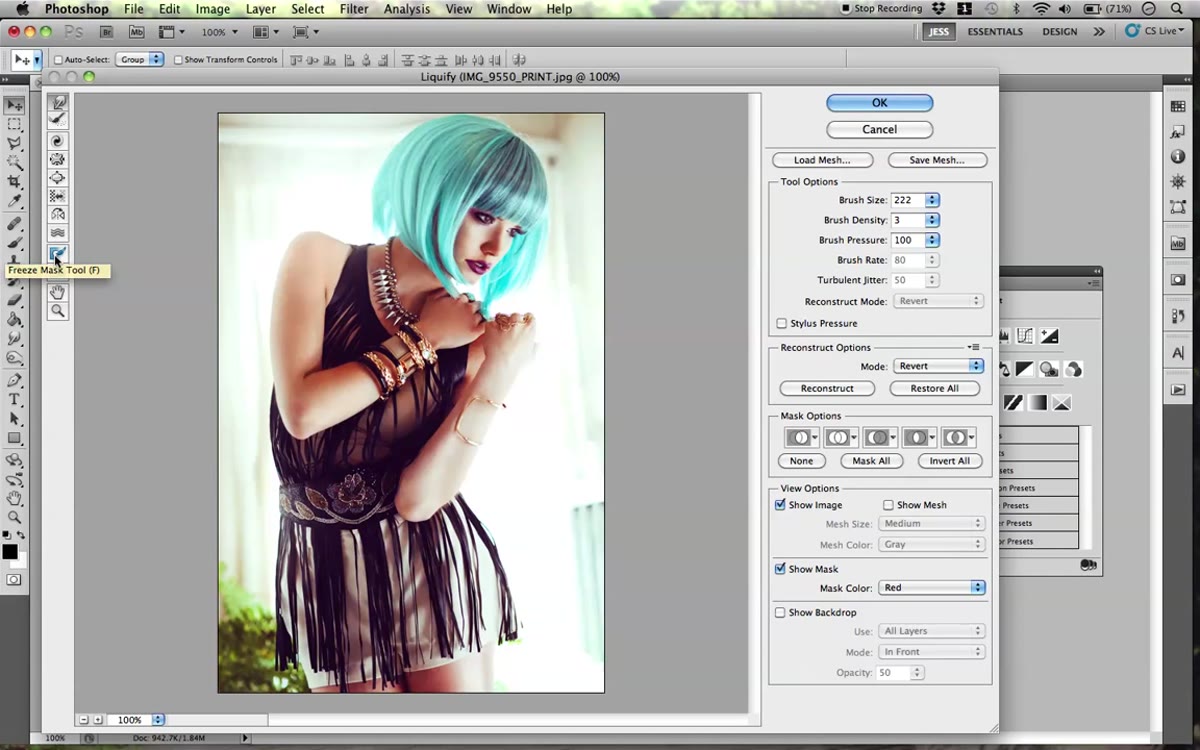 Freeze Mask tool being painted over the subject’s face
This is the step that separates the careful retoucher from the person who accidentally melts someone’s ear. The Freeze Mask tool lets you paint a protective overlay onto any part of the image you don’t want the warp to touch. When you push or pull with the Forward Warp tool, the frozen areas stay completely locked in place.
Freeze Mask tool being painted over the subject’s face
This is the step that separates the careful retoucher from the person who accidentally melts someone’s ear. The Freeze Mask tool lets you paint a protective overlay onto any part of the image you don’t want the warp to touch. When you push or pull with the Forward Warp tool, the frozen areas stay completely locked in place.
In the tutorial, Jessica uses it on the face, neck, and hands before expanding the hair volume. She paints the mask over those areas first, then works outward with the warp tool. The result is that she can push the hair aggressively without any of that creeping distortion bleeding into the face. The frozen region shows up as a red overlay so you can see exactly what’s protected. Cover anything that needs to stay sharp, and be generous with your coverage on edges where two regions meet.
Step 5: Use the Thaw Mask Tool to Undo Freeze Coverage
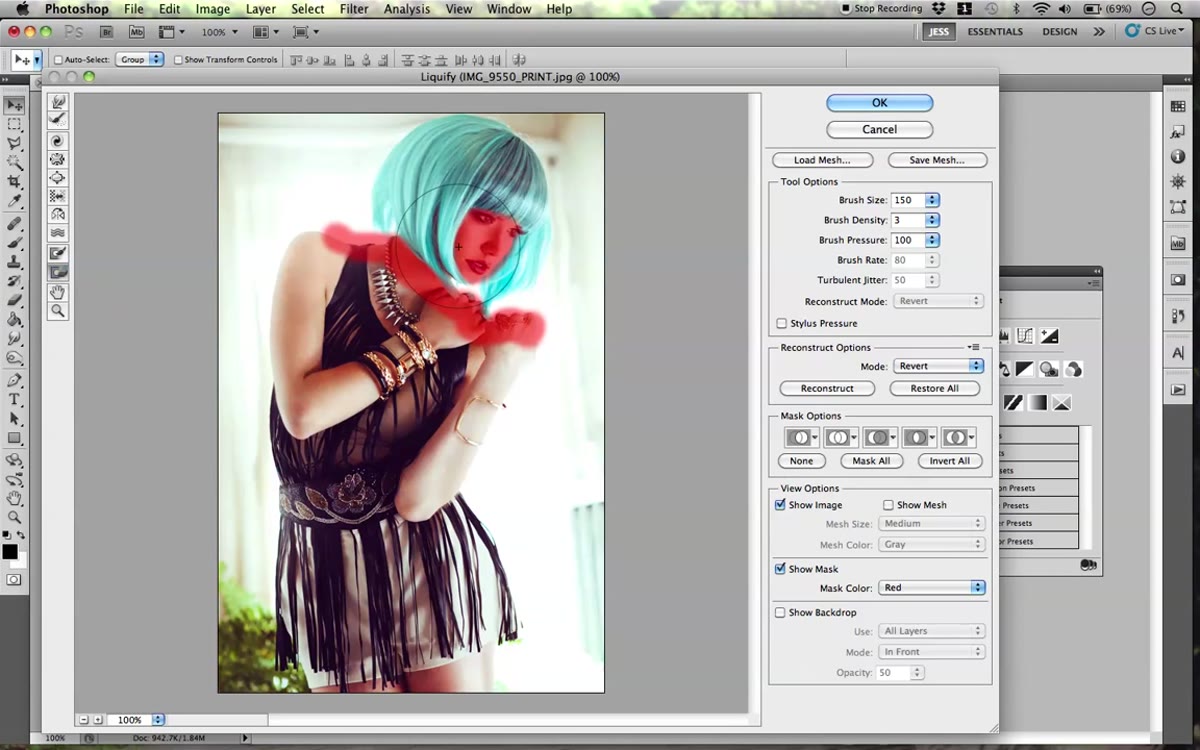 Thaw Mask tool erasing parts of the freeze mask overlay
If you freeze too much of the image, or freeze an area by mistake, the Thaw Mask tool lets you paint that protection away. Think of it as an eraser for your freeze mask. You don’t have to redo the whole mask from scratch. Just grab the Thaw tool, paint over the area you want to unfreeze, and it’s back in play.
Thaw Mask tool erasing parts of the freeze mask overlay
If you freeze too much of the image, or freeze an area by mistake, the Thaw Mask tool lets you paint that protection away. Think of it as an eraser for your freeze mask. You don’t have to redo the whole mask from scratch. Just grab the Thaw tool, paint over the area you want to unfreeze, and it’s back in play.
Jessica uses this mostly as a cleanup step, but I find it genuinely useful when I’m working close to a boundary and need to free up a small section to finesse a transition between warped and unwarped areas.
Step 6: Use the Reconstruct Tool to Roll Back Distortions
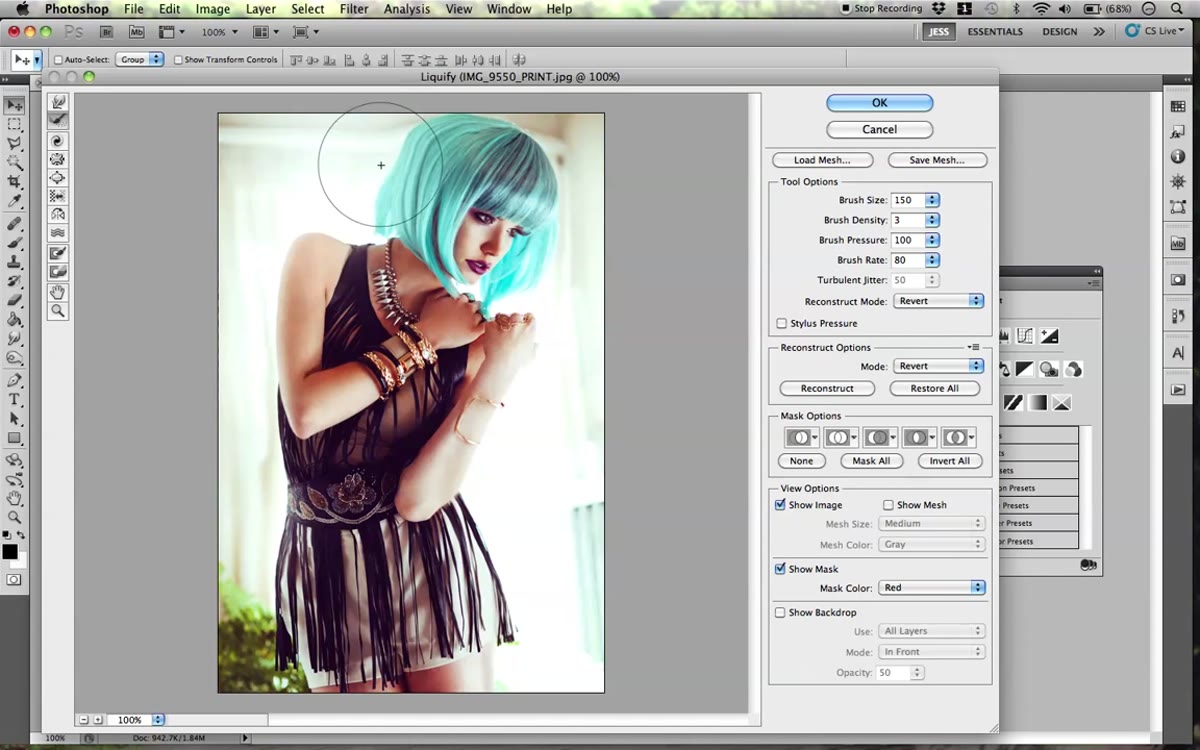 Reconstruct tool being applied to revert warped areas
Made a mess? The Reconstruct tool is your undo brush. Rather than canceling out of Liquify entirely and losing all your work, you can paint over the distorted areas and it gradually reverts them back toward the original state. It’s non-destructive in the best way: you can reconstruct partially, leaving just a little bit of the warp in place, or paint back and forth until the transition feels natural.
Reconstruct tool being applied to revert warped areas
Made a mess? The Reconstruct tool is your undo brush. Rather than canceling out of Liquify entirely and losing all your work, you can paint over the distorted areas and it gradually reverts them back toward the original state. It’s non-destructive in the best way: you can reconstruct partially, leaving just a little bit of the warp in place, or paint back and forth until the transition feels natural.
Jessica’s framing here is worth remembering: you don’t have to cancel and start from zero just because one area went wrong. Reconstruct is the safety valve that makes experimentation feel less dangerous.
A Note on Restraint (From Someone Who Has Over-Liquified a Client Photo)
Here’s something the tutorial demonstrates but doesn’t spell out: the best Liquify work is invisible. Jessica is pretty candid in the video that she’s exaggerating the effects for demonstration purposes, pushing the hair to almost cartoonish volume just so the technique is visible on camera. In real portrait work, you’re usually making changes that are obvious to you and imperceptible to anyone else.
My rule now is to make the adjustment, zoom out to full image view, and ask whether I’d notice it if I hadn’t done it myself. If the answer is yes, I’ve gone too far. The Reconstruct tool exists for exactly that moment. I’ve also started working with a lower brush pressure setting on the Forward Warp tool, somewhere around 30 to 50 percent, which gives me more control on the first pass and makes it harder to accidentally overshoot.
The single most important thing to take away from Jessica’s approach is the freeze mask step. Every other part of Liquify is intuitive enough to figure out by feel, but protecting the areas you’re not retouching is the difference between a result that looks professional and one that looks like digital surgery. Get comfortable with painting that mask before you move a single pixel.
Watch the full tutorial on YouTube to see Jessica demonstrate the full workflow in real time on an actual portrait. Seeing the brush strokes in motion is worth a few minutes of your time, even if you already feel comfortable with the tool.
Comments (3)
Great breakdown. The step-by-step approach really helps.
Really solid breakdown. This pairs perfectly with the compositing work I've been writing about.
Just subscribed. If the rest of your content is this good, I'm in.
Leave a Comment