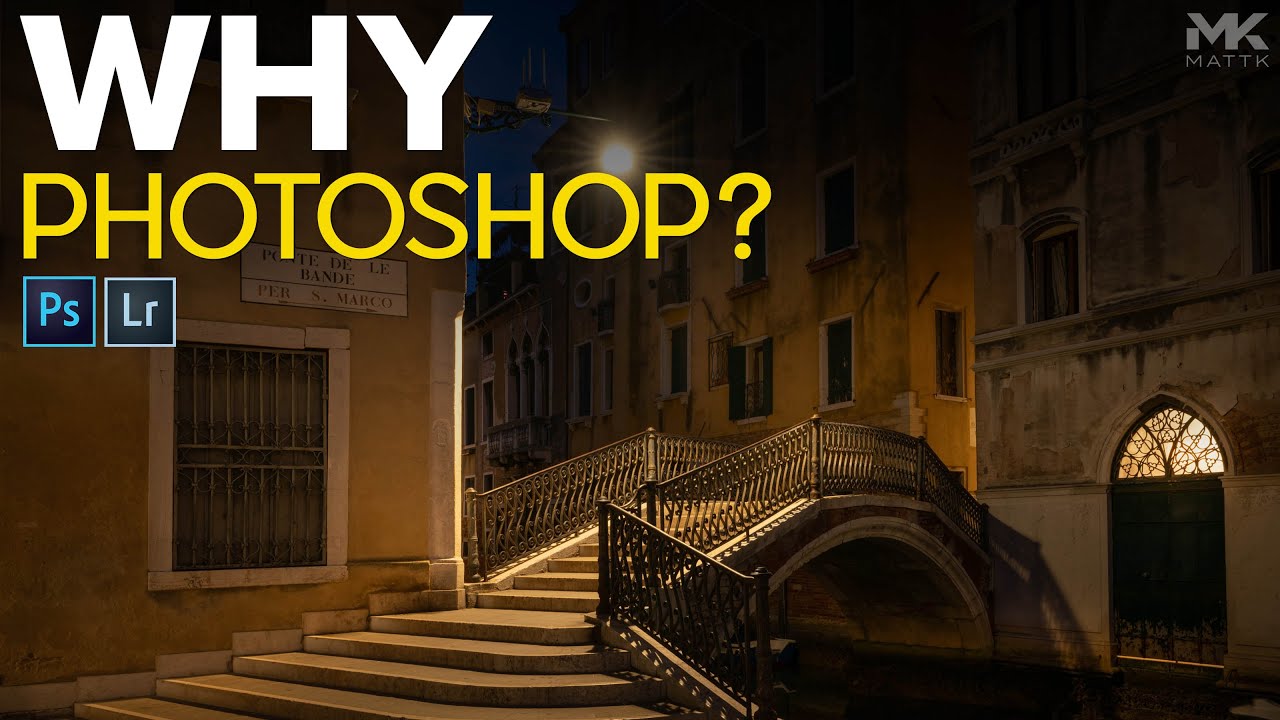
There’s a question that floats around photography forums like a bad smell: do you even need Photoshop, or is Lightroom enough? I used to roll my eyes at it. Now I think it’s actually worth sitting with for a minute, because the honest answer is more nuanced than either camp wants to admit. I came across this debate again while watching a tutorial from Matt Kloskowski, where he responds to a viewer comment suggesting that photos edited only in Lightroom are somehow lesser, more basic, not serious work. His reaction is measured, practical, and frankly a lot more useful than the usual tribal nonsense you see in comment sections.
Watch the full tutorial on YouTube
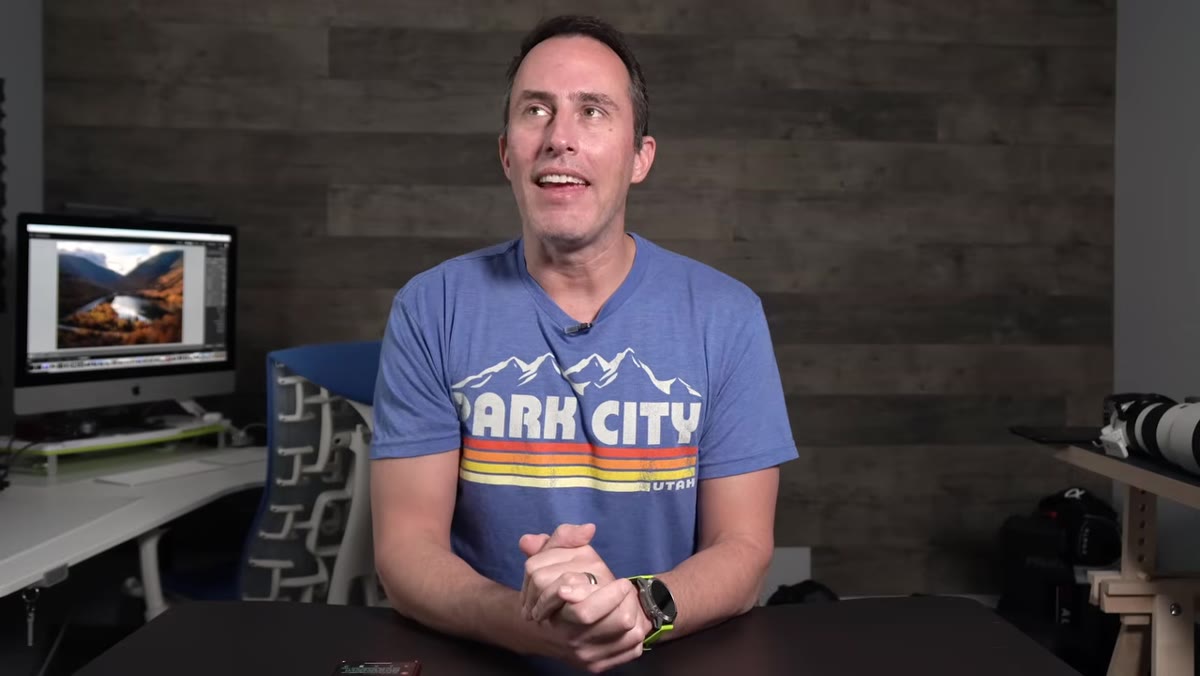
What I like about Matt’s approach is that he doesn’t pick a side so much as he dismantles the idea that there has to be one. He walks through real photos from his own portfolio, showing which ones never left Lightroom and why, then pivots to the cases where jumping to Photoshop genuinely changed the image in a way nothing else could. As someone who spent years defaulting to Photoshop out of habit, even when Lightroom would have done the job in a quarter of the time, this video hit differently. Here’s a breakdown of what he covers and how to think about applying it to your own work.
Step 1: Recognize When Lightroom Is Genuinely Enough
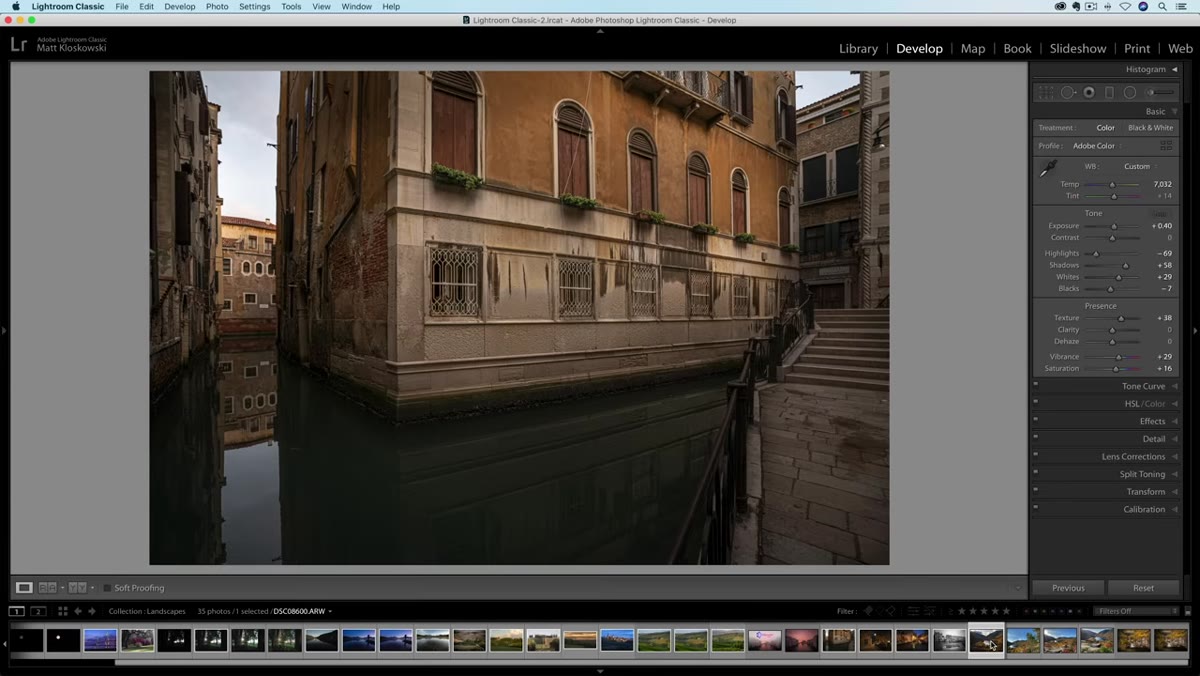
 Before and after comparison using the backslash key in Lightroom
The first thing Matt does is show a handful of his own photos using the before/after toggle in Lightroom’s Develop module. The shortcut is the backslash key, and if you’re not using it regularly, start now. It’s a fast gut-check for whether your edit is actually doing something meaningful or just spinning wheels.
Before and after comparison using the backslash key in Lightroom
The first thing Matt does is show a handful of his own photos using the before/after toggle in Lightroom’s Develop module. The shortcut is the backslash key, and if you’re not using it regularly, start now. It’s a fast gut-check for whether your edit is actually doing something meaningful or just spinning wheels.
His argument is simple: if the shot came together in terms of light, composition, and exposure, Lightroom’s adjustments, tone curve, HSL sliders, selective adjustments with masks, are often all you need. The goal isn’t to use the most tools. The goal is to get the image where it needs to be. If Lightroom gets you there, you’re done. Jumping to Photoshop because it feels more “professional” is a waste of time and a slightly exhausting way to live.
Step 2: Use Selective Adjustments to Push Lightroom Further
 Selective adjustment brushes applied to a landscape photo in Lightroom
Before writing off Lightroom as limited, Matt makes a point of showing how far selective adjustments can take you. These are your masking tools: the brush, radial gradient, linear gradient, and in newer versions of Lightroom, the AI-powered Select Subject and Select Sky options. Each one lets you apply targeted exposure, color, and detail changes to specific parts of the image.
Selective adjustment brushes applied to a landscape photo in Lightroom
Before writing off Lightroom as limited, Matt makes a point of showing how far selective adjustments can take you. These are your masking tools: the brush, radial gradient, linear gradient, and in newer versions of Lightroom, the AI-powered Select Subject and Select Sky options. Each one lets you apply targeted exposure, color, and detail changes to specific parts of the image.
If you’ve been treating Lightroom like a global adjustment tool and leaving selective edits for Photoshop, you’re leaving a lot of power on the table. A sky that’s blowing out? Linear gradient, drop the exposure, boost the texture. A subject that needs to pop against a busy background? Radial gradient, inverse the selection, lower the background clarity. You can layer these on top of each other and get surprisingly precise results without ever touching Photoshop.
Step 3: Identify the Shots Where Photoshop Earns Its Place
 Wildlife photo with noisy background visible at zoom level in Lightroom
Here’s where the tutorial shifts gears, and honestly where it gets more interesting. Matt zooms into a wildlife photo and you can immediately see the problem: a noisy, distracting background that Lightroom’s noise reduction tools can soften but not convincingly fix. This is the kind of situation where Photoshop stops being a preference and starts being a practical necessity.
Wildlife photo with noisy background visible at zoom level in Lightroom
Here’s where the tutorial shifts gears, and honestly where it gets more interesting. Matt zooms into a wildlife photo and you can immediately see the problem: a noisy, distracting background that Lightroom’s noise reduction tools can soften but not convincingly fix. This is the kind of situation where Photoshop stops being a preference and starts being a practical necessity.
The pattern he’s describing is one I recognize immediately. Lightroom is excellent at tonal and color work across the whole frame or in broad regions. But the moment you need to do precise, pixel-level work, whether that’s removing an object, fixing a distracting element, blending exposures seamlessly, or making a background look genuinely clean, you need Photoshop’s toolset. Knowing that threshold is the skill. Chasing Photoshop before you hit that threshold is just inefficiency dressed up as professionalism.
Step 4: Think of the Two Apps as Stages, Not Competitors
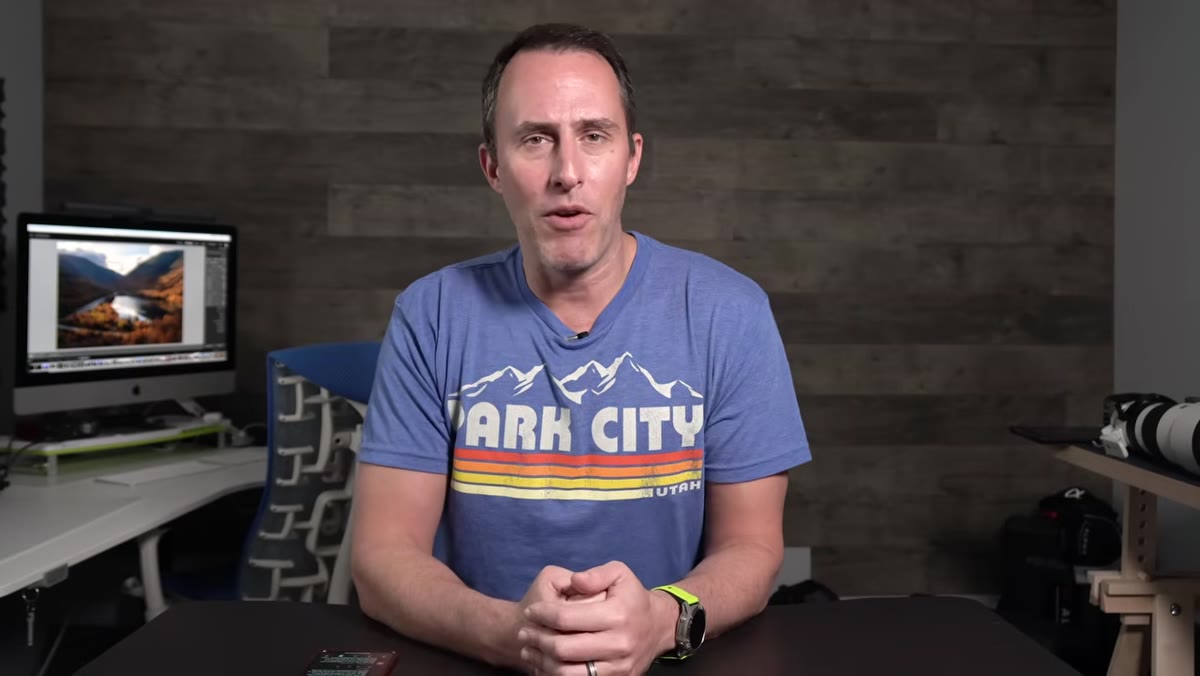
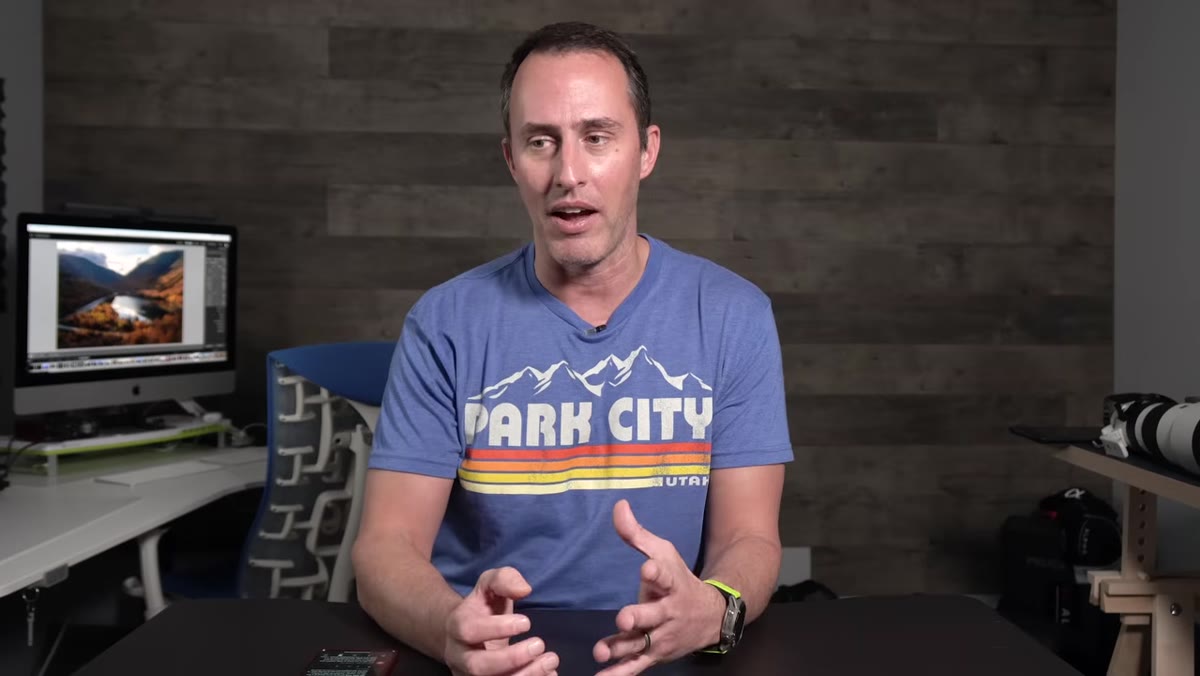 Matt describing the workflow relationship between Lightroom and Photoshop
One of the more useful reframes in this tutorial is treating Lightroom and Photoshop as sequential stages of a single workflow rather than as alternatives fighting for the same job. Lightroom handles your raw processing: exposure, color grading, lens corrections, noise reduction at a global level. Photoshop handles the surgical work: compositing, healing, advanced masking, anything that requires working at the pixel level.
Matt describing the workflow relationship between Lightroom and Photoshop
One of the more useful reframes in this tutorial is treating Lightroom and Photoshop as sequential stages of a single workflow rather than as alternatives fighting for the same job. Lightroom handles your raw processing: exposure, color grading, lens corrections, noise reduction at a global level. Photoshop handles the surgical work: compositing, healing, advanced masking, anything that requires working at the pixel level.
When you think about it that way, the question “do you need Photoshop?” becomes less about status and more about what the specific image actually requires. Some photos need both. Some need only the first stage. Very few benefit from skipping the first stage entirely and jumping straight to Photoshop, unless you enjoy doing things the hard way, which, no judgment, I’ve been there.
Step 5: Let the Photo Tell You What It Needs
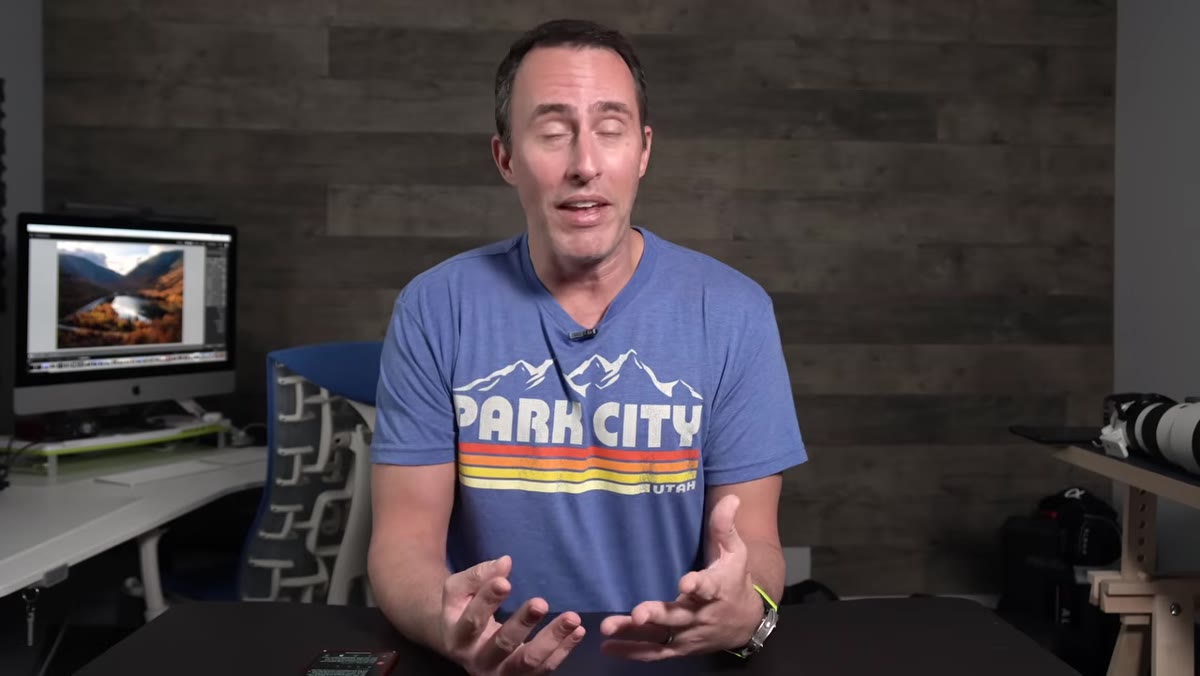 Matt reviewing a portfolio photo that required only Lightroom editing
The throughline of the whole tutorial is this: the photo tells you what it needs, not the other way around. Matt makes the point that when a photo only needs Lightroom work, that’s actually a win. It means the conditions were good, the shot was well-planned, and the fundamentals were solid. It’s not a shortcut. It’s evidence that things went right.
Matt reviewing a portfolio photo that required only Lightroom editing
The throughline of the whole tutorial is this: the photo tells you what it needs, not the other way around. Matt makes the point that when a photo only needs Lightroom work, that’s actually a win. It means the conditions were good, the shot was well-planned, and the fundamentals were solid. It’s not a shortcut. It’s evidence that things went right.
This is a mindset shift that takes a while to internalize, especially if you learned editing in an environment where complexity was treated as credibility. The best edit is the one that achieves the result with the least friction. Sometimes that’s a five-minute Lightroom session. Sometimes that’s two hours in Photoshop. Both are valid. Neither is inherently more impressive.
What I’d Add From My Own Experience
I spent the first couple of years of my freelance career treating Photoshop as the “real” work and Lightroom as a pit stop. It cost me time, and occasionally it cost me clients who wanted faster turnarounds. The shift happened when a friend watched me spend forty minutes on a Photoshop adjustment and asked why I hadn’t just used Lightroom’s HSL panel. I didn’t have a good answer.
The practical upshot: before you send anything to Photoshop, ask yourself one question. Is there something I need to do to specific pixels, or am I just adjusting how the image looks? If it’s the latter, Lightroom can probably handle it. If it’s the former, open Photoshop and don’t feel bad about it. That single filter has saved me more time than any keyboard shortcut I’ve ever memorized, and I have strong opinions about keyboard shortcuts.
The most valuable thing Matt Kloskowski’s tutorial does is give you permission to stop treating the Lightroom-vs-Photoshop question as a values statement and start treating it as a workflow decision. Use the tool that solves the problem. The photo doesn’t care which app you used.
Watch the full tutorial on YouTube to see the actual before-and-after comparisons and the specific wildlife example that makes the Photoshop case most clearly.
Comments
Leave a Comment