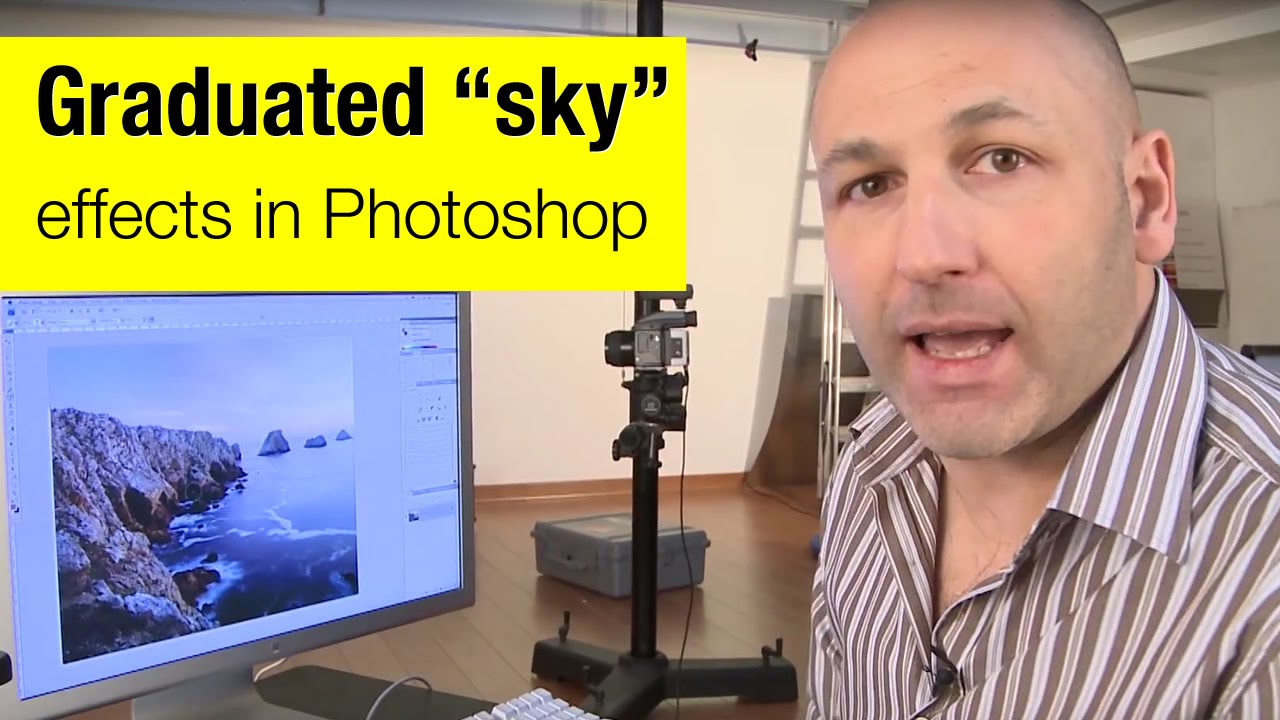
There’s a specific kind of frustration that hits when you’ve got a genuinely great shot — good composition, interesting foreground, strong light — and the sky is just… beige. Flat, washed-out, completely uninspiring. You know the image has something, but the sky is dragging it down. I’ve been there more times than I’d like to admit, and my usual instinct was to reach for Hue/Saturation or start messing with Curves until something looked vaguely better. That approach works, but it’s blunt. It doesn’t give you the warm, graduated feel of an actual physical filter on the lens.
That’s exactly the problem this technique solves. In this Visual Education tutorial, Carl Taylor walks through a genuinely clever workaround: using a color-sampled gradient on a new layer with a specific blend mode to mimic the effect of a graduated color filter. The whole thing takes a couple of minutes, it’s non-destructive if you want it to be, and the results are subtle enough to look real. Let’s break it down step by step.
Step 1: Create a New Empty Layer
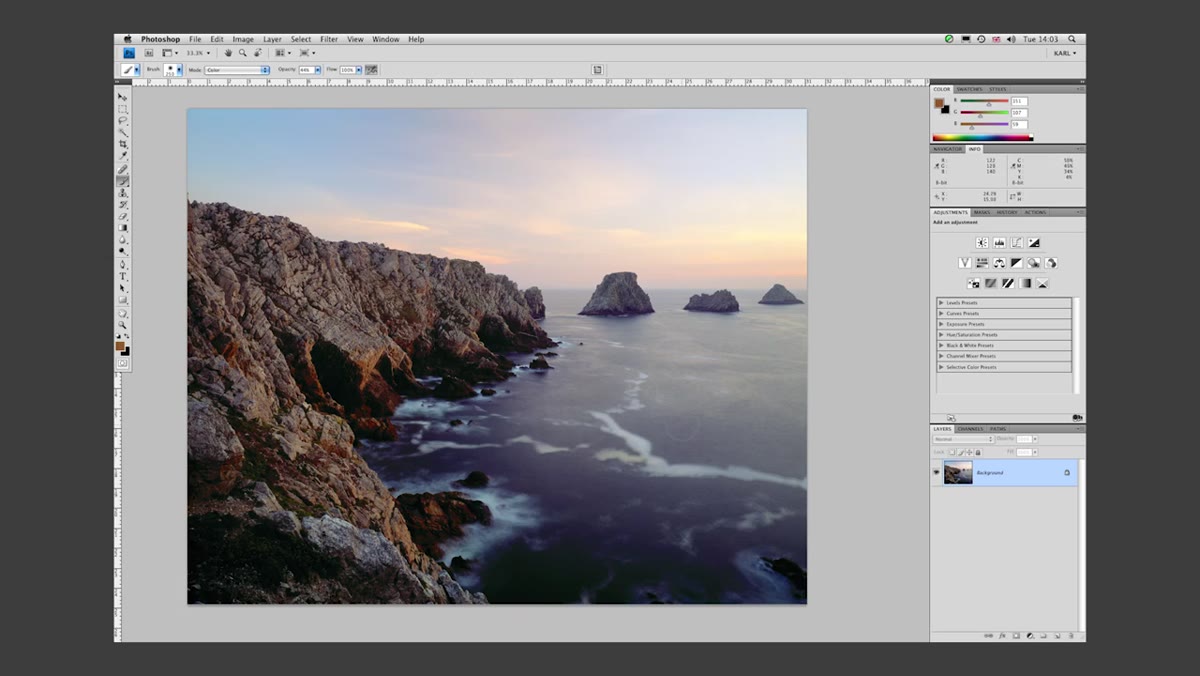 New empty layer created above the photo layer
Before touching anything else, create a new empty layer above your image. Click the new layer icon at the bottom of the Layers panel — the little square with a folded corner. Don’t duplicate the background. Don’t add an adjustment layer. Just a plain, blank layer. Everything you’re about to do lives here, separate from your original image, which means you can throw it away and start over without any damage to the photo underneath.
New empty layer created above the photo layer
Before touching anything else, create a new empty layer above your image. Click the new layer icon at the bottom of the Layers panel — the little square with a folded corner. Don’t duplicate the background. Don’t add an adjustment layer. Just a plain, blank layer. Everything you’re about to do lives here, separate from your original image, which means you can throw it away and start over without any damage to the photo underneath.
Step 2: Sample a Color from the Image Using the Eyedropper
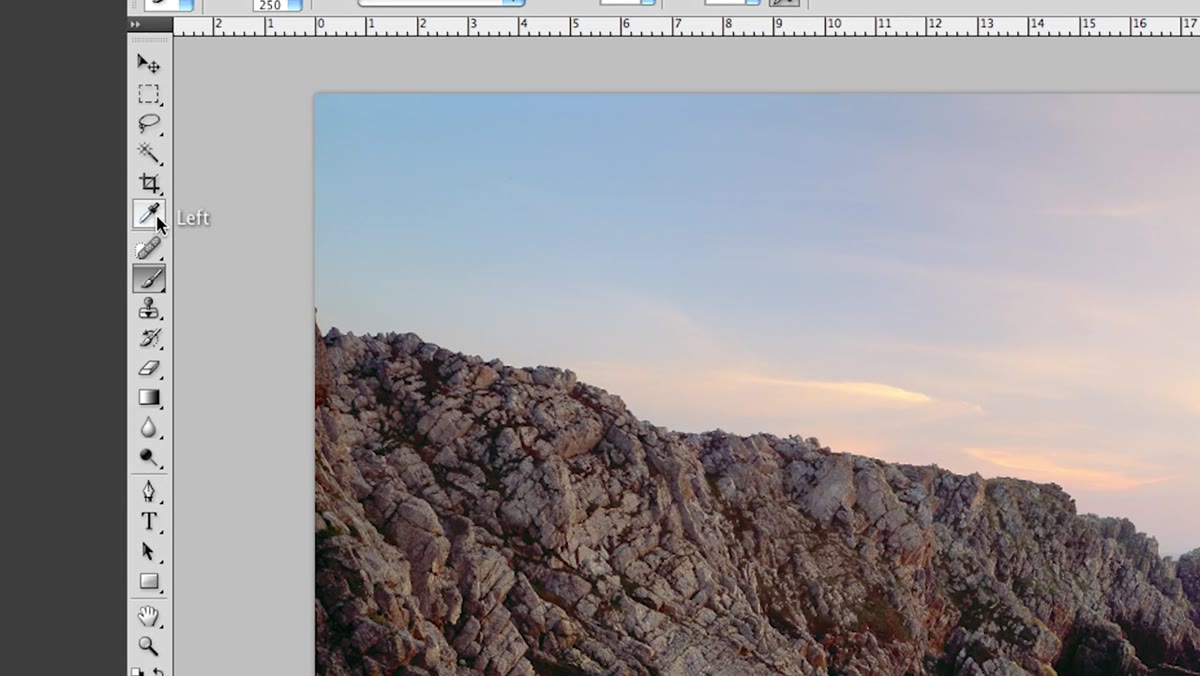 Eyedropper tool sampling warm tone from the rocks
This is the part that makes the technique feel cohesive rather than slapped-on. Instead of picking an arbitrary blue or purple from the color picker, grab the Eyedropper tool and sample a color that already exists in your scene. In the tutorial, Carl pulls a warm orangey-brown tone from the rocks in the foreground. That color already belongs to the image, so when it bleeds into the sky it reads as natural light rather than a tacked-on filter.
Eyedropper tool sampling warm tone from the rocks
This is the part that makes the technique feel cohesive rather than slapped-on. Instead of picking an arbitrary blue or purple from the color picker, grab the Eyedropper tool and sample a color that already exists in your scene. In the tutorial, Carl pulls a warm orangey-brown tone from the rocks in the foreground. That color already belongs to the image, so when it bleeds into the sky it reads as natural light rather than a tacked-on filter.
Click the foreground color swatch to open the color picker, or just activate the Eyedropper and click directly on the area of the image you want to sample. Rocks, sand, warm shadow areas — anything with that golden or amber quality works well for sunrise and sunset skies. The logic here is simple: warm light from the horizon hits everything, so borrowing that tone from the ground and pushing it upward feels physically believable.
Step 3: Set Up the Gradient Tool
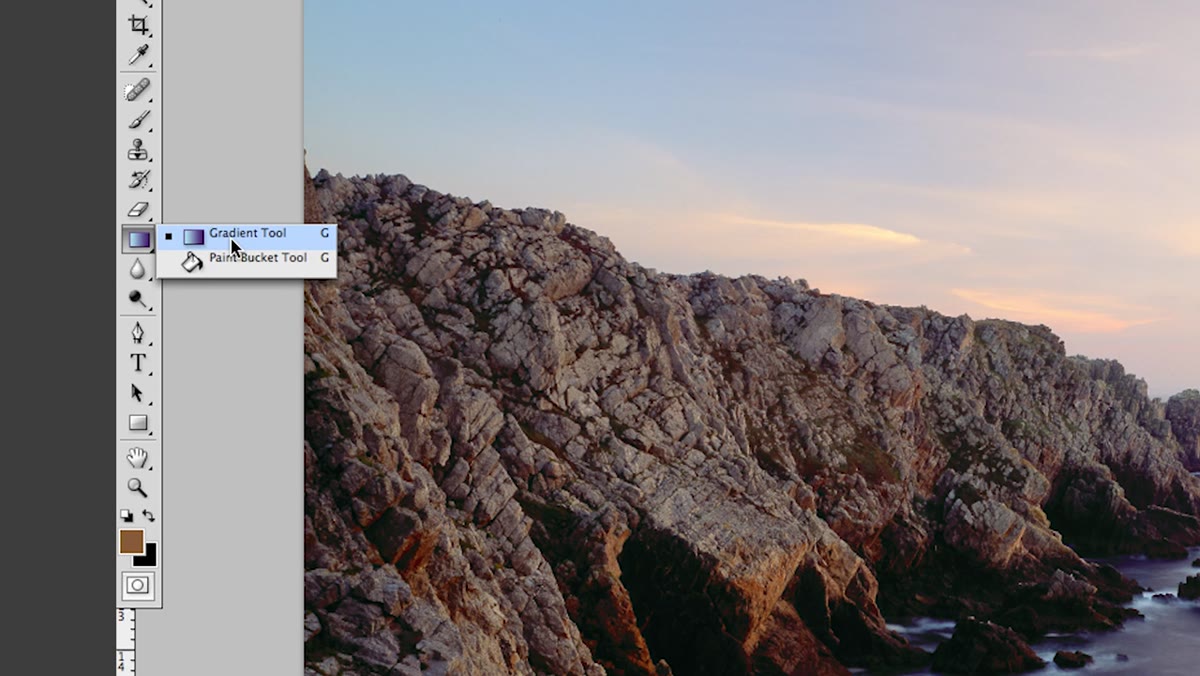 Gradient tool selected with foreground to transparent option active
Switch to the Gradient tool (G on the keyboard, which is honestly one of the more satisfying shortcuts to use). In the options bar at the top, make sure you’re using the linear gradient style and, critically, select the “Foreground to Transparent” preset. This is not Foreground to Background. You want the color to fade out completely as it moves down the image, leaving the lower portions of your photo untouched.
Gradient tool selected with foreground to transparent option active
Switch to the Gradient tool (G on the keyboard, which is honestly one of the more satisfying shortcuts to use). In the options bar at the top, make sure you’re using the linear gradient style and, critically, select the “Foreground to Transparent” preset. This is not Foreground to Background. You want the color to fade out completely as it moves down the image, leaving the lower portions of your photo untouched.
Check that the opacity for the gradient is at 100% in the options bar. You’ll dial things back using the blend mode in a moment, so start at full strength here.
Step 4: Drag the Gradient Across the Sky
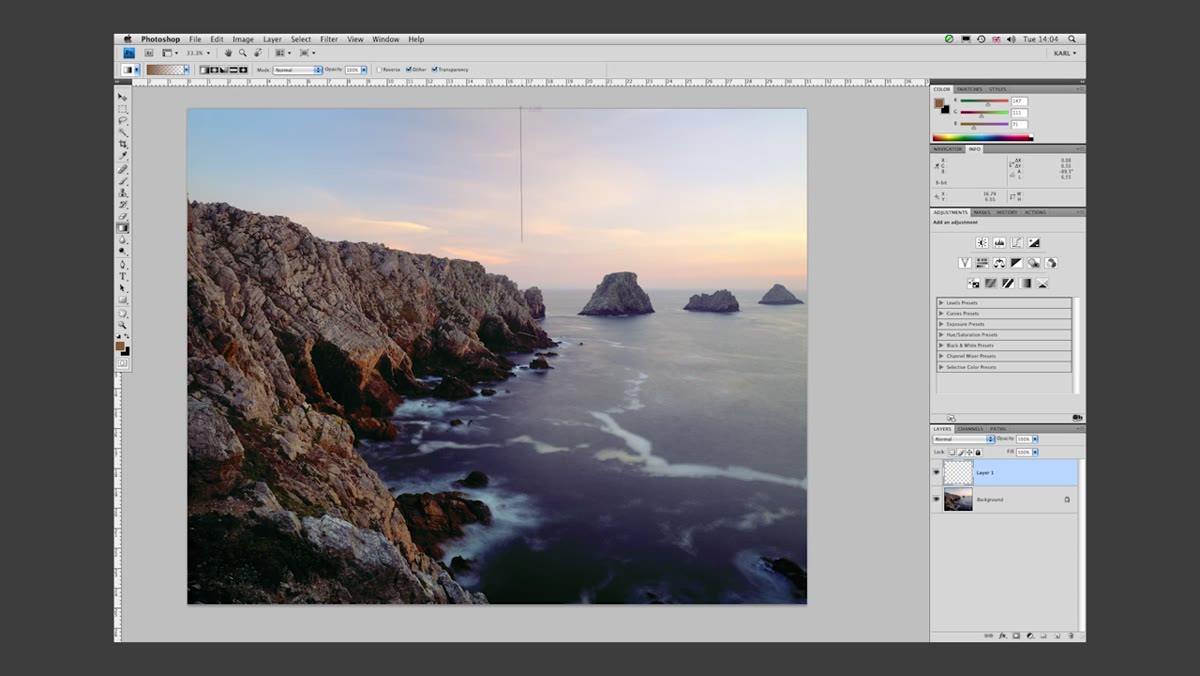 Gradient being dragged from top of image downward
Make sure your new empty layer is selected in the Layers panel, not the photo. Then click at the top of the image and drag downward. The point where you release the mouse determines how far the gradient extends into the frame. Releasing around the horizon line is a reasonable starting point, but experiment. The gradient can extend further down than you think looks good at this stage because the blend mode in the next step will transform how it appears dramatically.
Gradient being dragged from top of image downward
Make sure your new empty layer is selected in the Layers panel, not the photo. Then click at the top of the image and drag downward. The point where you release the mouse determines how far the gradient extends into the frame. Releasing around the horizon line is a reasonable starting point, but experiment. The gradient can extend further down than you think looks good at this stage because the blend mode in the next step will transform how it appears dramatically.
Right now, on Normal mode, it looks like someone threw mud at a foggy window. That’s expected. Don’t panic and don’t start over.
Step 5: Apply the Vivid Light Blend Mode
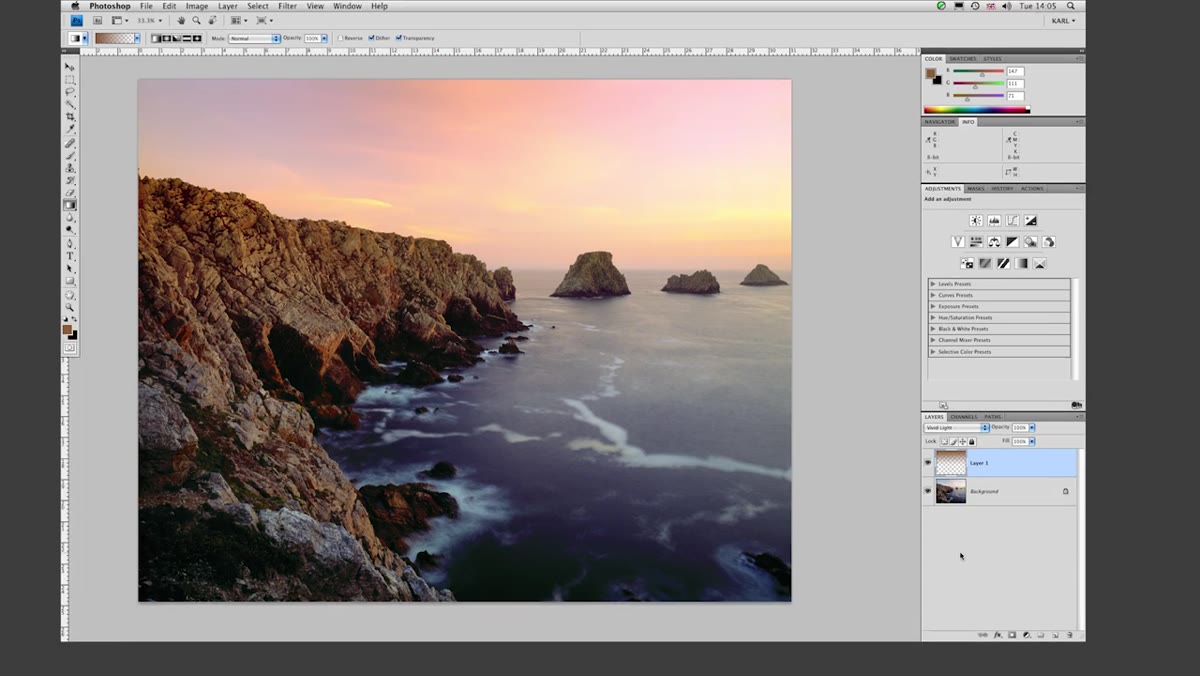 Blend mode dropdown showing Vivid Light selected on gradient layer
Here’s where the magic actually happens. With the gradient layer selected, open the blend mode dropdown in the Layers panel (it defaults to “Normal”) and choose Vivid Light. Toggle the layer visibility on and off with the eye icon and you’ll see exactly what it’s contributing: a richer, more saturated sky with enhanced warmth in the highlights, particularly in any existing cloud detail or pale areas near the horizon.
Blend mode dropdown showing Vivid Light selected on gradient layer
Here’s where the magic actually happens. With the gradient layer selected, open the blend mode dropdown in the Layers panel (it defaults to “Normal”) and choose Vivid Light. Toggle the layer visibility on and off with the eye icon and you’ll see exactly what it’s contributing: a richer, more saturated sky with enhanced warmth in the highlights, particularly in any existing cloud detail or pale areas near the horizon.
Vivid Light works here because it simultaneously burns darks and dodges lights based on the blend color, which amplifies the existing tonal contrast in the sky rather than just dumping a flat color wash over it. Other modes worth testing are Overlay (softer, more natural), Multiply (darker, moodier), and Color (changes hue only, preserves luminosity). The right choice depends on your image, but Vivid Light is a strong first option for skies with any warmth or drama already present.
Step 6: Clean Up the Overlap with a Soft Eraser
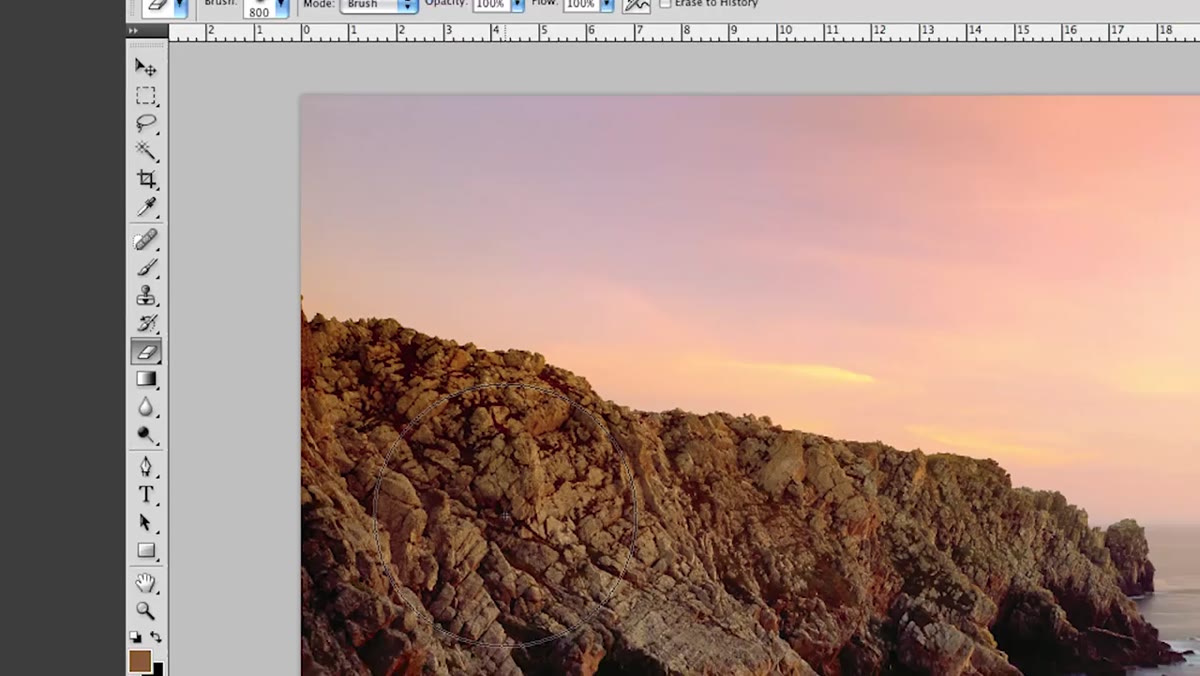 Eraser tool softly removing gradient from the cliff edges
If the gradient is creeping over your horizon line and affecting the landscape below the sky, you need to remove it from those areas. The quick approach, which Carl uses here, is the Eraser tool with a soft-edged brush. Drop the brush opacity to somewhere between 20% and 40% so you’re removing the effect gradually rather than all at once. Build up multiple passes near the edge of the horizon for a smooth, natural-looking transition.
Eraser tool softly removing gradient from the cliff edges
If the gradient is creeping over your horizon line and affecting the landscape below the sky, you need to remove it from those areas. The quick approach, which Carl uses here, is the Eraser tool with a soft-edged brush. Drop the brush opacity to somewhere between 20% and 40% so you’re removing the effect gradually rather than all at once. Build up multiple passes near the edge of the horizon for a smooth, natural-looking transition.
The cleaner approach is to add a layer mask instead of erasing directly, which lets you paint back anything you accidentally remove. Either way works. If this is a one-and-done job and you’re confident in your strokes, the eraser is faster. If the edge between sky and landscape is complex — trees, buildings, anything with fine detail – use the mask.
Step 7: Optional Airbrush Pass for Extra Detail
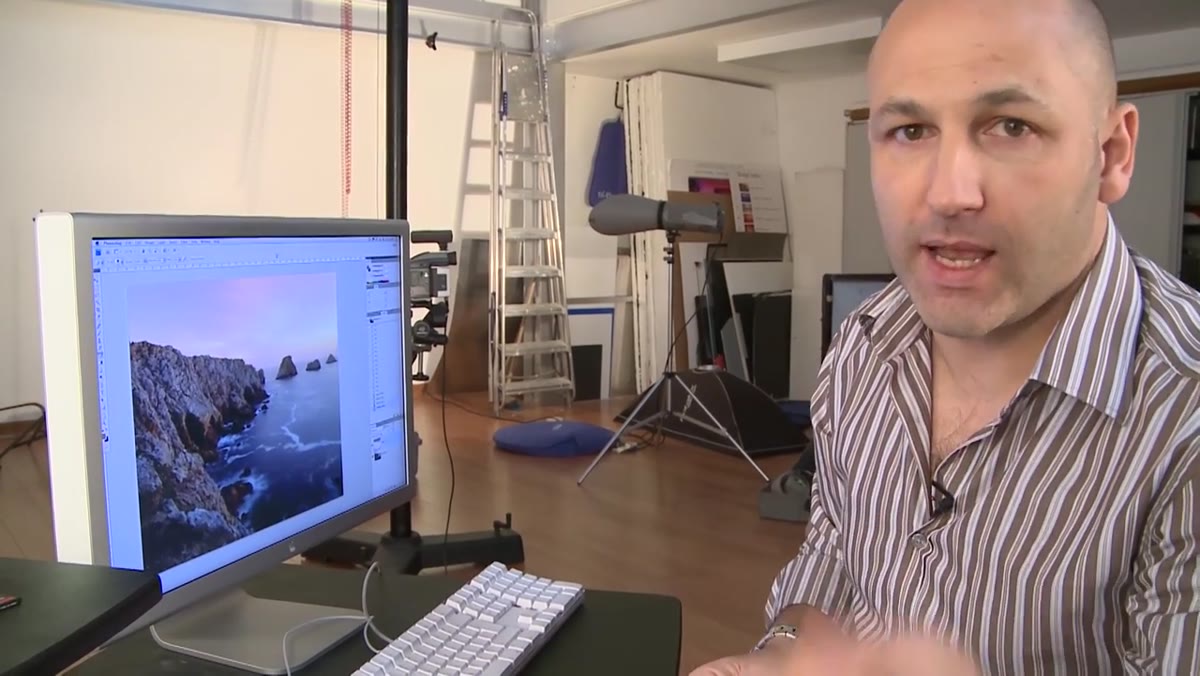 New layer above gradient with airbrush being painted into sky area
Carl briefly mentions one extra step that I think is underrated: adding another empty layer on top and using a low-opacity airbrush to hand-paint additional color into specific parts of the sky. This is useful if you want one area to be warmer or more saturated than another, like pushing extra glow near where the sun would be sitting. Keep the opacity low (10 to 20%), use the same blend mode logic as before, and build up color slowly. It sounds fiddly but it takes about 30 seconds and the results can look remarkably organic.
New layer above gradient with airbrush being painted into sky area
Carl briefly mentions one extra step that I think is underrated: adding another empty layer on top and using a low-opacity airbrush to hand-paint additional color into specific parts of the sky. This is useful if you want one area to be warmer or more saturated than another, like pushing extra glow near where the sun would be sitting. Keep the opacity low (10 to 20%), use the same blend mode logic as before, and build up color slowly. It sounds fiddly but it takes about 30 seconds and the results can look remarkably organic.
My Take: This Works Better Than You’d Think
I’ll be honest, the first time I tried a colored gradient on a photo layer my reaction was “this looks terrible.” The before-mode stage genuinely looks awful, and if you didn’t know to change the blend mode you’d close the file and never try it again. The technique lives or dies on that Vivid Light step, and that’s not obvious without someone showing you.
What I’d add from my own use: sample your color from a slightly warmer area than you think you need. The blend mode desaturates things a touch, so going a bit bolder on the sample color tends to give a more visible result without having to stack multiple gradient layers. Also, this pairs extremely well with a sky replacement if you’re already doing one – you can use the same gradient layer to warm a replacement sky so it matches the temperature of the foreground light.
The real lesson here is that a convincing graduated filter effect doesn’t require a plugin, a subscription add-on, or even a selection. A blank layer, a sampled color, and the right blend mode get you most of the way there. Simple tools, used with intention, still do most of the work.
Watch the full tutorial on YouTube to see Carl walk through it on the actual image – seeing the before and after toggle in real time is genuinely convincing.
Comments
Leave a Comment