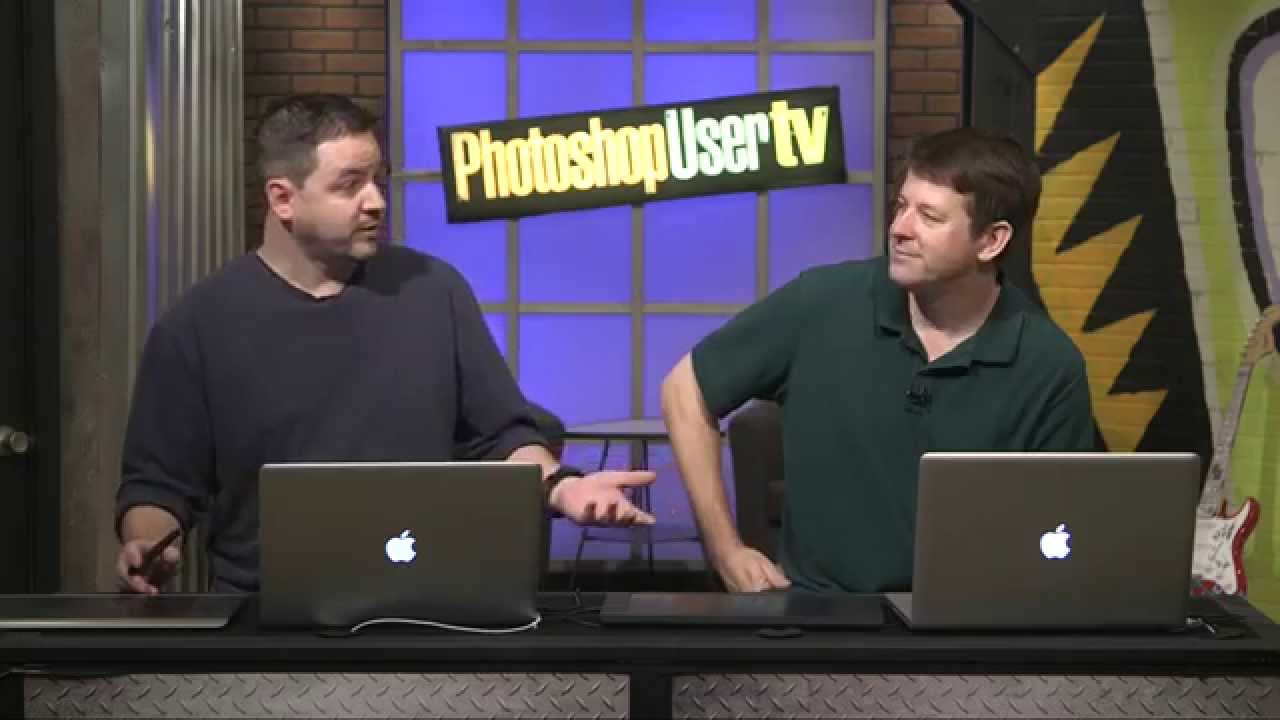
I’ll be straight with you: I avoided Photoshop’s 3D tools for an embarrassingly long time. Every time I cracked open that menu it felt like I’d wandered into someone else’s software. Then I watched Cory Barker work through a Lego man build on Photoshop User TV and something finally clicked. Not because the technique is simple, exactly, but because he frames it around shapes you already understand. Cylinders. Rounded boxes. Half-profiles that get spun into full objects. That’s a mental model I can actually hold onto.
In this KelbyOne tutorial from Episode 373, Cory focuses specifically on the Lego man’s head because it’s the part that teaches you the most important 3D concept in Photoshop: the difference between extruding a shape and revolving one. If you’ve ever wondered why your 3D objects look like flat cardboard pushed forward instead of actual rounded forms, this is the episode that explains why, and more importantly, how to fix it. Watch the full tutorial on YouTube and follow along below.
Step 1: Find a Blueprint Reference Image
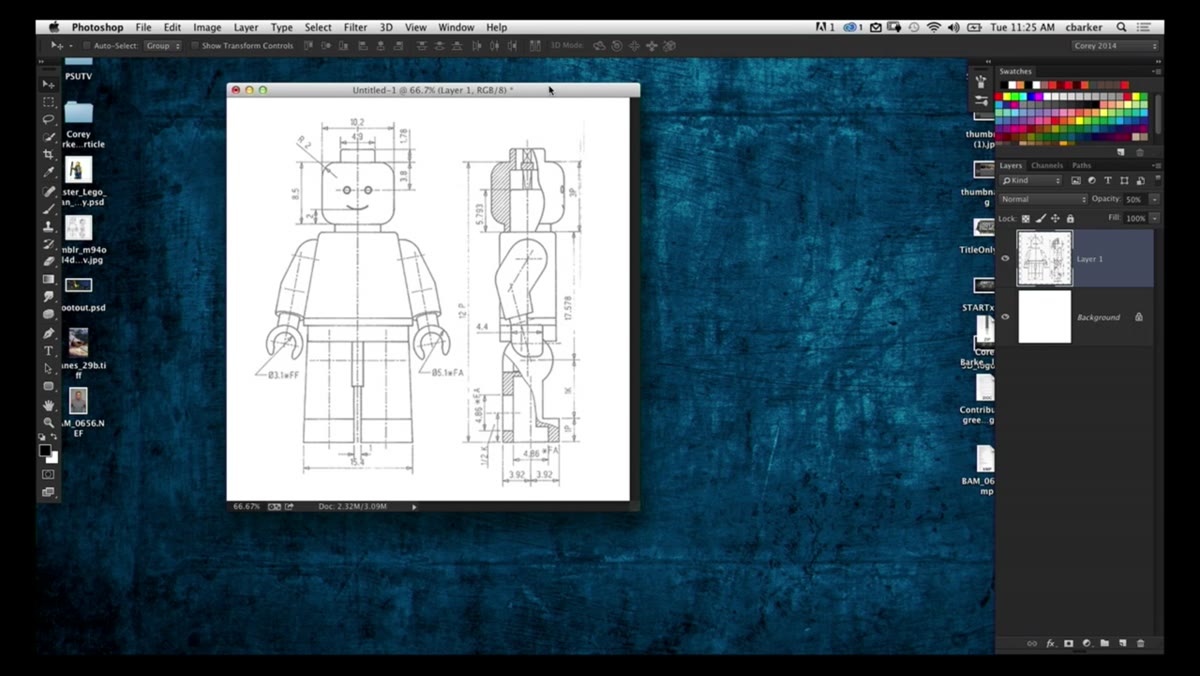 Lego man blueprint with front and side view diagrams
Before you touch a single tool, do what Cory does: Google “Lego man blueprint” and grab one of the technical diagrams that comes back. These aren’t just pretty pictures. They give you a front view and a side profile, which is exactly what 3D modelers use as reference when building from scratch. Drop the image into a new Photoshop document and zoom into the head section. You’ll notice there’s already a centerline running straight down the middle of the front view, which saves you the step of setting a guide manually.
Lego man blueprint with front and side view diagrams
Before you touch a single tool, do what Cory does: Google “Lego man blueprint” and grab one of the technical diagrams that comes back. These aren’t just pretty pictures. They give you a front view and a side profile, which is exactly what 3D modelers use as reference when building from scratch. Drop the image into a new Photoshop document and zoom into the head section. You’ll notice there’s already a centerline running straight down the middle of the front view, which saves you the step of setting a guide manually.
This reference-first habit is worth building into every 3D project you attempt in Photoshop. Trying to eyeball proportions on a 3D object is a reliable way to spend three hours tweaking something that still looks wrong.
Step 2: Draw Half the Head Shape with the Pen Tool
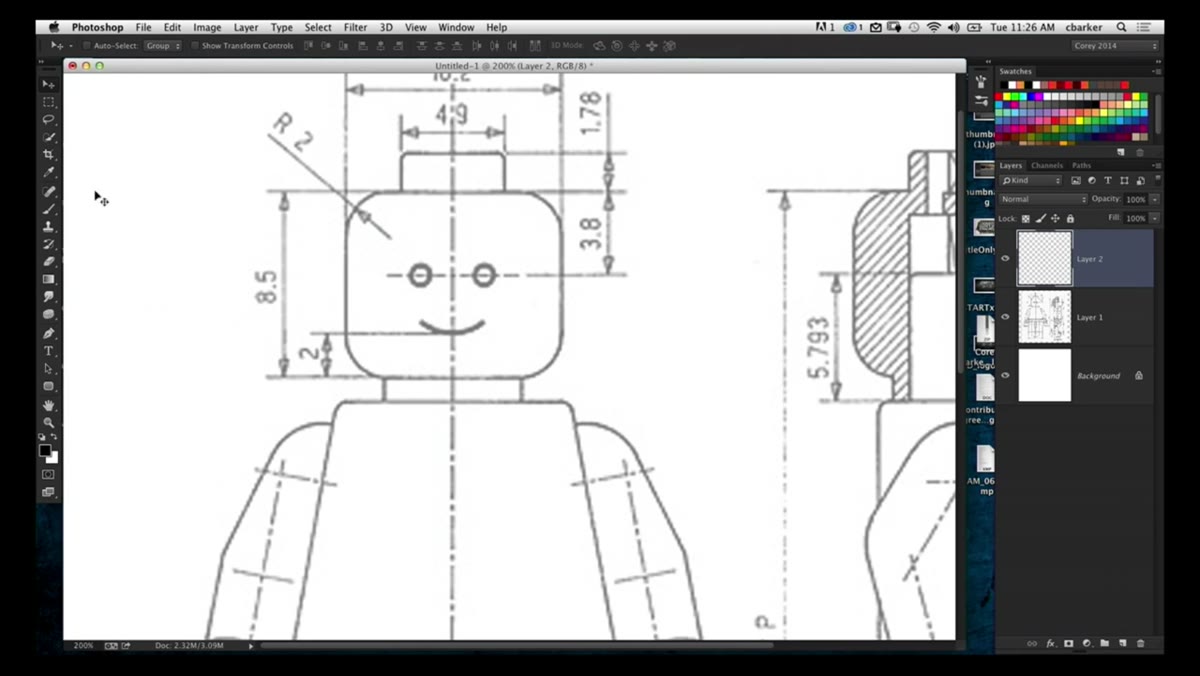 Pen tool path drawn along the left half of the Lego head
Create a new blank layer, grab the Pen tool, and trace only the left half of the head profile. Start at the top of the centerline and work your way down. Use Shift-click to keep your straight segments locked to 45 or 90 degree angles where the shape is flat. Where the head curves outward at the sides, click and drag instead of just clicking to pull out a Bezier handle and give it that soft rounded edge.
Pen tool path drawn along the left half of the Lego head
Create a new blank layer, grab the Pen tool, and trace only the left half of the head profile. Start at the top of the centerline and work your way down. Use Shift-click to keep your straight segments locked to 45 or 90 degree angles where the shape is flat. Where the head curves outward at the sides, click and drag instead of just clicking to pull out a Bezier handle and give it that soft rounded edge.
The key insight here is that you only need half the shape because Photoshop is going to spin it around a central axis to build the full 3D form. Drawing the whole outline would actually work against you. Think of it like a pottery wheel: you only touch one side, and the rotation does the rest. Close out the path by clicking back on your starting point, then fill the shape with that classic Lego yellow before moving on.
Step 3: Extrude the Path into 3D
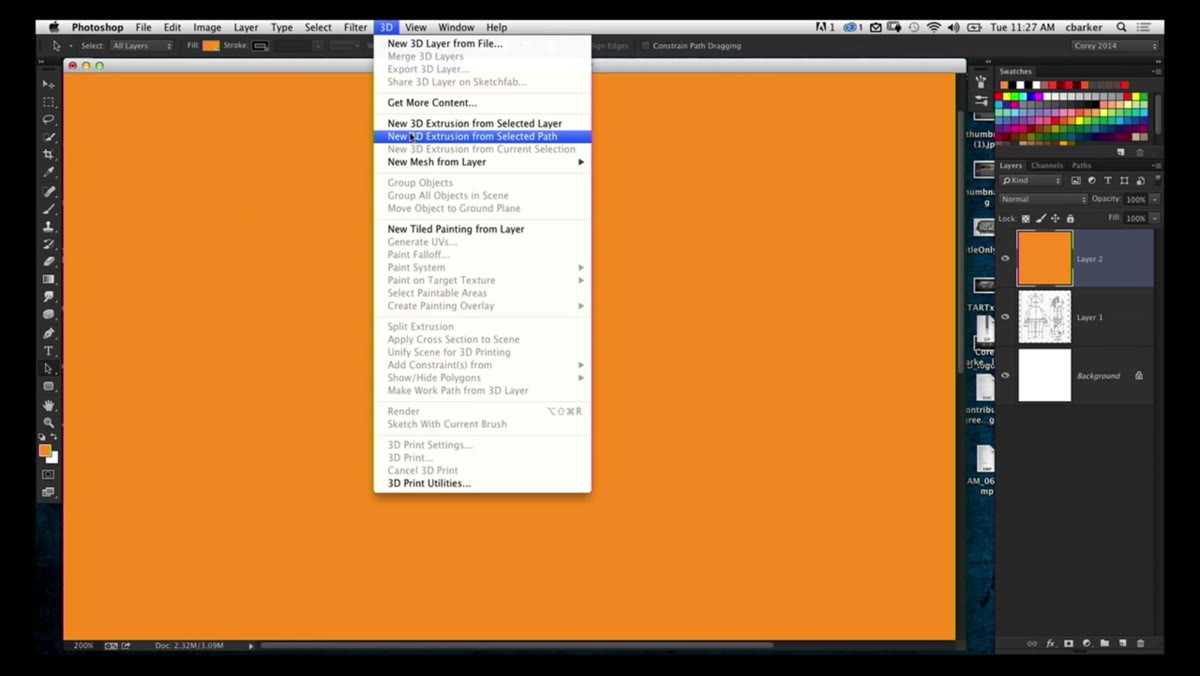 3D extrusion applied to path, showing default extruded shape
With your path layer selected, go to 3D, then choose “New 3D Extrusion from Selected Path.” Photoshop will immediately push the shape forward into a 3D object. At this point it’s going to look completely wrong, like someone pressed a Lego head profile into a loaf of bread. That’s expected. The default behavior is extrusion, which just shoves the flat shape straight back in space. What you actually want is a revolve, and that requires one more step in the Properties panel.
3D extrusion applied to path, showing default extruded shape
With your path layer selected, go to 3D, then choose “New 3D Extrusion from Selected Path.” Photoshop will immediately push the shape forward into a 3D object. At this point it’s going to look completely wrong, like someone pressed a Lego head profile into a loaf of bread. That’s expected. The default behavior is extrusion, which just shoves the flat shape straight back in space. What you actually want is a revolve, and that requires one more step in the Properties panel.
Don’t panic when you see the weird default result. Every person who has touched Photoshop 3D has made that same confused face. You’re exactly where you need to be.
Step 4: Switch from Extrusion to Revolve in the Properties Panel
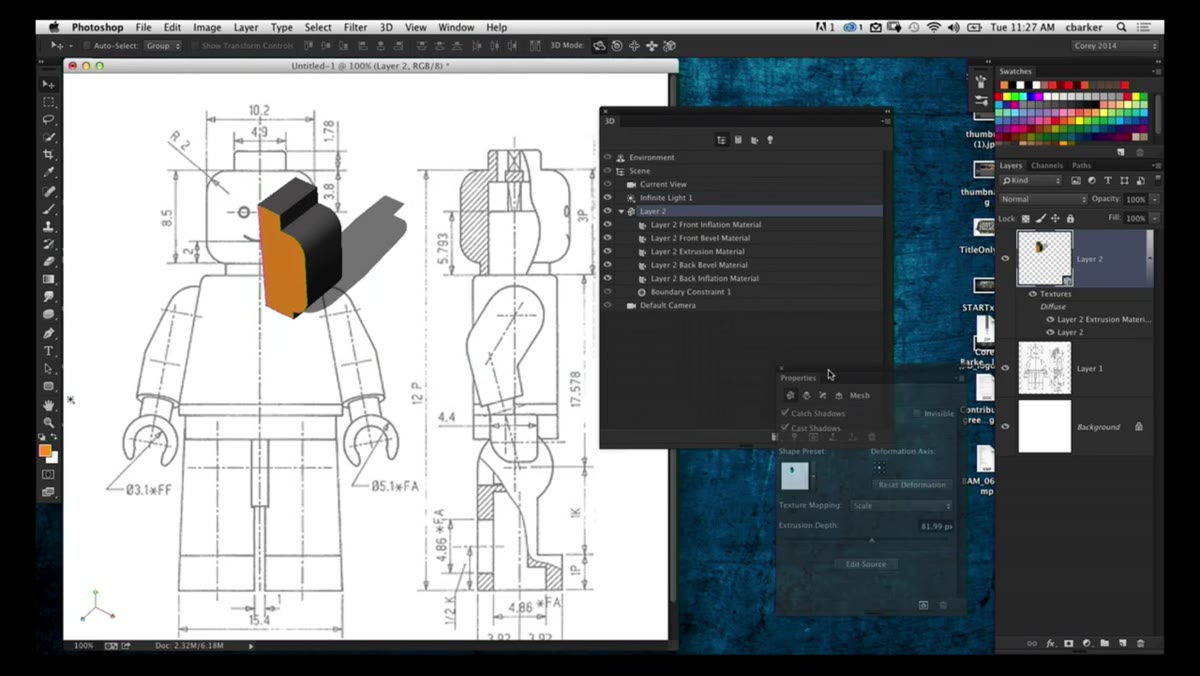 Properties panel open showing Deform tab and deformation axis options
Open the Properties panel (Window, then Properties) and look at the row of icons across the top. You want the one labeled “Deform.” Inside the Deform section, you’ll see a diagram showing the deformation axis with several anchor points around it. Click the anchor point on the left side of that diagram. This tells Photoshop that the flat, straight edge of your half-profile is the axis around which the shape should rotate.
Properties panel open showing Deform tab and deformation axis options
Open the Properties panel (Window, then Properties) and look at the row of icons across the top. You want the one labeled “Deform.” Inside the Deform section, you’ll see a diagram showing the deformation axis with several anchor points around it. Click the anchor point on the left side of that diagram. This tells Photoshop that the flat, straight edge of your half-profile is the axis around which the shape should rotate.
Once you’ve set the axis anchor, look for the revolve angle control in the same panel. Drag it up to 360 degrees and watch the magic happen. Photoshop sweeps your half-profile all the way around that left edge and builds a fully rounded, symmetrical 3D object. That flat Lego head shape you drew suddenly looks like an actual head. The detail work comes later, but this is the moment the whole idea proves itself.
Step 5: Position and Light the Object
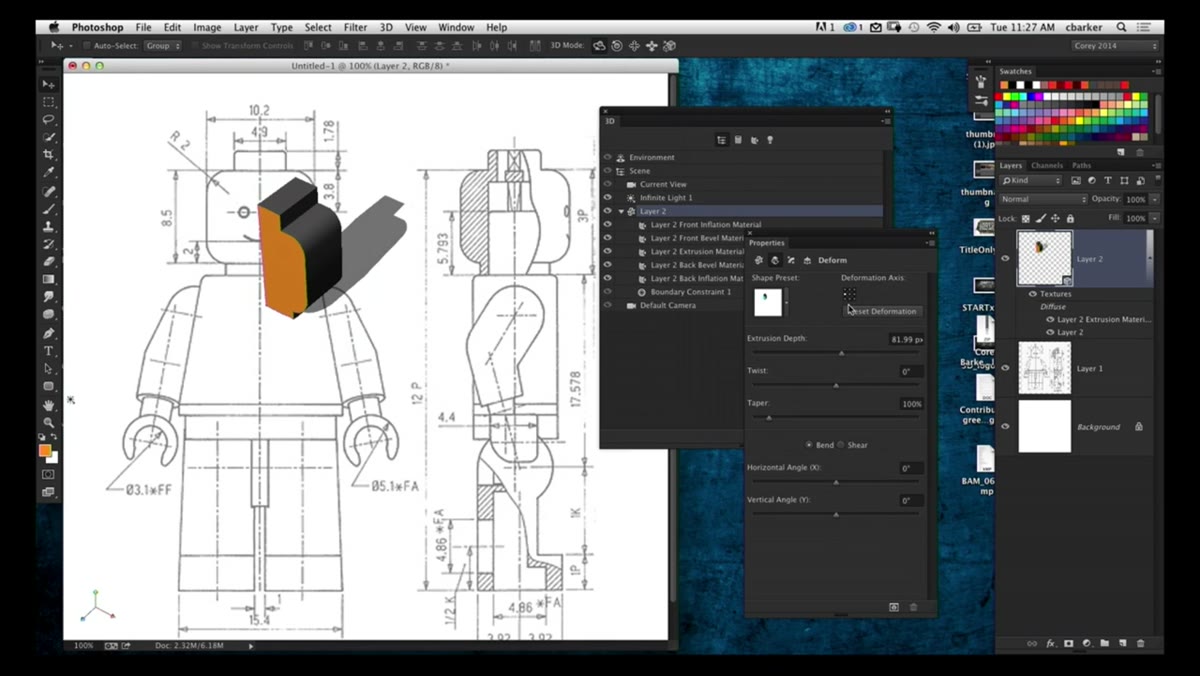 Completed revolve showing rounded Lego head in 3D space
Use the 3D axis widget that appears on the object to rotate and position the head in your scene. The widget has colored arrows and rotation rings: the arrows move the object along each axis, and the rings let you spin it in place. Get comfortable with clicking directly on the widget controls rather than trying to drag the object freehand, which tends to send things flying off into the distance.
Completed revolve showing rounded Lego head in 3D space
Use the 3D axis widget that appears on the object to rotate and position the head in your scene. The widget has colored arrows and rotation rings: the arrows move the object along each axis, and the rings let you spin it in place. Get comfortable with clicking directly on the widget controls rather than trying to drag the object freehand, which tends to send things flying off into the distance.
For lighting, check the 3D panel for the default infinite light that Photoshop adds automatically. You can click and drag the light directly in the canvas to reposition it, or dial in specific angle values in the Properties panel. A slight top-left light source tends to read well on rounded objects and gives that clean, toy-like feel that suits a Lego character perfectly.
What I’d Do Differently (Or Add On Top)
The tutorial stops at the head, which is honestly plenty for one session. But if you want to take this further, the same revolve workflow applies directly to the Lego man’s cylindrical neck stud on top of the head and the rounded peg on the bottom. Draw half the profile of each one, revolve at 360 degrees, and you’ve got matching 3D components that you can align and merge into a single scene.
One thing I’d add from my own bumbling with Photoshop 3D: merge your 3D layers together before you do any serious rendering. Rendering each object separately and then trying to composite them in 2D means your lighting sources won’t match and the shadows will look completely fabricated. Keep everything in one 3D scene so Photoshop handles the light interaction consistently across all the pieces.
The single biggest thing this tutorial teaches isn’t actually about Lego. It’s that revolving a half-profile is almost always the right move for any rounded 3D object in Photoshop, and that changing the deformation axis anchor is what makes the difference between a usable result and a confused mess. Get that workflow into your muscle memory and you’ll stop dreading the 3D menu entirely.
Watch the full tutorial on YouTube to see Cory walk through the 3D panel in real time. Some things are genuinely easier to absorb by watching someone’s mouse move than by reading about it.
Comments (4)
Bookmarked. Coming back to this one for sure.
Wow, I had no idea you could do this. Mind blown.
Bookmarked. Coming back to this one for sure.
Quality content like this is rare. Keep it up.
Leave a Comment