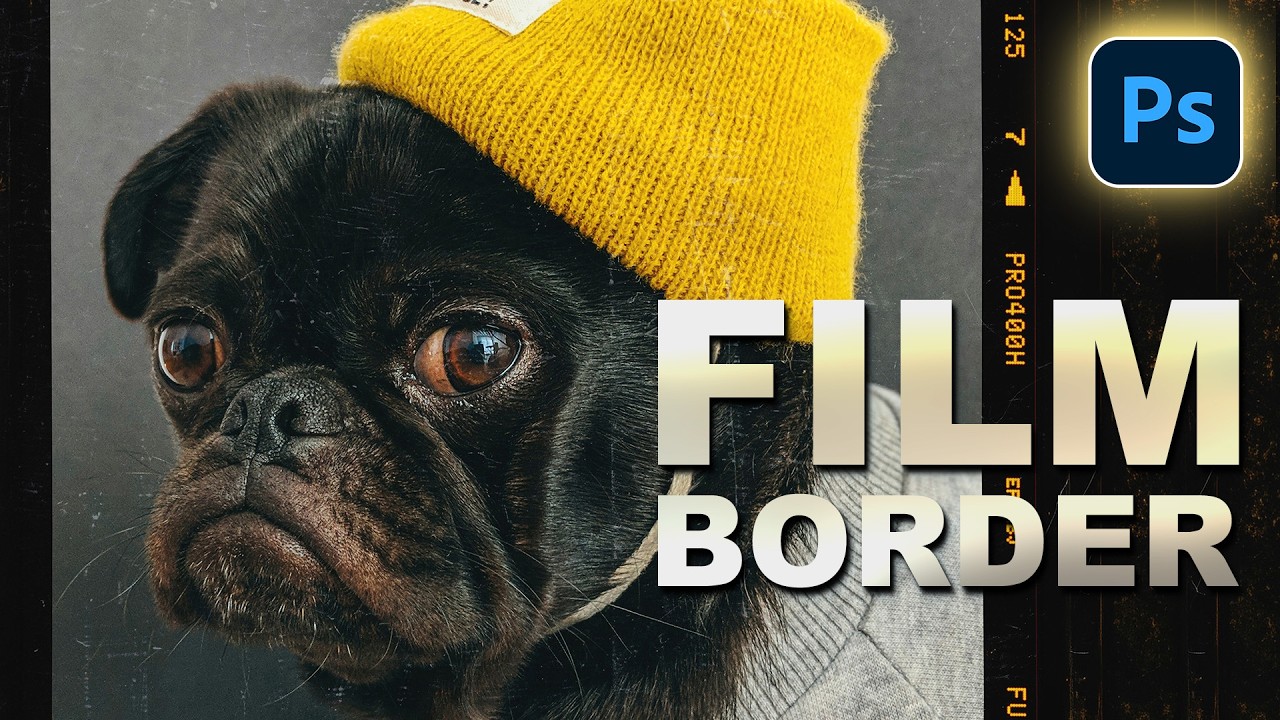
Client asks for a “film feel.” You hand back a vignette and some lifted shadows. They say it looks “digital.” You die a little inside. I’ve been in that exact situation more times than I’d like to admit, and for a while my answer was to throw a VSCO preset at it and hope for the best. The problem is that a color grade alone doesn’t sell the analog look - what really does it is texture and, specifically, a believable film border. That imperfect, slightly wobbly edge that tells your eye “this came out of a camera loaded with actual film.”
Watch the full tutorial on YouTube
In this Aaron Nace (PHLEARN) tutorial, the whole thing gets knocked out in under five minutes - and Aaron even throws in a free PSD with three ready-made film border options so you can skip straight to dragging your photo in and calling it done. But if you want to understand what’s actually happening under the hood (and you should, because that’s how you adapt it), here’s the full breakdown.
Step 1: Get Your Film Border Into Photoshop
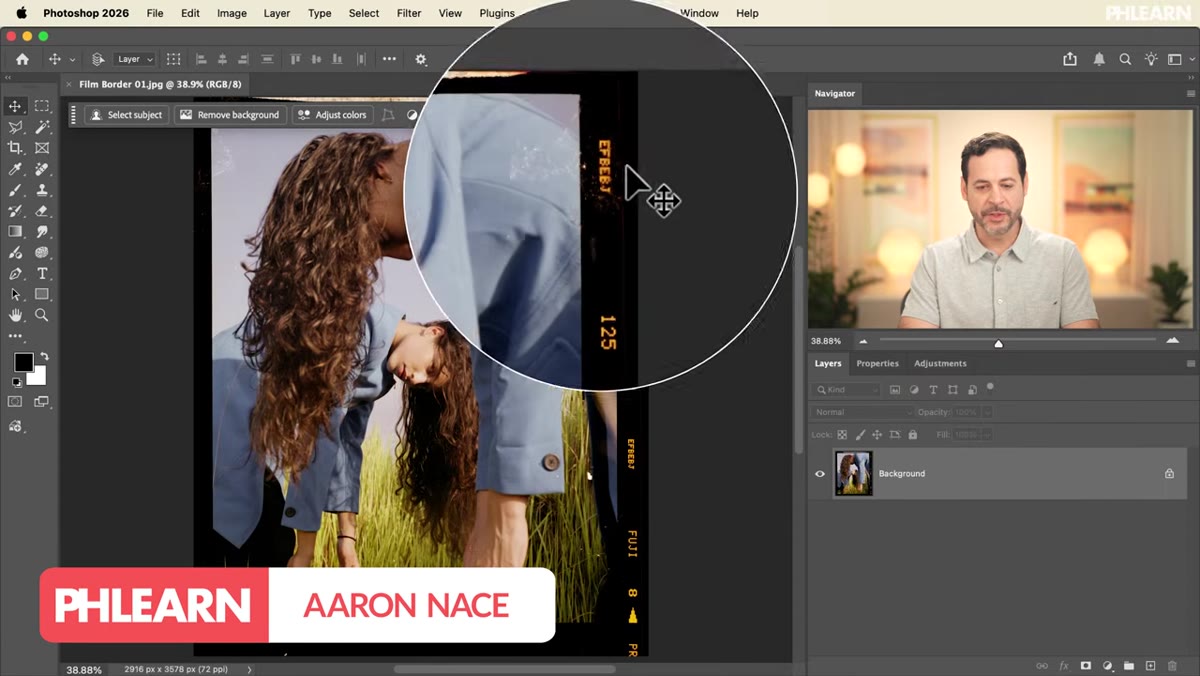 Photoshop open with background image showing completed film border
Start with a film border image. Aaron’s free PSD includes three variations, which is honestly worth grabbing just for the time it saves. If you want to source your own, any free stock site will turn up dozens when you search “film border” - look for something with genuine irregularity along the edges rather than a perfectly geometric frame. The whole point is that analog imperfection, so don’t undercut yourself with something that looks like a rectangle with a stroke applied to it. Open your film border file in Photoshop, then drag your photo straight into the same document. Hit Enter to confirm the placement.
Step 2: Make a Selection Around the Film Window
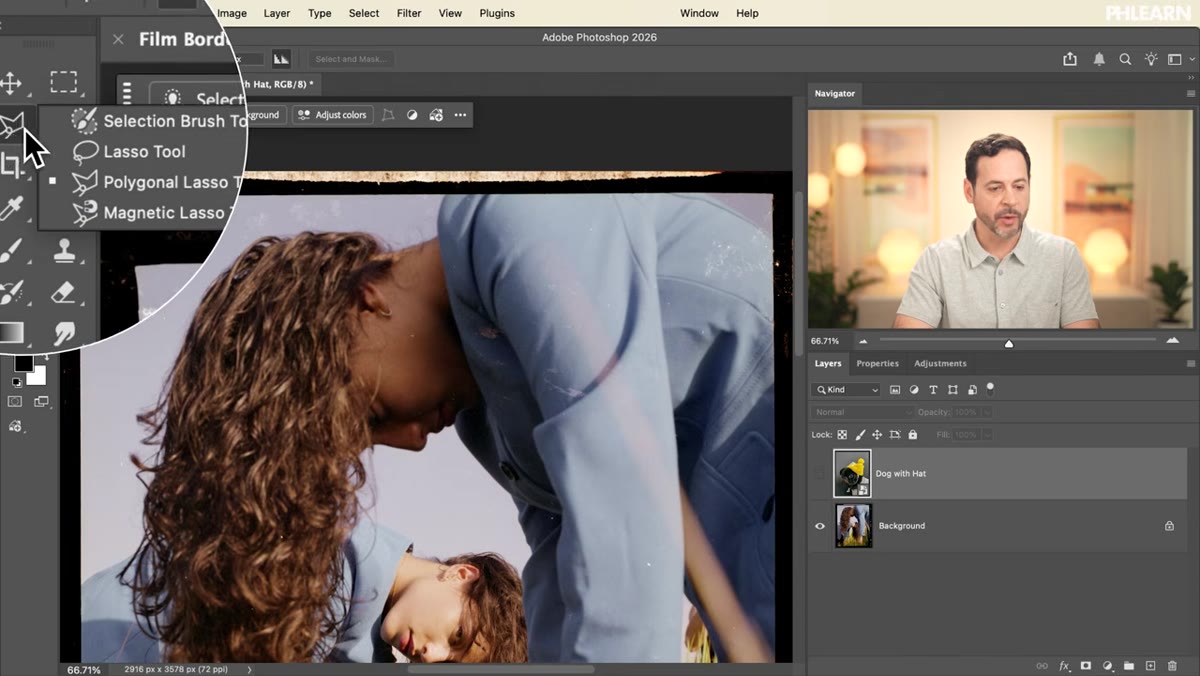 Polygonal Lasso Tool selected in toolbar, zoomed into film border edge
Turn off your photo layer temporarily so you can see the film border clearly. Grab the Polygonal Lasso Tool from the toolbar - it’s nested under the regular Lasso Tool if you don’t see it right away. Zoom in to the inner edge of the film frame, then click around the opening, following that irregular edge. Don’t try to trace it perfectly. The whole reason Aaron uses the Polygonal Lasso here rather than something like Select Subject is that he wants a slightly imprecise, hand-drawn path that mimics how real film frames are never quite true rectangles. A few clicks per side is plenty - you’re going for character, not precision.
Step 3: Apply the Selection as a Layer Mask
 Layer mask icon being clicked in contextual taskbar, photo masked to film opening
Turn your photo layer back on. With your selection still active, click the Layer Mask icon in the contextual taskbar at the bottom of the screen (or go to Layer > Layer Mask > Reveal Selection). Photoshop will instantly clip your photo to the shape of your selection, dropping everything outside the film window. That’s the core of the whole technique - nothing fancy, just a mask applied to a hand-drawn selection. The irregular edges you drew do all the heavy lifting in making this read as authentic.
Step 4: Unlink the Layer Mask So You Can Reposition the Photo
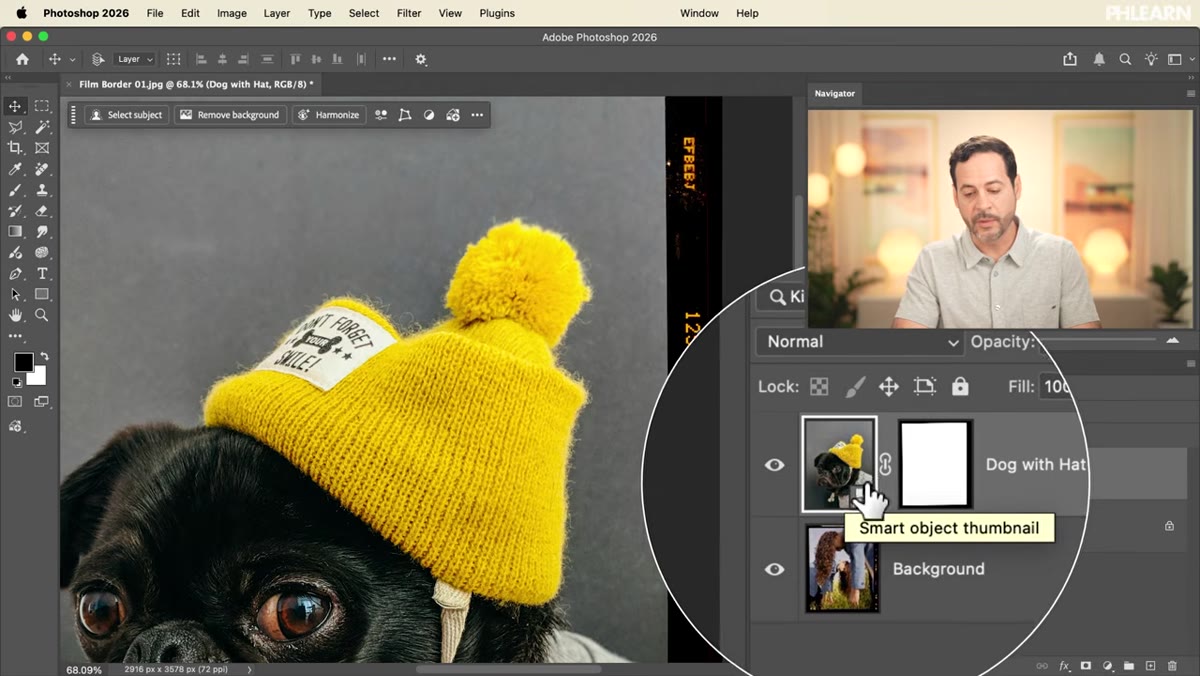 Chain link icon between layer thumbnail and mask thumbnail in Layers panel
Here’s the step that most people skip and then get frustrated by. By default, Photoshop links your layer and its mask together - that little chain icon between the two thumbnails in the Layers panel means they move as one unit. If you try to reposition your photo, the mask moves with it and your film border shifts. That’s not what you want. Click the chain link icon to break that connection. Now you can click directly on the photo thumbnail, hit Command/Ctrl + T for Free Transform, and scale or move your image freely inside the mask. The film border stays exactly where it is while your photo slides around behind it.
Step 5: Drag In a Grain Texture
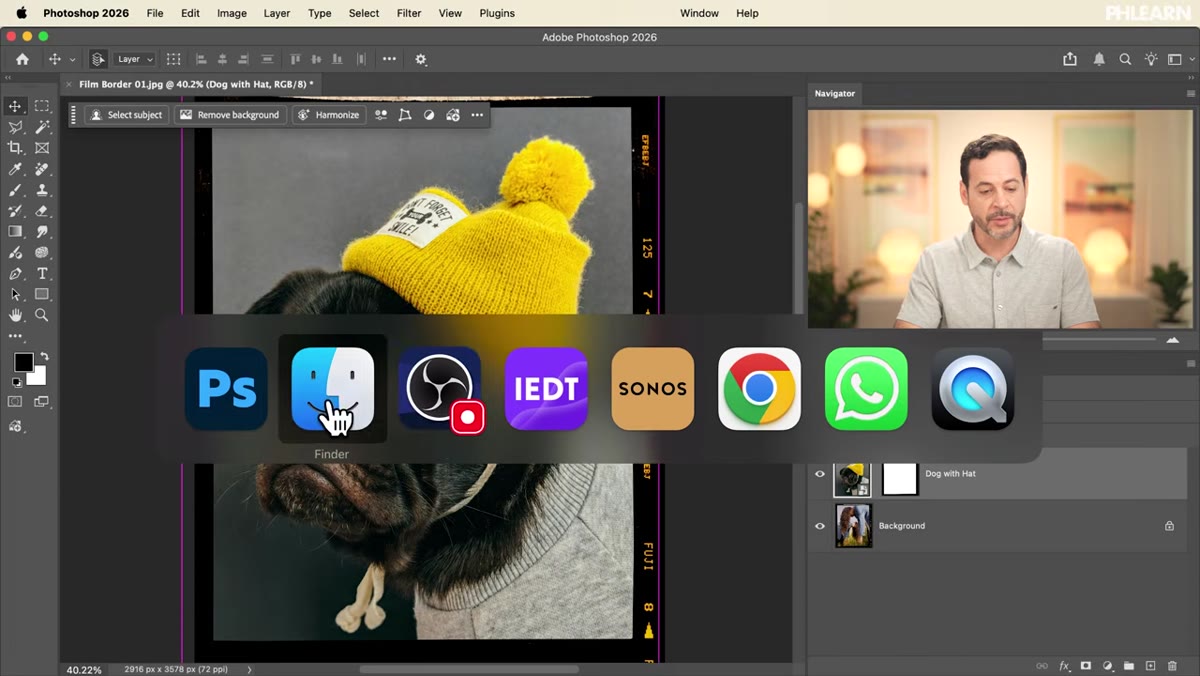 Texture JPEG being dragged into Photoshop document over the composition
A film border without grain is like a vinyl record sleeve without wear marks - it just doesn’t convince anyone. Drag a grain or film texture file straight into your Photoshop document the same way you dropped in your photo. Aaron rotates his slightly and scales it up to cover the full canvas. Rotating a texture - even just a few degrees - helps break up any repeating pattern and keeps it from looking like a tiled asset. Hold Shift while rotating to snap to 15-degree increments if you want a quick 90-degree flip. Hold Alt/Option while scaling to resize from the center. Hit Enter when it looks good.
Step 6: Set the Texture Layer to a Blend Mode That Works
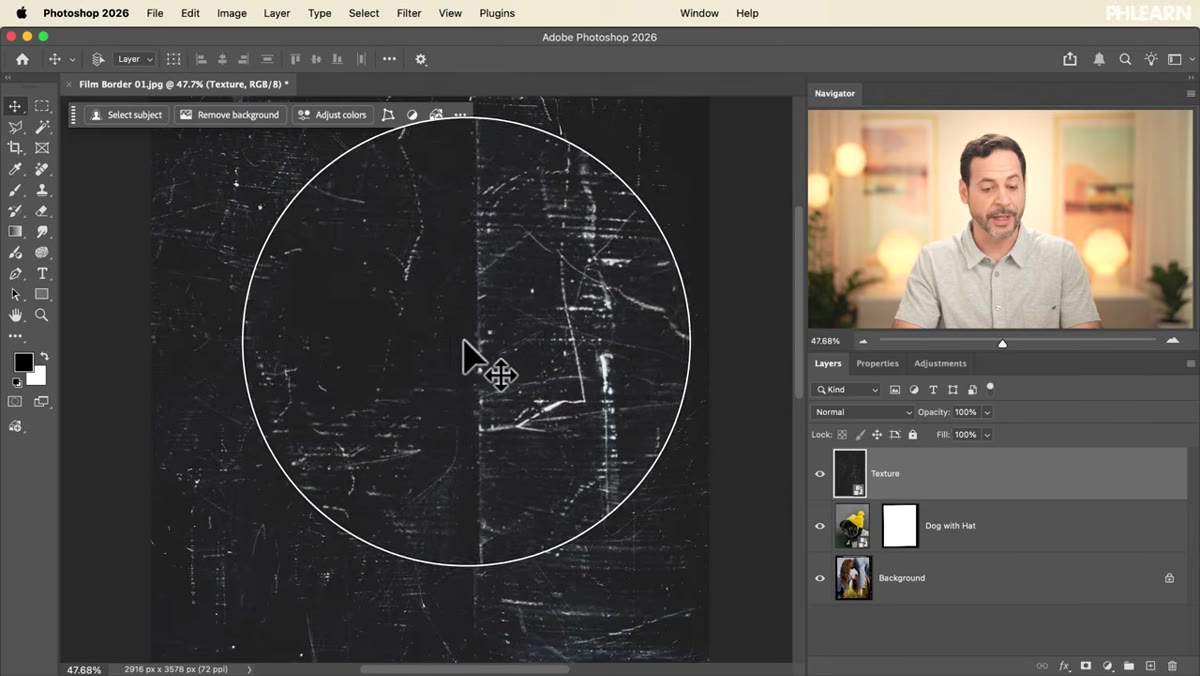 Layers panel showing texture layer with blend mode dropdown visible
With your texture layer selected, open the blend mode dropdown at the top of the Layers panel. Overlay and Soft Light are the two workhorses here. Overlay gives you a punchier, more contrasty result - good if your base photo is a bit flat. Soft Light is subtler and usually more convincing because it doesn’t blow out highlights the way Overlay can. Drop the layer opacity down from 100% - somewhere in the 40-70% range is usually the sweet spot, but trust your eye over any specific number. The goal is for someone to feel the texture before they consciously notice it.
What I’d Add: Pre-Save This as a Reusable Smart Object Stack
The workflow Aaron shows is fast, but where it gets really powerful is turning the whole film border group - the border layer, the mask logic, the grain texture - into a Smart Object before you save it out as a template. That way, when you open it next month for a different client, you double-click the Smart Object, swap the placeholder photo, save, and you’re done. I learned the value of this the hard way after accidentally flattening a layered comp a client needed to revisit. Smart Objects are the undo button for future-you. If you’re going to use this technique more than once (and you will), spend the extra two minutes setting it up properly the first time.
The single biggest takeaway from this tutorial is that the layer mask unlink step - breaking that chain between your photo and the mask - is what separates a flexible, reusable template from a one-use hack. Everything else is intuitive once you’ve done it once. The rest is just dragging files around and picking a blend mode.
Watch the full tutorial on YouTube and grab Aaron’s free PSD from the description while you’re there. Three pre-built borders, ready to drop your photos into. No excuses for the client getting a VSCO preset instead of the real thing.
Comments (1)
Would love to see a follow-up going deeper into this topic.
Leave a Comment