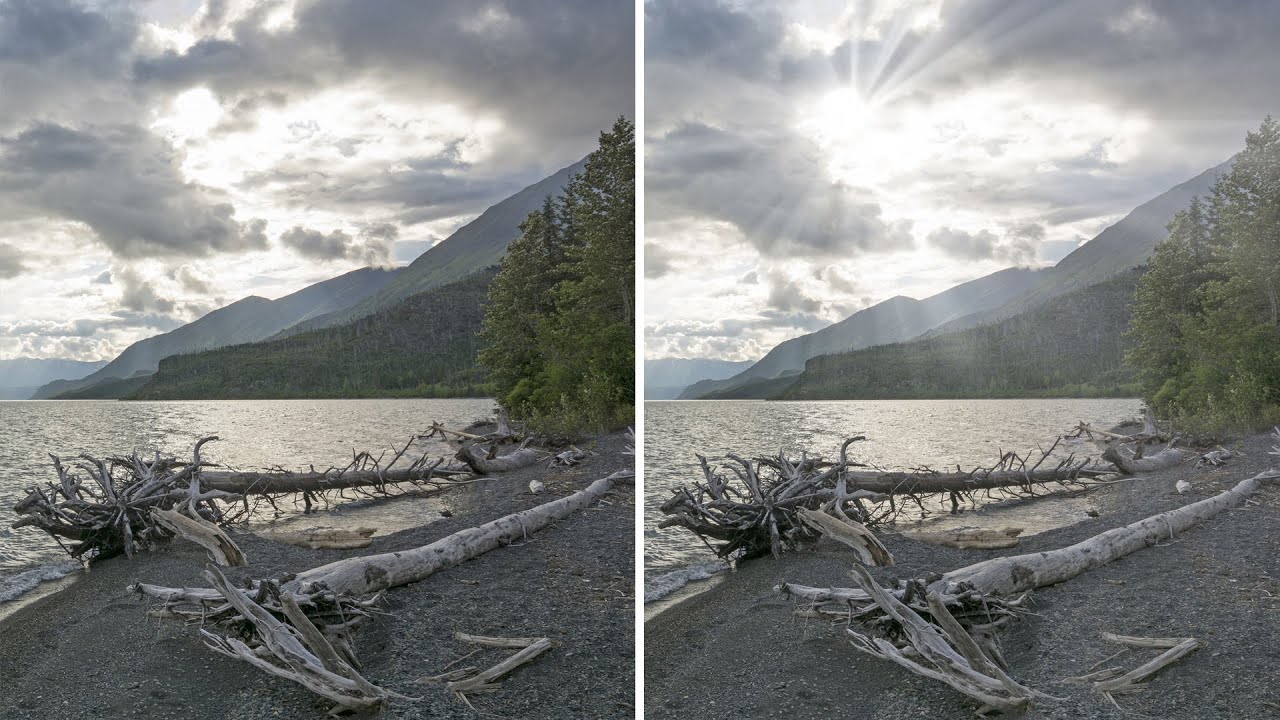
Client deadlines have a way of revealing every gap in your skill set. I can’t count how many times I’ve stared at a flat, lifeless sky photo and wished I could punch some drama into it without spending an hour in a rabbit hole of YouTube tutorials. Dramatic light rays cutting through clouds are one of those effects that look like they’d require a PhD in Photoshop, but the actual process is surprisingly lean once someone walks you through it properly. In this Aaron Nace (PHLEARN) tutorial, Watch the full tutorial on YouTube, Aaron breaks the whole thing down into two main moves: a radial blur applied to a Smart Object, and some strategic brush painting on a new layer. That’s basically it.
The reason this stuck with me is that the technique scales. Whether you’re doing a moody landscape composite or just trying to save a flat stock photo for a client presentation, the underlying logic is the same: find your light source, blur toward it, paint some rays, and blend. Aaron’s walkthrough is clean and practical, which is exactly the kind of content I actually bookmark instead of letting rot in my watch-later queue.
Step 1: Choose an Image With a Visible Light Source
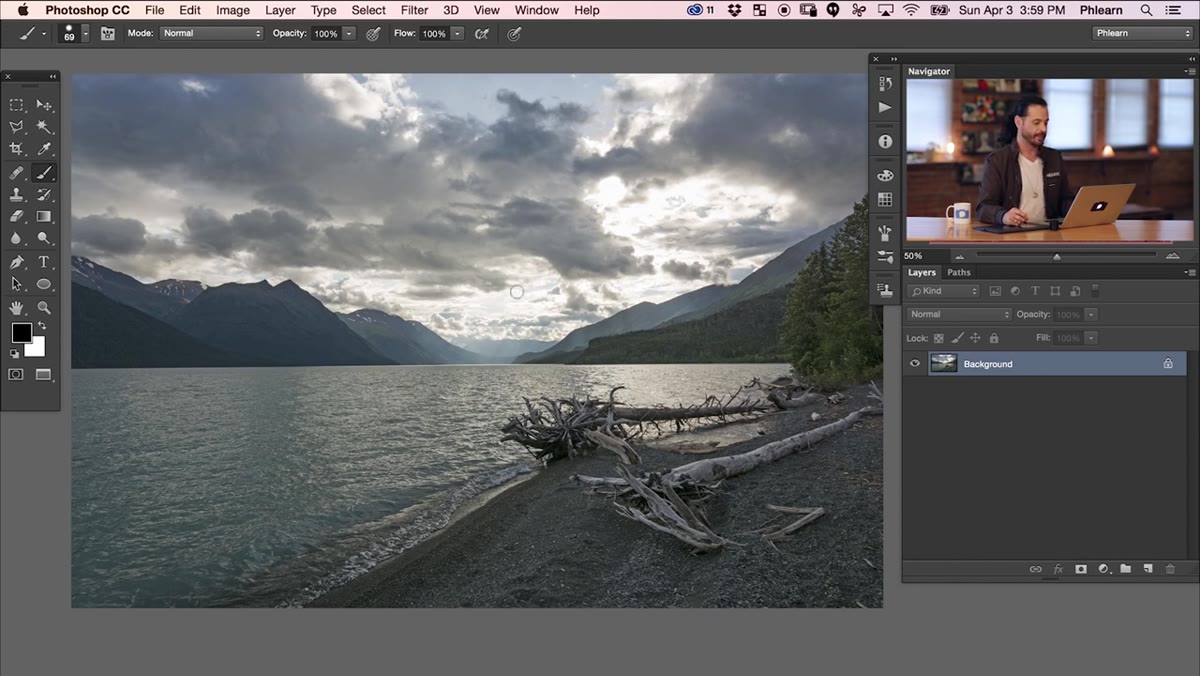 Tutorial image showing sun partially hidden behind clouds
Before you touch a single slider, you need the right raw material. Aaron makes a point of this early, and it’s worth hammering home: the photo needs a visible or strongly implied light source. That means the sun should be peeking through clouds, sitting just behind a cloud edge, or clearly backlighting the scene. If your photo is just an overcast grey slab with no directional light, the effect won’t read as believable no matter how clean your technique is. Viewers are wired to notice when light rays have no origin story.
Pick something with actual contrast in the sky - bright areas and darker cloud shapes give the radial blur something real to work with.
Step 2: Duplicate the Background and Convert to Smart Object
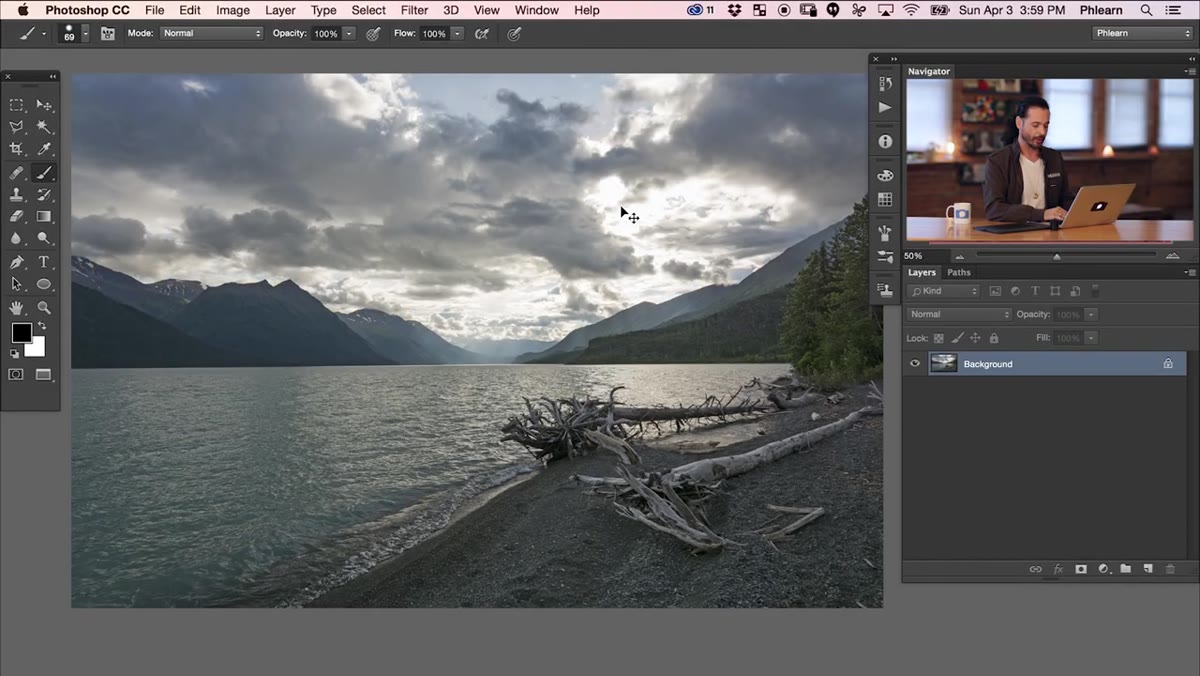 Background layer being duplicated in the Layers panel
Hit Command+J (Mac) or Ctrl+J (Windows) to duplicate your background layer. Then right-click that new layer and choose “Convert to Smart Object.” This is a non-negotiable step, not optional ceremony. Converting to a Smart Object means the Radial Blur filter you’re about to apply stays editable. You can double-click back into it and adjust the center point, the amount, anything, without having to undo and reapply from scratch.
I learned to love Smart Objects the hard way years ago and I won’t get into the full story, but let’s just say a client’s layered file and a rogue Flatten command taught me a lesson I’ve never repeated. Use Smart Objects. Always.
Step 3: Apply a Radial Blur Set to Zoom
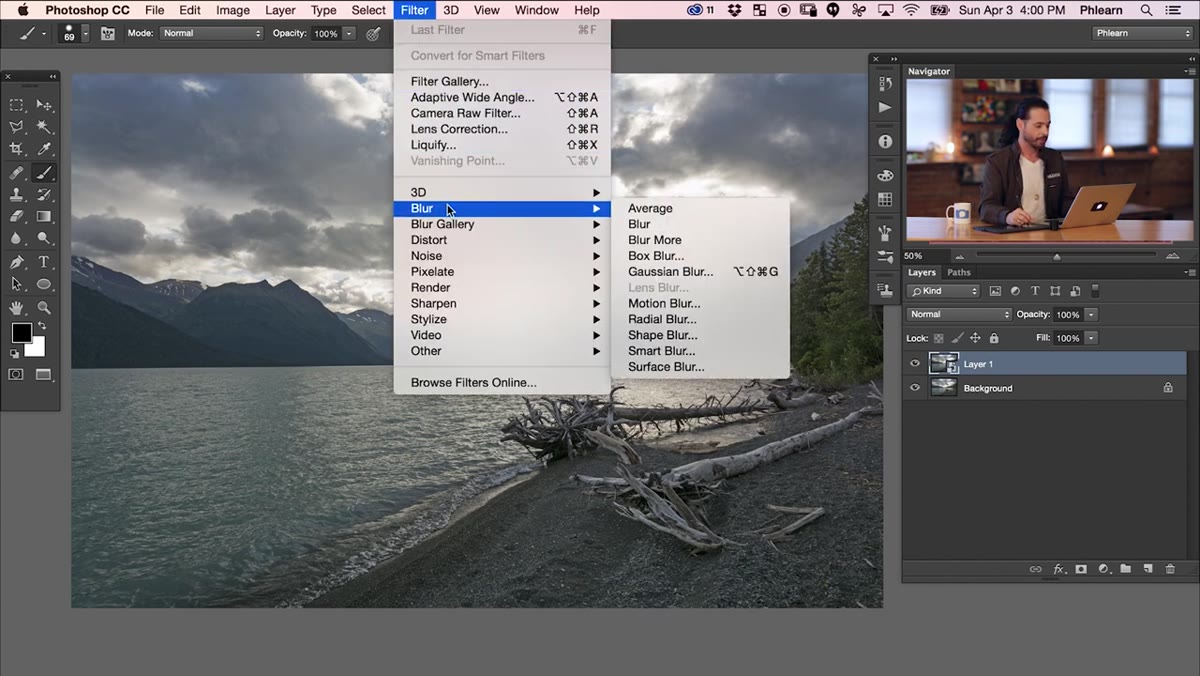 Radial Blur dialog showing Zoom option selected with Amount near 90
Go to Filter, then Blur, then Radial Blur. When the dialog opens, switch the blur method from Spin to Zoom. This is the actual engine behind the light ray look. Zoom blur pulls everything outward from a central point, which mimics the way light radiates from a source. Set the Amount somewhere around 90 - high enough to create long, visible streaks, but you can dial it back later if it feels too aggressive.
The blur center control in this dialog is a small preview box where you can drag the center point around. Don’t worry too much about nailing it perfectly on the first try. Because this is a Smart Filter on a Smart Object, you can come back and reposition it.
Step 4: Reposition the Blur Center to Match the Light Source
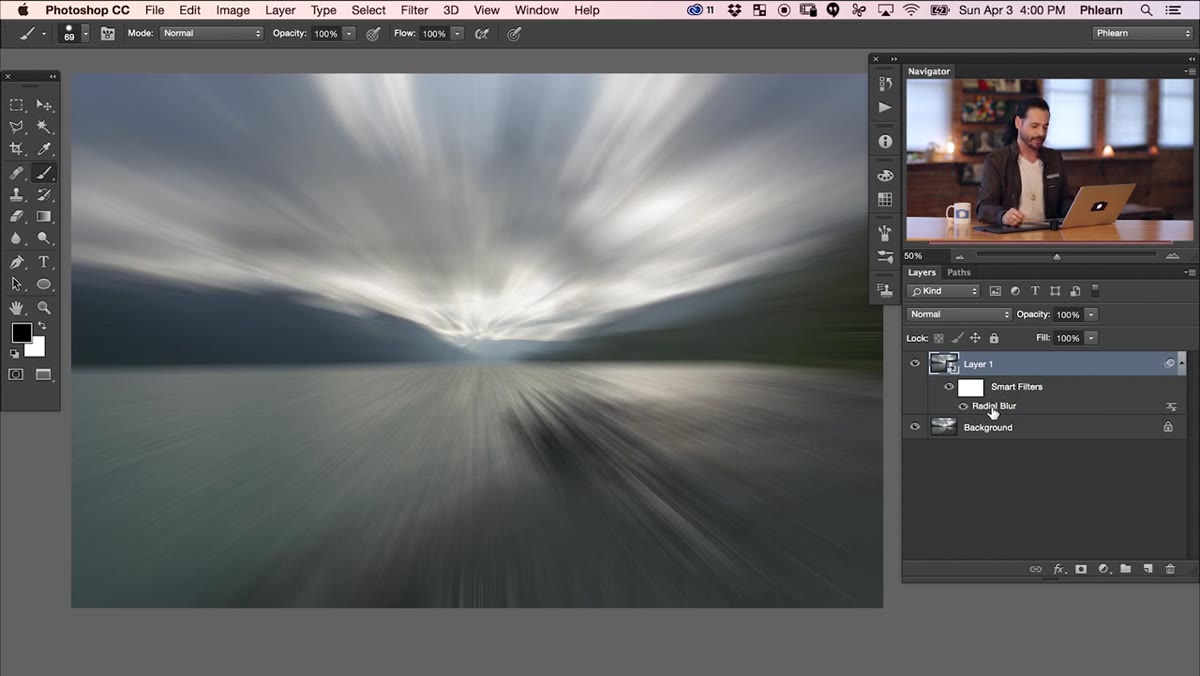 Radial Blur dialog open again with center point being repositioned
Double-click the Radial Blur entry in the Layers panel (it appears under your Smart Object layer) to reopen the filter settings. Drag the blur center in the preview box to match where your actual light source sits in the frame. Toggle the layer visibility on and off to compare. You’re looking for the blur lines to radiate outward from the sun’s position, not from some random corner of the image.
Aaron takes a couple of passes at this, and that’s totally normal. The preview in the dialog is low-res, so some trial and error is part of the process. Once the center is locked in, you’ve essentially set the coordinates for every light ray you’re about to paint.
Step 5: Create a New Layer and Sample Your Highlight Color
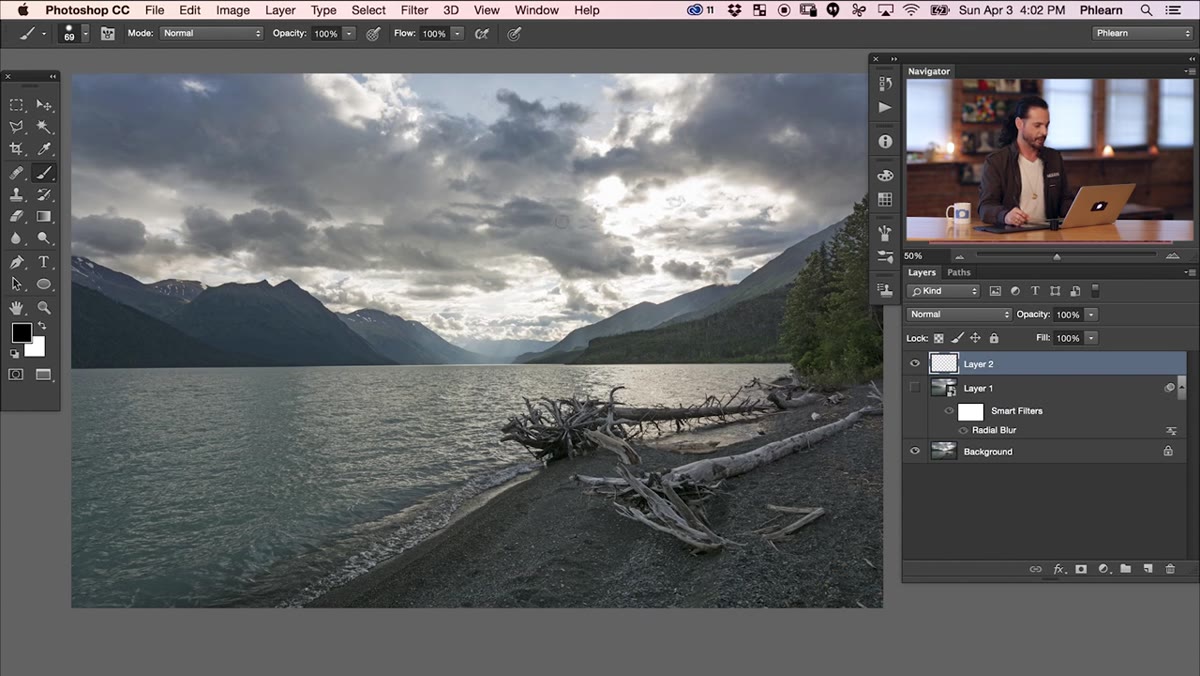 New blank layer created above the Smart Object layer
Here’s where the actual painting starts. Make your Smart Object layer invisible for now - you’ve only been using it to map out the center point. Create a fresh empty layer above everything. Grab the Brush tool (B), then use the eyedropper to sample a highlight color from your image. Aaron goes for the warm, bright tone right near the sun - something yellow-white that matches the actual light in the photo.
Sampling from the photo itself rather than picking an arbitrary white is what keeps the effect from looking tacked on. Your painted rays should feel like they came from the same light source, not from a stock effect you downloaded in 2011.
Step 6: Paint Loose Strokes, Then Apply the Same Radial Blur
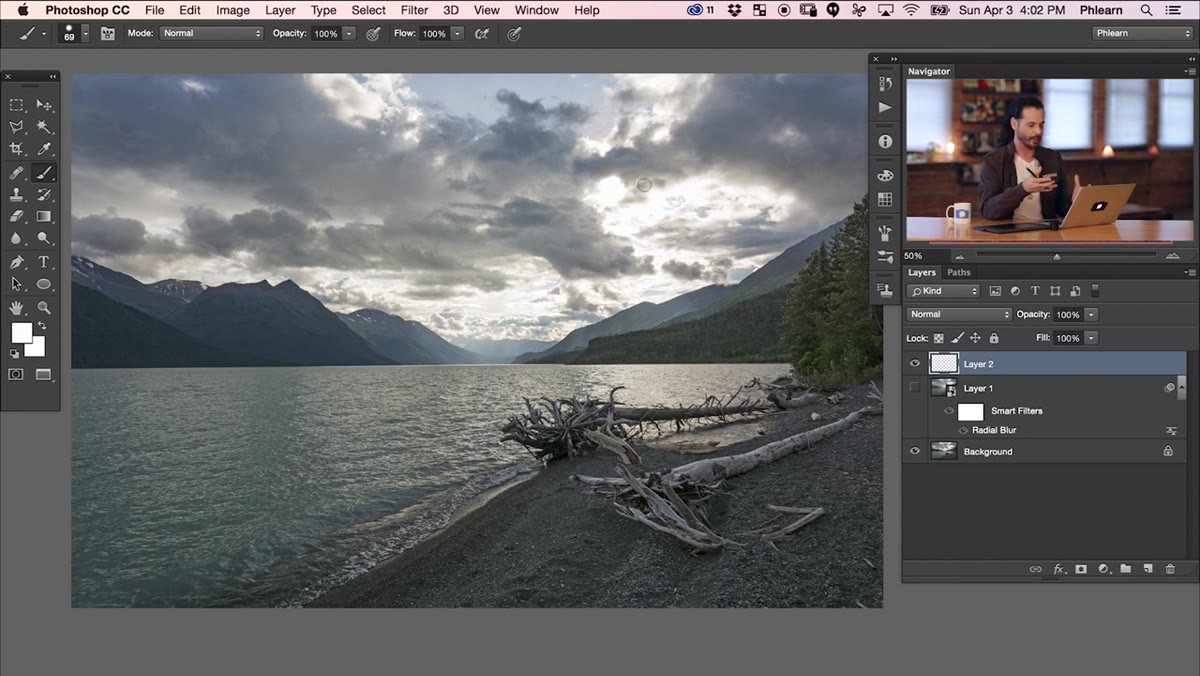 Brush strokes being painted on the new layer near the light source area
Paint some loose, rough strokes on the new layer around the area where your light source is. You don’t need to be precise - messy, organic strokes actually work better here because the blur is going to clean everything up and stretch it into ray shapes. Think of it less like painting and more like dabbing some raw material onto the canvas.
Once you’ve got some strokes down, go back to Filter, Blur, Radial Blur - same settings, same zoom mode, same Amount. Because you already dialed in the center point in the earlier steps, you just need to replicate those same coordinates in the blur center box. Apply it and watch those rough brush marks transform into streaks of light that radiate right from your source.
My Own Caveat: Blend Mode and Opacity Are Doing Half the Work
The step Aaron demonstrates that’s easy to breeze past is the blend mode adjustment on the painted layer. Dropping that layer into Screen mode and pulling the opacity back, somewhere between 40 and 70 percent depending on your image, is what takes the effect from “obvious Photoshop” to “wait, is that real?” Screen mode drops out the dark values and only lets the light tones show through, which is exactly how actual light behaves when it hits atmosphere. I’ve made the mistake of leaving layers in Normal mode and wondering why the rays look like white paint. They look like white paint because they are white paint. Screen mode is the fix.
The single most important takeaway from this whole technique: Smart Objects aren’t just a safety net, they’re a workflow tool. Setting up your radial blur on a Smart Object first, just to scout the center point, and then using that same center on your painted layer later, is a clever piece of sequencing that Aaron doesn’t make a huge deal of but that makes the whole thing significantly less frustrating.
If you want to see Aaron walk through every step in real time, go watch the full tutorial here: Watch the full tutorial on YouTube. PHLEARN’s production quality is consistently high and Aaron’s pacing is good, so you won’t be scrubbing back every thirty seconds trying to catch a setting.
Comments
Leave a Comment