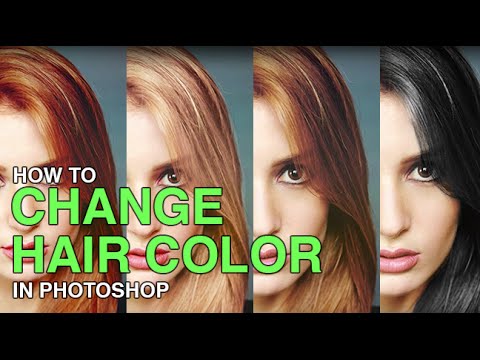
A client once asked me to change a model’s hair from auburn to blonde in a product photo. I said sure, no problem, charged them accordingly, and then spent the better part of an afternoon producing what looked like a highlighter had exploded on her head. I eventually delivered something passable, but I knew I was winging it. Hair color is one of those things that looks simple until you try it, and then it humbles you fast.
That’s why this Aaron Nace (PHLEARN) tutorial on changing hair color hit differently for me. Watch the full tutorial on YouTube – it’s worth your time before or after you read this. Aaron lays out the logic before touching a single tool, which is exactly the kind of context I wish I’d had back during my highlighter disaster. The core insight is this: hair color has to stay within a believable natural range, and highlights and shadows within the same head of hair behave as separate color zones. Once you understand that, the tool choices start making actual sense.
One more thing Aaron flags early, and it’s worth hammering home before you even open Photoshop: going from dark hair to light hair is nearly impossible to do convincingly. We’re talking black to blonde – forget it. Going from light to dark, or shifting between warm tones? Totally doable. The tutorial works with a red-haired subject and transforms her hair to brown, then to black. That’s the realistic playing field we’re working in.
Step 1: Start With a Selective Color Adjustment Layer
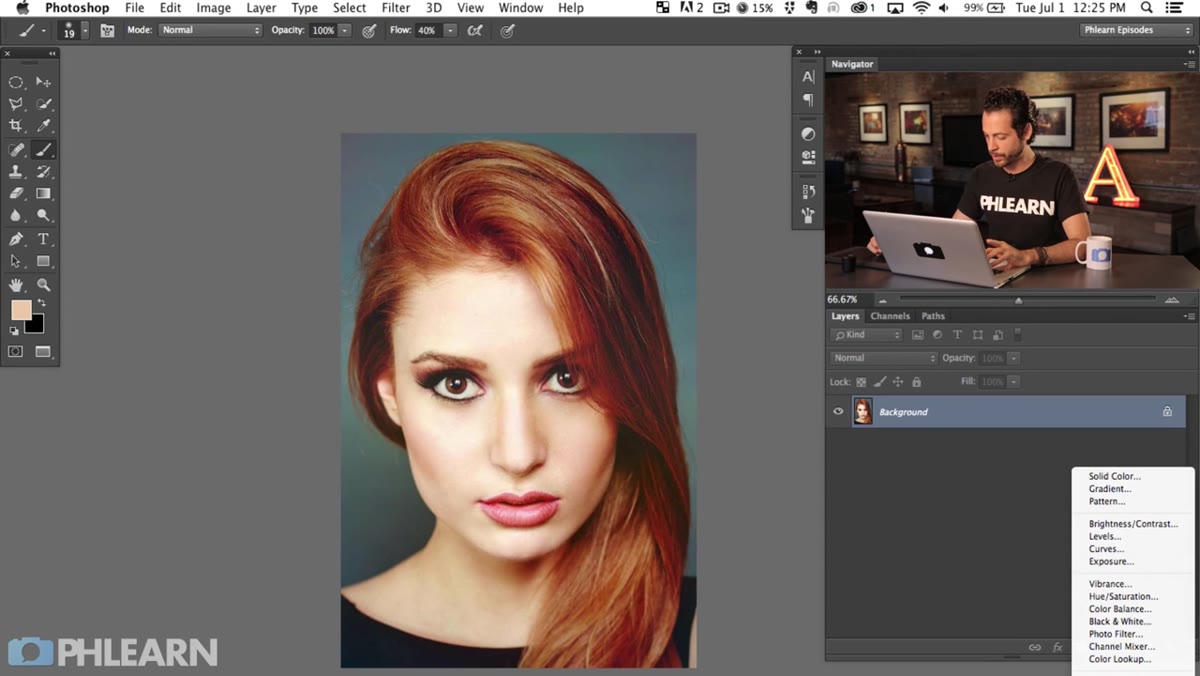 Selective Color adjustment layer panel open on red hair
Most people’s instinct is to reach for Hue/Saturation first. I get it – it’s the obvious tool. But Aaron’s argument for starting with Selective Color is solid: it lets you target a specific color range (like the reds in auburn or red hair) and push it around without affecting the whole image. Add a Selective Color adjustment layer via the Adjustments panel or the Layer menu.
Once the panel is open, make sure you’re working in the Reds channel, since that’s where most of the hair color information is going to live on warm-toned hair. From here you have four sliders – Cyan, Magenta, Yellow, and Black – and each one shifts the color in a different direction. Pulling Magenta down introduces more green, which helps knock out that red warmth. Pulling Cyan down adds more red, so be careful with that one.
Step 2: Use the Black Slider to Control Depth
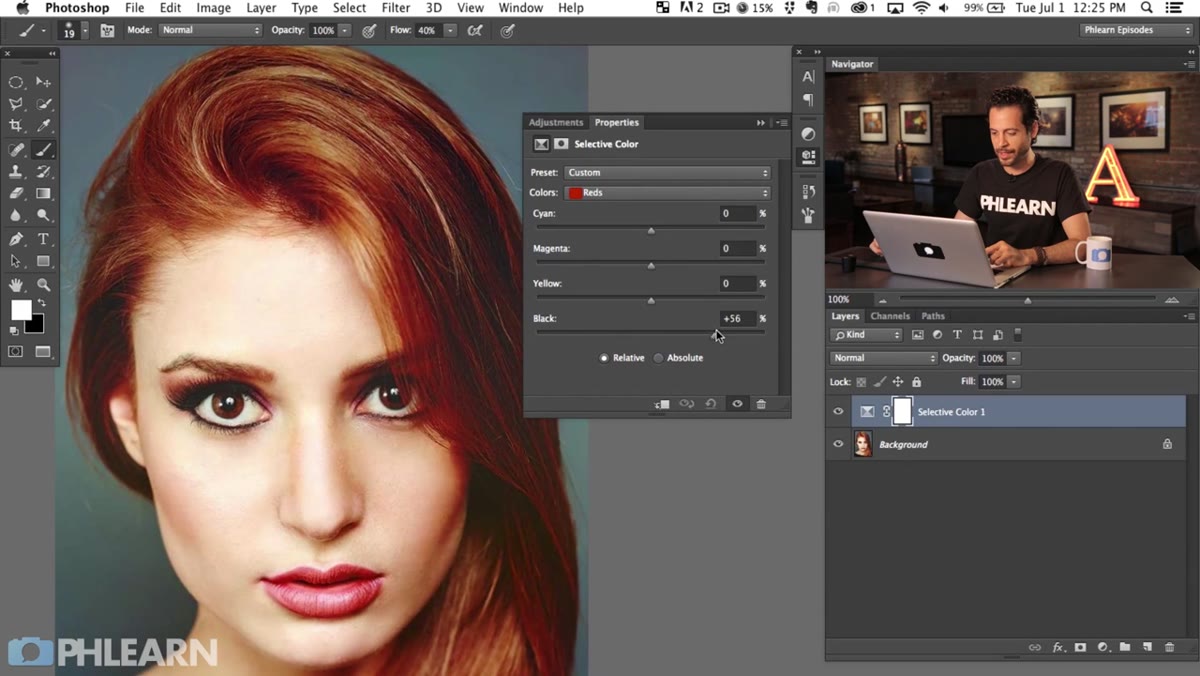 Black slider being adjusted in Selective Color panel
The Black slider in Selective Color is the one that gets overlooked, and it’s quietly doing a lot of heavy lifting here. Pulling it up adds density and darkness to the hair, while pulling it down lifts things and makes the hair look lighter and more open. This is especially useful when you’re trying to shift red hair toward brown – you’re not just changing the hue, you’re also adjusting how rich and dark the overall tone feels.
Aaron uses this combination of the Black and Yellow sliders together to land on a convincing brown. More black adds depth, while pulling back on yellow removes that warm golden cast that screams “this used to be red.” Fiddle with these two in tandem rather than trying to get one perfect before touching the other.
Step 3: Dial In the Brown and Group Your Layers
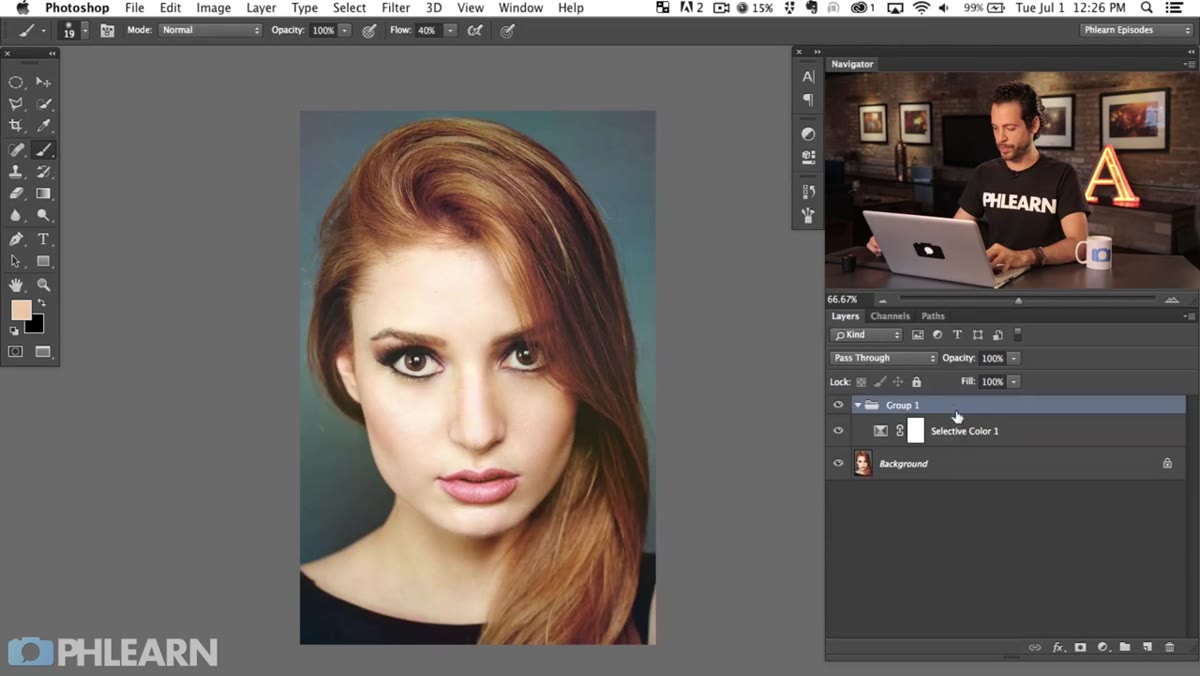 Grouped layer labeled “brown” in Layers panel
Once you’ve got a color that reads as natural brown – highlights, midtones, and shadows all looking cohesive – it’s time to get organized. Aaron groups the Selective Color adjustment layer and labels the group “brown.” This is a simple thing, but it matters a lot if you’re going to create multiple versions of the hair color in the same document, which is exactly what we’re doing.
Working in named groups keeps you from losing your mind later. You can toggle each group on and off to compare looks, and if a client comes back and says “actually can we see the brown again?” you’re not digging through an unlabeled layer stack at midnight.
Step 4: Create a New Group for Black Hair
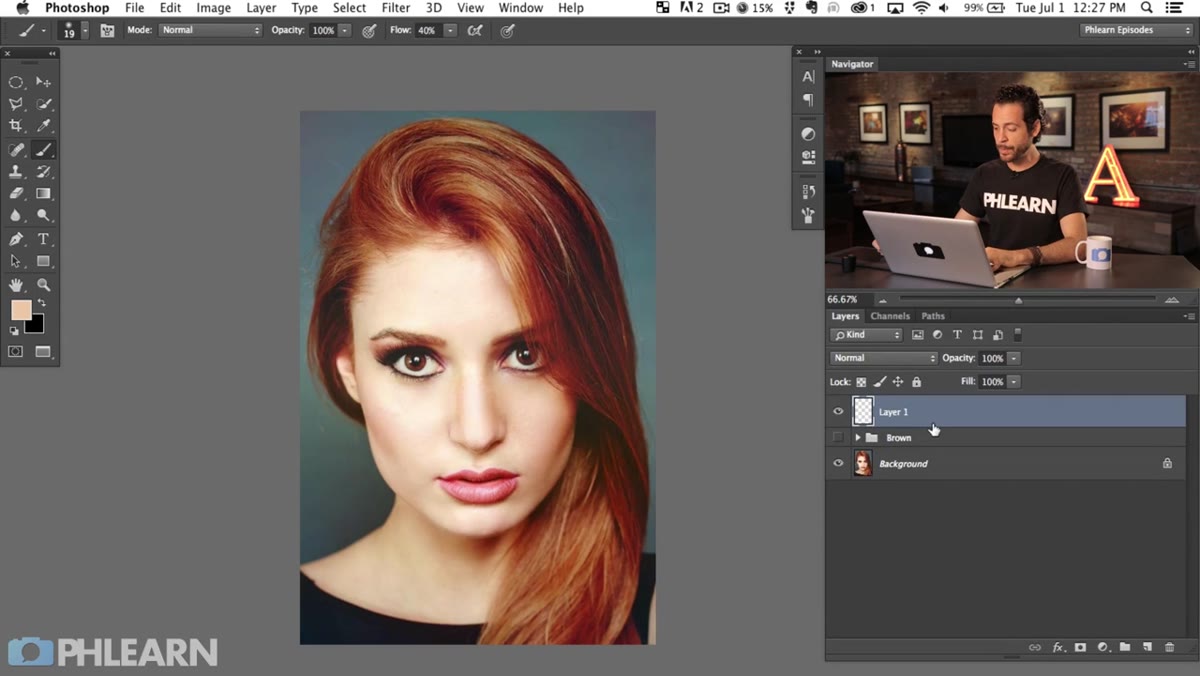 New empty group labeled “black hair” in Layers panel
For the black hair version, you start fresh with a new group. Label it clearly – “black hair” works fine – and work inside it from here. The approach is different from the brown conversion because you’re not just shifting a hue, you’re essentially removing color information from the hair entirely and replacing it with near-neutral dark tones.
This is where the logic shifts from “color correction” to “color replacement,” and the tools reflect that. You’re not trying to nudge the red toward brown anymore – you’re trying to strip the warmth out and push everything into dark territory. That requires a different layer strategy.
Step 5: Remove Color With a Hue/Saturation Layer
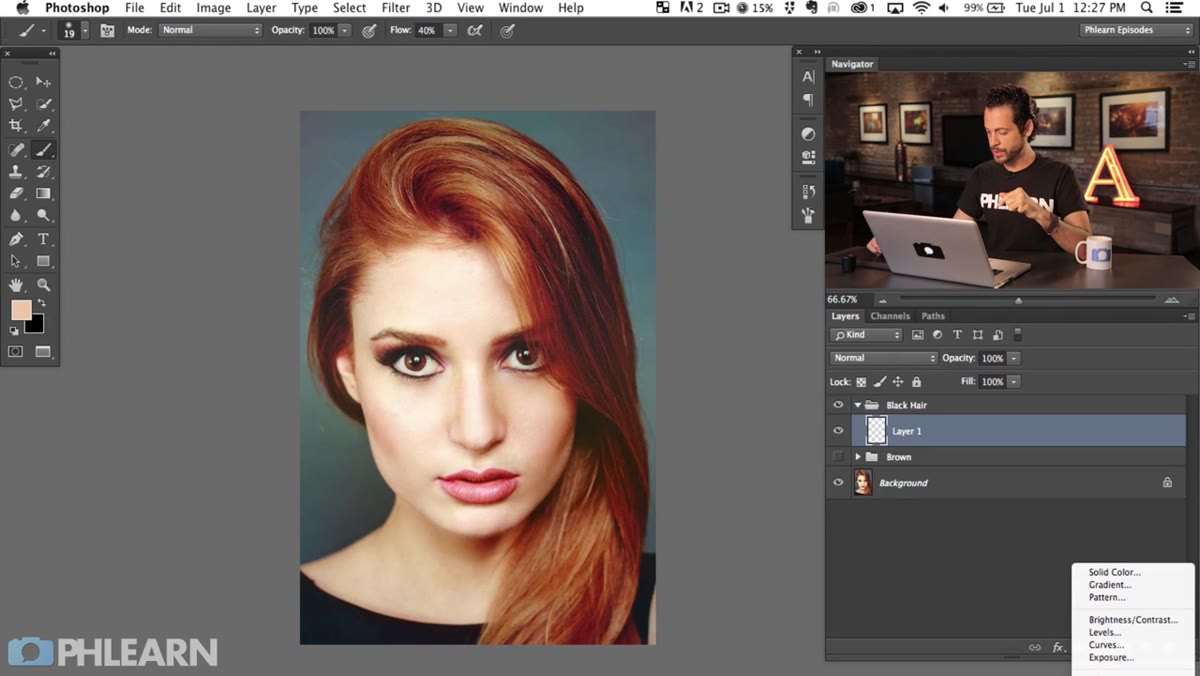 Hue Saturation panel open, Saturation pulled down
Inside the black hair group, the first move is a Hue/Saturation adjustment layer. Pull the Saturation slider all the way down, or close to it. This drains the color from the hair and gives you a dark gray base to work from. It’s not the finished result – it’s the foundation. Gray hair is not black hair, and you’ll need another step to get the depth right.
What you’re doing here is essentially clearing the deck. Any redness, warmth, or mid-tone color cast gets neutralized, and now you’re working with luminosity instead of hue. That makes the next adjustments more predictable and gives you clean, controllable results rather than muddy dark red.
My Take: Don’t Skip the Range Logic
I’ve seen people apply these exact tools and still get results that look off. The reason is usually that they’re treating hair as a flat surface when it’s actually multiple tonal zones. The highlights on dark hair are warmer – sometimes almost brownish – even in real life. Aaron mentions this in the video, and it’s the kind of detail that separates a convincing retouch from one that makes someone look like they used a bucket fill tool.
My personal rule now: after any hair color change, I zoom into the highlight areas and check whether they feel tonally consistent with the shadows. If the shadows are deep brown but the highlights are screaming orange, something’s off in the selective adjustments. A quick Curves or additional Selective Color pass on just the highlights can fix that without blowing up the rest of the work.
The single most important thing I took from this tutorial is the starting point: choose the right tool for the right job. Selective Color for targeted hue shifts, Hue/Saturation for stripping color entirely. Most hair color disasters – including my client’s highlight-head situation – come from using one tool to do both jobs.
Watch the full tutorial on YouTube to see Aaron walk through the black hair conversion and see the before/after comparisons in real time. It’s a PHLEARN classic for a reason.
Comments (2)
The tip about changing hair color in photosh was the missing piece for me. Thank you.
Really solid breakdown. This pairs perfectly with the retouching work I've been writing about.
Leave a Comment