
There’s a version of learning Photoshop where you sit alone in a dark room watching tutorials at 1.5x speed, and then there’s learning it the way the pros actually do it: by being in a room where the product managers, the gear vendors, and the working photographers are all within shouting distance of each other. I didn’t discover that second version until embarrassingly late in my career. Most of what I know came from coffee shop WiFi and YouTube rabbit holes. But watching this episode of Photoshop User TV changed how I think about the ecosystem around Photoshop, not just the software itself. Watch the full tutorial on YouTube
In this KelbyOne broadcast, Scott Kelby, Matt Klauskowski, and Canadian import Dave Cross took their cameras on a live floor walk through the Photoshop World Conference and Expo in Boston. What they captured wasn’t just trade show content – it was a snapshot of the professional Photoshop world at a specific moment in time, with actual product managers demoing new hardware, lighting companies showing off what they use on real shoots, and printer brands letting you see output quality in person. For anyone who has ever wondered what separates a hobbyist Photoshop setup from a working professional one, this episode is a surprisingly honest answer.
The reason I find this kind of content useful isn’t nostalgia for 2009. It’s that the fundamentals being shown here – pressure-sensitive tablets, calibrated output, controlled lighting – are still the same fundamentals that matter today. The specific model numbers have changed. The reasoning hasn’t.
Step 1: Start at the Source – Adobe’s Own Booth
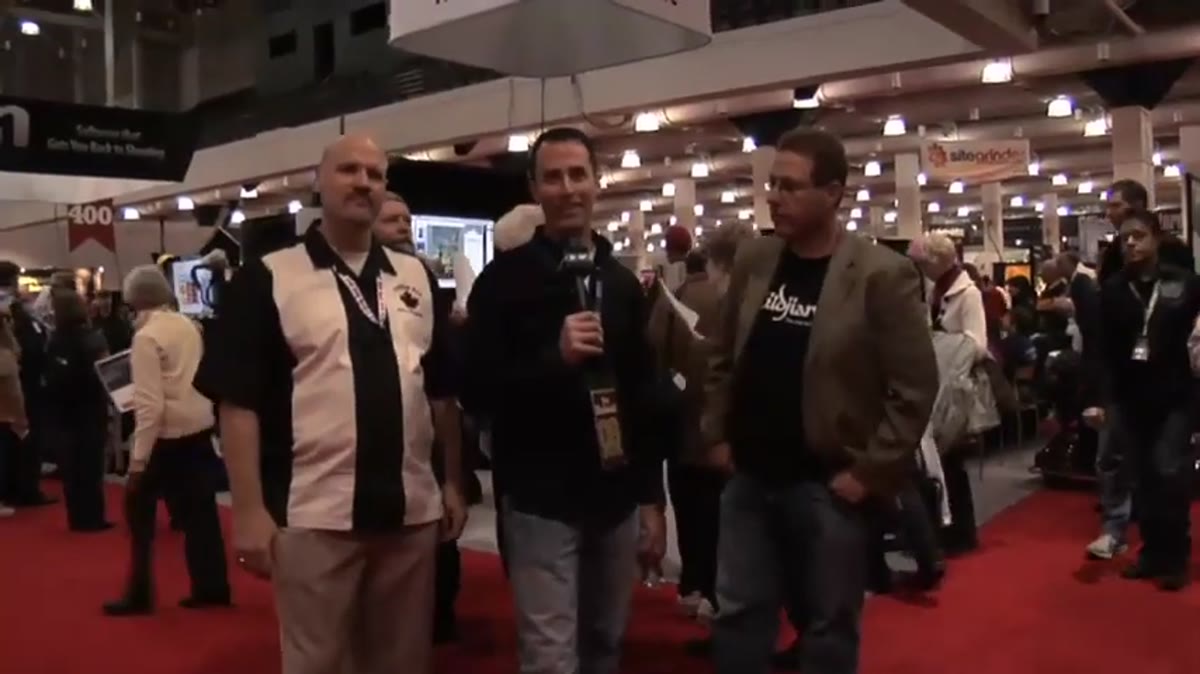 Scott Kelby walking into the Adobe conference booth
The first stop on the floor walk is the Adobe booth, where product manager John Nack is mid-presentation to a crowd. This is easy to scroll past, but don’t. The point being made here is practical: the people who build Photoshop show up to events like this specifically to be accessible. If you ever get the chance to attend a conference where Adobe staff are present and demoing features, you use that time to ask the questions that forums can’t answer. Product managers know the roadmap, the reasoning behind UI decisions, and the workarounds that haven’t made it into documentation yet. That’s not something you get from a help article.
Scott Kelby walking into the Adobe conference booth
The first stop on the floor walk is the Adobe booth, where product manager John Nack is mid-presentation to a crowd. This is easy to scroll past, but don’t. The point being made here is practical: the people who build Photoshop show up to events like this specifically to be accessible. If you ever get the chance to attend a conference where Adobe staff are present and demoing features, you use that time to ask the questions that forums can’t answer. Product managers know the roadmap, the reasoning behind UI decisions, and the workarounds that haven’t made it into documentation yet. That’s not something you get from a help article.
Even if you’re watching this from your desk right now, the takeaway applies: find the closest version of that access you can. Adobe’s live streams, MAX sessions, and even their YouTube channel include product team members explaining why features work the way they do. That context makes you faster in the software.
Step 2: Understand Why Your Input Device Is Not Neutral
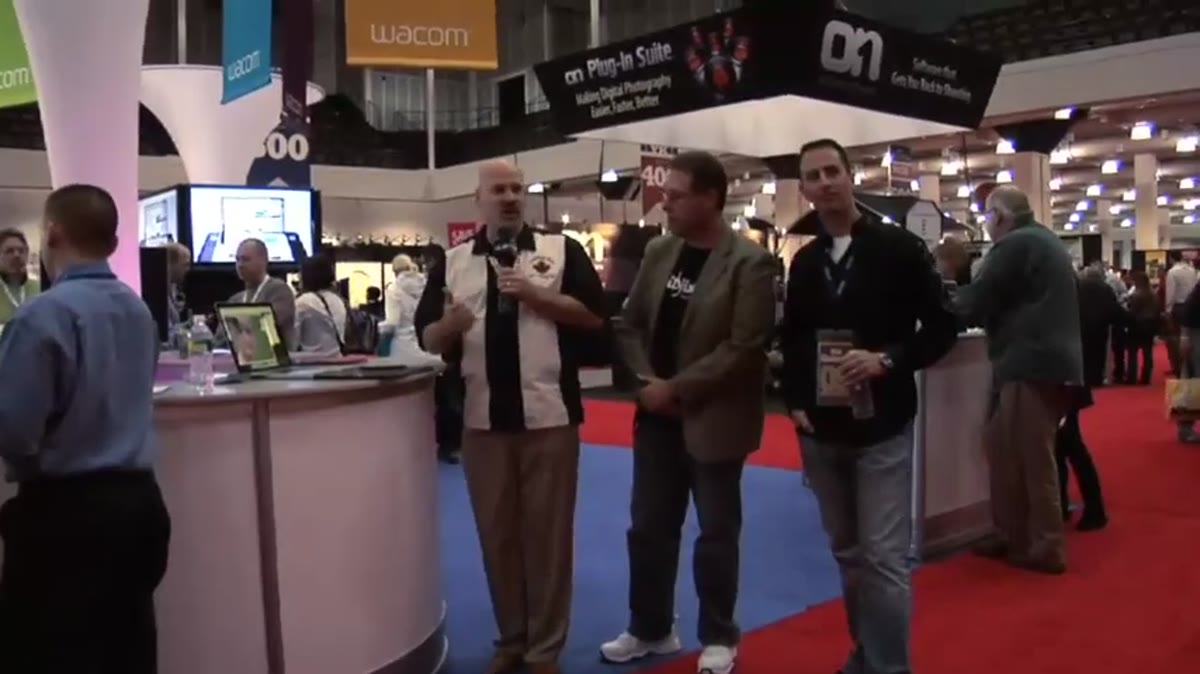 Wacom Intuos4 tablet on display at Photoshop World booth
The Wacom booth stop is where the episode gets genuinely interesting for anyone doing serious retouching or compositing. The Intuos4 had just been released at the show – a worldwide debut, not a soft rollout. The feature getting attention was the LED display on the tablet’s express keys, which lets you see at a glance what each programmable button is actually set to do.
Wacom Intuos4 tablet on display at Photoshop World booth
The Wacom booth stop is where the episode gets genuinely interesting for anyone doing serious retouching or compositing. The Intuos4 had just been released at the show – a worldwide debut, not a soft rollout. The feature getting attention was the LED display on the tablet’s express keys, which lets you see at a glance what each programmable button is actually set to do.
This matters more than it sounds. If you’re using a tablet without labeled keys, you’re either memorizing an arbitrary layout or constantly second-guessing yourself mid-stroke. That cognitive load adds up. Labeled, customizable keys mean your brush size, opacity toggle, undo, and zoom can all live under your thumb without a lookup. If you’re still using a mouse for detailed Photoshop work, a pressure-sensitive tablet is the single hardware upgrade that will most visibly change your output quality. The pressure sensitivity alone transforms how dodge, burn, and brush tools behave – strokes feel weighted instead of uniform, which is the difference between retouching that looks painted and retouching that looks real.
Step 3: Match Your Lighting Knowledge to Your Retouching Work
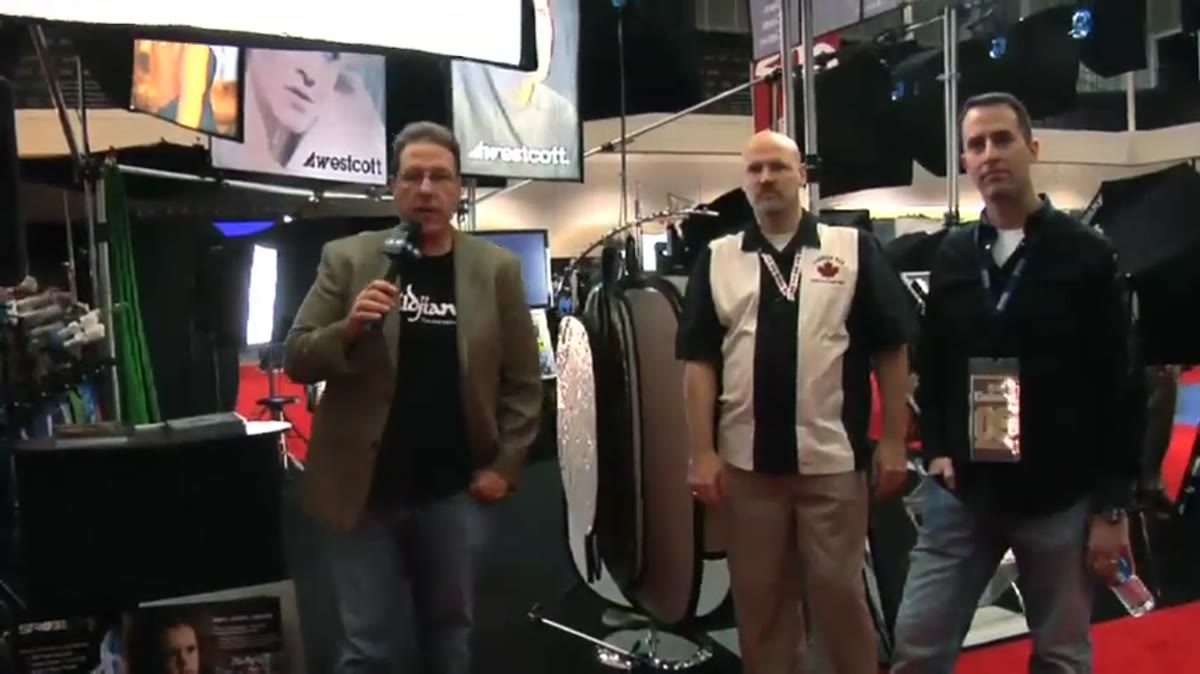 FJ Westcott LED lighting display inside the conference booth
The Westcott booth segment covers their TD5 LED lighting panels. Scott Kelby had been using these on his live tour, and the stop here is basically him showing his audience the tools he actually uses on real jobs. The specific light shown is a continuous LED panel, not a strobe, which means what you see when you’re shooting is what you get – no guessing about shadows or color temperature after the fact.
FJ Westcott LED lighting display inside the conference booth
The Westcott booth segment covers their TD5 LED lighting panels. Scott Kelby had been using these on his live tour, and the stop here is basically him showing his audience the tools he actually uses on real jobs. The specific light shown is a continuous LED panel, not a strobe, which means what you see when you’re shooting is what you get – no guessing about shadows or color temperature after the fact.
Here’s why this connects to Photoshop work: the cleaner and more consistent your source light, the less correction you’re doing in post. Every hour spent wrestling with a poorly lit image in Camera Raw is an hour that better lighting would have saved. If you’re doing any product photography, portrait work, or anything where you’re responsible for the full pipeline from shoot to final file, understanding what your light source is actually doing will make your Photoshop time more efficient. Westcott’s panels are still in production and still used by working photographers. The logic hasn’t aged.
Step 4: See Print Output in Person Before You Trust Your Monitor
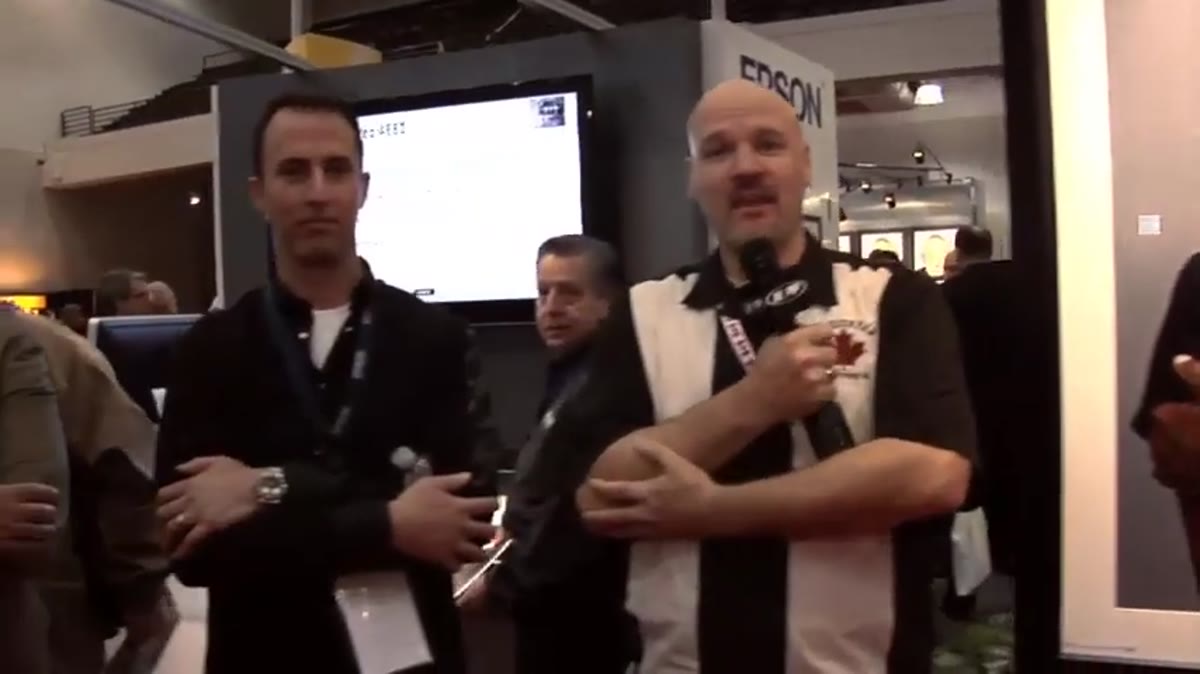 Epson printer booth with large format print output on display
The final booth in the episode is Epson, where large-format printers are running live output. This is the step that most pure-digital designers skip entirely, and it costs them. If your work ever goes to print – even occasionally – seeing output from a calibrated, professional-grade printer next to the file it came from is one of the fastest education experiences available.
Epson printer booth with large format print output on display
The final booth in the episode is Epson, where large-format printers are running live output. This is the step that most pure-digital designers skip entirely, and it costs them. If your work ever goes to print – even occasionally – seeing output from a calibrated, professional-grade printer next to the file it came from is one of the fastest education experiences available.
Color profiles, paper types, and ink rendering all behave differently at print size than they look on screen. An Epson large-format with the right ICC profile and the right paper can render shadow detail and color gradients that a standard monitor preview completely flattens. Attending a conference or visiting a print lab in person to see this side by side once will permanently change how you soft-proof in Photoshop. It’s the kind of thing you can read about a hundred times and not fully absorb until you’re standing in front of two outputs and pointing at the difference.
What I’d Add From My Own Workflow
I’ll be honest – I spent the first two years of my freelance career treating Photoshop as an island. Software in, output out, nothing else required. What this episode made clear, even back when it aired, is that Photoshop is actually the center of an ecosystem. The tablet feeds it. The camera and light source feed it. The printer and color profile receive it. Every weak link in that chain shows up in the final file.
The thing I’d add, especially for anyone working remotely or freelance without access to trade shows, is to treat vendor documentation and spec sheets with the same seriousness you’d give a tutorial. Wacom’s configuration guides, Westcott’s lighting setup PDFs, Epson’s ICC profile download pages – these are not marketing materials. They’re technical instructions written by people who know exactly how these tools interact with Photoshop. I ignored them for years because they weren’t as fun as watching Scott Kelby demo something. That was a mistake.
The single most useful thing this episode demonstrates is that professional Photoshop work is built on physical decisions made before you open the software – decisions about input, light, and output. Get those right, and the software part gets easier.
Watch the full tutorial on YouTube
Comments (3)
Applied this to my portfolio shots and the improvement is noticeable.
Never thought of approaching it this way. Really creative.
Really solid breakdown. This pairs perfectly with the landscape work I've been writing about.
Leave a Comment