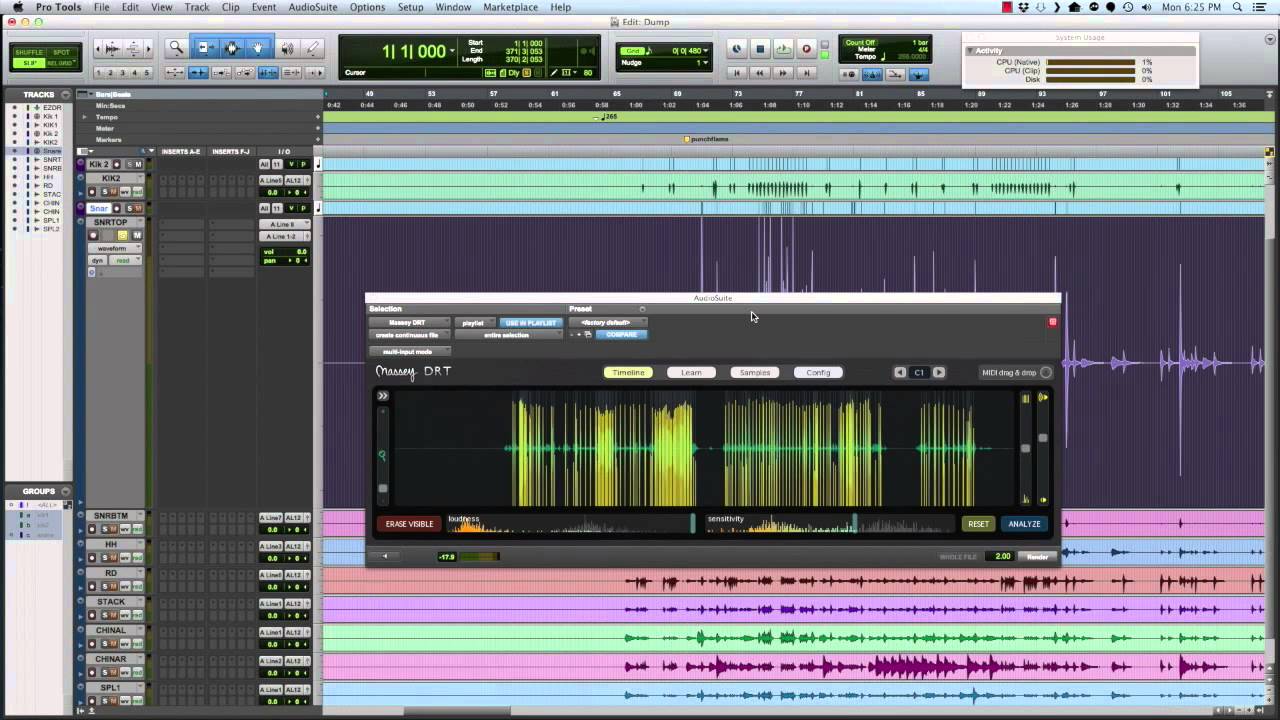
I’ll be straight with you: I came to this tutorial as someone who spends most of his life in Photoshop, not Pro Tools. But the core problem Eyal Levi is solving here is one I recognize immediately from visual work. You’ve got something that looks (or sounds) fine in isolation, and then it gets completely swallowed the moment it sits next to everything else. For drums in a heavy mix, that’s a death sentence. The snare that sounds punchy on its own turns into a wet cardboard tap the second two walls of distorted guitar show up. In this CreativeLive tutorial, Eyal walks through exactly how sample layering saves the drum mix before the mix even starts fighting back.
Watch the full tutorial on YouTube
What got me was how surgical and practical the whole approach is. This isn’t a “make your drums sound like a different kit” situation. It’s more like frequency reinforcement – adding weight and definition to what the real drums already captured, so those elements can survive mastering and a dense arrangement. If you’ve ever wondered why a professional mix sounds like it has more gravity than yours even when the notes are identical, this is a big part of the answer.
Step 1: Listen to the Drums With and Without Samples
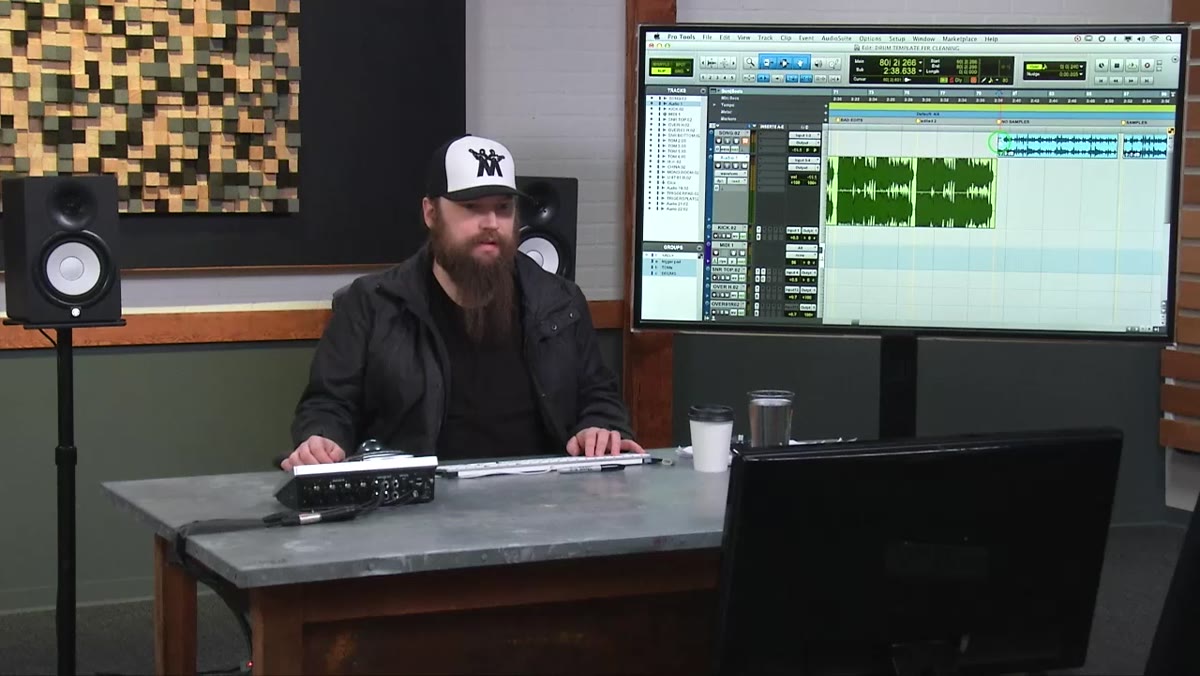 Drum track playing back with no samples loaded
Before you touch a single sample, do a blind comparison. Eyal plays the same passage twice – once with samples layered in, once without – and asks listeners to identify what changed. This isn’t just a parlor trick. Training your ears to hear the difference before you start building is the whole game. If you can’t identify what’s missing, you’ll end up adding samples randomly and wonder why nothing sounds better.
Drum track playing back with no samples loaded
Before you touch a single sample, do a blind comparison. Eyal plays the same passage twice – once with samples layered in, once without – and asks listeners to identify what changed. This isn’t just a parlor trick. Training your ears to hear the difference before you start building is the whole game. If you can’t identify what’s missing, you’ll end up adding samples randomly and wonder why nothing sounds better.
Focus specifically on the snare and toms in your raw recording. Ask yourself whether those elements would cut through a dense, loud arrangement, or whether they’d disappear. If the answer is anything other than “yes, absolutely,” you need to layer.
Step 2: Identify Which Elements Need Reinforcement
 Discussion of snare attack and tom fullness after comparison
After the comparison, Eyal’s audience called out two things right away: the snare gained snap and attack, and the toms sounded fuller. Those are the two most common culprits in a weak drum mix. The snare needs to cut through a mid-heavy wall of sound. The toms need to feel like they have mass, not like someone tapping a cardboard tube.
Discussion of snare attack and tom fullness after comparison
After the comparison, Eyal’s audience called out two things right away: the snare gained snap and attack, and the toms sounded fuller. Those are the two most common culprits in a weak drum mix. The snare needs to cut through a mid-heavy wall of sound. The toms need to feel like they have mass, not like someone tapping a cardboard tube.
Kick drums are a separate consideration. In this session the kick was already triggering a sample – that element was handled. So don’t assume everything needs fixing. Identify the specific weak links before layering anything. Cymbal samples, for instance, weren’t used here at all because the recorded cymbals were already doing their job.
Step 3: Choose Samples With Long Decay Tails
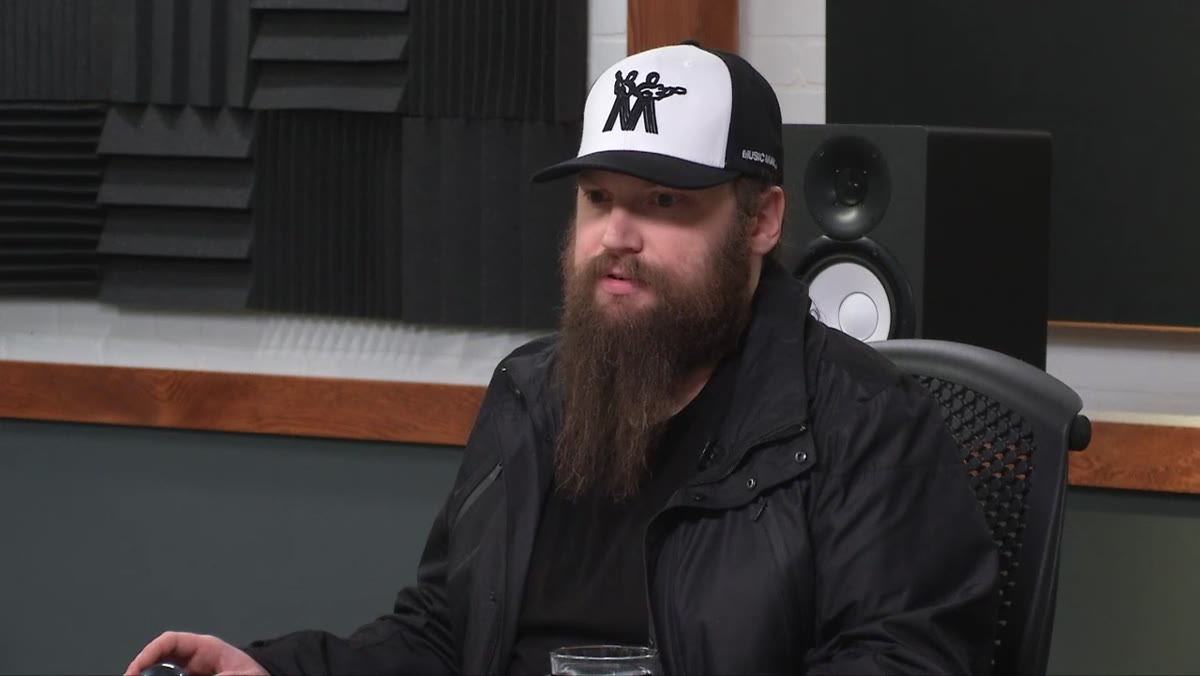 Eyal explaining sample decay length and room response
This is the detail that most tutorials skip over. Eyal specifically mentions choosing samples that have a long decay to them rather than short, punchy one-shots. The reason matters: a long decay gives the layered sample a sense of space and bloom that blends with the natural drum sound instead of sitting on top of it like a hat glued to a birthday cake.
Eyal explaining sample decay length and room response
This is the detail that most tutorials skip over. Eyal specifically mentions choosing samples that have a long decay to them rather than short, punchy one-shots. The reason matters: a long decay gives the layered sample a sense of space and bloom that blends with the natural drum sound instead of sitting on top of it like a hat glued to a birthday cake.
Short samples can sound clinical and disconnected from the room the drums were actually recorded in. A sample with a longer tail breathes with the performance. It reinforces without replacing.
Step 4: Use Superior Drummer Room Samples via MIDI Triggering
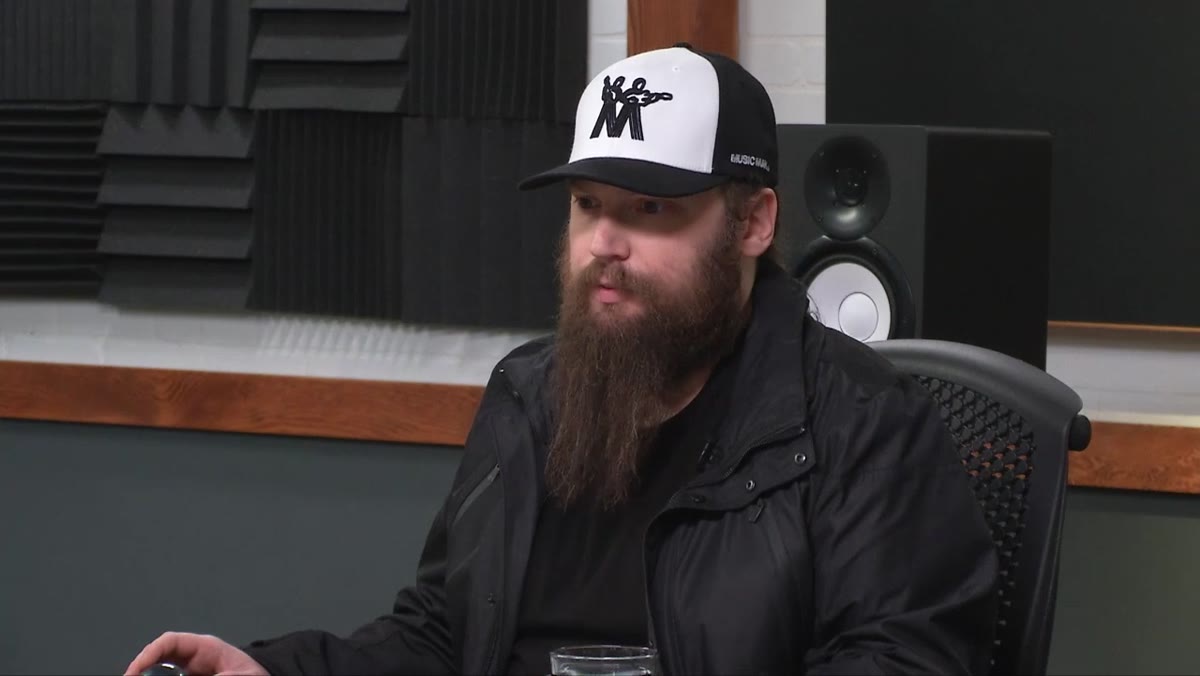 Explanation of Superior Drummer room channels triggered via MIDI
Here’s where it gets clever. Rather than adding reverb to the snare channel and calling it a day, Eyal triggers room channels inside Superior Drummer via MIDI that’s aligned to the snare hits. This means you’re not adding reverb – you’re adding a sampled room response that was captured in an actual acoustic space, triggered in sync with every real snare hit.
Explanation of Superior Drummer room channels triggered via MIDI
Here’s where it gets clever. Rather than adding reverb to the snare channel and calling it a day, Eyal triggers room channels inside Superior Drummer via MIDI that’s aligned to the snare hits. This means you’re not adding reverb – you’re adding a sampled room response that was captured in an actual acoustic space, triggered in sync with every real snare hit.
The practical setup: your MIDI trigger data needs to be locked tightly to the transient of the live snare hits. Any slop in that alignment and the sample will feel like an echo rather than a natural extension of the hit. Pro Tools makes this alignment process manageable, and Eyal mentions walking through the exact method in the session.
Step 5: Mix With Mastering in Mind
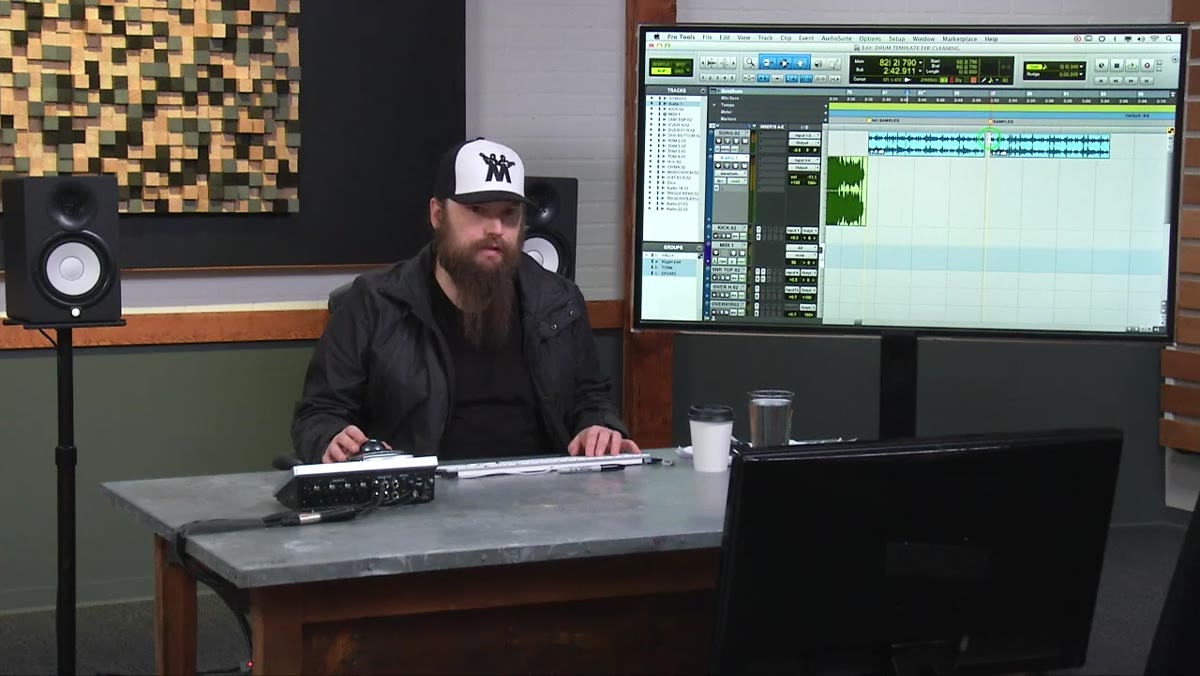 Eyal discussing how mastering affects center channel levels
This step is the one that separates the people who mix in a vacuum from the people whose mixes translate. When a track goes to mastering, the center channel typically gets compressed or brought down while the sides get emphasized. That means your snare – which lives in the center – is going to lose presence before the listener ever hears the finished record.
Eyal discussing how mastering affects center channel levels
This step is the one that separates the people who mix in a vacuum from the people whose mixes translate. When a track goes to mastering, the center channel typically gets compressed or brought down while the sides get emphasized. That means your snare – which lives in the center – is going to lose presence before the listener ever hears the finished record.
You need to mix your snare sample blend so that it sounds slightly more aggressive than feels comfortable at your mixing stage. It will come back into balance after mastering does its work. If your snare only sounds “good enough” in the mix session, it’s already dead. Build in that headroom.
Step 6: Check the Balance Between Samples and Room Sound
 Natural drum room blending with sample-layered version
One audience member noticed that the sampled version seemed to lose some of the natural room sound and that individual drums became more defined. Eyal’s point here is nuanced: the balance you’re hearing in the mix session is not the final balance. After mastering compression smashes everything together, the more prominent, defined sample-heavy version will settle back toward something closer to the original natural blend.
Natural drum room blending with sample-layered version
One audience member noticed that the sampled version seemed to lose some of the natural room sound and that individual drums became more defined. Eyal’s point here is nuanced: the balance you’re hearing in the mix session is not the final balance. After mastering compression smashes everything together, the more prominent, defined sample-heavy version will settle back toward something closer to the original natural blend.
In other words, the “too much” feeling at the mixing stage is intentional. You’re compensating forward. This is the same logic as sharpening a print file slightly more than looks right on screen because you know the printer will soften things during the output process.
What I’d Add From My Own Experience
I don’t mix metal records for a living. But I do spend a lot of time making elements survive inside complex compositions – layered textures, busy backgrounds, type sitting on top of competing imagery. The principle here maps directly. Whenever one element needs to hold its ground against a wall of other stuff, you don’t just turn it up. You reinforce its defining characteristics: the attack, the body, the tail. In Photoshop terms, you’d sharpen the edges, boost the contrast, maybe add a subtle glow that extends outward. Eyal’s doing the same thing with audio – reinforcing the characteristics that will survive the full context, not just the solo.
The mistake I used to make in compositing was judging elements in isolation and being confused when they disappeared in the final image. Same trap exists here in audio. Always judge inside the context. Always mix for where the track is going, not where it is.
The single most important thing I took from this tutorial: sample layering isn’t about faking better drums. It’s about making sure the real drums survive everything the arrangement is going to throw at them. The natural recording is the foundation. The samples are the structural reinforcement you pour around it so the whole thing doesn’t collapse under load.
Watch the full tutorial on YouTube – Eyal covers the actual MIDI alignment process in the session and it’s worth seeing the Pro Tools routing in action.
Comments (3)
Finally someone explains this in a way that actually makes sense.
Quality content like this is rare. Keep it up.
Love this. I referenced a similar technique in one of my recent posts. Always good to see other perspectives.
Leave a Comment