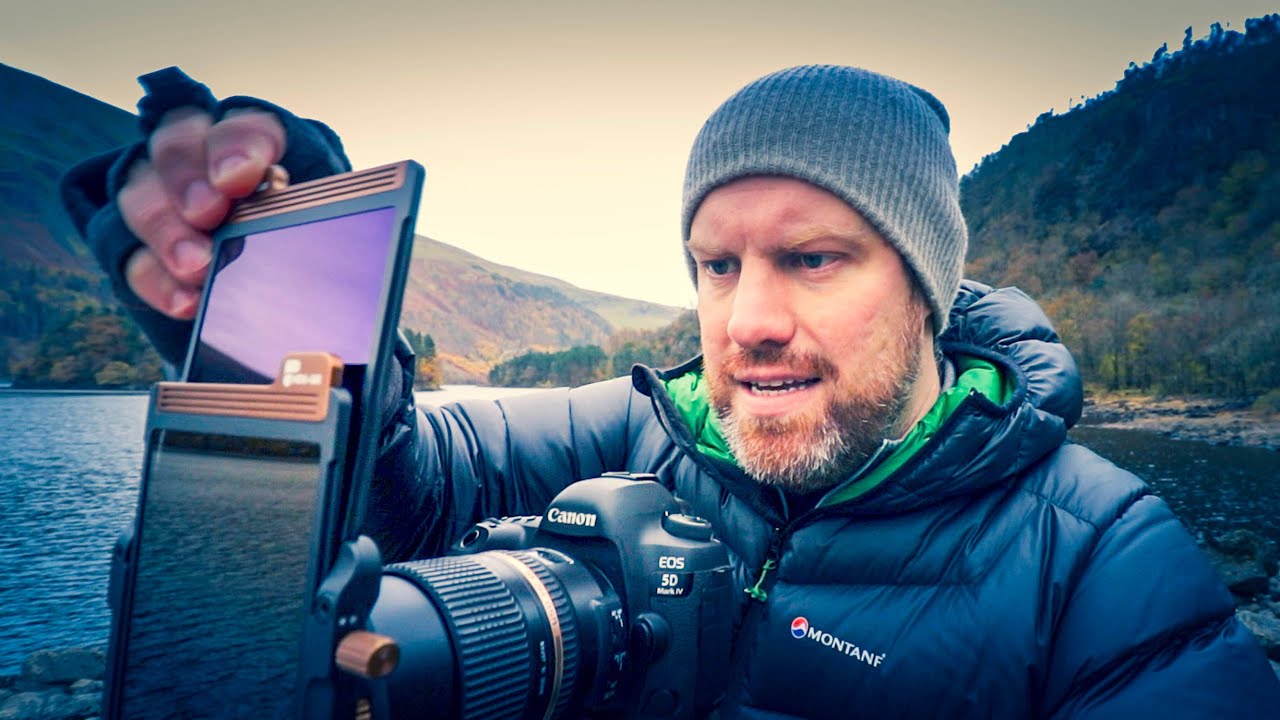
I’ll be honest: I’ve spent more time fixing color casts in Photoshop than I care to admit. You know the ones. That sickly green or magenta tint that creeps into a long exposure shot because you slapped a cheap ND filter on your lens and hoped for the best. Then you’re back at your desk in whatever coffee shop you’ve claimed for the day, burning 20 minutes with Hue/Saturation layers trying to un-ruin what was otherwise a perfectly good shot. It’s a solvable problem, but it shouldn’t even be a problem in the first place. That’s why this tutorial stopped me mid-scroll.
In this First Man Photography tutorial, Ross shoots a stunning autumn morning in the UK’s Lake District and walks through his real-world filter workflow for long exposure landscape photography. What makes it worth your time isn’t just the scenery. It’s the frank, field-tested opinion of someone who has genuinely struggled with filters for years before finding something that actually works. Ross isn’t selling you a dream. He’s telling you what was wrong with everything he tried before, and why this particular system changed his approach.
If you do any amount of landscape or architectural photography, and then spend time in Photoshop trying to rescue shots that were compromised before they even hit your sensor, this tutorial is relevant to your life. Better captures mean less remediation. Here’s how Ross breaks it down.
Step 1: Understand Why Filters Still Matter for Long Exposure
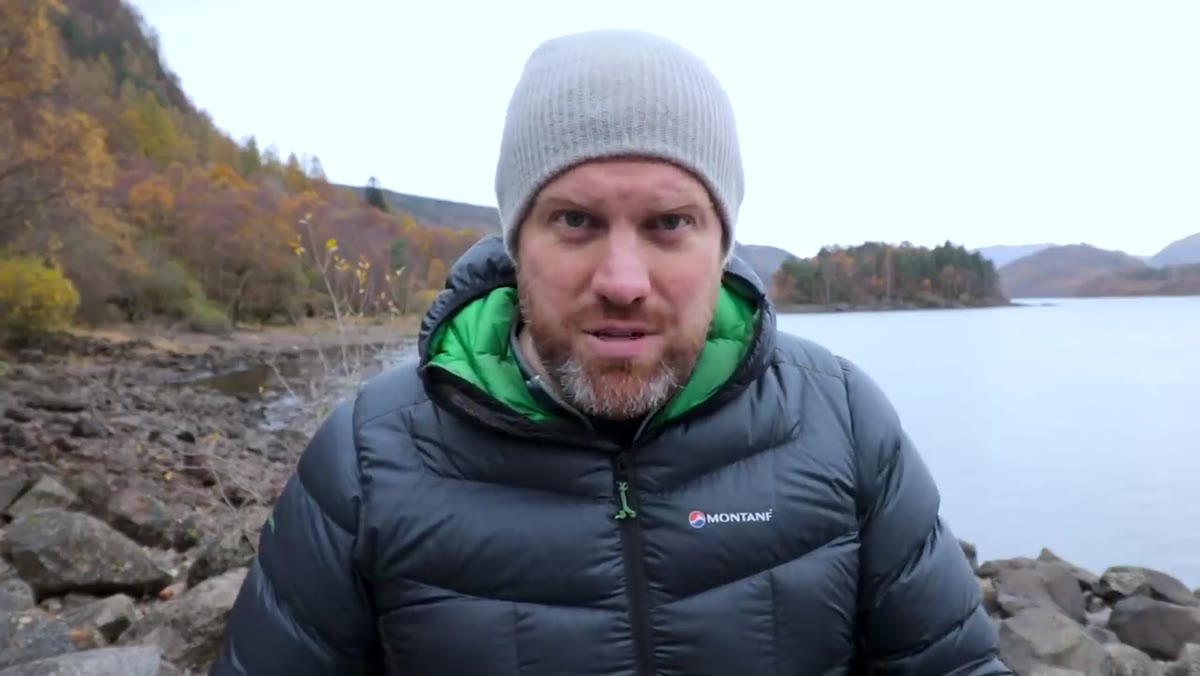 Ross explaining color cast problems with budget ND filters
Before any gear gets attached to anything, Ross makes a case for why filters are still a necessary part of a long exposure kit. The core argument is about dynamic range and motion blur. When you want to smooth out moving water or clouds, you need a slower shutter speed, and you can’t get there in daylight without cutting the light coming into your lens. That’s the job of a neutral density filter.
Ross explaining color cast problems with budget ND filters
Before any gear gets attached to anything, Ross makes a case for why filters are still a necessary part of a long exposure kit. The core argument is about dynamic range and motion blur. When you want to smooth out moving water or clouds, you need a slower shutter speed, and you can’t get there in daylight without cutting the light coming into your lens. That’s the job of a neutral density filter.
The word “neutral” is doing a lot of heavy lifting in that name, though. A filter that isn’t truly neutral introduces a color cast. Ross has spent years dealing with filters made from plastic rather than optical glass, and the quality difference is significant. Plastic filters can also be fiddly to handle in the field, picking up fingerprints easily, and the sliding grad systems on cheaper rigs feel imprecise. These are all problems you end up solving in post, which means more time in Photoshop than you planned.
Step 2: Scout Your Composition Before You Touch the Filter System
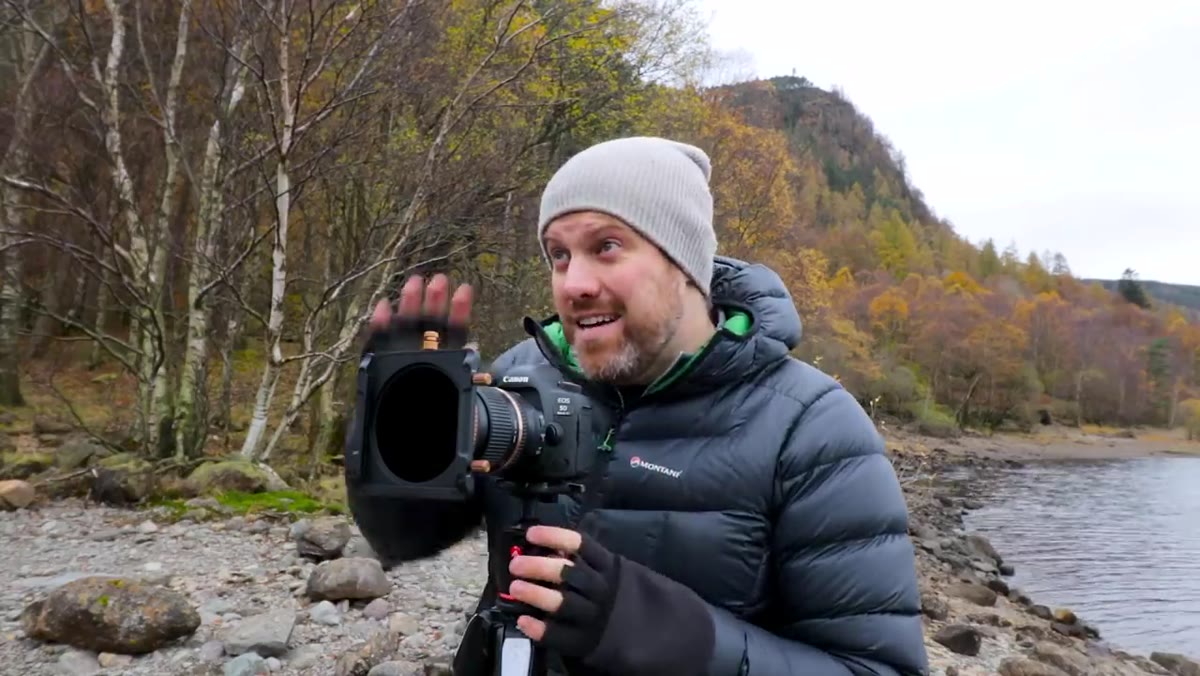 Ross framing a shot of autumn trees and water at the lakeside
Ross sets up his first shot at roughly 65mm, framing a cluster of autumn trees that are bouncing more light than the surrounding landscape. They act as a natural focal point against the darker crag behind them, with a slice of waterline at the bottom of the frame. He deliberately crops out a distracting island on one side.
Ross framing a shot of autumn trees and water at the lakeside
Ross sets up his first shot at roughly 65mm, framing a cluster of autumn trees that are bouncing more light than the surrounding landscape. They act as a natural focal point against the darker crag behind them, with a slice of waterline at the bottom of the frame. He deliberately crops out a distracting island on one side.
The lesson here is compositional priority. You find your shot first, you figure out what your settings need to be, and then you introduce the filter system. This sounds obvious but it’s easy to reverse the order when you’re excited about new gear. Know what you’re trying to create before you start stacking glass.
Step 3: Attach the Filter Holder to Your Lens Ring
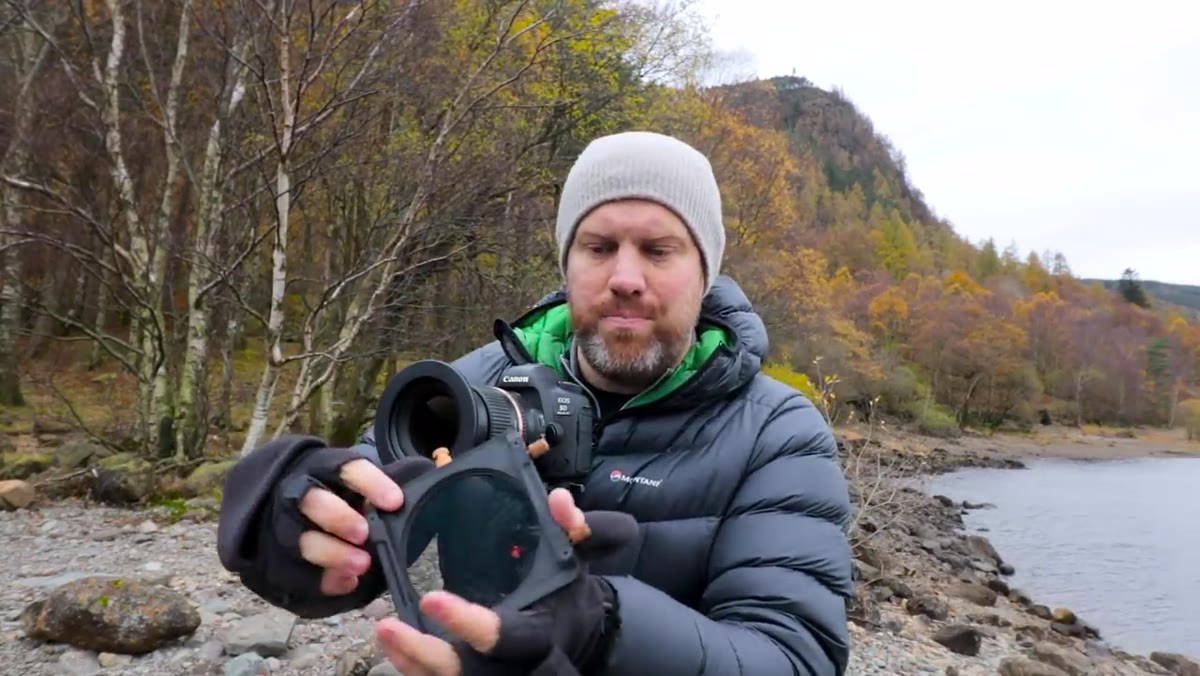 The metal PolarPro Summit bracket being attached to a lens adapter ring
The PolarPro Summit system uses a metal bracket rather than the plastic holders common to a lot of competing systems. Ross notes the quality difference is immediately obvious just from the feel in your hands. The holder attaches to a lens ring that can be swapped across your different lenses, so you’re not buying a full system for every focal length you own.
The metal PolarPro Summit bracket being attached to a lens adapter ring
The PolarPro Summit system uses a metal bracket rather than the plastic holders common to a lot of competing systems. Ross notes the quality difference is immediately obvious just from the feel in your hands. The holder attaches to a lens ring that can be swapped across your different lenses, so you’re not buying a full system for every focal length you own.
Ross keeps the holder slightly loose rather than fully locked down. This lets him rotate the whole bracket to align a graduated filter precisely with the horizon line in his composition without having to loosen and retighten a screw every time. Small workflow detail, genuinely useful in the field.
Step 4: Use the Built-In Circular Polarizer as Your Base Layer
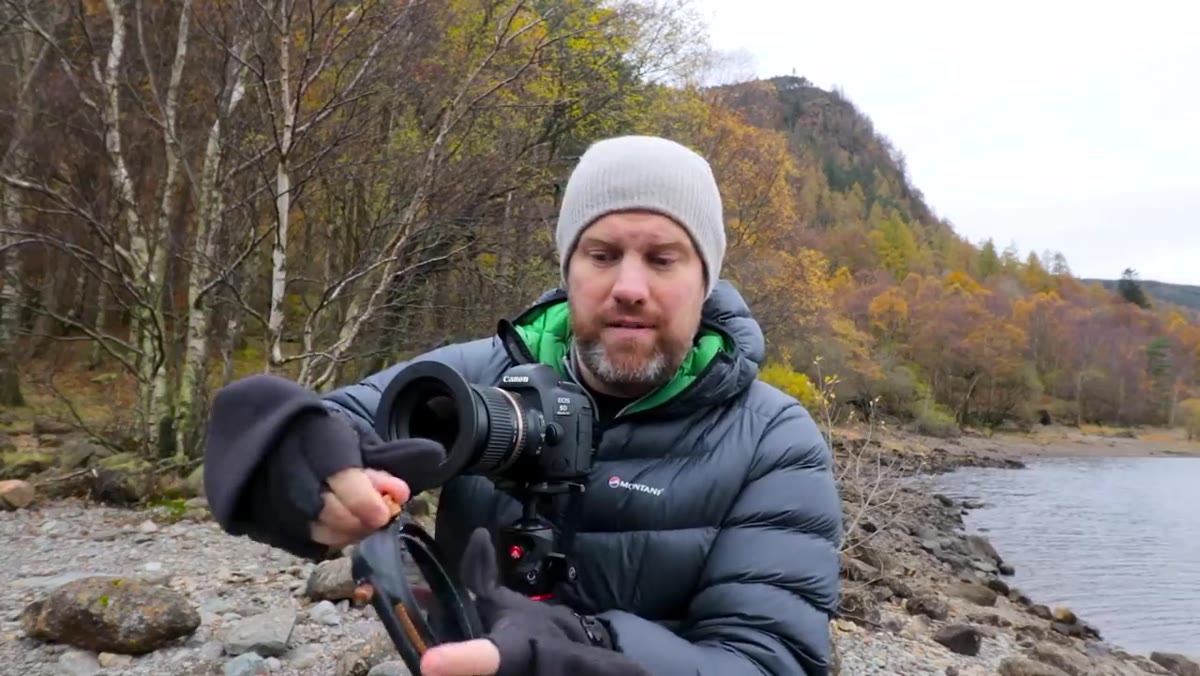 Ross demonstrating the integrated circular polarizer in the filter holder
Here’s where the Summit system does something different from most rectangular filter setups. The circular polarizer is built directly into the holder rather than being a separate screw-on filter you manage underneath the bracket. You rotate the holder itself to dial in your polarization, which keeps the whole stack simpler and reduces the number of surfaces that can pick up dust or fingerprints.
Ross demonstrating the integrated circular polarizer in the filter holder
Here’s where the Summit system does something different from most rectangular filter setups. The circular polarizer is built directly into the holder rather than being a separate screw-on filter you manage underneath the bracket. You rotate the holder itself to dial in your polarization, which keeps the whole stack simpler and reduces the number of surfaces that can pick up dust or fingerprints.
Polarizers cut reflections off water and wet surfaces, and they punch up contrast in skies and foliage in a way that’s much cleaner to achieve in-camera than in post. Yes, you can fake some of this with a Curves layer and some masking in Photoshop. No, it doesn’t look the same. The polarizer earns its place in the stack.
Step 5: Add the ND Filter for Your Target Shutter Speed
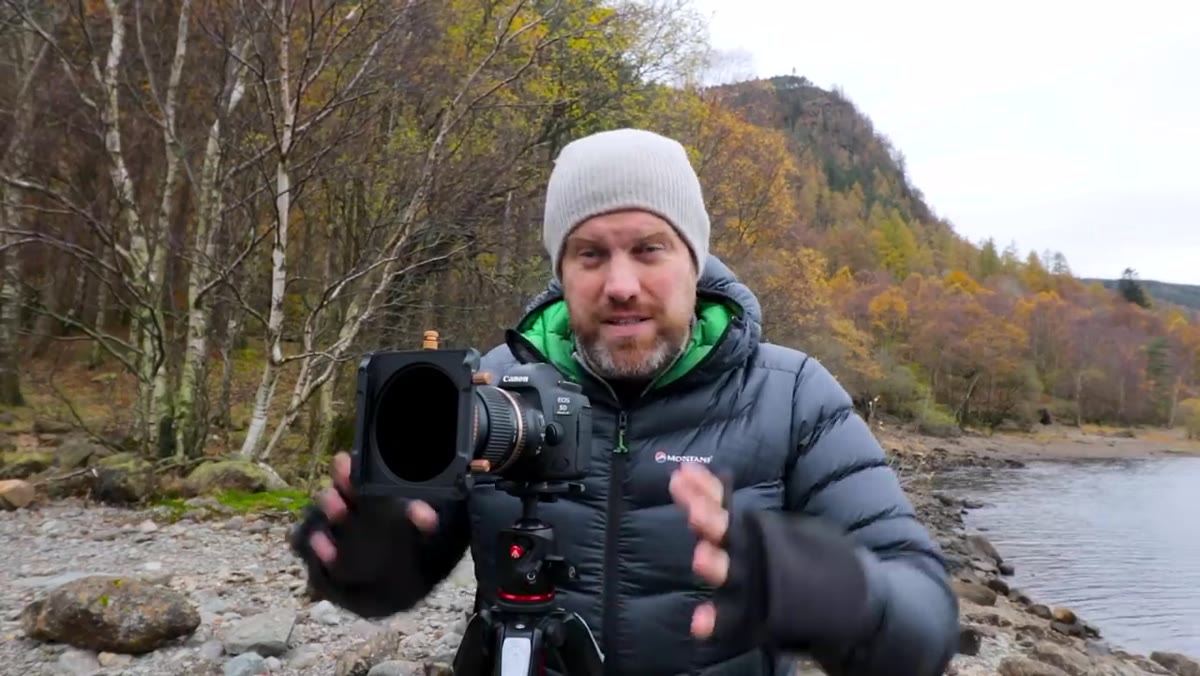 Ross selecting a six-stop ND filter for the long exposure shot
For this particular scene, Ross reaches for a six-stop ND filter, which is a middle-ground choice. Six stops cuts enough light to push you into multi-second exposure territory in overcast daylight, giving moving water that smooth, silky look without requiring you to be out at 5am in pitch dark. A ten-stop filter would get you to very long exposures, but six stops gives you more flexibility across different lighting conditions.
Ross selecting a six-stop ND filter for the long exposure shot
For this particular scene, Ross reaches for a six-stop ND filter, which is a middle-ground choice. Six stops cuts enough light to push you into multi-second exposure territory in overcast daylight, giving moving water that smooth, silky look without requiring you to be out at 5am in pitch dark. A ten-stop filter would get you to very long exposures, but six stops gives you more flexibility across different lighting conditions.
The fact that these filters are optical glass rather than resin is the reason Ross trusts them not to introduce a color cast. It’s the whole point of the system. You want your RAW file to be clean so that your Photoshop adjustments are creative choices, not damage control.
Step 6: Consider Whether You Actually Need the Grad
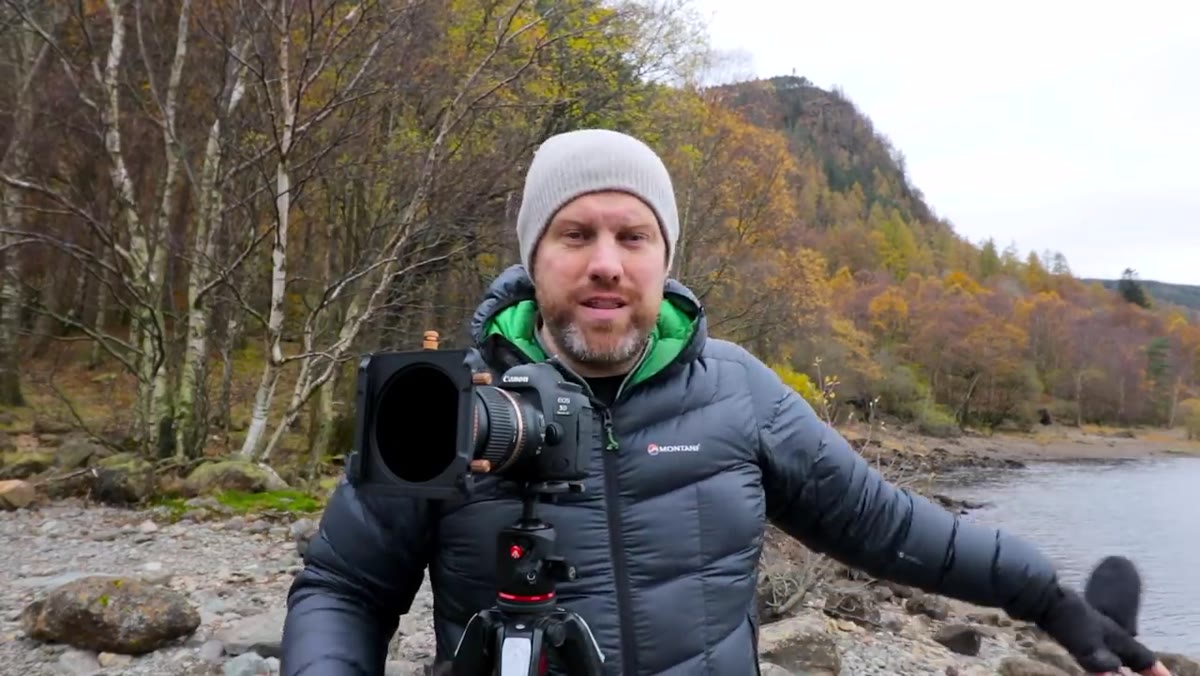 Ross holding up a graduated ND filter from the Summit system
Ross is refreshingly undecided about graduated ND filters. He acknowledges the Summit grads are well made, but he’s honest that his default instinct is still to bracket his exposures and blend them in post. Exposure blending in Photoshop gives you more control, and it’s not technically harder than getting a physical grad positioned precisely over a real-world horizon that might not be perfectly flat.
Ross holding up a graduated ND filter from the Summit system
Ross is refreshingly undecided about graduated ND filters. He acknowledges the Summit grads are well made, but he’s honest that his default instinct is still to bracket his exposures and blend them in post. Exposure blending in Photoshop gives you more control, and it’s not technically harder than getting a physical grad positioned precisely over a real-world horizon that might not be perfectly flat.
The grad becomes more useful when you genuinely can’t bracket, like during a time-lapse, or when the speed of your workflow in the field matters more than maximum control in post. Know what situation you’re in before you decide which tool to reach for.
My Take: The Photoshop Angle Nobody Mentions
The hidden cost of using cheap filters isn’t the filter itself. It’s the post-processing time. Every time I’ve pulled a shot from a plastic ND filter into Lightroom or Photoshop, I’m running a color cast diagnostic before I can even start the actual edit. Is that a warm shift I want to keep? Is that green tint in the shadows from the filter or from light bouncing off the trees? It muddies the decision-making.
Working from a clean, neutral capture means that when I make a Curves adjustment or pull a selective color tweak, I know exactly what I’m looking at. I’m not chasing artifacts. For the kind of detailed compositing and landscape retouching I do regularly, that clarity at the capture stage genuinely changes how much I can trust my own edits.
The bigger takeaway from Ross’s tutorial is one that applies whether you’re into photography or purely a Photoshop person: the further upstream you solve a quality problem, the less work you do everywhere downstream. Better glass means cleaner files. Cleaner files mean better edits. That chain holds up every time.
Watch the full tutorial on YouTube to see Ross shoot the whole sequence in the Lake District and get a proper look at how the Summit filter system handles in real field conditions.
Comments
Leave a Comment