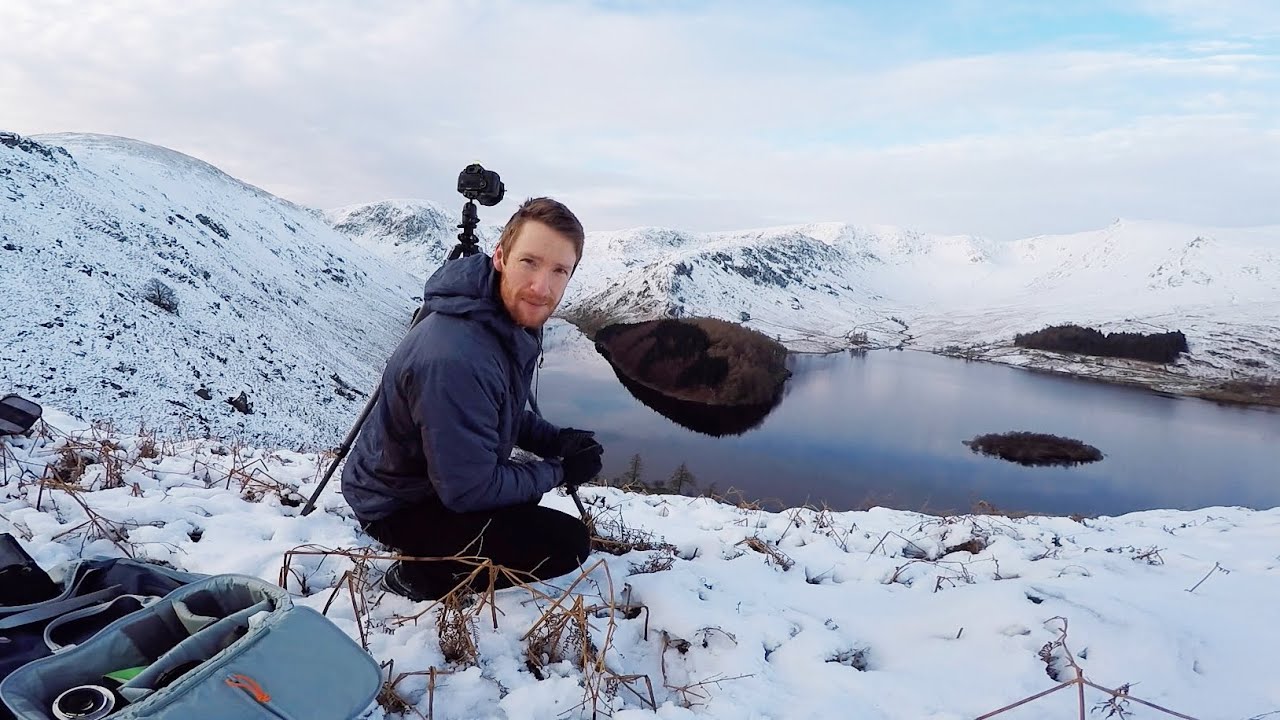
There’s a particular kind of chaos that every photographer knows but nobody talks about enough: you’ve planned the shot for weeks, you’ve dragged yourself out of bed at an ungodly hour, and then reality just… doesn’t cooperate. A road is blocked. The light moves faster than you expected. Your carefully mapped route is now buried under a landslide. What you do in those moments separates decent photographers from great ones. I’m primarily a Photoshop and design guy, but I spend enough time on location (and enough time fixing other people’s location mistakes in post) to know that getting it right in camera is worth about three hours of Lightroom grief. That’s why this particular video hit close to home.
Watch the full tutorial on YouTube
In this Thomas Heaton tutorial, the Lake District throws everything it has at him, including an icy road, a landslide, and a sunrise that waits for absolutely no one. What unfolds is less a traditional “here’s my gear, here’s my shot” tutorial and more a masterclass in field improvisation. And honestly? That’s the more useful lesson. Because you can read about polarisers all day, but watching someone actually rotate one in real time, under time pressure, with cold hands and a rapidly changing sky, makes the technique stick in a way a spec sheet never will.
Step 1: Plan Your Route Around the Light Direction
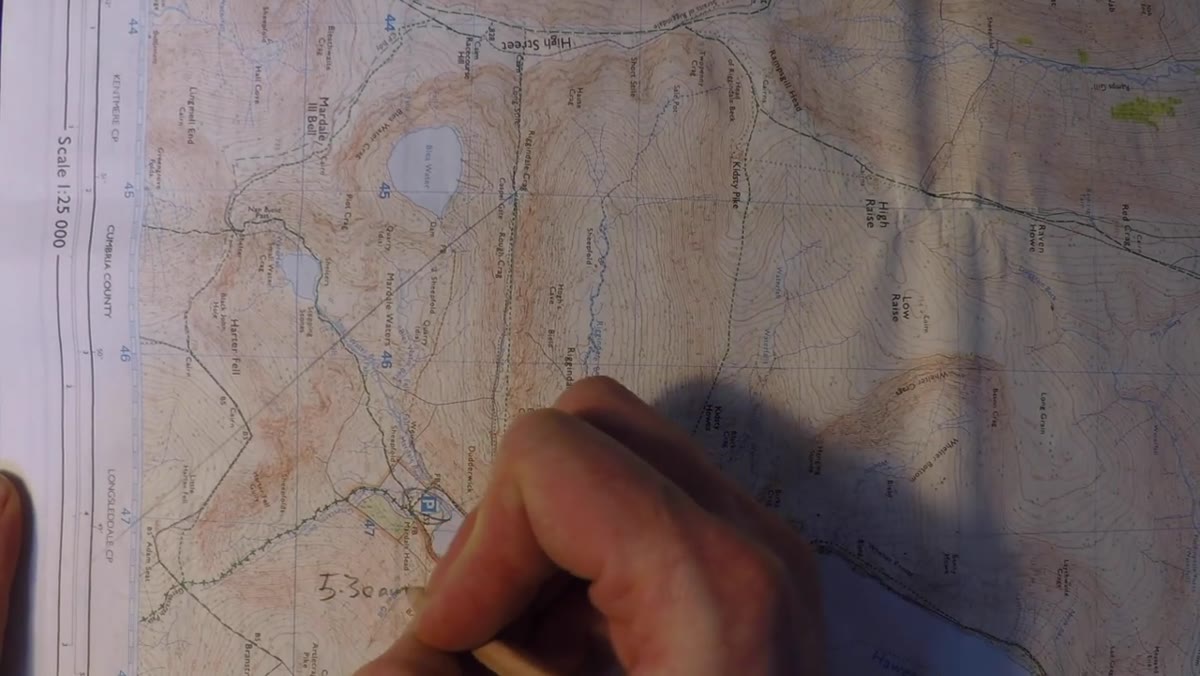 Map showing planned route and sunrise direction over lake
Before Heaton even gets out of bed, he’s already thought through the geometry of the shot. The sun rises from a southeasterly direction on this particular morning, which means specific hillsides are going to be lit and others won’t. His original plan was to reach a high vantage point that would catch that directional light across the valley.
This is the step most people skip. They drive to a pretty place and hope for the best. Instead, spend ten minutes the night before with a tool like PhotoPills or even just Google Maps. Know where the sun is rising relative to your subject. Know which side of the hill is going to glow and which is going to be in shadow. Even when Heaton’s plan collapses completely, that underlying understanding of light direction is what helps him improvise a new composition that still works.
Step 2: Adapt Fast When the Plan Goes Wrong
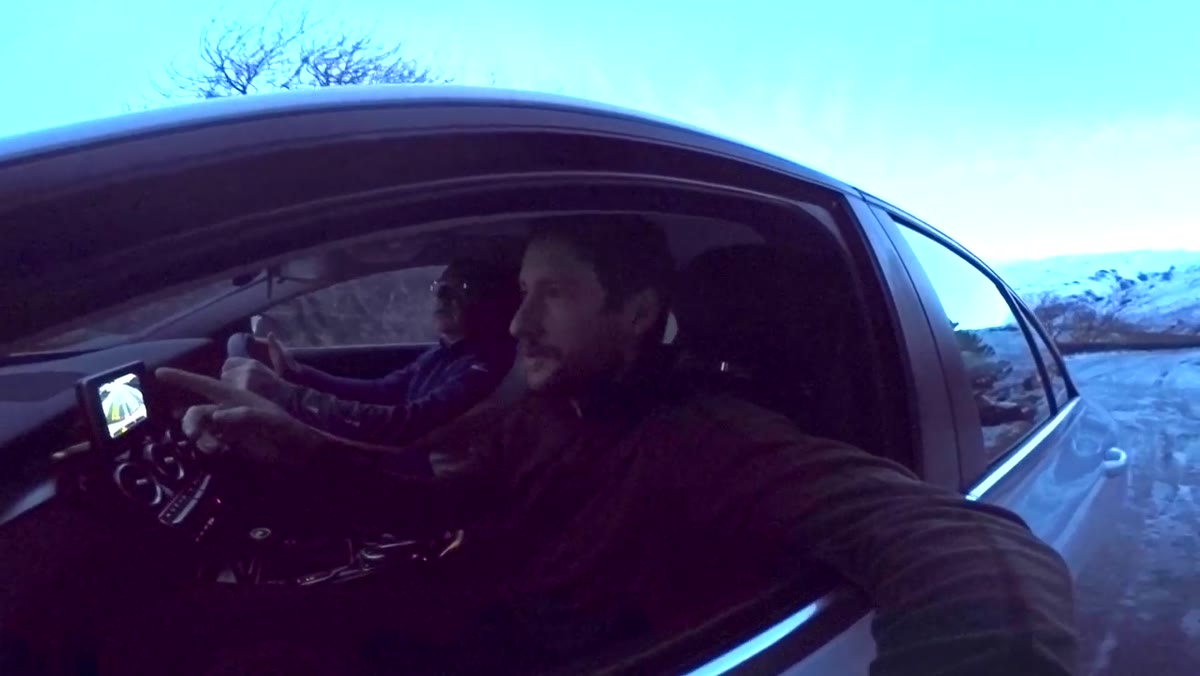 Heaton explaining road blockage and change of plans from car
A landslide blocks the road. The planned trail is now a 45-minute walk just to reach the trailhead, and sunrise is maybe an hour away. Here’s where most photographers would either give up or panic-sprint and arrive breathless with no time to think. Heaton does neither.
The move is to immediately reassess what’s available within reach. He spots a hillside above the road that offers a decent elevation gain and a view across the lake toward the snow-covered mountains. It’s not the original shot. It’s also not nothing. When you’re improvising on location, the question to ask isn’t “how do I get back to my plan?” It’s “what does this location actually offer me right now?” That reframe is the difference between coming home empty-handed and coming home with something genuinely good.
Step 3: Get to High Ground and Level Your Tripod Immediately
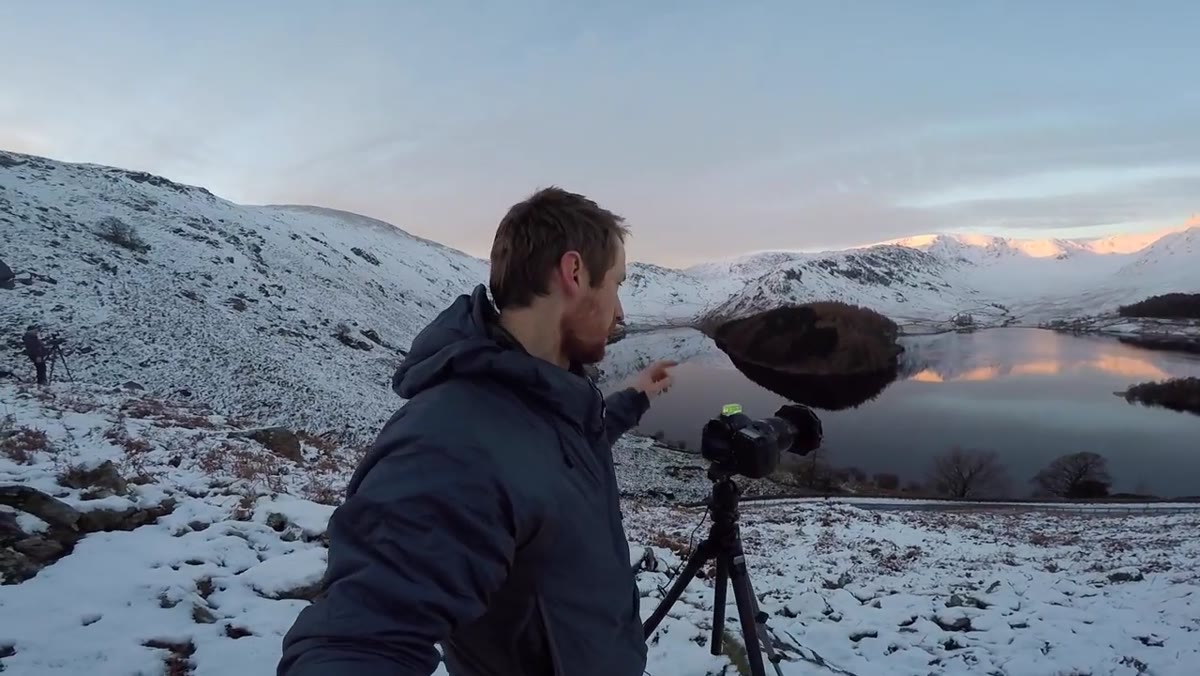 Tripod set up on hillside, lake visible below in frame
Once Heaton scrambles up the hillside, he’s immediately clocking two things: the light is already on the hills behind him and it has maybe two or three minutes left. So there’s no faffing around. Tripod down, leveled fast, polariser already on the lens.
Leveling your tripod matters more than people think, especially if you’re shooting a panoramic. Even a slight tilt means your stitched panels won’t align cleanly and you’ll lose chunks of sky or foreground in post. Take the extra 20 seconds. Use the bubble level on your ball head or the grid overlay in your live view. Heaton specifically calls out that he leveled it perfectly before shooting, and that’s not an accident. It’s a habit.
Step 4: Use a Polariser to Control Glare and Balance the Scene
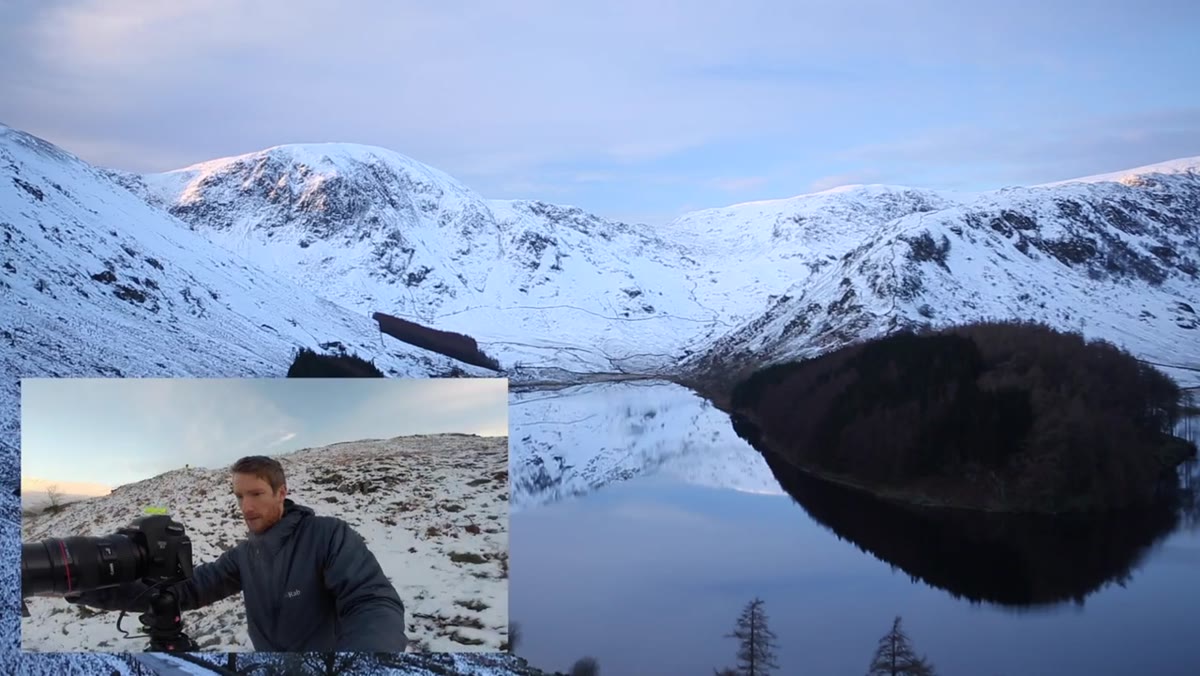 Rotating polariser filter showing sky glare reduction in real time
This is the juiciest part of the video and the most immediately transferable technique. Heaton shows the before and after of rotating the polariser in real time, and the difference is genuinely startling. Without it, the sky is overexposed and the lake reflections are blown out. One rotation of the filter ring and you’ve got a balanced scene with actual colour in the sky and clean water reflections.
A polariser works by blocking light waves that are vibrating in a specific orientation, which is the technical version of saying it cuts glare from water, glass, and atmospheric haze. The sweet spot is usually at a 90-degree angle to the sun. If you’re shooting directly into or directly away from the sun, a polariser won’t do much. The effect is strongest when the sun is to your side. For winter shooting specifically, when low-angle light is bouncing off every wet or icy surface, a polariser is worth its weight in gold and usually means you don’t need an ND graduated filter to balance the sky separately.
Step 5: Choose Composition Based on What the Scene Actually Needs
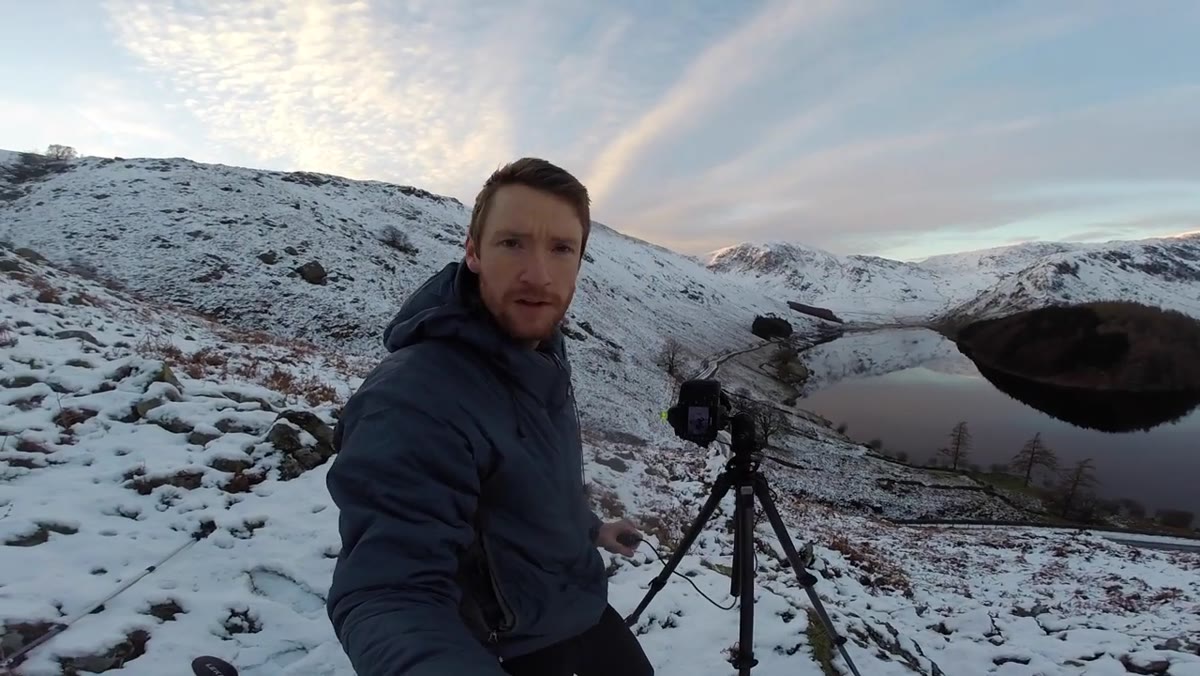 Switching from horizontal to vertical composition using road as leading line
After the panoramic, Heaton switches to a vertical composition using a road as a leading line into the mountains. The reason is specific and worth noting: the horizontal frame had trees on the right side that were reading dark and making the image feel unbalanced. Rather than trying to fix that in post or just living with it, he rotates the camera and finds a frame that eliminates the problem entirely.
This is the kind of decision that happens fast on location and gets almost no coverage in tutorials because it’s hard to teach as a rule. The practical habit here is to take your first shot, then immediately look at the edges of the frame. What’s pulling attention in a bad direction? What’s competing with your subject? Often a small vertical-to-horizontal switch, or a few steps left or right, removes the problem before it becomes a Photoshop problem.
Step 6: Recognize When a Location Has Given You Everything It Has
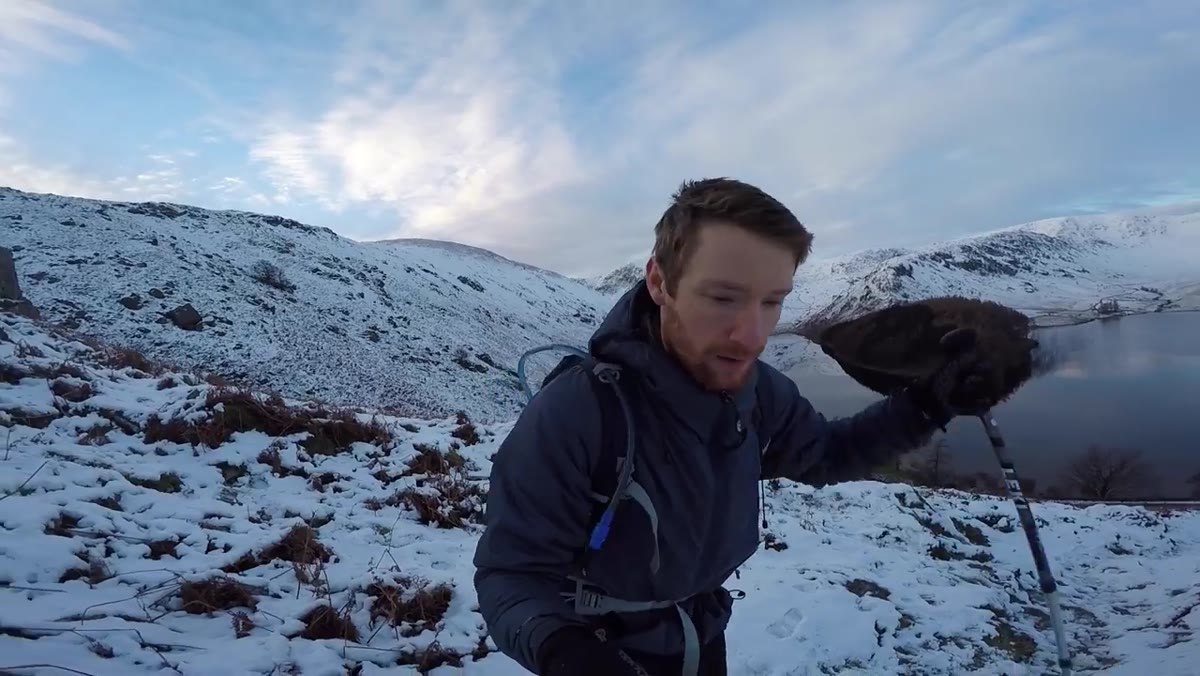 Heaton acknowledging light has gone and moving on toward waterfall
The light goes behind the clouds. Heaton doesn’t chase it, doesn’t wait around hoping it comes back. He calls the location done and moves toward a waterfall a few hundred yards away. This is a genuinely underrated skill: knowing when to leave.
The temptation is always to stay because you hiked here and you want to justify the effort. But that sunk-cost thinking leads to standing around in the cold waiting for a moment that’s already passed. If you’ve captured the peak light and the sky has gone flat, your time is better spent exploring the next composition than squeezing diminishing returns out of the current one.
What I’d Do Differently in Post
One thing the video doesn’t cover, because it’s focused on the field work, is how to handle the colour shifts a polariser can introduce in winter light. That cold blue cast in the shadows can be beautiful or it can be distracting depending on the image. In Photoshop, the Hue/Saturation adjustment with the Blues channel selected lets you dial back that cast without touching the warm tones in the sky or the golden light on the hills. It’s a subtler move than a blanket colour temperature shift and gives you much more control over what stays cold and what doesn’t.
The single biggest takeaway from watching Heaton work is this: preparation earns you options, but adaptability earns you the shot. Know your light, have your kit dialled in, and then be completely willing to throw the plan out and respond to what’s actually in front of you. The polariser technique alone is worth bookmarking, but the mindset underneath it is the real lesson.
Watch the full tutorial on YouTube
Comments
Leave a Comment