
There’s a particular kind of regret that only shows up after you’ve lived with your work for a while. You finish a project under deadline pressure, ship it, and think “good enough.” Then six months later you’re staring at it and the rushed decisions are all you can see. I know this feeling intimately. I once delivered a composite to a client that I was quietly embarrassed about the moment I hit send, because I’d bodged the masking on the subject’s hair and hoped nobody would notice. They noticed. The client was polite about it, which somehow made it worse.
That’s exactly the situation Thomas Heaton found himself in with his camper van. In this Thomas Heaton tutorial, he walks through a full interior renovation of his MAN TGE 4x4 after 13,000 miles and about a year of real-world use. He’s a landscape photographer who lives out of this van on shoots across Europe and the Arctic, so “mostly fine” isn’t good enough when it’s also your office and bedroom. What makes this video genuinely useful isn’t just the carpentry, it’s the diagnostic thinking he applies before touching a single screw. He’s methodical about identifying what failed and why, which maps almost perfectly onto how you should audit any creative project that’s started to fall apart.
The renovation covers plumbing leaks, squeaky storage units, poorly planned drawer clearance, and wasted space behind the kitchen area. Each problem has a root cause he traces back honestly, usually to rushing at the end of the build. Let’s walk through how he approaches it.
Step 1: Do an Honest Audit Before You Touch Anything
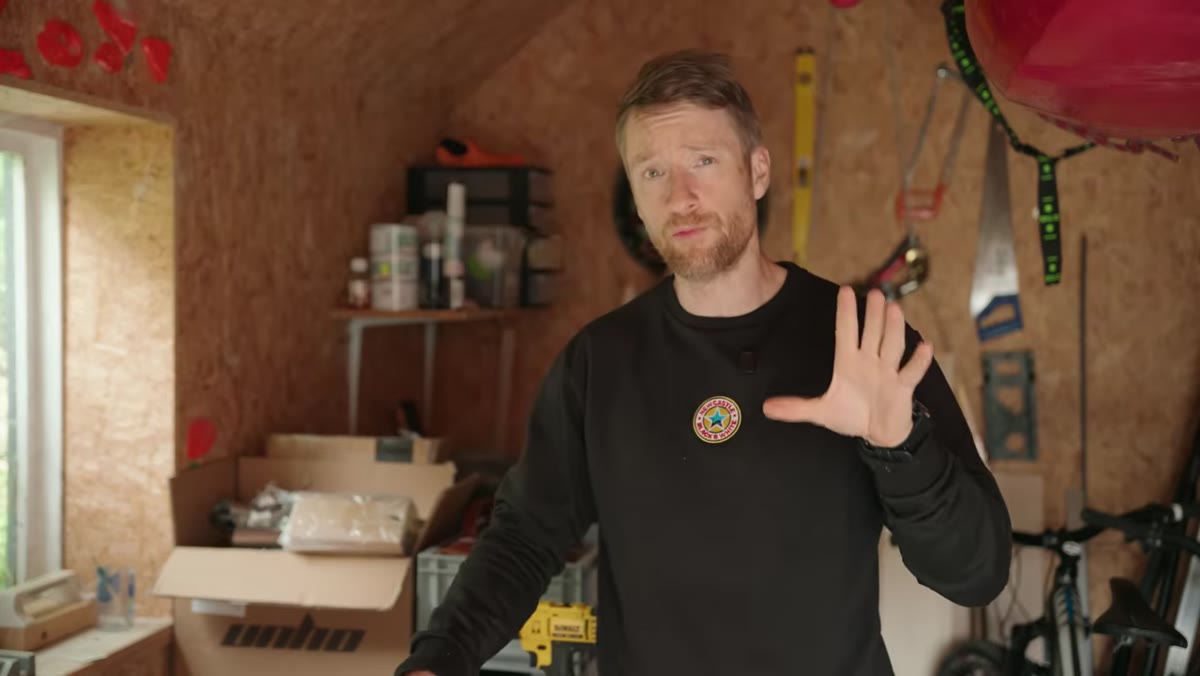 Van interior showing solid foundational elements still intact
Before pulling anything apart, Heaton makes a clear distinction between what’s working and what isn’t. The insulation, windows, roof rack, flooring, all of it is solid. He’s not blowing up the whole van, just the parts where deadline pressure made him cut corners. This is the step most people skip. They feel the frustration and start ripping things out without cataloguing what’s actually broken versus what just feels bad right now. Write the list first. In any rework situation, knowing exactly what stays saves you from creating new problems while fixing old ones.
Van interior showing solid foundational elements still intact
Before pulling anything apart, Heaton makes a clear distinction between what’s working and what isn’t. The insulation, windows, roof rack, flooring, all of it is solid. He’s not blowing up the whole van, just the parts where deadline pressure made him cut corners. This is the step most people skip. They feel the frustration and start ripping things out without cataloguing what’s actually broken versus what just feels bad right now. Write the list first. In any rework situation, knowing exactly what stays saves you from creating new problems while fixing old ones.
Step 2: Identify the Root Cause, Not Just the Symptom
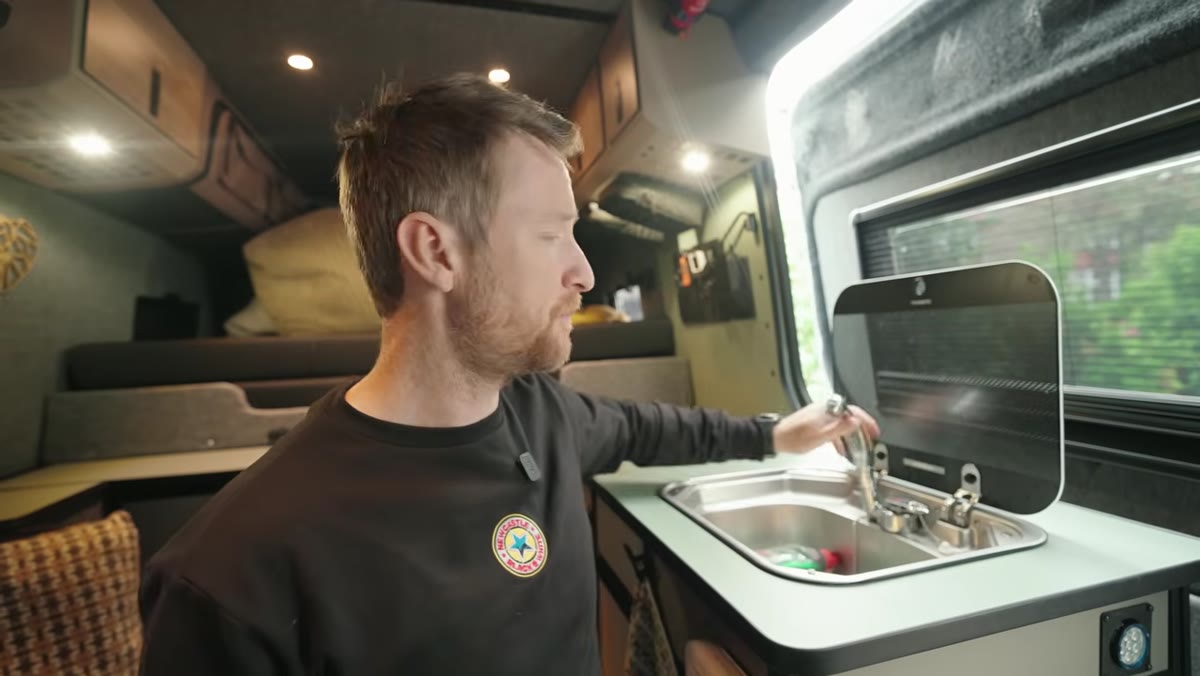 Dometic sink unit with leaking plumbing visible underneath
The sink has a leak. The obvious fix is to reseal the connection. But Heaton digs deeper and realizes the tap itself can’t handle the pressure his water pump generates. Fixing the seal would just delay the next failure. He also decides the entire unit the sink sits in has to go, because the design wastes space and the green color has stopped working for him aesthetically. One leak becomes the trigger for a wider rethink of that whole zone. This is good diagnostic thinking: follow the symptom back to the system, then decide whether the system is worth saving at all.
Dometic sink unit with leaking plumbing visible underneath
The sink has a leak. The obvious fix is to reseal the connection. But Heaton digs deeper and realizes the tap itself can’t handle the pressure his water pump generates. Fixing the seal would just delay the next failure. He also decides the entire unit the sink sits in has to go, because the design wastes space and the green color has stopped working for him aesthetically. One leak becomes the trigger for a wider rethink of that whole zone. This is good diagnostic thinking: follow the symptom back to the system, then decide whether the system is worth saving at all.
Step 3: Trace the Annoyances That Seem Minor but Compound Daily
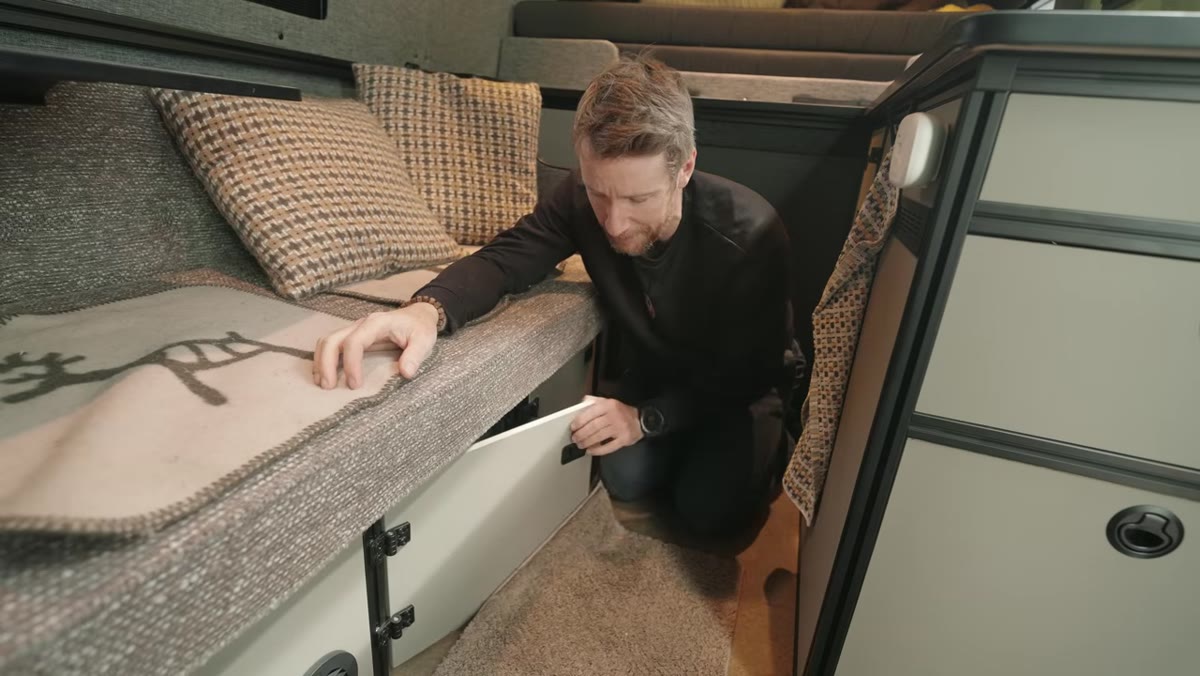 Cupboard doors unable to open due to insufficient floor clearance
The cupboard doors won’t open properly if there’s any rug or carpet on the floor. He didn’t leave enough clearance at the bottom when he built them. On its own, that’s a small oversight. But multiply it by every morning you’re trying to get into your kitchen storage while camping somewhere remote, and it becomes a genuine quality-of-life problem. He also flags a side storage unit that squeaks every time the van moves, caused by wood contacting aluminum without any buffer material. Neither of these are structural failures. Both of them are completely maddening to live with. Catalog the small friction points. They matter.
Cupboard doors unable to open due to insufficient floor clearance
The cupboard doors won’t open properly if there’s any rug or carpet on the floor. He didn’t leave enough clearance at the bottom when he built them. On its own, that’s a small oversight. But multiply it by every morning you’re trying to get into your kitchen storage while camping somewhere remote, and it becomes a genuine quality-of-life problem. He also flags a side storage unit that squeaks every time the van moves, caused by wood contacting aluminum without any buffer material. Neither of these are structural failures. Both of them are completely maddening to live with. Catalog the small friction points. They matter.
Step 4: Assess Build Quality Honestly, Including the Stuff Nobody Else Will See
 Open drawer interior showing unfinished, uneven construction
He opens the drawers on the side unit and just… admits they’re bad. Not catastrophically bad, but sloppy. They’re not square, they don’t slide smoothly, and the interiors are unfinished. His argument is that if you see it when you open it, it counts. The drawers also have a planning failure layered on top of the construction issue: when you pull one open, it blocks the fridge lid from opening fully. Two separate problems, one compound annoyance. Unfinished interiors and poorly sequenced components are exactly the kind of thing that gets waved away during a deadline crunch and becomes someone else’s problem later. Usually that someone else is you, six months later.
Open drawer interior showing unfinished, uneven construction
He opens the drawers on the side unit and just… admits they’re bad. Not catastrophically bad, but sloppy. They’re not square, they don’t slide smoothly, and the interiors are unfinished. His argument is that if you see it when you open it, it counts. The drawers also have a planning failure layered on top of the construction issue: when you pull one open, it blocks the fridge lid from opening fully. Two separate problems, one compound annoyance. Unfinished interiors and poorly sequenced components are exactly the kind of thing that gets waved away during a deadline crunch and becomes someone else’s problem later. Usually that someone else is you, six months later.
Step 5: Strip Back to What’s Necessary and Relocate What’s in the Way
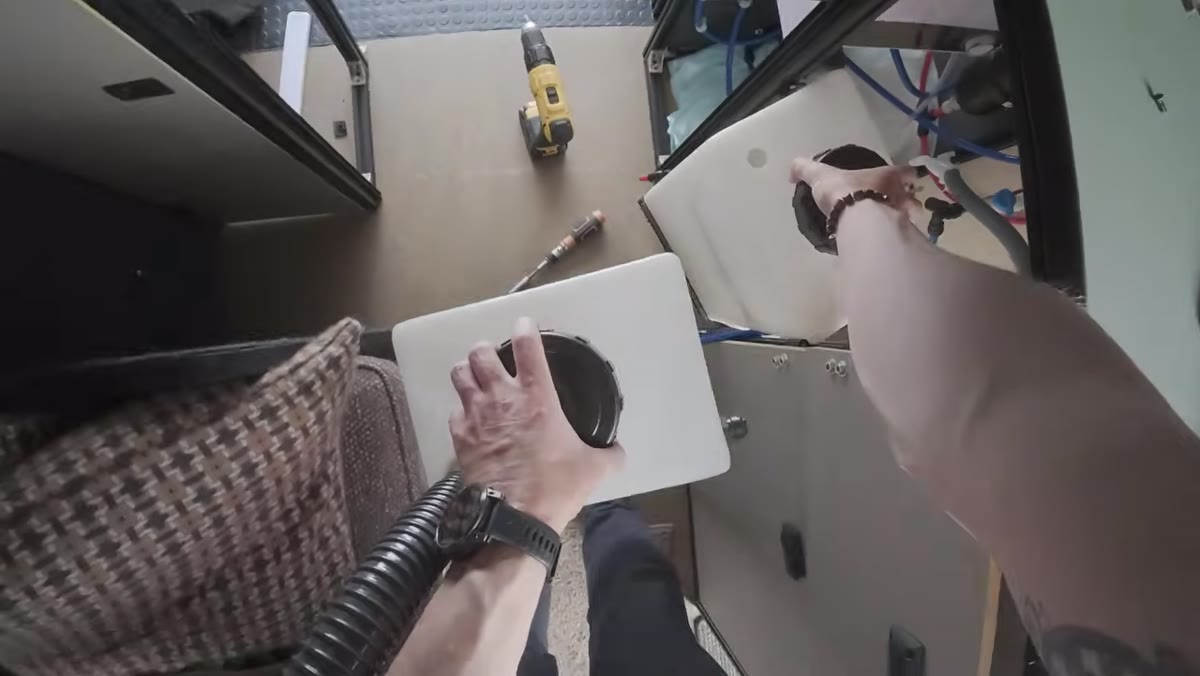 Plumbing and pipework being removed from under kitchen unit
All of the plumbing for the kitchen was crammed underneath the kitchen unit, which sounds logical until you realize that’s the most accessible storage real estate in the van and it’s completely occupied by pipes. Heaton describes it as a “bird’s nest” under there. His solution is to relocate as much of the plumbing as possible into the rear garage area of the van, freeing up the under-kitchen space for actual storage. This is the rework decision that probably has the highest return on effort in the whole project. Moving infrastructure that’s in the wrong place is painful, but leaving it there costs you something every single day.
Plumbing and pipework being removed from under kitchen unit
All of the plumbing for the kitchen was crammed underneath the kitchen unit, which sounds logical until you realize that’s the most accessible storage real estate in the van and it’s completely occupied by pipes. Heaton describes it as a “bird’s nest” under there. His solution is to relocate as much of the plumbing as possible into the rear garage area of the van, freeing up the under-kitchen space for actual storage. This is the rework decision that probably has the highest return on effort in the whole project. Moving infrastructure that’s in the wrong place is painful, but leaving it there costs you something every single day.
Step 6: Remove What Doesn’t Earn Its Space
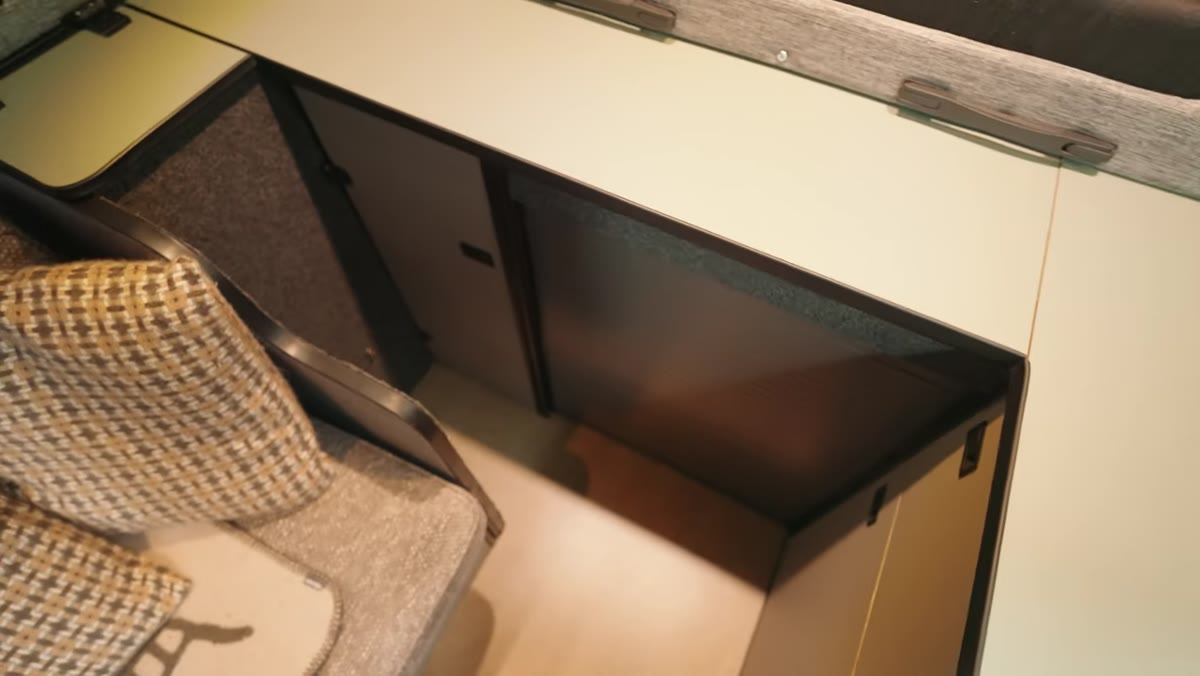 Rear cross-piece unit identified as wasted space
There’s a section at the back of the kitchen area that Heaton built as a kind of divider or shelf unit. It never gets used. It takes up about a foot of interior length. Getting rid of it gains him meaningful usable space in a vehicle where every inch counts. This is the hardest call in any renovation because it means admitting you built something that shouldn’t exist. But keeping it just because you built it is the sunk cost fallacy with a power drill.
Rear cross-piece unit identified as wasted space
There’s a section at the back of the kitchen area that Heaton built as a kind of divider or shelf unit. It never gets used. It takes up about a foot of interior length. Getting rid of it gains him meaningful usable space in a vehicle where every inch counts. This is the hardest call in any renovation because it means admitting you built something that shouldn’t exist. But keeping it just because you built it is the sunk cost fallacy with a power drill.
What I’d Add from My Own Experience
The thing Heaton doesn’t say explicitly but absolutely demonstrates is that the audit phase is where most people fail. They go straight from “I don’t like this anymore” to ripping things out, and then they’re three hours in and realize they’ve made it worse. Every time I’ve had to redo a piece of client work, the jobs that went smoothly were the ones where I sat down first and made a cold list of what was broken and what was fine. The jobs that turned into nightmares were the ones where I just opened the file and started pushing pixels. Same principle whether you’re renovating a van or rebuilding a composite that you delivered six months ago and now hate looking at.
The bigger lesson here is about building with the full lifecycle in mind, not just the delivery date. Heaton rushed toward the end of his original build, and that rush is now costing him a full renovation. Every decision you make under deadline pressure is a debt you’ll pay later, usually with interest.
The single most important takeaway from this video is the distinction Heaton makes early on: the foundations are solid, only the rushed parts need fixing. Knowing the difference between “this needs to go” and “this just needs attention” is what separates a targeted renovation from a breakdown. Do the audit. Make the list. Fix the right things.
Watch the full tutorial on YouTube to see the full strip-down and rebuild in action, including how he reorganizes the plumbing and rethinks the storage layout from scratch.
Comments
Leave a Comment