
I used to make patterns the hard way. Define pattern from a manually tiled layer, tweak the offset, realize the seams were visible, start over, repeat until I hated myself. It worked, eventually, but it was the kind of workflow that made me question my career choices. So when I came across this Aaron Nace (PHLEARN) tutorial on using Adobe Capture to build patterns straight from your phone and beam them into Photoshop wirelessly, I watched it twice and immediately opened the App Store. Watch the full tutorial on YouTube
The core idea is simple: Adobe Capture is a free mobile app from Adobe that lets you photograph real-world objects and convert them into usable design assets. Brushes, color palettes, shapes, and yes, tileable patterns. Because it ties into your Adobe Creative Cloud library, anything you save in the app shows up in Photoshop without a cable, an export, or a prayer. For someone like me who constantly needs background textures and decorative patterns for client work, this is the kind of shortcut that actually holds up in production.
The tutorial uses a houseplant as the source material, which sounds boring until you see the output. The app generates these kaleidoscopic, symmetrical repeats that look like something out of a surface design studio. It takes about three minutes from “point your phone at a thing” to “there’s a usable pattern in my Photoshop libraries panel.” Here’s exactly how it works.
Step 1: Download Adobe Capture and Sign In
 Adobe Capture app opening on a mobile phone
Adobe Capture is free from the App Store or Google Play. The one non-negotiable: sign in with the same Adobe ID you use for Photoshop on your desktop. This is what makes the wireless sync work. If you’re logged into different accounts on each device, nothing will cross over and you’ll spend 20 minutes troubleshooting something that isn’t actually broken. Sign in once, do it right, move on.
Step 2: Open the Patterns Section in the App
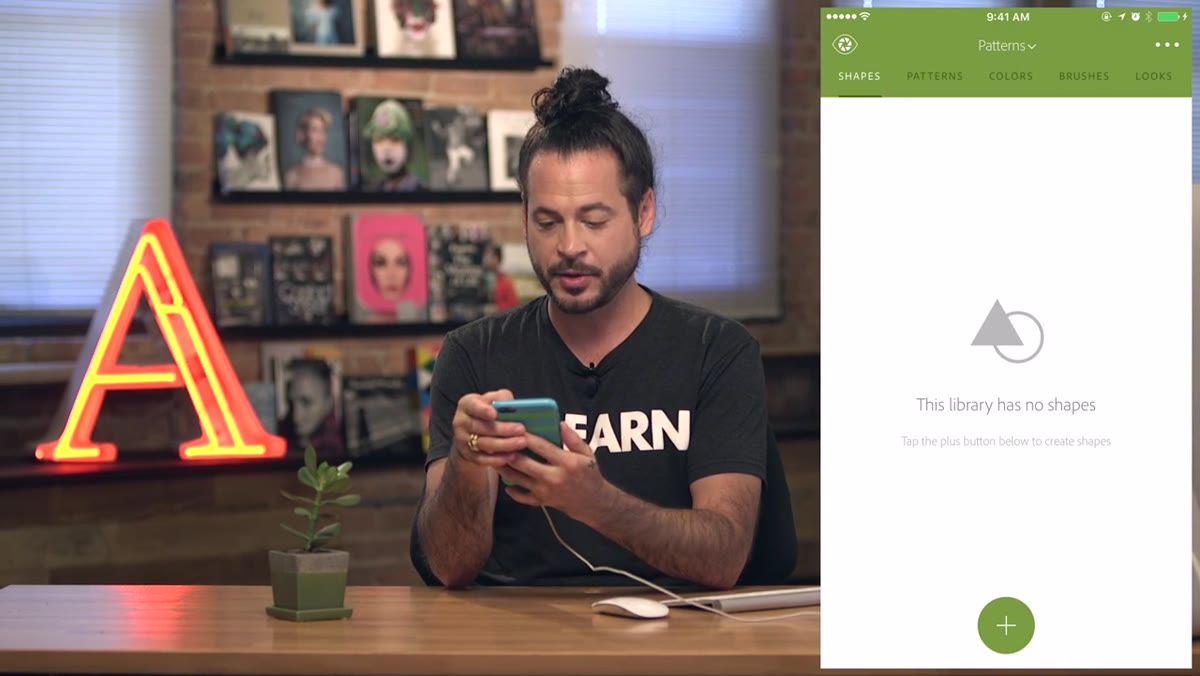 Adobe Capture home screen showing Shapes, Patterns, Colors, Brushes options
Once you’re in the app, you’ll see a menu of creative options including shapes, colors, brushes, and looks. Tap “Patterns.” This switches your camera into a live pattern preview mode, which is immediately more interesting than it sounds. You’ll see a central hub in the middle of the screen that represents the source tile, and the surrounding area shows you a live preview of how that tile repeats. Point your camera at anything textured, leafy, geometric, or interesting and watch the preview update in real time.
Step 3: Explore Pattern Symmetry Options
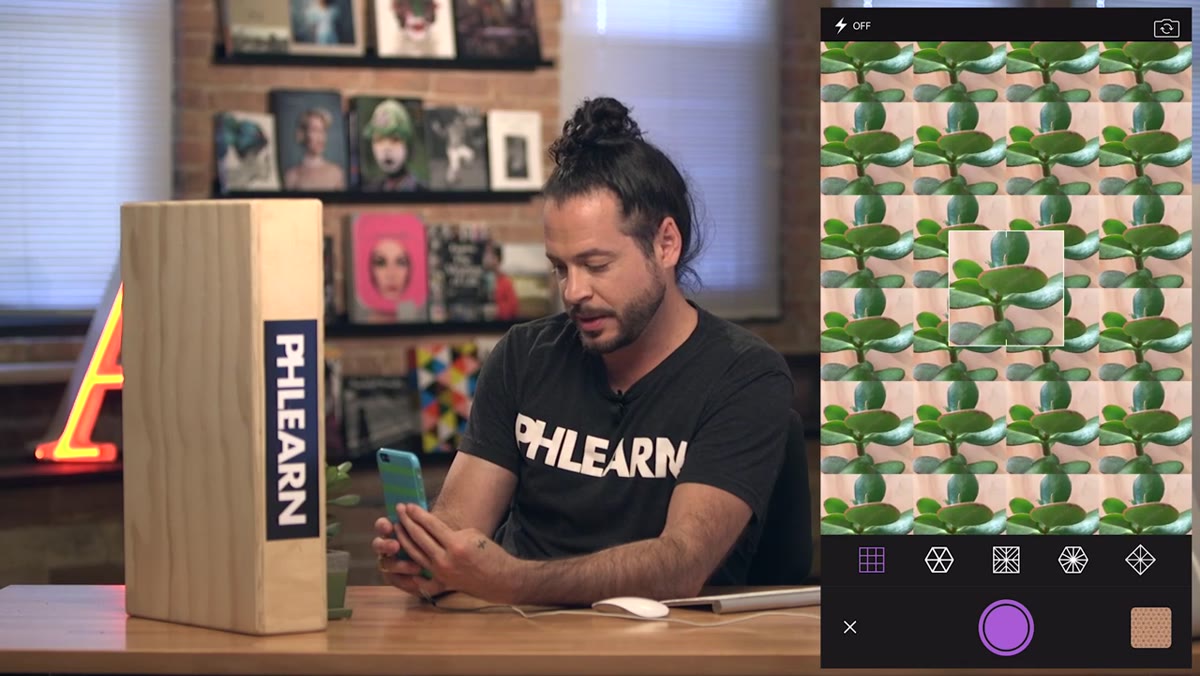 Bottom of screen showing different pattern shape/symmetry options
Along the bottom of the screen, you’ll find different symmetry and tiling options. These aren’t just layout changes, they’re pulling different sections of your source image and arranging them using different mathematical repeat structures. Some look grid-like and obvious. Others create these almost mandala-style rotational patterns that feel way more designed than “I pointed my phone at a plant.” Tap through them while watching your live preview. Aaron demonstrates that the less grid-like options tend to look more polished and less like a repeating tile, which matters a lot when you’re using this as a background.
Step 4: Capture the Pattern and Refine It
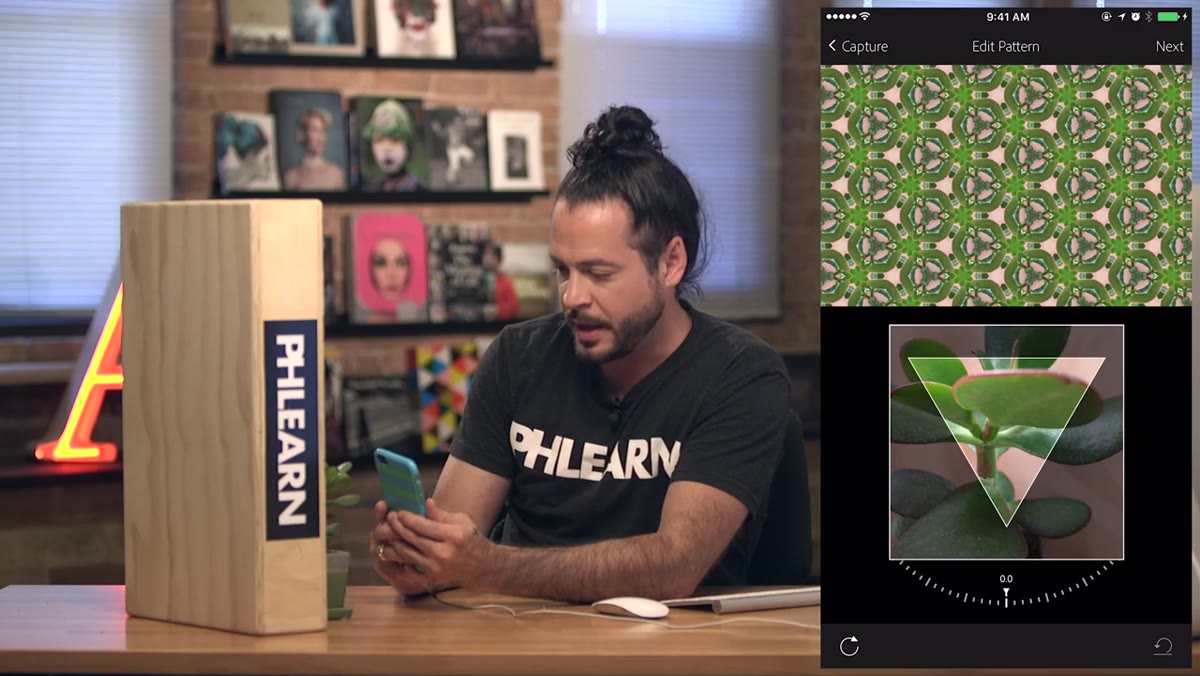 Capture button pressed, triangle handle visible for scaling the pattern tile
When you’ve found a symmetry style you like, hit the capture button. The app freezes the frame and gives you additional controls to refine the result. There’s a small triangle handle you can drag to scale the source tile up or down, which changes how much of your original image is included in each repeat. Smaller tile sizes create denser, busier patterns. Larger ones give you more breathing room. There’s also an angle slider so you can rotate the pattern orientation. Aaron settles on something that looks balanced and not too tight, which is good practical advice. Dense patterns tend to compete with whatever subject you’re placing them behind.
Step 5: Preview and Name Your Pattern
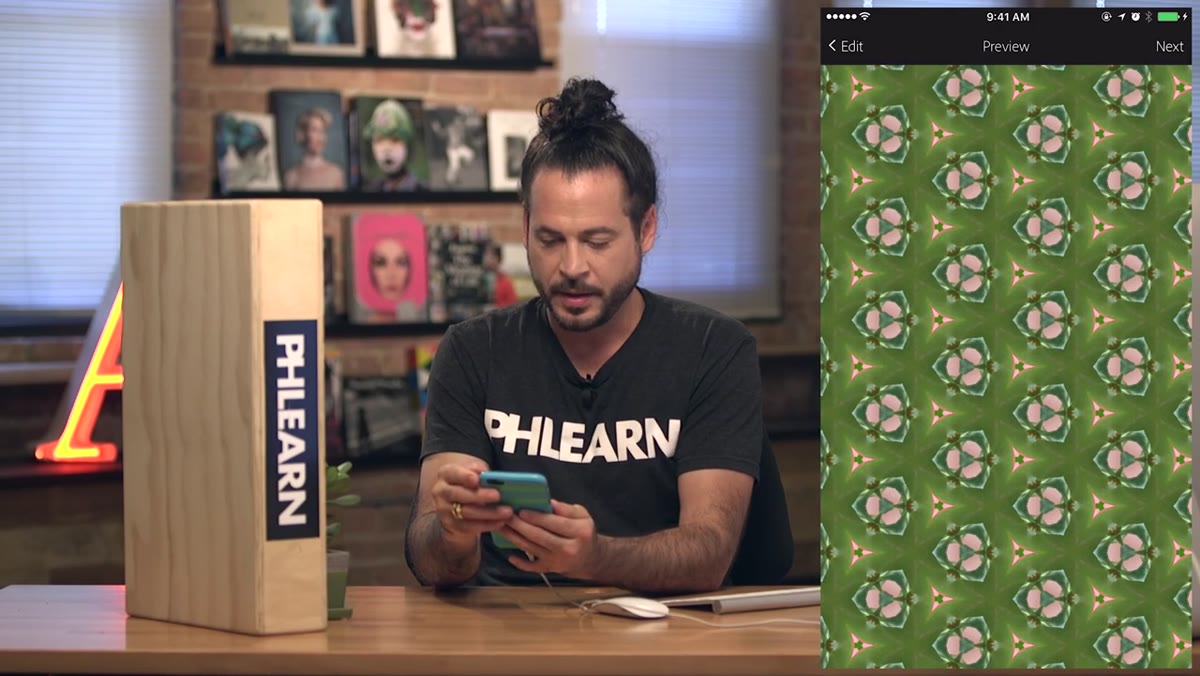 Pattern preview screen with zoom in and out functionality
Tap “Next” and Capture gives you a full preview of the tiled pattern with pinch-to-zoom so you can inspect the repeat at different scales. This is your last chance to decide if it’s working before it goes into your library. If the tile seams are visible or the repeat feels mechanical, go back and try a different symmetry option or rescale the tile. If it looks good, tap “Next” again. You’ll land on a naming screen where you give the pattern a title. Keep it descriptive, something like the object you photographed plus a note about the symmetry style if you’re planning to build a library of these.
Step 6: Save to a Creative Cloud Library
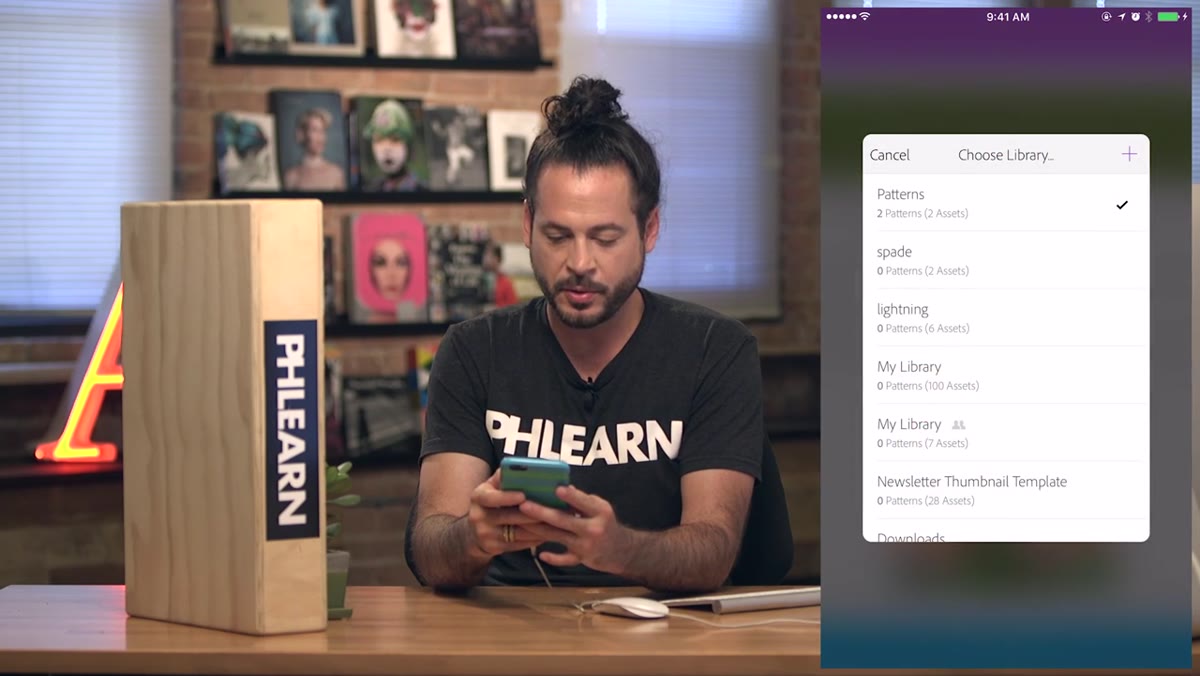 Library selection screen in Adobe Capture with save pattern button
On the final screen, you choose which Creative Cloud Library to save your pattern to. You can create a new library right here using the plus icon in the top right, or drop it into an existing one. Aaron creates a library called “plant” for this demo. Once you tap “Save Pattern,” the sync happens automatically. No export, no file transfer, no drama. As long as your desktop Photoshop is running a version that supports Creative Cloud Libraries (which has been the case for years at this point), the pattern will appear in your Libraries panel within seconds.
Step 7: Use the Pattern in Photoshop
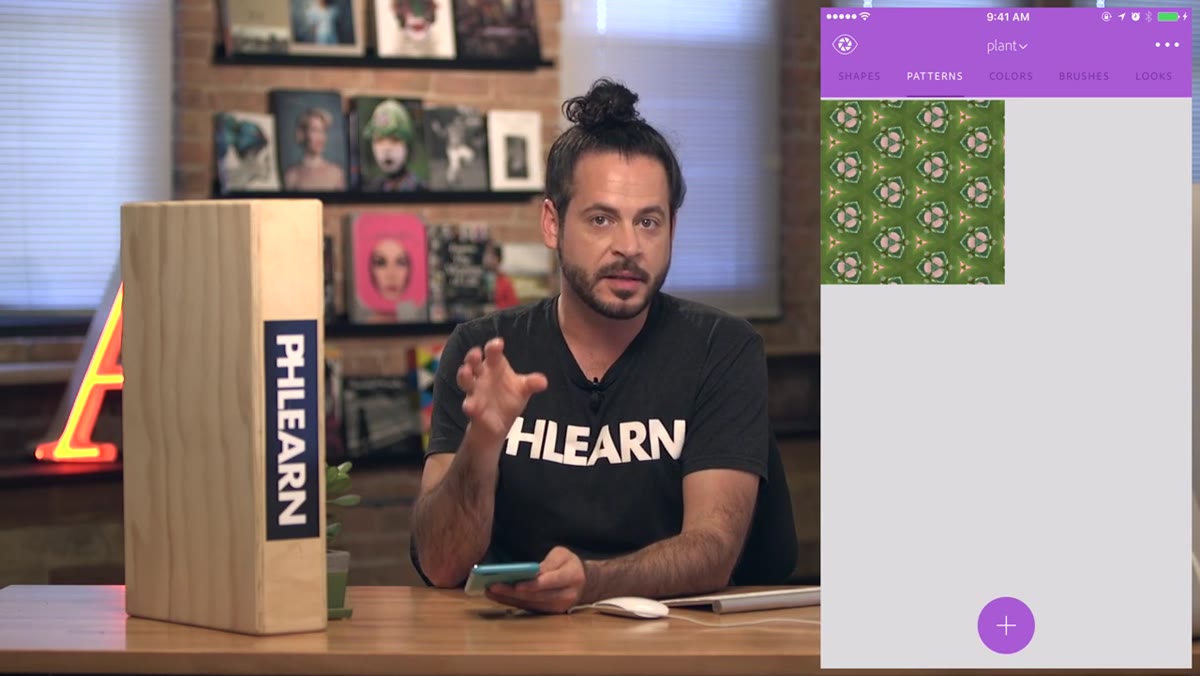 Photoshop Libraries panel showing the synced pattern appearing
Open Photoshop, pull up your Libraries panel (Window > Libraries), and navigate to the library you saved the pattern to. Your new pattern should be sitting there waiting. From here you can apply it as a fill layer (Layer > New Fill Layer > Pattern), use it inside a layer style, or apply it through Edit > Fill. Aaron uses it as a background behind a subject photo, which is one of the most practical use cases. It takes a flat, boring background and turns it into something that looks considered without burning an hour of your time.
What I’d Add: Build a Pattern Library Fast
The real unlock here isn’t the one-off pattern, it’s how fast you can build a usable library. I’ve started keeping a folder on my phone of objects worth capturing: fabric swatches, leaves, tile floors I walk past, interesting wallpaper in coffee shops. Spend 15 minutes on a slow afternoon capturing 10 patterns from different sources and you have a ready-made texture library that syncs to every Photoshop project you open. That kind of asset library used to take serious money or serious time to build. Now it just takes a phone and decent lighting.
The single most important thing this tutorial teaches isn’t a specific setting or tool. It’s the idea that your physical environment is already full of pattern source material, and Adobe Capture makes extracting it almost frictionless. The phone-to-Photoshop pipeline is genuinely seamless, and the symmetry options in the app do enough of the heavy lifting that even a plain green plant can come out looking like intentional surface design.
Watch the full tutorial on YouTube to see Aaron walk through the whole process in real time, including the final composite with the pattern applied as a background.
Comments
Leave a Comment