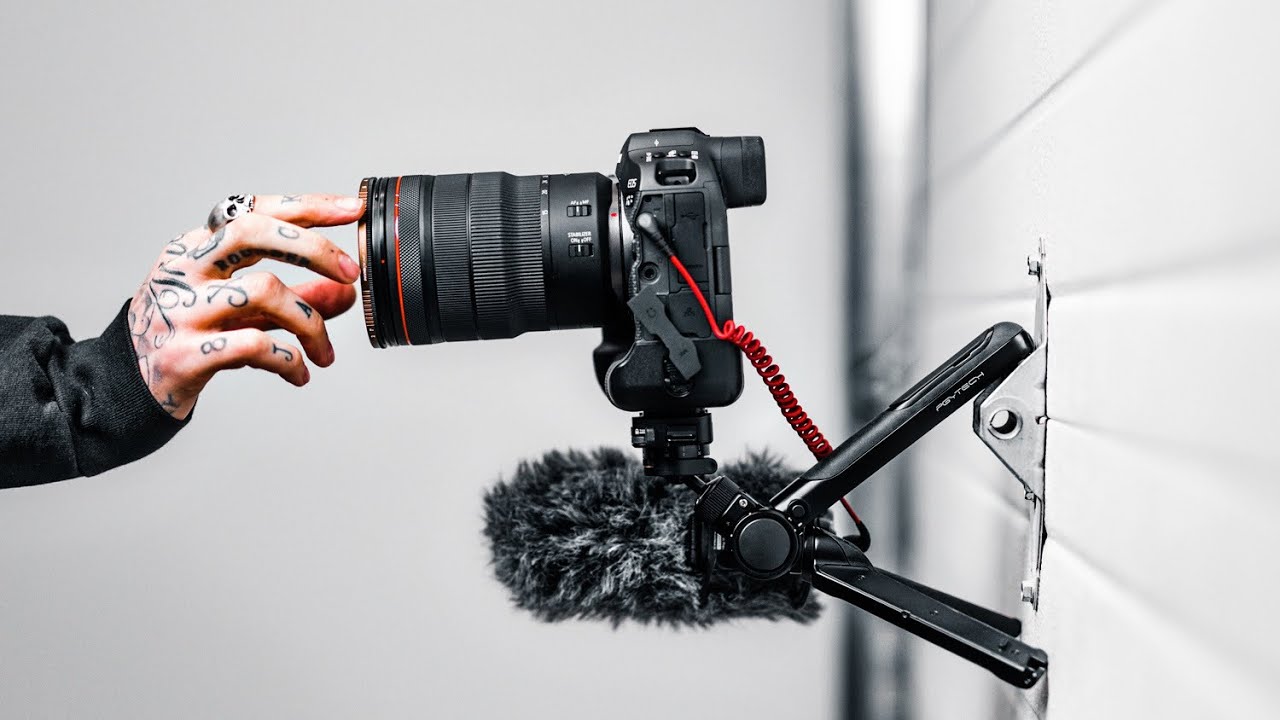
I have a bad habit of overcomplicating my kit. I’ll spend forty minutes setting up a C-stand for a shot that needed a tripod for thirty seconds, then wonder why I’m still at the coffee shop at midnight. What I actually need more often than not is something small, fast, and clever enough to handle whatever weird surface or angle I’m working around. That’s the gap this tutorial fills. In this Peter McKinnon video, he walks through the PGyTech Mantis Pod, a compact tripod that he calls his favorite new piece of kit. The concept he keeps coming back to is the Swiss Army knife comparison, and honestly, the more he demonstrates, the more it lands.
Watch the full tutorial on YouTube
What makes this worth your time isn’t just the product review angle. It’s that McKinnon methodically works through each hidden function in order, from the most basic setup to the more creative mounting solutions, and you start to see how a single piece of gear can replace three or four things you’re currently hauling around. Here’s the breakdown.
Step 1: Understand the Core Footprint
 Ball head removed showing compact tripod footprint
The Mantis Pod’s whole value starts with how small it actually is. McKinnon pulls the ball head off to show the base footprint, and it’s genuinely tiny. Small enough to drop into any camera bag without rethinking your whole packing situation. The ball head itself slides on and locks down with a simple mechanism, so you’re not fumbling with threads when you’re trying to move fast. Before you evaluate any tripod, know its pack size first. This one wins that category.
Ball head removed showing compact tripod footprint
The Mantis Pod’s whole value starts with how small it actually is. McKinnon pulls the ball head off to show the base footprint, and it’s genuinely tiny. Small enough to drop into any camera bag without rethinking your whole packing situation. The ball head itself slides on and locks down with a simple mechanism, so you’re not fumbling with threads when you’re trying to move fast. Before you evaluate any tripod, know its pack size first. This one wins that category.
Step 2: Lock In Your Basic Ball Head Position
 Ball head mounted and locked on the main hinge
Once the head is seated, the main hinge becomes your primary adjustment point. McKinnon demonstrates how the ball moves through its range and locks down solid. The key thing to internalize here is that this isn’t a cheap ball joint that drifts after you tighten it. Getting the lock pressure dialed in matters: too loose and your camera droops mid-shot, too tight and you’ll fight it every adjustment. Spend a few minutes with it off-camera before you’re on location.
Ball head mounted and locked on the main hinge
Once the head is seated, the main hinge becomes your primary adjustment point. McKinnon demonstrates how the ball moves through its range and locks down solid. The key thing to internalize here is that this isn’t a cheap ball joint that drifts after you tighten it. Getting the lock pressure dialed in matters: too loose and your camera droops mid-shot, too tight and you’ll fight it every adjustment. Spend a few minutes with it off-camera before you’re on location.
Step 3: Extend the Vlogging Arm for More Reach
 Arm extended outward showing longer vlogging reach
Here’s where the Swiss Army knife thing kicks in. There’s a button on the side of the unit, and when you hit it along with the main long button, the arm extends out significantly. This gives you a longer reach for vlogging or run-and-gun shooting situations where you need the camera further from your body. It’s not immediately obvious that this feature exists just from looking at the tripod, which is McKinnon’s whole point. You have to know to look for it.
Arm extended outward showing longer vlogging reach
Here’s where the Swiss Army knife thing kicks in. There’s a button on the side of the unit, and when you hit it along with the main long button, the arm extends out significantly. This gives you a longer reach for vlogging or run-and-gun shooting situations where you need the camera further from your body. It’s not immediately obvious that this feature exists just from looking at the tripod, which is McKinnon’s whole point. You have to know to look for it.
Step 4: Reposition the Ball Head to the Extension Arm
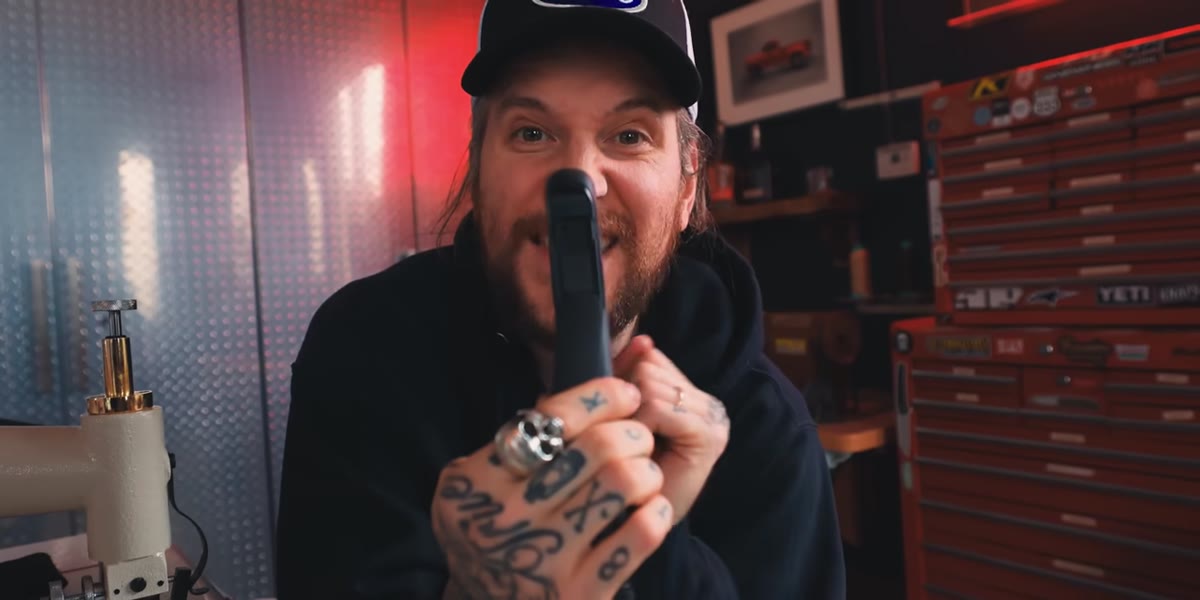 Ball head slid into hot shoe on extended arm
Once you’ve extended the arm, there’s a hot shoe built into the end of it. Pull the ball head off the main body, slide it into this secondary hot shoe, and lock it down. What you end up with is a noticeably longer arm with the camera mounted at the far end. For vlogging specifically, this changes your composition options because you can get the lens further from your face without resorting to a full-size selfie stick situation. It’s a small adjustment with a real impact on framing.
Ball head slid into hot shoe on extended arm
Once you’ve extended the arm, there’s a hot shoe built into the end of it. Pull the ball head off the main body, slide it into this secondary hot shoe, and lock it down. What you end up with is a noticeably longer arm with the camera mounted at the far end. For vlogging specifically, this changes your composition options because you can get the lens further from your face without resorting to a full-size selfie stick situation. It’s a small adjustment with a real impact on framing.
Step 5: Use the Hook Mount for Hands-Free Hands
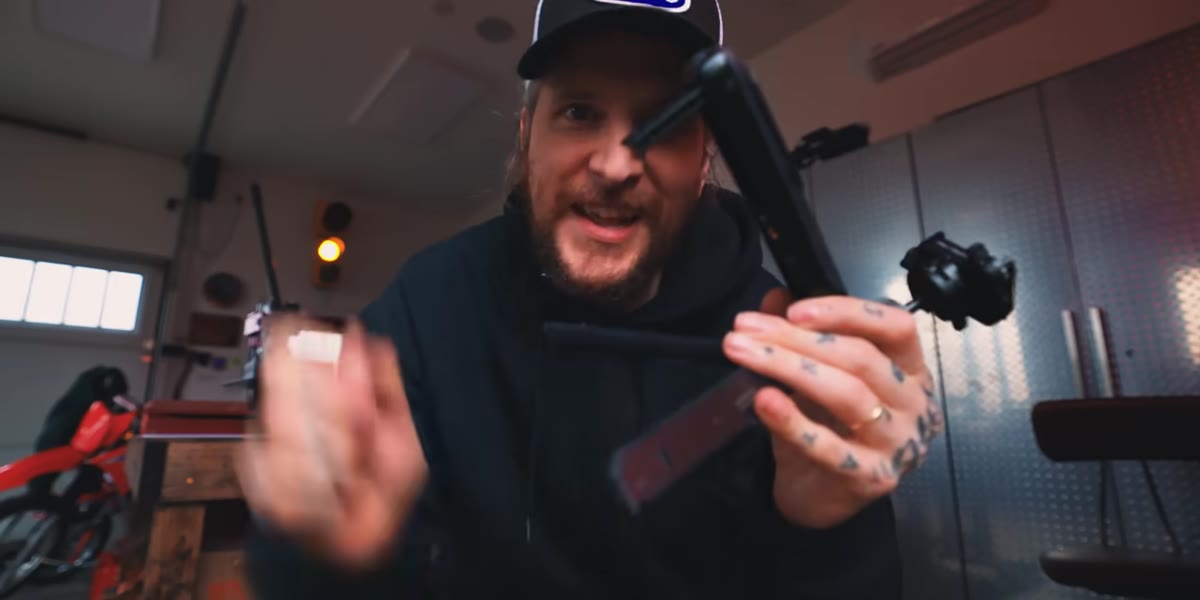 Hook extended and hooking onto a surface edge
This is the one that actually surprised me watching it. There’s a hook mechanism built into the unit that extends out from the body. You loop it over the back edge of a surface, the feet of the tripod make contact with the front of that surface, and suddenly the whole thing is anchored without a bag hook or clamp. McKinnon demonstrates it on a bucket, and it works. The geometry is clever: the hook pulls back while the feet push forward, and the tension holds everything in place. Hands-free vlogging anywhere you can find an edge. A shelf, a tailgate, a fence rail, whatever.
Hook extended and hooking onto a surface edge
This is the one that actually surprised me watching it. There’s a hook mechanism built into the unit that extends out from the body. You loop it over the back edge of a surface, the feet of the tripod make contact with the front of that surface, and suddenly the whole thing is anchored without a bag hook or clamp. McKinnon demonstrates it on a bucket, and it works. The geometry is clever: the hook pulls back while the feet push forward, and the tension holds everything in place. Hands-free vlogging anywhere you can find an edge. A shelf, a tailgate, a fence rail, whatever.
Step 6: Trust the Compact Package on Uneven Surfaces
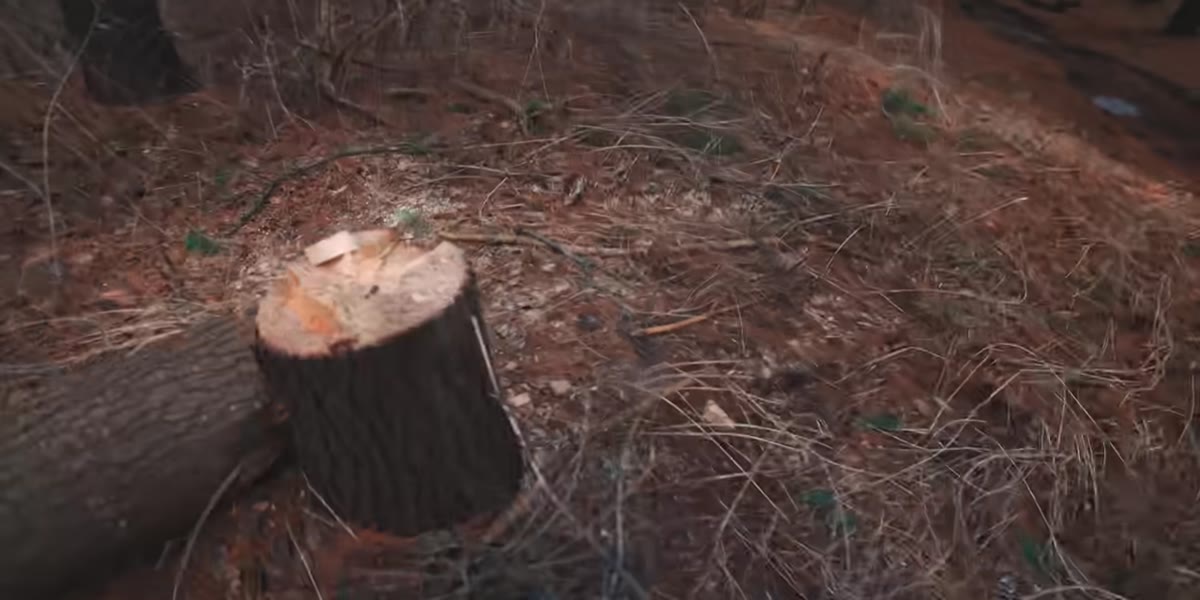 Tripod placed on a tree stump in outdoor setting
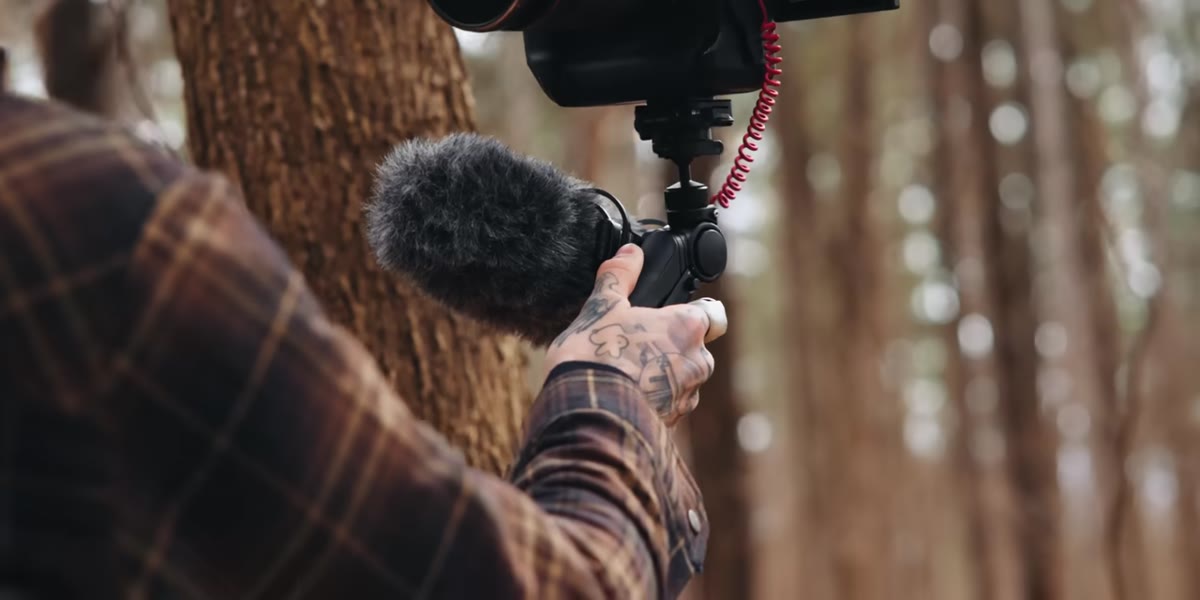
McKinnon takes the Mantis Pod outside and sets it on a tree stump, which is a good real-world test. Uneven surfaces are where cheap tripods embarrass themselves, either wobbling under camera weight or refusing to level out. The compact leg design on the Mantis Pod lets you position it on irregular terrain without the legs fighting each other. This is the kind of thing you only learn by actually using a tripod in the field, not in a studio, and it’s worth noting that he’s doing this with a real camera on it, not a phone.
Tripod placed on a tree stump in outdoor setting
McKinnon takes the Mantis Pod outside and sets it on a tree stump, which is a good real-world test. Uneven surfaces are where cheap tripods embarrass themselves, either wobbling under camera weight or refusing to level out. The compact leg design on the Mantis Pod lets you position it on irregular terrain without the legs fighting each other. This is the kind of thing you only learn by actually using a tripod in the field, not in a studio, and it’s worth noting that he’s doing this with a real camera on it, not a phone.
What I’d Add From My Own Experience
Gear like this tends to reveal its value in the second month, not the first week. The first week you’re still figuring out which buttons do what. The second month is when you stop thinking about it and just reach for it. The hook mount in particular is the kind of feature I’d have dismissed as a gimmick until I was somewhere with no flat surface and suddenly it’s the only solution in the bag. If you’re evaluating whether this is worth the spend, the question isn’t whether you’ll use all the features immediately. It’s whether you’ve ever been on a shoot and wished you had more flexibility in how you mounted your camera. If the answer is yes, even once, this solves that.
One practical note: McKinnon removes and reseats the ball head multiple times throughout the demo. That’s not just for the camera. That’s the actual workflow. Getting fast at that one motion is what makes all the other configurations usable in real time rather than just theoretically possible.
The single biggest takeaway here is this: versatility in a small package isn’t about cramming in features, it’s about making each feature genuinely usable in the field. The Mantis Pod does that. Every function McKinnon demonstrates is something you’d actually reach for, not a spec sheet checkbox. If you’re tired of hauling a full-size tripod to shoots where you end up not using it because setup takes too long, this is the category of gear worth paying attention to.
Watch the full tutorial on YouTube and see the hook mount in action specifically. That moment is worth the watch time on its own.
Comments (2)
I tried this on a client project yesterday and the results were way better than expected.
Great article! I actually covered something related on my site — the business angle is really complementary to this.
Leave a Comment