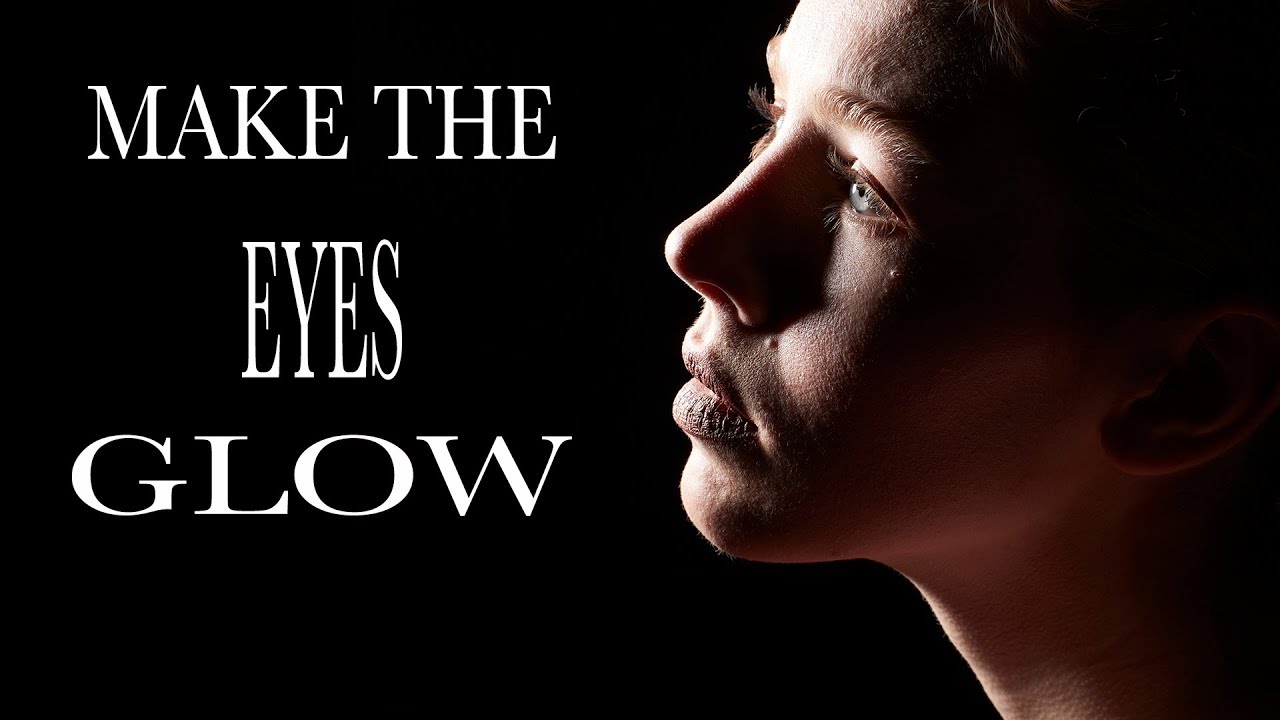
There’s a specific flavor of frustration I know well: spending twenty minutes in Photoshop pushing the iris brightness slider on a portrait, adding fake catchlights, maybe throwing a curves adjustment on a layer mask - and still ending up with eyes that look like they were lit by a refrigerator. The result is always a little off. A little dead. You can tell it was done in post, and so can your client.
The fix, it turns out, isn’t a better Photoshop technique. It’s getting the light right before you ever touch a camera. In this Daniel Norton Photographer tutorial, Daniel breaks down a genuinely simple lighting setup that makes eyes look like they’re glowing from the inside out - no retouching required. He shoots it live with a model named Marissa, who has blue eyes that basically do the advertising for him once the light hits correctly.
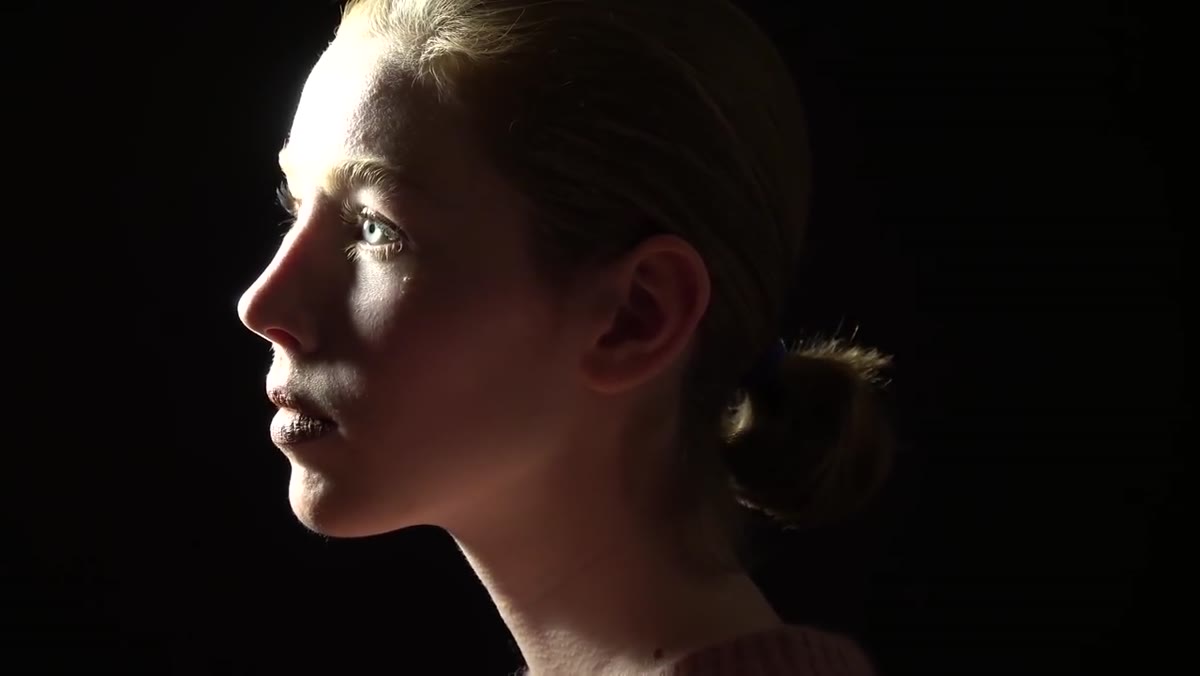
The core idea is physics, not magic. For an eye to appear to glow, light needs to appear to come through it, not just bounce off it. That means positioning a hard light source so it passes across the eye from behind or beside the face, essentially backlighting the iris. Profile shots are perfect for this. Once you see it working on a monitor, you’ll understand immediately why no amount of Photoshop sliding gets you there.
Step 1: Choose a Profile Orientation for Your Subject
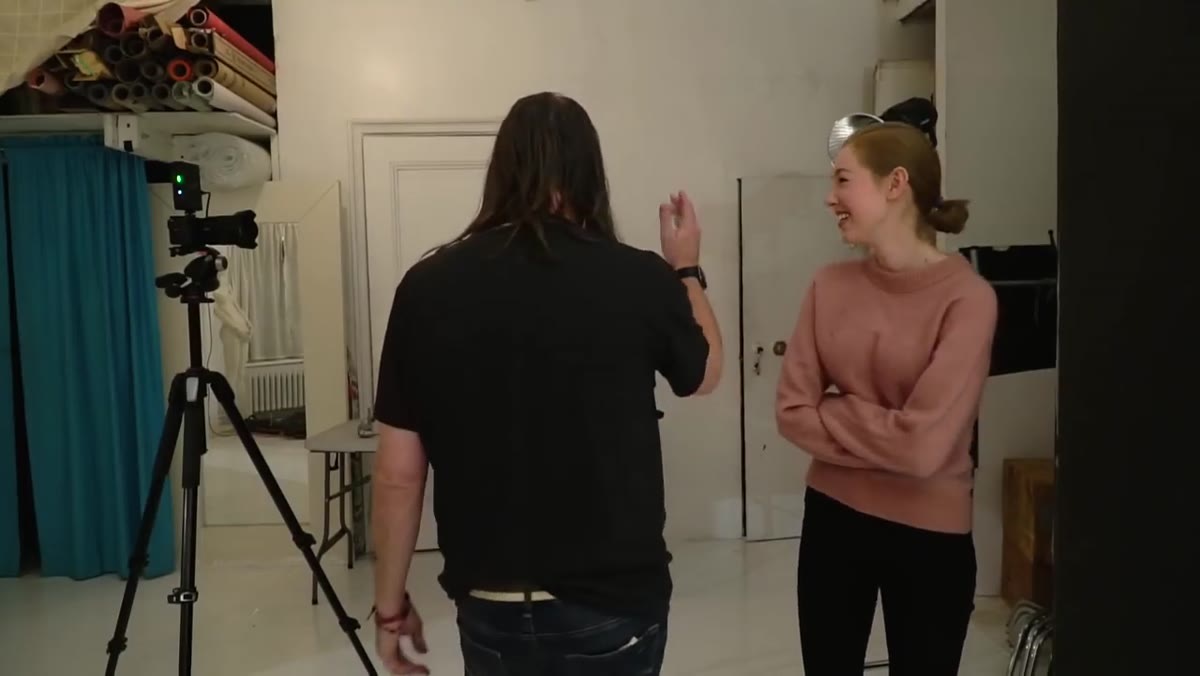 Model positioned in profile facing away from camera
Start by posing your subject in a true or near-true profile, meaning you’re shooting the side of their face rather than straight-on. This orientation is what makes the whole technique possible. When your subject faces the camera directly, the light hits their eyes flat. In profile, you can position a light so it rakes across the eye from the front of their face, and the iris catches that light in a completely different way - it transmits and scatters it rather than just reflecting it back.
Model positioned in profile facing away from camera
Start by posing your subject in a true or near-true profile, meaning you’re shooting the side of their face rather than straight-on. This orientation is what makes the whole technique possible. When your subject faces the camera directly, the light hits their eyes flat. In profile, you can position a light so it rakes across the eye from the front of their face, and the iris catches that light in a completely different way - it transmits and scatters it rather than just reflecting it back.
Daniel works with Marissa turned to the side and then fine-tunes her angle in real time while watching through a monitor. That adjustment stage is important, and we’ll get to it.
Step 2: Set Up a Hard Light Source Aimed at the Eye
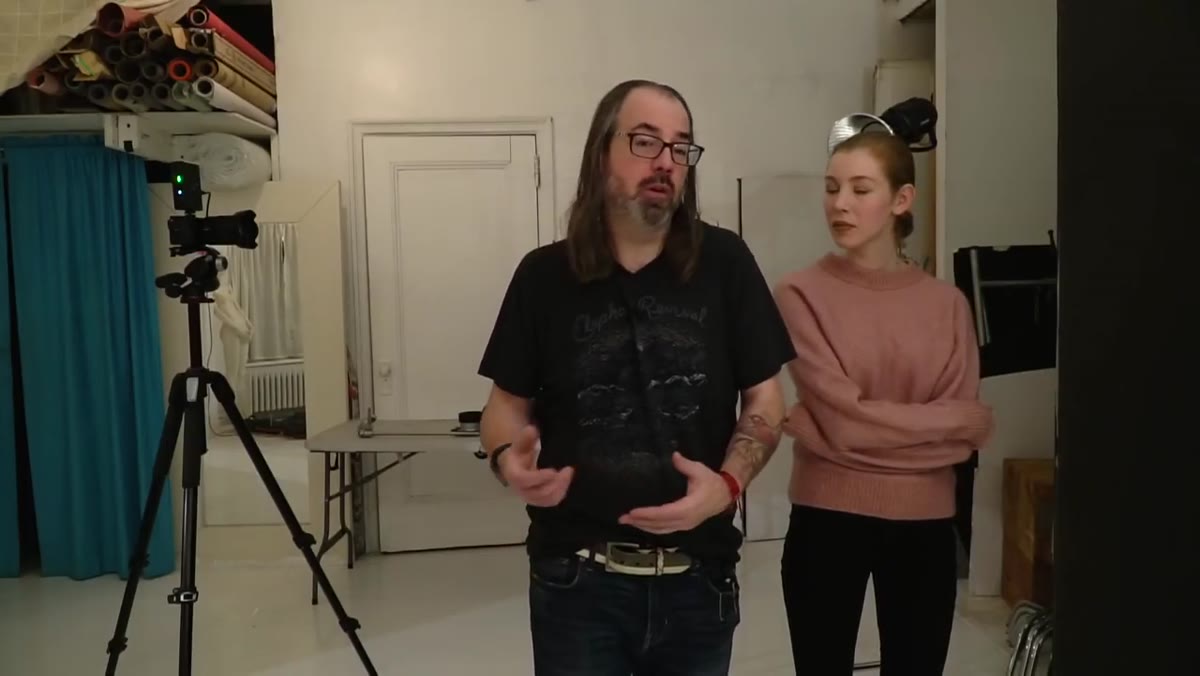 Studio strobe with no modifier pointing toward subject’s face
This technique lives or dies by the quality of the light. Hard light only. Daniel is explicit about this: soft light, the kind from a big octabox or a beauty dish, won’t cut through the eye the same way. You want a bare strobe, a gridded reflector, or a small focused source - something that produces a tight, directional beam with defined shadows.
Studio strobe with no modifier pointing toward subject’s face
This technique lives or dies by the quality of the light. Hard light only. Daniel is explicit about this: soft light, the kind from a big octabox or a beauty dish, won’t cut through the eye the same way. You want a bare strobe, a gridded reflector, or a small focused source - something that produces a tight, directional beam with defined shadows.
Position it roughly at eye level or slightly above, aimed toward where your subject’s face will be when they turn toward it. You’re essentially treating the eye like a little window, and you want to shine a beam directly through it. The harder and more directional the source, the more that window will light up.
Step 3: Dial In Your Exposure to Keep Skin Texture
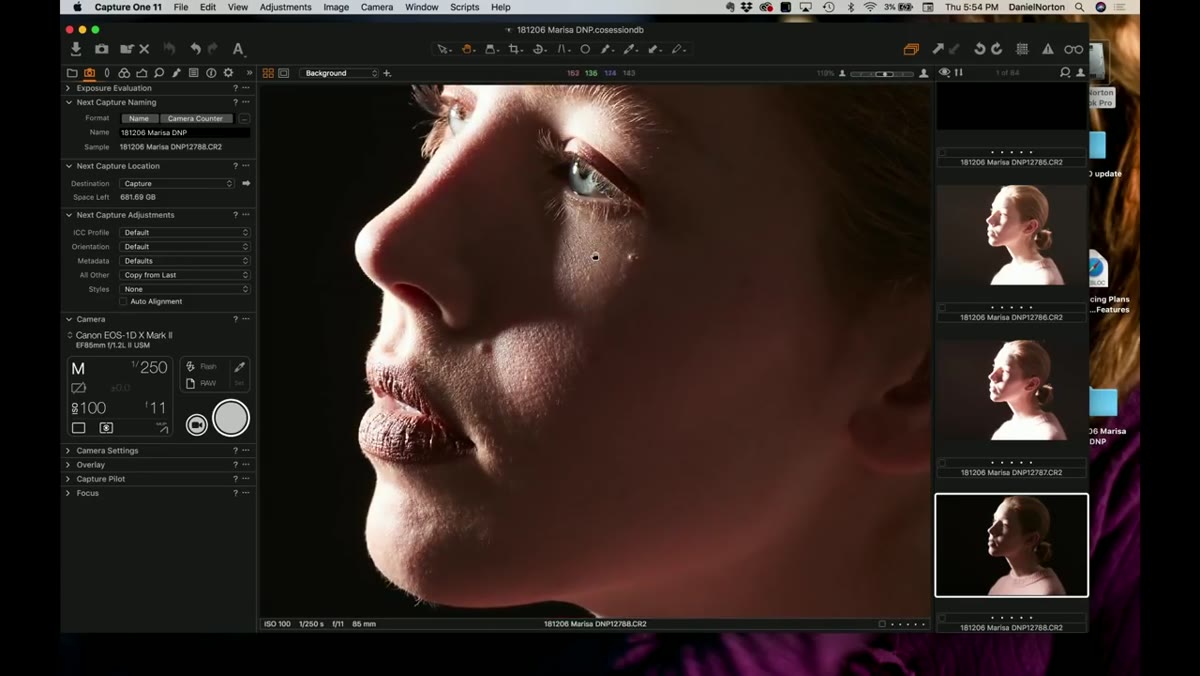 Capture One tethered display showing skin detail and eye glow simultaneously
Daniel shoots tethered into Capture One and uses TTL to get his starting exposure. The goal here is finding the balance where the eye glow is present and punchy without the skin blowing out into a featureless white plane. You still want texture. You still want a portrait, not a silhouette.
Capture One tethered display showing skin detail and eye glow simultaneously
Daniel shoots tethered into Capture One and uses TTL to get his starting exposure. The goal here is finding the balance where the eye glow is present and punchy without the skin blowing out into a featureless white plane. You still want texture. You still want a portrait, not a silhouette.
If you’re shooting manual, bracket your exposures and pay close attention to the histogram. The eye area will naturally be brighter than the cheek or jawline given the light direction, so don’t let that fool you into underexposing the whole frame. Let the eye be bright. That’s the point.
Step 4: Fine-Tune the Subject’s Face Angle in Real Time
 Daniel directing model to turn incrementally toward light source
This is the step most people would skip, and it’s actually the most important one. Daniel watches the eye on his monitor while verbally guiding Marissa to turn her face incrementally toward the light - a little more, a little more, stop. There’s a specific angle where the iris lights up and almost seems to pulse. A few degrees on either side of it, the effect drops off significantly.
Daniel directing model to turn incrementally toward light source
This is the step most people would skip, and it’s actually the most important one. Daniel watches the eye on his monitor while verbally guiding Marissa to turn her face incrementally toward the light - a little more, a little more, stop. There’s a specific angle where the iris lights up and almost seems to pulse. A few degrees on either side of it, the effect drops off significantly.
The practical lesson: don’t lock your subject’s pose before you’ve checked the eye on a screen. Shoot a test frame, zoom in on the eye, then adjust from there. If you’re working without tethering, shoot a frame, check the LCD, and direct accordingly. The effect is sensitive to small changes in head angle, and finding that sweet spot is what separates a portrait where the eyes pop from one where they’re just fine.
Step 5: Add a Fill Light (Optional) to Control Shadow Depth
 Second light bounced off ceiling providing subtle ambient fill
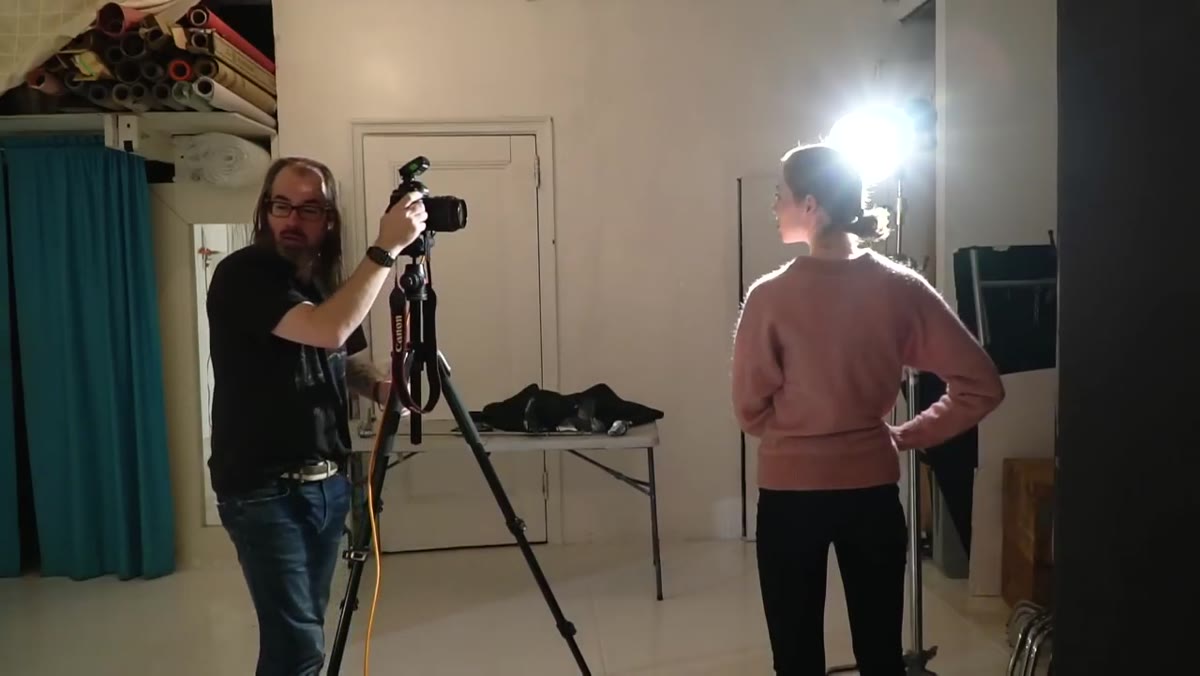
Daniel has a second light bouncing off the ceiling of his studio - basically a giant natural-looking fill that keeps the shadow side of the face from going completely black. He toggles it off during the tutorial to show the difference: killing the fill deepens the shadows and gives the image a moodier, more dramatic feel. Turning it back on softens the contrast and makes the image more commercial and clean.
Second light bounced off ceiling providing subtle ambient fill
Daniel has a second light bouncing off the ceiling of his studio - basically a giant natural-looking fill that keeps the shadow side of the face from going completely black. He toggles it off during the tutorial to show the difference: killing the fill deepens the shadows and gives the image a moodier, more dramatic feel. Turning it back on softens the contrast and makes the image more commercial and clean.
Neither option is wrong. It depends on the story you’re telling. For editorial or moody portrait work, kill the fill. For a client who wants something warmer and approachable, keep some fill in. The key is that the fill light should be substantially weaker than your main hard source - it’s there to lift shadows, not to compete.
Step 6: Work the Angles and Shoot Multiple Frames
 Daniel loosening tripod to reframe while model holds position
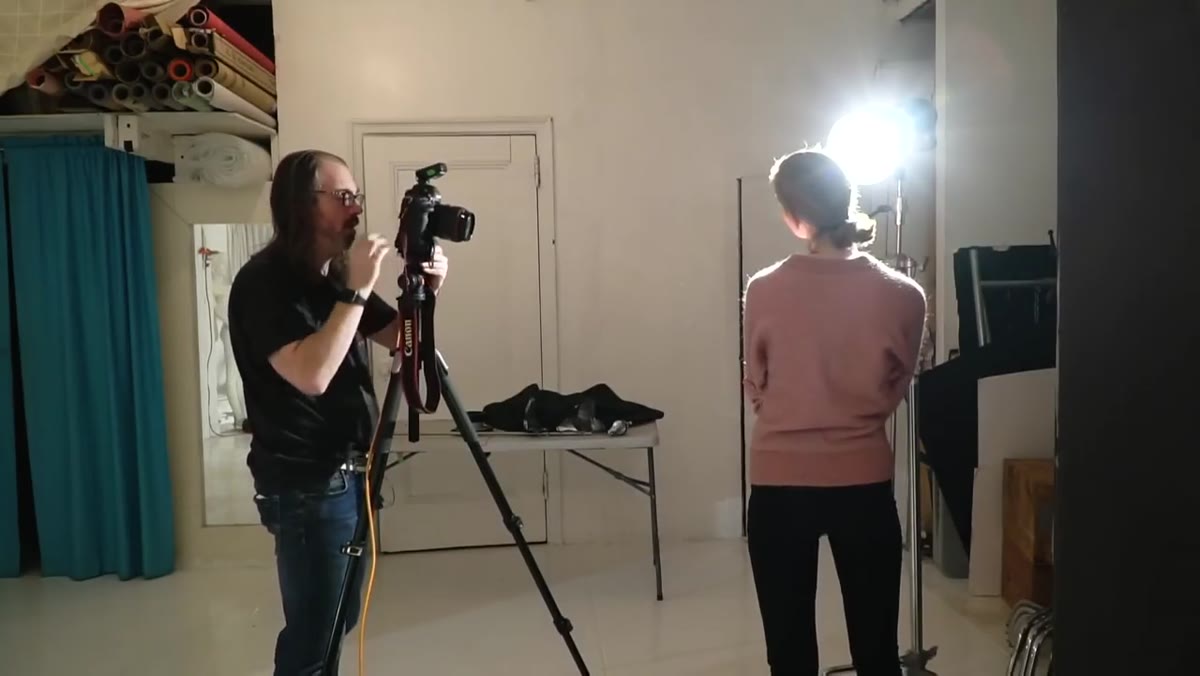
Once you’ve found the sweet spot, don’t just shoot one frame and call it. Daniel loosens his tripod and works through several different camera angles while keeping Marissa in roughly the same position. Up, down, slightly tighter, slightly looser. The eye glow remains consistent as long as her face angle to the light stays consistent, so the variable becomes your framing choices.
Daniel loosening tripod to reframe while model holds position
Once you’ve found the sweet spot, don’t just shoot one frame and call it. Daniel loosens his tripod and works through several different camera angles while keeping Marissa in roughly the same position. Up, down, slightly tighter, slightly looser. The eye glow remains consistent as long as her face angle to the light stays consistent, so the variable becomes your framing choices.
This is the part of the session where you bank options. The setup is done. The light is working. Now you’re just collecting different versions of a thing that’s already good.
What I’d Add From My Own Experience
Profile shots with a hard key light are a combination I’d honestly underused until watching Daniel break down the reasoning behind it. One thing worth adding: this technique translates beautifully to natural light outdoors. A harsh midday sun - the one every photography tutorial tells you to avoid - becomes useful when your subject is in profile and you position them so the sun rakes across their eye from the front of their face. I’ve gotten results that looked like a studio setup just by finding a shaded background and using the sun as my hard key. It doesn’t work as precisely as a controlled strobe, but the same physics apply.
Also worth noting: subjects with lighter eye colors - blues, greens, light hazel - respond to this technique more dramatically. Darker irises still benefit, but you may need to be more aggressive with the light angle to get the same apparent glow.
The single biggest takeaway here is this: glowing eyes in portraits are a lighting result, not a retouching result. If you’re reaching for the brightness slider in Photoshop, you’ve already accepted a compromise. Set the light up right the first time and the eyes handle themselves.
Watch the full tutorial on YouTube to see Daniel work through the setup live - watching the eye change on the monitor in real time is genuinely one of those moments where the concept clicks immediately.
Comments (1)
Simple but effective. Sometimes that's all you need.
Leave a Comment