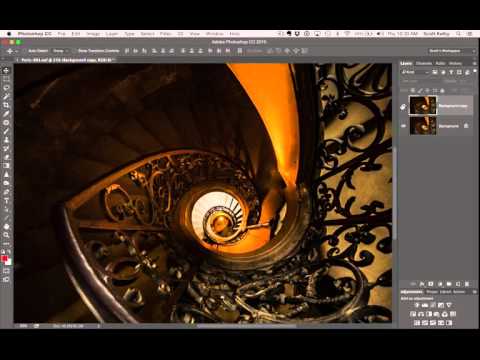
There’s a specific kind of problem that creeps up constantly in my work: an image that’s been edited to within an inch of its life, technically perfect, and somehow still feels a little… aggressive. Too crisp. Like it’s trying too hard. You’ve nailed the exposure, the colors are singing, and yet something about the final result looks like it was sharpened with a grudge. I used to just ship it anyway and chalk it up to the image being what it was. Turns out I was just missing a finishing step.
In this KelbyOne tutorial, Scott Kelby walks through a technique he calls a “finishing move” — something you layer on top of your already-edited image right before you call it done. It mimics the kind of soft, warm glow you’d normally chase with a plugin like Nik Color Efex Pro’s Glamour Glow, but it costs you exactly zero dollars and takes about ninety seconds. I’ve started using a version of this on nearly every portrait and landscape I deliver to clients. Here’s how it works.
Watch the full tutorial on YouTube
Step 1: Start With Your Fully Edited Image Open in Photoshop
 Edited image open in Photoshop, ready to process
This technique is a finishing move, which means it comes after all your other editing is done. Whether you’ve been working in Lightroom and you’re jumping over via “Open as Smart Object” or you’ve already been inside Photoshop doing your thing, you want to be at the point where you’re basically happy with the image. Kelby specifically notes he developed this after completing a full Lightroom edit, so think of this as the final flourish, not a midpoint adjustment.
Edited image open in Photoshop, ready to process
This technique is a finishing move, which means it comes after all your other editing is done. Whether you’ve been working in Lightroom and you’re jumping over via “Open as Smart Object” or you’ve already been inside Photoshop doing your thing, you want to be at the point where you’re basically happy with the image. Kelby specifically notes he developed this after completing a full Lightroom edit, so think of this as the final flourish, not a midpoint adjustment.
If you’re working in Lightroom, get your edit where you want it, then hit “Open Image” to bring it into Photoshop. Don’t overthink the starting state. The image should already look good. This technique makes a good image look polished, it doesn’t rescue a bad one.
Step 2: Duplicate the Background Layer
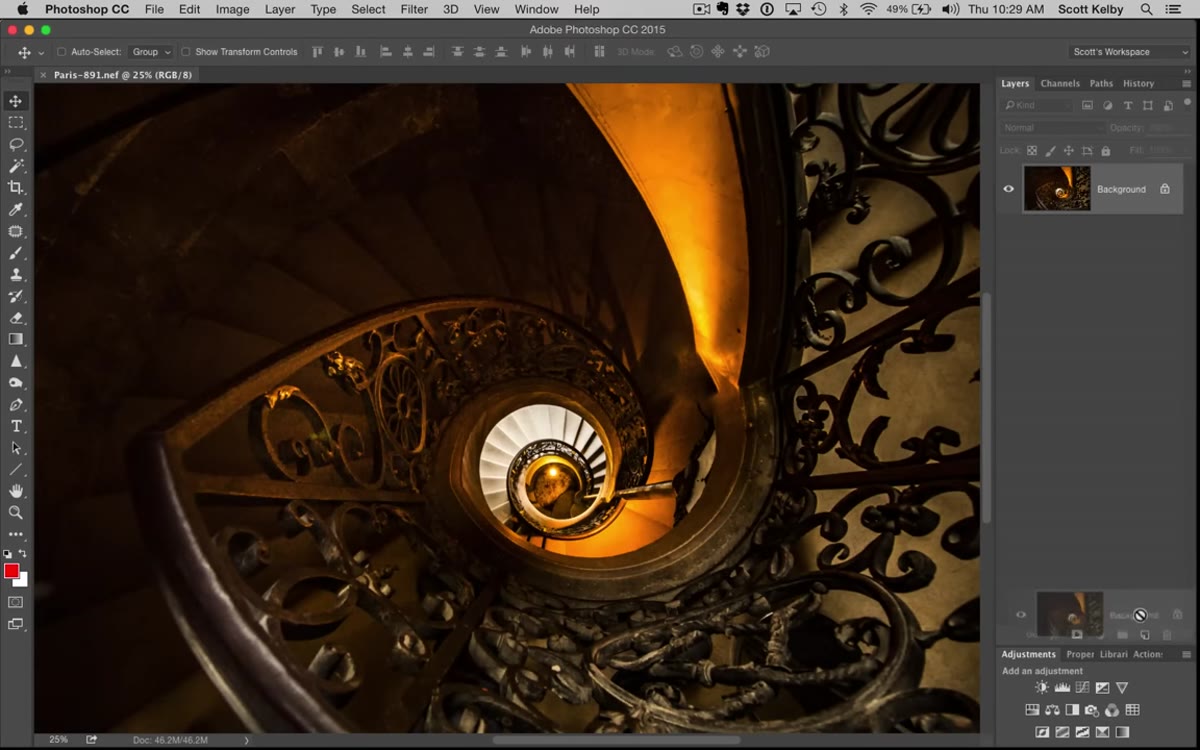 Layers panel showing background layer being duplicated
In your Layers panel, duplicate the background layer. You can do this by dragging the layer down to the “New Layer” icon at the bottom of the panel, or just hit Ctrl+J (Cmd+J on Mac) if you’re sensible about keyboard shortcuts. You’ll end up with a copy sitting directly above your original, which is exactly what you want.
Layers panel showing background layer being duplicated
In your Layers panel, duplicate the background layer. You can do this by dragging the layer down to the “New Layer” icon at the bottom of the panel, or just hit Ctrl+J (Cmd+J on Mac) if you’re sensible about keyboard shortcuts. You’ll end up with a copy sitting directly above your original, which is exactly what you want.
This duplicate is the layer you’re going to blur and blend. Keeping your original background untouched underneath is the whole point — you’re not destroying anything, you’re building on top. Classic non-destructive Photoshop thinking.
Step 3: Apply a Heavy Gaussian Blur to the Duplicate Layer
 Gaussian Blur dialog open with 25 pixel radius applied
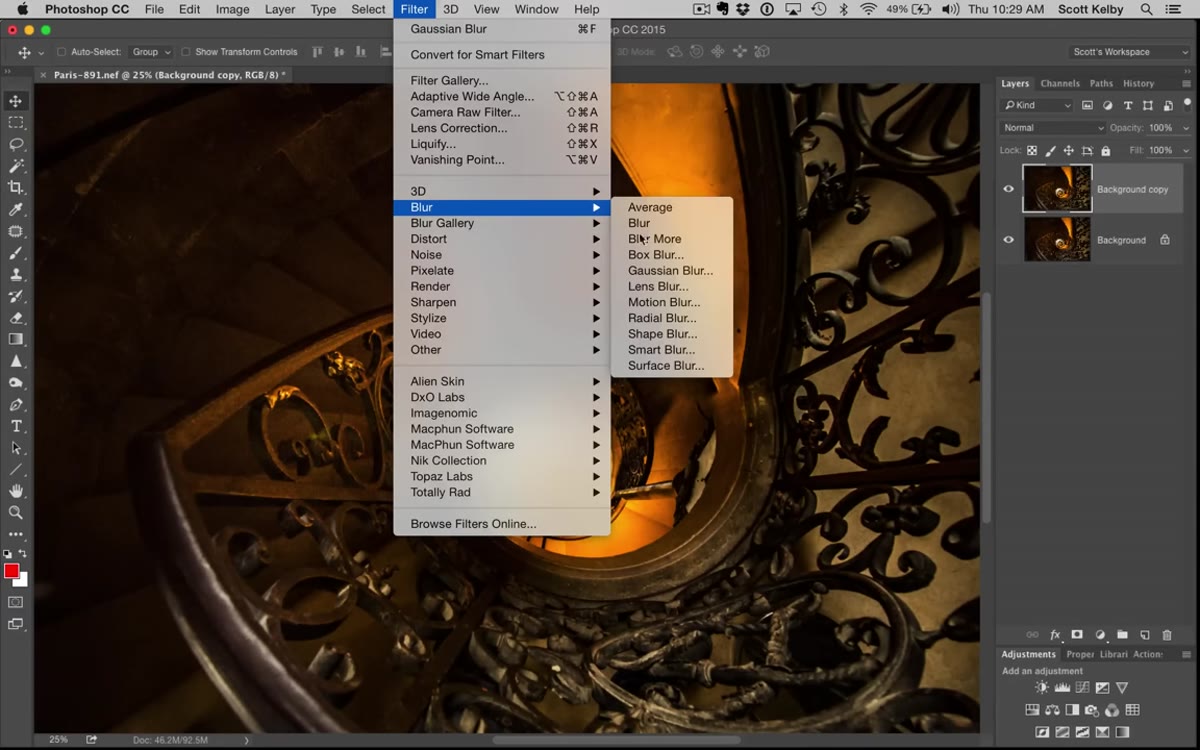
With your duplicate layer selected, go to Filter, then Blur, then Gaussian Blur. Kelby uses a 25-pixel radius here, and it’s a reasonable starting point for most images. You want the layer to look genuinely blurry — not a subtle softening, but properly out of focus. Don’t be timid about it. The blur needs to be strong enough that when it blends with the layer below, it actually does something visible.
Gaussian Blur dialog open with 25 pixel radius applied
With your duplicate layer selected, go to Filter, then Blur, then Gaussian Blur. Kelby uses a 25-pixel radius here, and it’s a reasonable starting point for most images. You want the layer to look genuinely blurry — not a subtle softening, but properly out of focus. Don’t be timid about it. The blur needs to be strong enough that when it blends with the layer below, it actually does something visible.
The exact pixel value will depend a little on your image resolution. If you’re working with a higher-resolution file, you might push closer to 35 or 40 pixels to get a comparable visual effect. If the blur looks almost imperceptible, go bigger. If it looks like a fever dream, you’re probably in the right territory.
Step 4: Change the Blend Mode to Soft Light
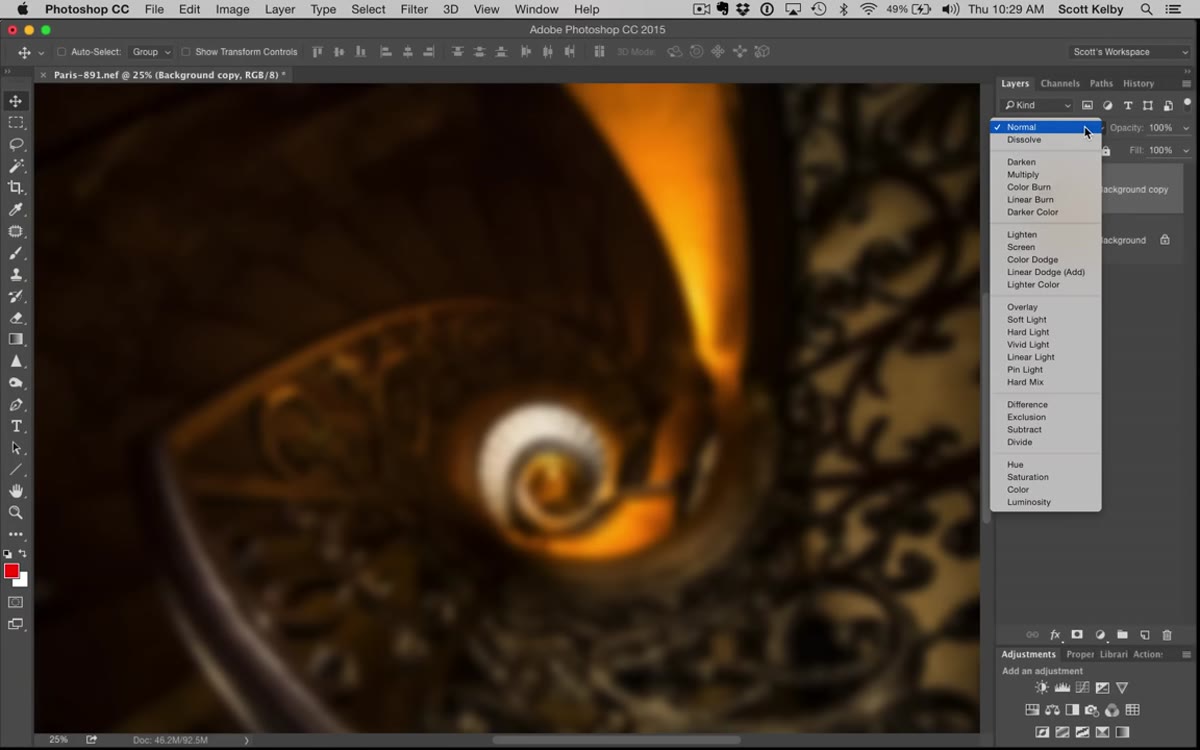 Blend mode dropdown in Layers panel set to Soft Light
This is where the magic actually happens. At the top of the Layers panel, click the blend mode dropdown (it’ll say “Normal” by default) and switch it to Soft Light. What Soft Light does is blend the blurred layer into the image in a way that adds contrast and warmth simultaneously. It’s not just softening things — it’s also enriching the tones underneath.
Blend mode dropdown in Layers panel set to Soft Light
This is where the magic actually happens. At the top of the Layers panel, click the blend mode dropdown (it’ll say “Normal” by default) and switch it to Soft Light. What Soft Light does is blend the blurred layer into the image in a way that adds contrast and warmth simultaneously. It’s not just softening things — it’s also enriching the tones underneath.
The result at 100% opacity is going to look like a lot. Too much warmth, too much glow, some of your detail starting to disappear into the haze. That’s fine. Don’t panic. You’re not done yet.
Step 5: Pull the Opacity Back to Around 50%
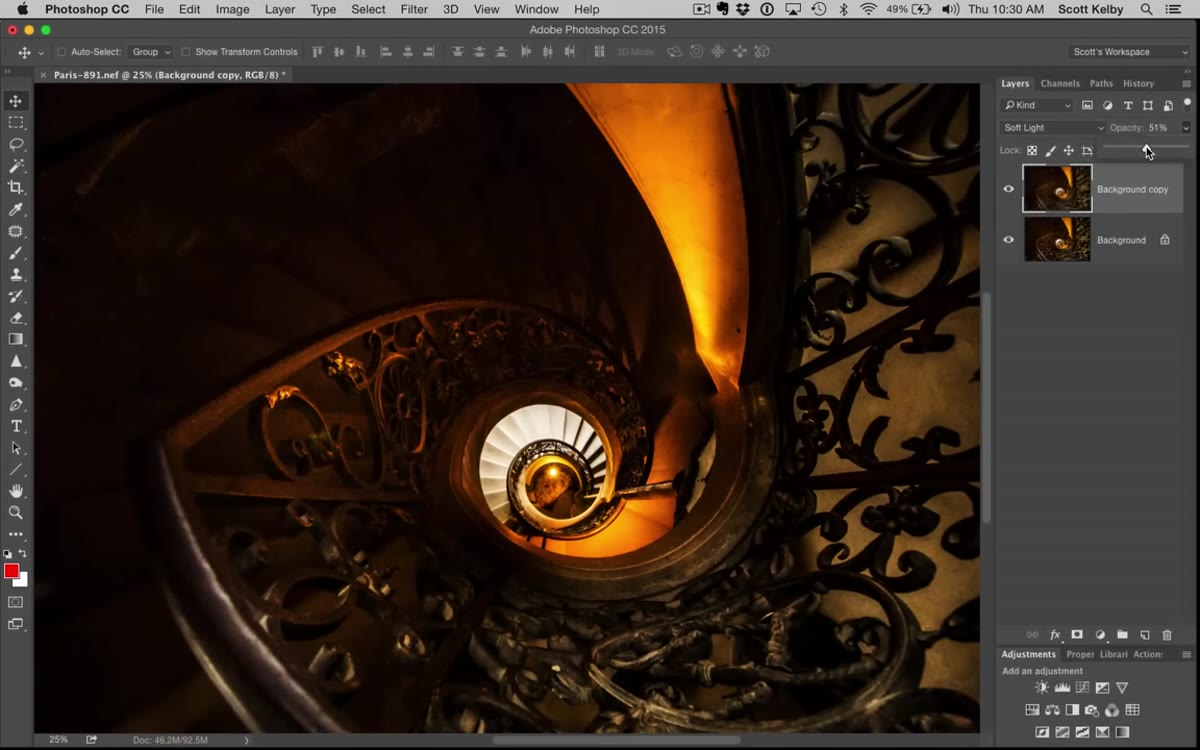 Opacity slider in Layers panel being lowered to 50 percent
Here’s the part that makes the whole thing usable. Drop the opacity of your blurred Soft Light layer down to around 50%. This is Kelby’s recommended starting point, and honestly it’s a solid one. What you’ll notice is that the harshness of the full-strength effect fades, but the warmth and that subtle glow quality stick around.
Opacity slider in Layers panel being lowered to 50 percent
Here’s the part that makes the whole thing usable. Drop the opacity of your blurred Soft Light layer down to around 50%. This is Kelby’s recommended starting point, and honestly it’s a solid one. What you’ll notice is that the harshness of the full-strength effect fades, but the warmth and that subtle glow quality stick around.
Toggle the layer visibility on and off a few times to compare. The image with the effect will look slightly warmer and just a touch less knife-sharp — like the difference between a photo that was taken and a photo that was made. That’s the feeling you’re going for. 50% is a good anchor, but don’t be afraid to dial it back to 35% if your image is already on the warmer side, or bump it toward 60% if you want a more pronounced effect.
My Tweak: Clip a Luminosity Mask to Keep Skies Clean
I started adding one extra step after I noticed this technique sometimes pushed already-bright areas a little too far — blown-out skies, washed highlights on skin, that kind of thing. After applying the blurred Soft Light layer at 50% opacity, I’ll add a layer mask to it and paint black (at low opacity, around 20-30%) over any areas where the glow is working against me rather than for me.
If you want to get more precise about it, you can also change the blending mode from Soft Light to Luminosity instead. You lose some of the warmth that way, but you keep the contrast-boosting quality without the color shift. Worth experimenting with depending on whether the warmth is an asset or a problem for your particular image.
The single most important thing I took from this tutorial is that “finished” and “done” are two different things. Done means you’ve corrected the image. Finished means you’ve given it a quality that makes someone want to look at it longer. This technique is one of the fastest ways I know to cross that line — three steps, no plugins, no presets, no rabbit holes.
Watch the full tutorial on YouTube and see Scott Kelby walk through the before and after in real time. It’s a short one, but it’s the kind of short that makes you immediately want to open Photoshop.
Comments
Leave a Comment