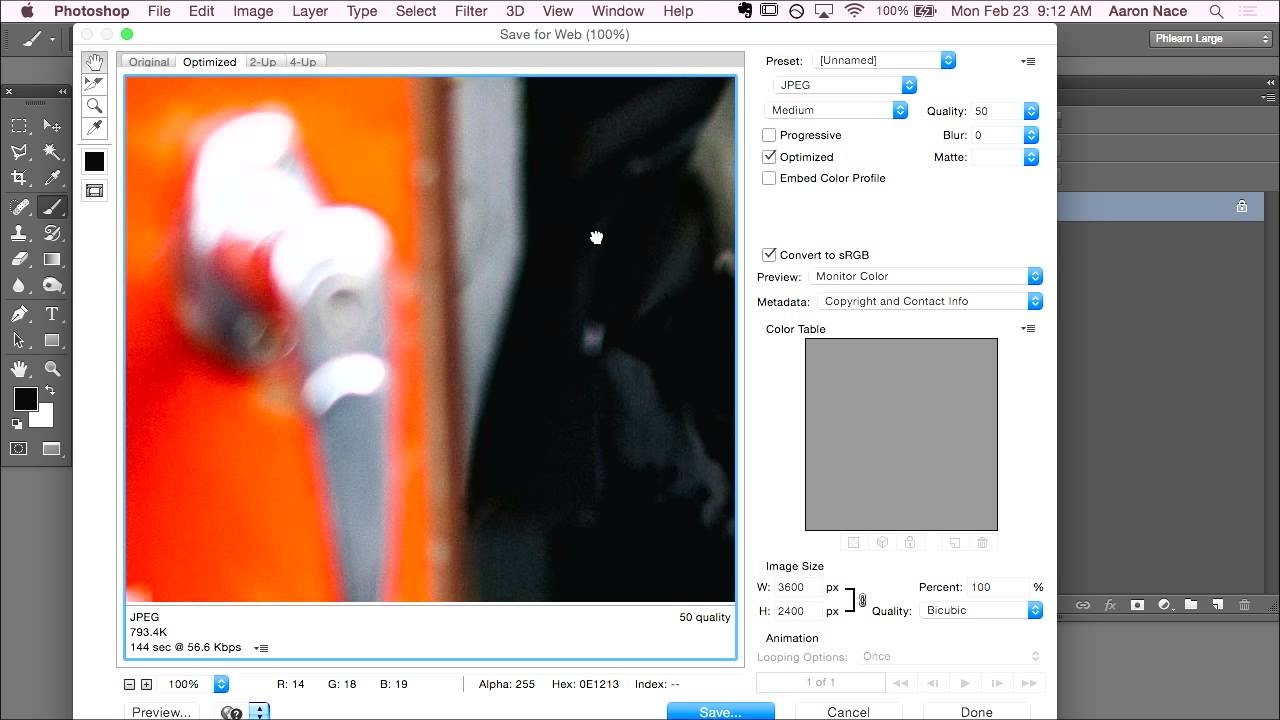
There’s a specific kind of frustration that hits when you’ve spent hours getting an image exactly right in Photoshop, colors dialed in, everything crisp and intentional, and then you upload it somewhere and it looks like a slightly sad version of itself. Washed out, weird, wrong. I ran into this constantly when I was starting out doing freelance work, mostly because I had no idea that the color space I was editing in and the color space browsers actually display are two completely different things. Nobody told me this. I had to piece it together from tutorials and a lot of confused client emails.
In this CreativeLive tutorial, the instructor walks through the Save for Web workflow in Photoshop with a focus on solving exactly that problem. Watch the full tutorial on YouTube before or after reading this, but my goal here is to give you something you can follow step by step without needing to pause and rewind every thirty seconds.
Step 1: Understand Why Your Colors Look Different Online
 Photoshop color settings panel showing multiple color space options
Before you touch a single export setting, you need to understand the underlying issue. Photoshop lets you work in several color spaces, including Adobe RGB 1998, ProPhoto RGB, and sRGB. The first two are wide gamut spaces, meaning they contain a much larger range of color information. Think of it like the difference between a box of eight crayons and the giant 256-crayon set with the built-in sharpener. Adobe RGB and ProPhoto are the big box. More colors, more nuance, more options when you’re editing.
Photoshop color settings panel showing multiple color space options
Before you touch a single export setting, you need to understand the underlying issue. Photoshop lets you work in several color spaces, including Adobe RGB 1998, ProPhoto RGB, and sRGB. The first two are wide gamut spaces, meaning they contain a much larger range of color information. Think of it like the difference between a box of eight crayons and the giant 256-crayon set with the built-in sharpener. Adobe RGB and ProPhoto are the big box. More colors, more nuance, more options when you’re editing.
The problem is that web browsers, Chrome, Safari, Firefox, are built to display sRGB. So when you do all your editing in a wide gamut space and then dump the file straight onto the web, the browser doesn’t know what to do with all those extra colors and the result looks off. The fix isn’t to edit in sRGB from the start. You want those extra colors while you’re working. The fix is in how you export.
Step 2: Do Your Editing in a Wide Gamut Color Space
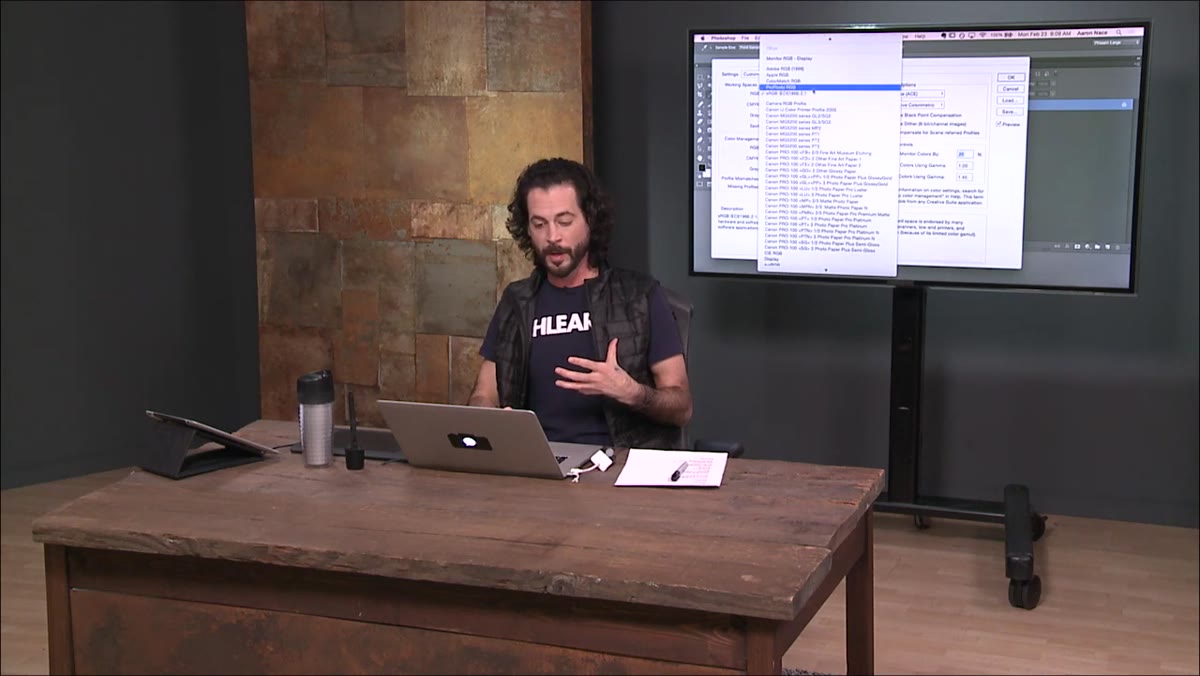 Color settings menu with ProPhoto RGB and Adobe RGB 1998 highlighted
Keep your working color space set to either ProPhoto RGB or Adobe RGB 1998 while you’re doing your actual editing. This is where you want to be for the majority of your time in Photoshop. The broader color range gives you more flexibility with adjustments, especially in gradients, skies, and skin tones where subtle color differences really show up. Don’t sacrifice that headroom just because the web can’t fully display it. You’ll also want these master files for print, and print can absolutely take advantage of wider color information.
Color settings menu with ProPhoto RGB and Adobe RGB 1998 highlighted
Keep your working color space set to either ProPhoto RGB or Adobe RGB 1998 while you’re doing your actual editing. This is where you want to be for the majority of your time in Photoshop. The broader color range gives you more flexibility with adjustments, especially in gradients, skies, and skin tones where subtle color differences really show up. Don’t sacrifice that headroom just because the web can’t fully display it. You’ll also want these master files for print, and print can absolutely take advantage of wider color information.
Your master file, the layered PSD or TIFF with all your adjustments intact, should be saved separately using the regular File > Save command. That’s your source of truth. Never flatten it, never overwrite it with a web export. That file stays in your wide gamut space, and everything else branches off from it.
Step 3: Open Save for Web
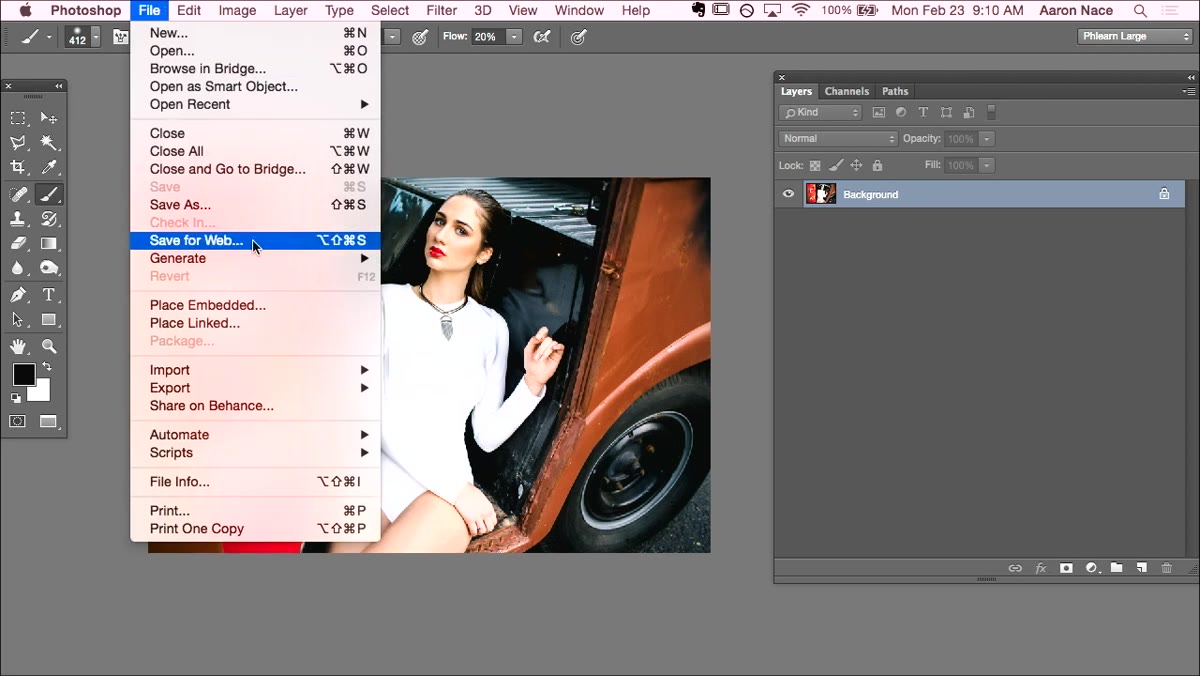 File menu open with Save for Web option highlighted
When you’re ready to export for the web, go to File > Save for Web. In older versions of Photoshop it was labeled “Save for Web and Devices,” and in Photoshop CC 2015 and later it’s just “Save for Web.” Same tool, slightly trimmed name. You can also use the keyboard shortcut Alt+Shift+Ctrl+S on Windows or Option+Shift+Command+S on Mac, and honestly if you’re exporting files with any regularity, just memorize that shortcut now. You’ll thank yourself.
File menu open with Save for Web option highlighted
When you’re ready to export for the web, go to File > Save for Web. In older versions of Photoshop it was labeled “Save for Web and Devices,” and in Photoshop CC 2015 and later it’s just “Save for Web.” Same tool, slightly trimmed name. You can also use the keyboard shortcut Alt+Shift+Ctrl+S on Windows or Option+Shift+Command+S on Mac, and honestly if you’re exporting files with any regularity, just memorize that shortcut now. You’ll thank yourself.
The dialogue that opens gives you a preview of your image alongside export settings. What you see in that preview is a close approximation of what the image will look like in a browser, which is genuinely useful for catching color shifts before they hit a live page.
Step 4: Choose Your File Format
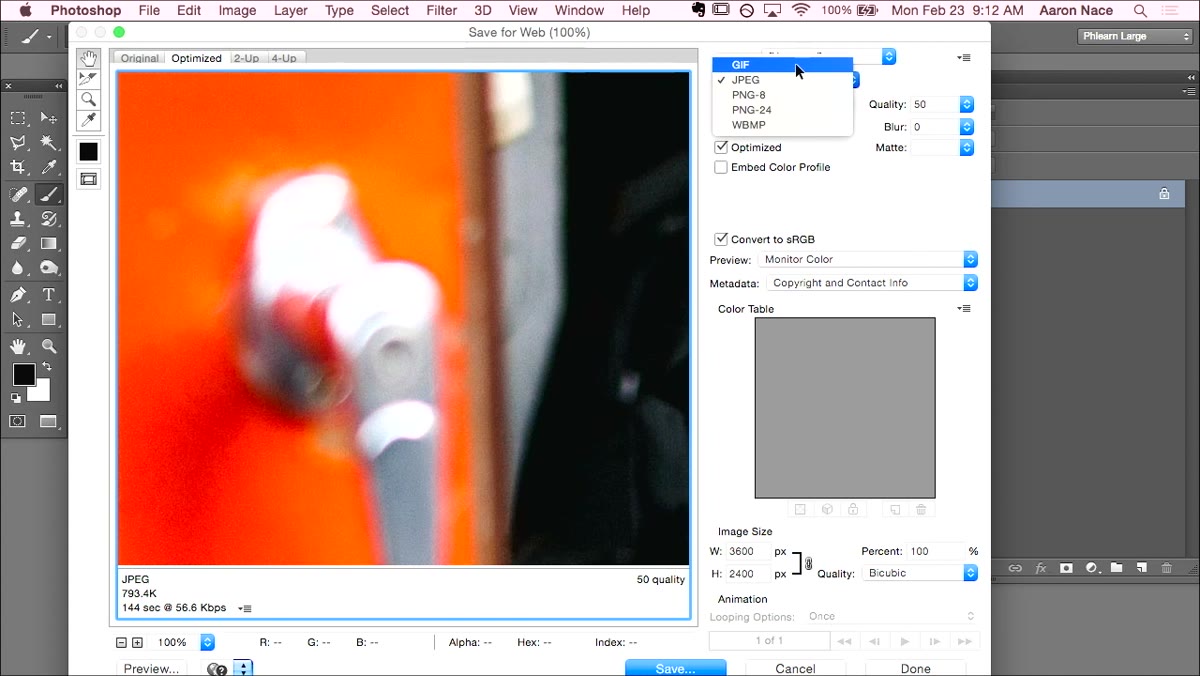 Save for Web dialog with format dropdown showing JPEG, PNG, GIF options
The Save for Web dialogue gives you several format options. JPEG is your go-to for photographs and complex images with lots of color gradients. PNG is the right call when you need transparency, like logos, icons, or anything that needs to sit on top of a colored background without a white box around it. GIF is still around and works for simple animations or graphics with flat color, though for static images you’re almost never going to reach for it in a professional context. There’s also WBMP in there, which is a format from the early mobile web era that you can safely ignore in 2024.
Save for Web dialog with format dropdown showing JPEG, PNG, GIF options
The Save for Web dialogue gives you several format options. JPEG is your go-to for photographs and complex images with lots of color gradients. PNG is the right call when you need transparency, like logos, icons, or anything that needs to sit on top of a colored background without a white box around it. GIF is still around and works for simple animations or graphics with flat color, though for static images you’re almost never going to reach for it in a professional context. There’s also WBMP in there, which is a format from the early mobile web era that you can safely ignore in 2024.
For most photography and composite work, JPEG with a quality setting somewhere between 60 and 80 hits the sweet spot between file size and visual quality. Going above 80 inflates file size without a visible payoff. Going below 60 and you start to see compression artifacts, especially in smooth gradients.
Step 5: Preview and Export
 Save for Web preview window showing full-size image comparison
Before you hit Save, use the preview in the dialogue to do a final check. The window shows you the image as it will look after export, and you can compare it against the original. If the colors look noticeably different from what you were seeing in your main document, that’s the color space conversion happening. The good news is that Save for Web automatically handles the conversion to sRGB when you export, so the browser gets a file it knows how to display correctly.
Save for Web preview window showing full-size image comparison
Before you hit Save, use the preview in the dialogue to do a final check. The window shows you the image as it will look after export, and you can compare it against the original. If the colors look noticeably different from what you were seeing in your main document, that’s the color space conversion happening. The good news is that Save for Web automatically handles the conversion to sRGB when you export, so the browser gets a file it knows how to display correctly.
Once you’re satisfied, hit Save, choose your destination, and you’re done. The exported file is a flat, sRGB-converted, web-optimized version of your work. Your original layered file is untouched.
One Thing the Tutorial Doesn’t Cover (That I Learned the Annoying Way)
File naming matters more than people think. When I first started exporting images for client websites, I was saving things as “final_FINAL_v3_USE THIS ONE.jpg” because I had no system. Web servers are case-sensitive and don’t love spaces or special characters in filenames. Get into the habit of using lowercase letters, hyphens instead of spaces, and descriptive names. Something like “project-name-hero-image.jpg” is going to save you a headache when you’re uploading through a CMS or handing files off to a developer. Small thing, but it’s the kind of detail that separates work that’s easy to hand off from work that causes unnecessary back-and-forth.
The single most important thing to take away from this workflow is the separation between your editing color space and your export color space. Edit wide, export sRGB, and let Save for Web handle the conversion. It sounds like a small distinction but it’s the difference between colors that hold up on screen and colors that look like they got left in the sun too long.
Watch the full tutorial on YouTube for the live walkthrough and to see the Save for Web dialogue in action.
Comments (2)
Great breakdown. The step-by-step approach really helps.
Solid advice. Especially the part about taking your time with it.
Leave a Comment