Every time Adobe pushes a major Photoshop update, I go through the same five stages of grief. Denial that I have to update at all. Anger when I realize my plug-ins are gone. Bargaining with myself about whether I actually need Nik Collection that badly. Depression when a client job requires it. And finally, reluctant acceptance as I spend an hour reinstalling everything from scratch. If you’ve been living this cycle, I have good news: there’s a better way, and I only wish someone had shown it to me two years ago.
In this KelbyOne tutorial, Scott Kelby walks through exactly how to migrate your plug-ins from an older version of Photoshop to a newer one without losing your mind in the process. Watch the full tutorial on YouTube if you want to follow along, but I’ve broken the whole thing down below so you can work through it step by step right here. The method covers two approaches: a quick drag-and-drop that mostly works, and a proper fix that actually solves the problem for good.
Worth noting before we dive in: Kelby points out that most of the stuff you care about, actions, presets, workspaces, migrates automatically when you update Photoshop. Plug-ins are the one category that gets left behind. That’s the quirk we’re here to fix.
Step 1: Keep Both Versions of Photoshop During Installation
 Advanced Options checkbox during Photoshop CC install screen
When you run the installer for a new version of Photoshop, your instinct is probably to blow through the setup screens as fast as possible. Don’t. You’ll see an installation screen with an “Advanced Options” link. Click it. Inside those options, there’s a checkbox that says something along the lines of “Remove old versions.” It will be checked by default. Uncheck it.
This is the whole key to making the drag-and-drop method possible. If you let the installer remove your previous version, you lose access to that old plug-ins folder and you’re starting from zero. Keeping both versions installed means you can open them side by side and move things over manually. It takes up a bit more disk space temporarily, but it’s worth it.
Step 2: Locate the Plug-ins Folder in Your Old Photoshop Installation
 Old Photoshop CC 2015 folder showing Plug-ins directory
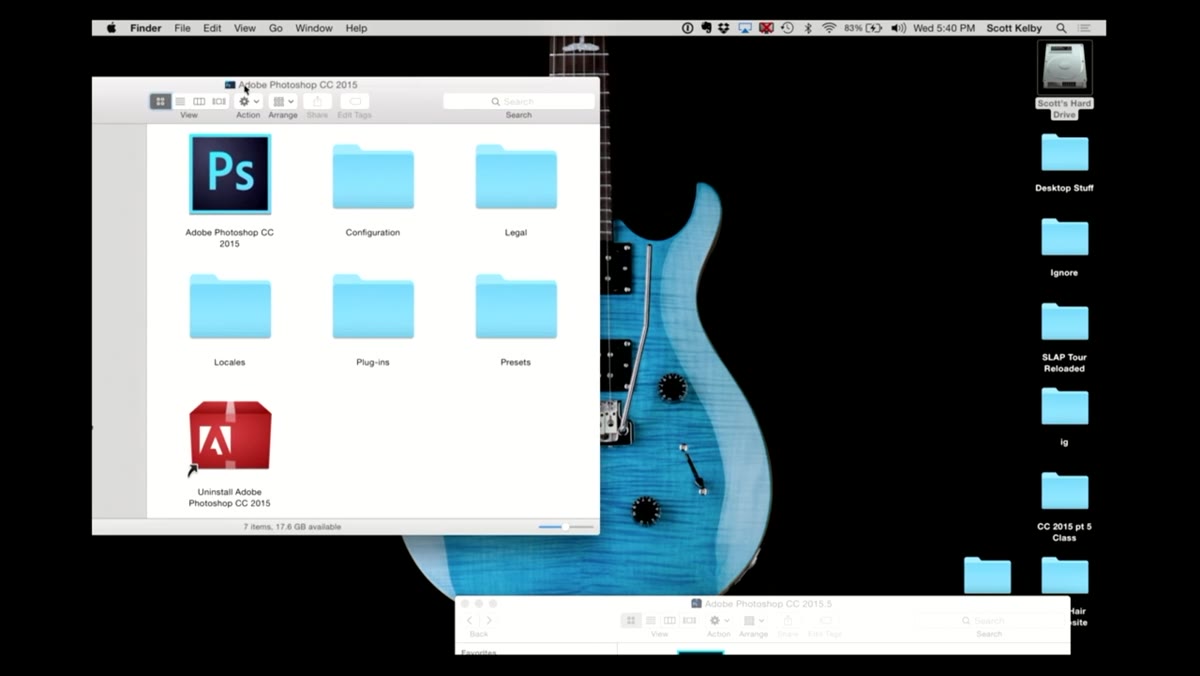
On your hard drive, navigate to the folder where Photoshop is installed. On a Mac this is typically in Applications, on Windows it lives in Program Files. You’ll find a folder for your old version, something like “Adobe Photoshop CC 2015,” and inside it there’s a folder simply called “Plug-ins.” That’s where your third-party filters have been living. Open it up and take stock of what’s there.
You’ll likely see folders from whatever plug-in makers you’ve collected over the years. Nik Collection, Topaz, ON1, whatever your particular rabbit holes have been. Make a mental note of everything here, because this list matters more than you’d think, and we’ll come back to why in a moment.
Step 3: Drag Your Plug-in Folders to the New Photoshop’s Plug-ins Folder
 Dragging Google Nik Collection folder into new Photoshop Plug-ins folder
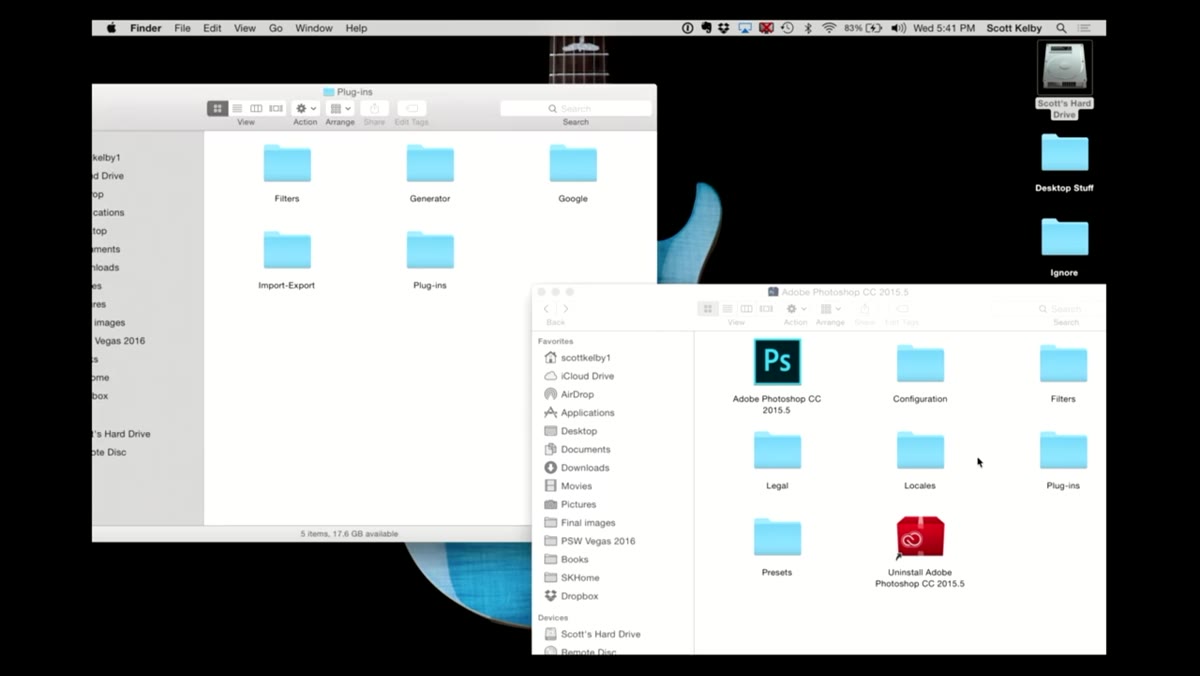
Open up the new Photoshop version’s folder alongside the old one and find its “Plug-ins” directory. Now drag your plug-in folders from the old location into the new one. Quit Photoshop completely if it’s running, then relaunch it. For a lot of plug-ins, this actually works. Kelby tried it with the Google Nik Collection (now owned by DxO, but same idea) and those filters showed up perfectly in the new version.
So why isn’t this the end of the tutorial? Because it only works some of the time. Some plug-ins install files in locations outside the Plug-ins folder, deep in system directories or in separate application support folders. If you just copy the folder that lives inside Photoshop, you’re only getting part of the puzzle. The plug-in loads but then crashes, does nothing, or simply doesn’t appear.
Step 4: Recognize When the Drag-and-Drop Method Has Failed
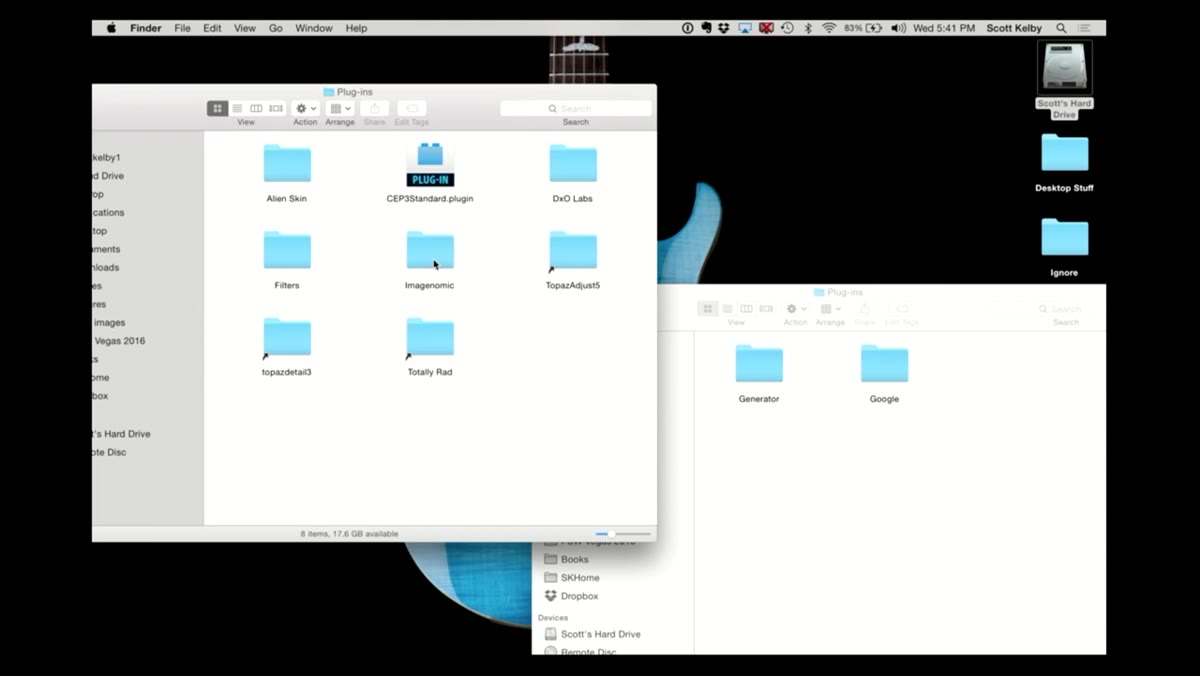 Macphun filters failing to load after manual folder copy
Kelby ran into this himself with a set of filters that stored their actual functionality outside the standard Plug-ins folder. He copied the folder, launched Photoshop, went to use the filter, and nothing. This is more common than you’d hope, and there’s no easy way to know upfront which plug-ins will behave and which ones won’t.
If you launch the new Photoshop after copying your plug-ins and find that some of them are missing from the Filter menu, or they appear but throw errors when you try to open them, this is why. Don’t waste time troubleshooting. The right move is the one in the next step.
Step 5: Reinstall Problem Plug-ins Using Adobe’s Compatibility Resource Page
 Adobe’s plug-in manufacturer resource page in browser
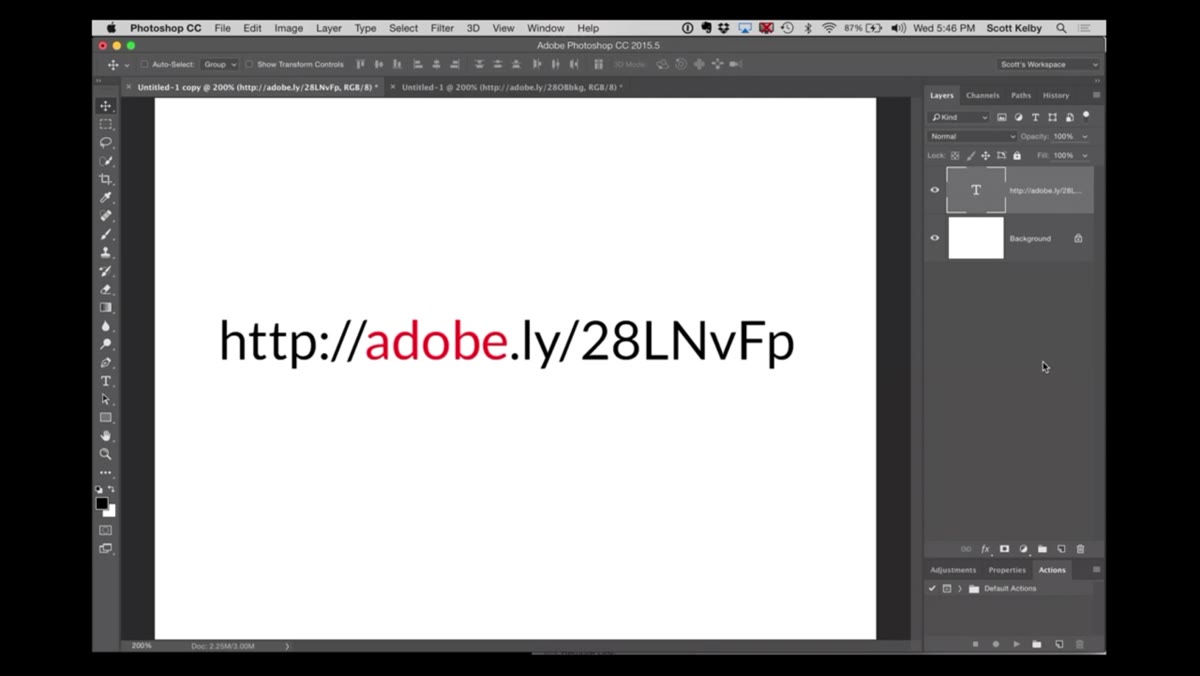
Adobe put together a landing page that lists compatibility resources and download links from major plug-in manufacturers, specifically so you don’t have to spend an afternoon crawling through bookmarks and vendor websites. Kelby shares the short URL in the video. From there you can get to the official installers for whatever plug-ins you use and run them fresh against your new Photoshop version.
Yes, reinstalling from scratch is more annoying than a simple drag-and-drop. But it’s a ten-minute fix versus a day of weird behavior you can’t diagnose. Run the installers, point them at the new Photoshop, and you’re done. Clean install, zero mystery.
Step 6: Set Up the Shared Plug-ins Folder So This Never Happens Again
 Creative Cloud shared plug-in folder setting in preferences
Here’s the part that actually changes your life. Adobe added a shared plug-ins folder to Creative Cloud that sits outside any individual version of Photoshop. When you install plug-ins to this shared location, every current and future version of Photoshop can see them automatically. No more migration. No more reinstalling. Update to a new version, open it up, and your plug-ins are just there.
To take advantage of this, check your Creative Cloud preferences for the shared plug-ins folder option, and when you’re installing or reinstalling your plug-ins, point them at that shared location instead of the version-specific Plug-ins folder. Not every plug-in installer will give you the option to choose the destination, but many do. It’s worth the extra click every time.
One Thing I’d Add From My Own Experience
The shared folder approach is great going forward, but it only works if your plug-in installers actually support it. A few of my older third-party tools, some I’ve had since I was doing freelance graphics work for local bands around Austin, predate this architecture entirely. They want to install where they want to install, and that’s that.
My workaround has been to keep a simple text file called “plugin-inventory.txt” in my Creative Cloud desktop folder that lists every plug-in I use, the vendor website, and my license key if applicable. Takes five minutes to maintain and saves a genuinely embarrassing amount of time when something goes sideways. Treat your plug-in setup like a project file and document it. You’ll thank yourself later.
The single most important thing to take away here: uncheck “Remove old versions” during the installer before you do anything else. Everything else in this process can be recovered from. Deleting your old Photoshop before you’ve moved your plug-ins cannot.
Watch the full tutorial on YouTube to see Scott Kelby walk through the folder navigation in real time. Seeing the actual folder structure on screen alongside his explanation makes the whole thing click faster than any written guide can.
Comments (2)
The before and after really sells it. Incredible difference.
I tried this on a client project yesterday and the results were way better than expected.
Leave a Comment